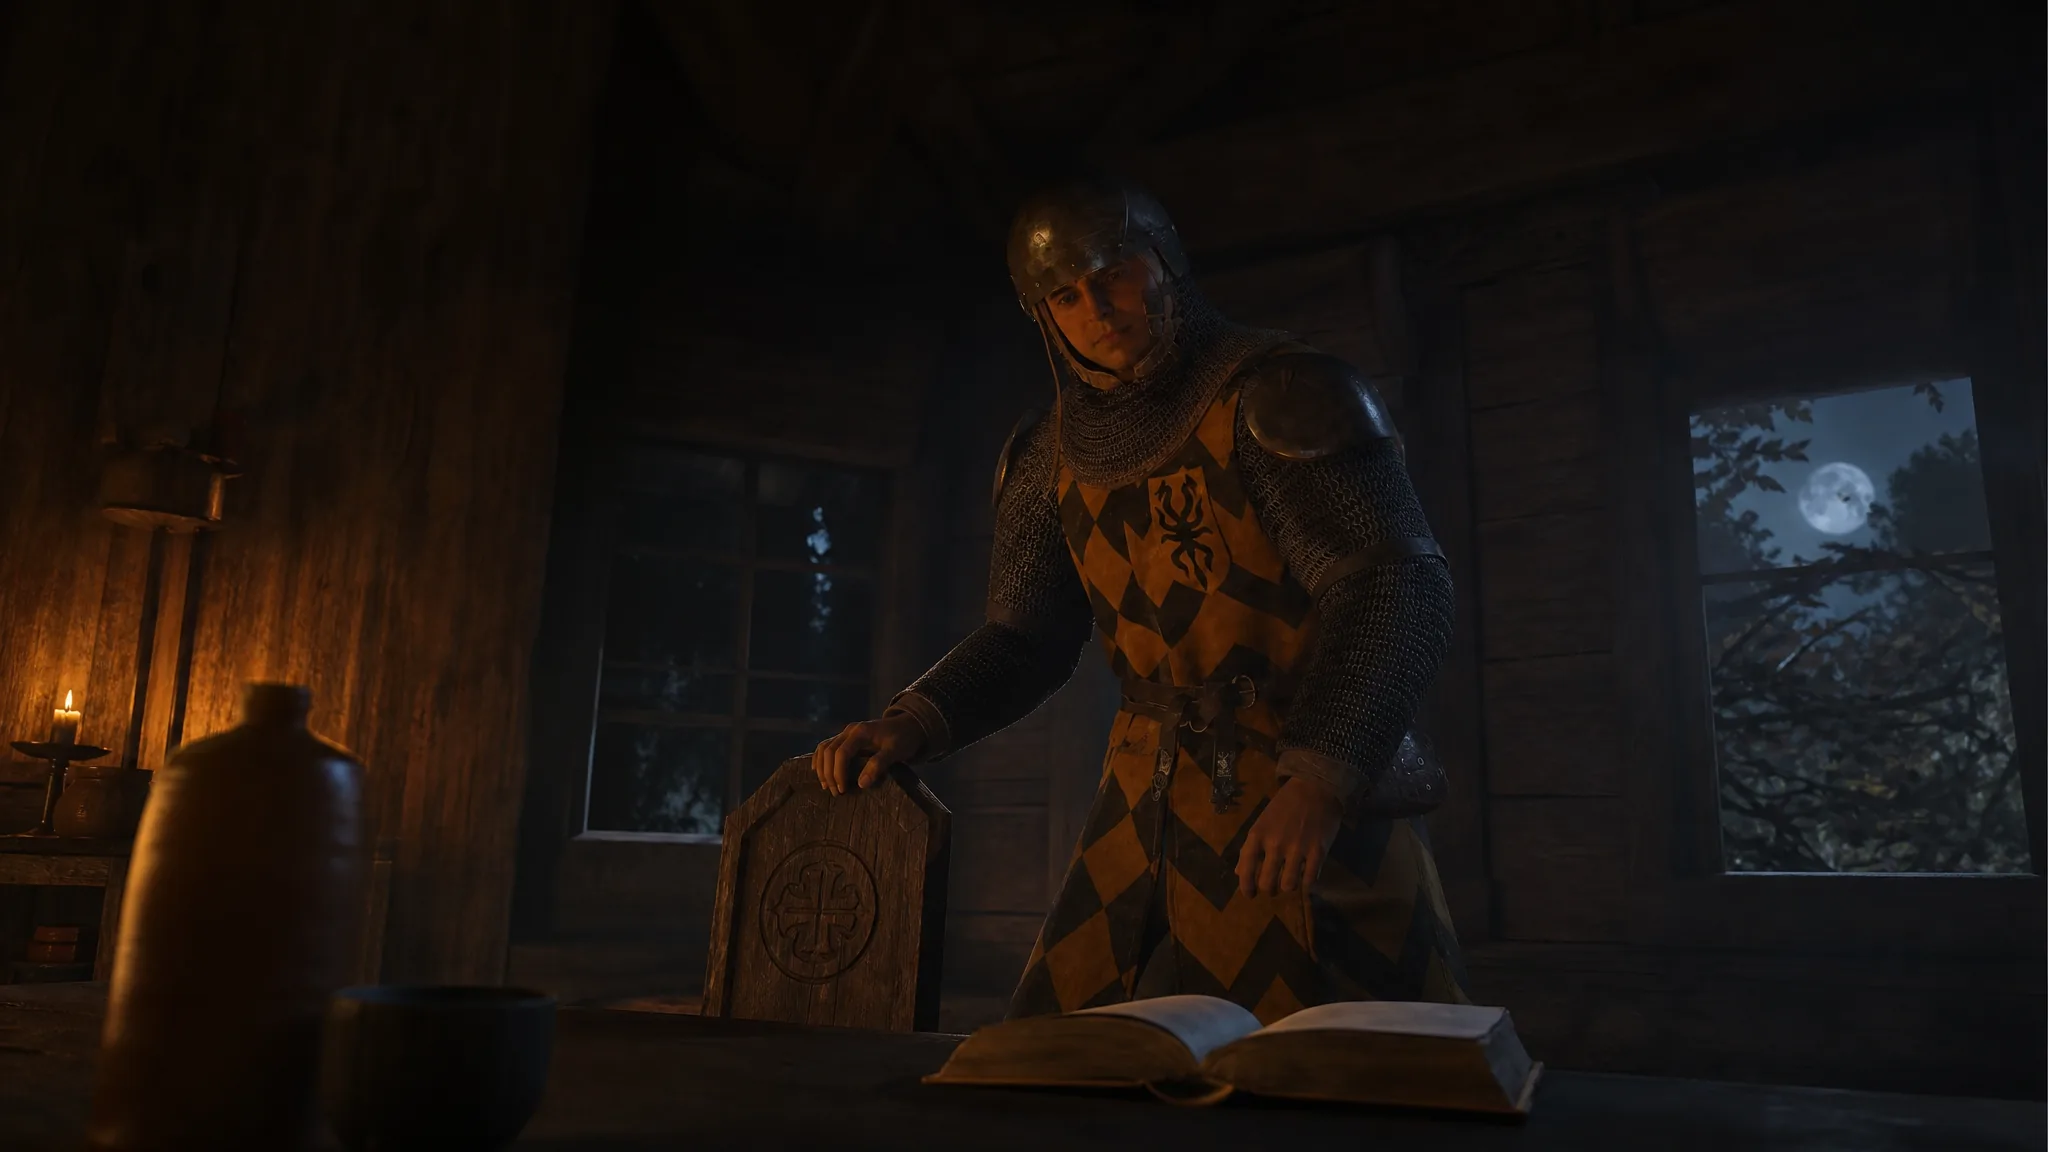
The Chief Jailor appears at the end of the Ambrus’s Dungeons: Evil and Convenience quest in The Blood of Dawnwalker, waiting inside the cabin you unlock after clearing the suspicious camp in Briar Sloughs. When you reach him, Coen can either strike him down or let him leave. The prompt looks like a meaningful moral fork, but the reward is identical either way.
Quick answer: Kill or spare the Chief Jailor freely. You receive the Treasure Map: Hidden Stash in both outcomes, so pick whichever fits how you want Coen to act.
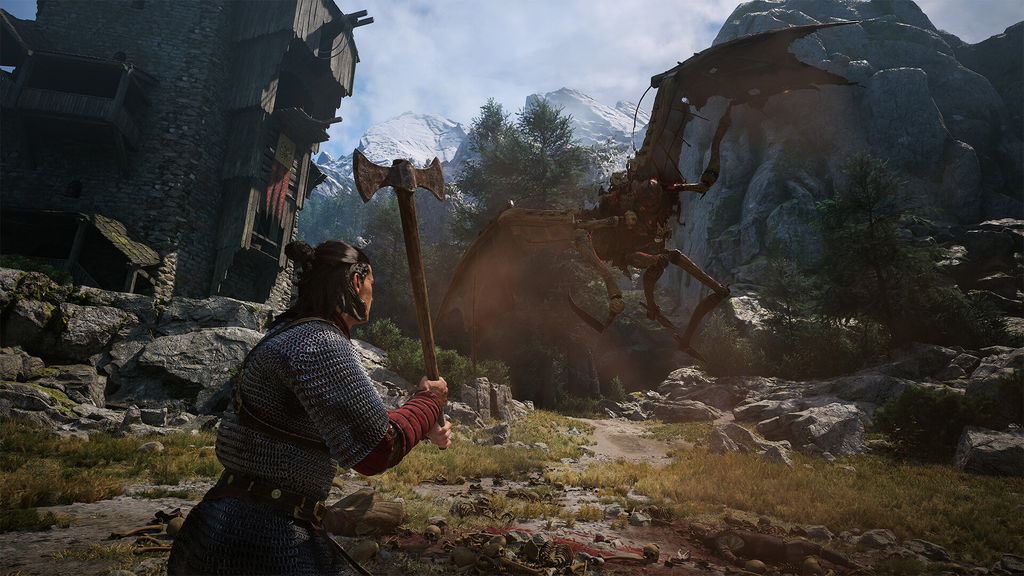
Kill or spare the Chief Jailor: reward comparison
The only difference between the two options is how you obtain the map. Killing him lets you loot it from his body, while sparing him means he hands it over before walking away. The item is the same in both cases.
| Choice | Outcome |
|---|---|
| Kill the Chief Jailor | You loot the Treasure Map: Hidden Stash from his corpse. |
| Spare the Chief Jailor | He gives you the Treasure Map: Hidden Stash and leaves. |
There is no bonus loot, follow-up quest, or altered ending tied to this call. It comes down to preference.
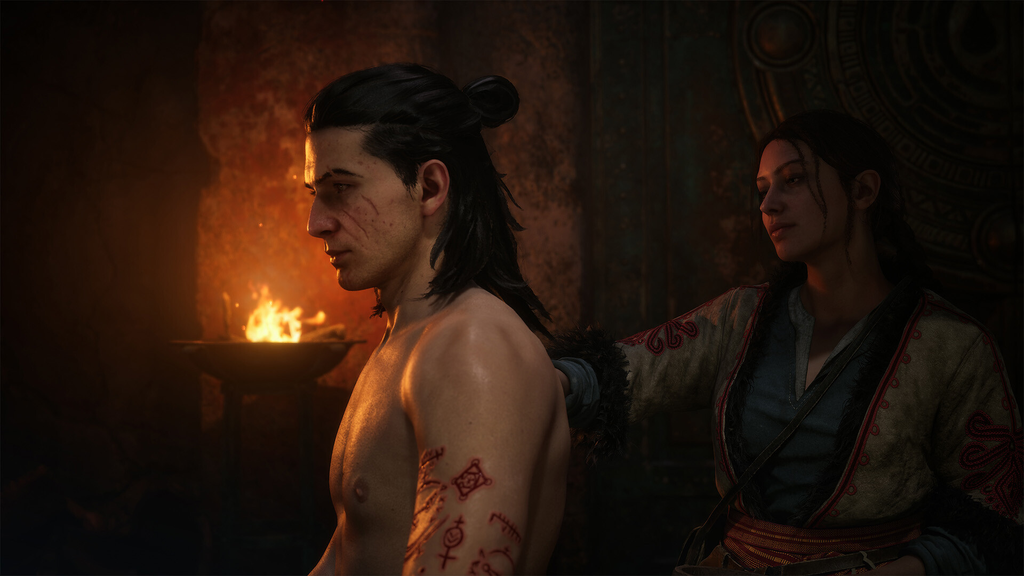
Reaching the Chief Jailor in Briar Sloughs
The camp sits in Briar Sloughs, just north of the Borescu Commons Shrine. You can clear it during the day or at night, but morning is the better window because a soul near the torture chamber can be compelled for extra context.
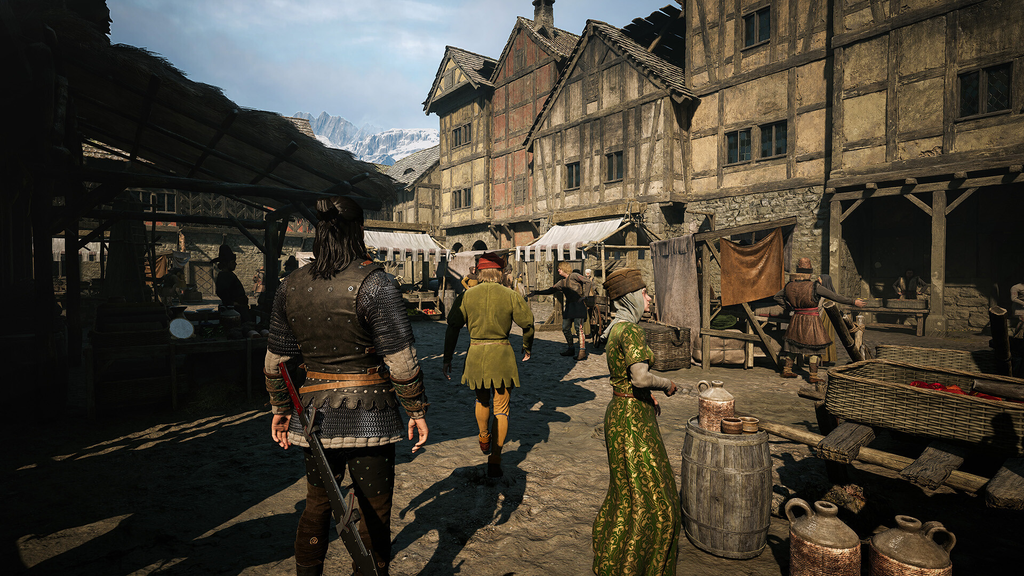
After the choice: the ledger and the hidden stash
Once the Chief Jailor is dealt with, read the ledger on the table inside the cabin. It reveals that Ambrus’ men are betraying him and diverting blood elsewhere.
To cash in the Treasure Map: Hidden Stash, leave the camp and head northwest to a fallen tree. Approach it and open the chest to collect an amulet, some money, and a letter from Bakir that confirms the missing blood shipment was sent to him.
Because the reward and the story beats are the same, treat the Chief Jailor decision as pure roleplay. Spare him if you want Coen to show restraint, or kill him if you would rather close the loop directly. Either way, you walk out with the map and the hidden chest.