

The Cursed Chasm is one of the few side quests in The Blood of Dawnwalker that hands you a legendary weapon for a single fight and a bit of climbing. It sits in the Briar Sloughs region, in the gorge below Greifberg Castle, and it exists for one reason: knyaz Skender’s treasure convoy went off a bridge here decades ago, and Durandal went down with it.
Quick answer: Search the wrecked cart at the broken bridge for the Special Orders, follow the ledges down the east side of the chasm, kill the wolves and the Echo that spawns, then inspect the ruined wagon under the bridge to take Durandal. Looting the sword spends 2 Time Segments and completes the quest.
The Cursed Chasm quest requirements and rewards
| Detail | Value |
|---|---|
| Region | Briar Sloughs, chasm below Greifberg Castle |
| Requirement | Complete the main quest Smoke and Ashes |
| Objectives | Investigate the broken bridge and its surroundings; find Knyaz Skender’s lost treasure |
| Time cost | 2 Time Segments, charged when you pick up Durandal |
| Rewards | 100 XP, 1 Skill Point, Durandal (legendary sword) |
| Fail state | None |
Nothing here is timed once you arrive, so the two segments are the only real cost. Enemies at the bottom are noticeably stronger than the wolves guarding the wreck, so treat this as a mid-level detour rather than an early-game freebie.
Two ways to start the quest
You can hear about the treasure first or just walk into it. Both routes put the same quest in your journal.
The talkative option is the tavern on the western edge of Altenmarkt in Svartrau City. Ask the innkeeper for gossip and you get the story of Skender’s followers fleeing the valley with his valuables after Brencis took over, and how they never made it past a mountain crossing.
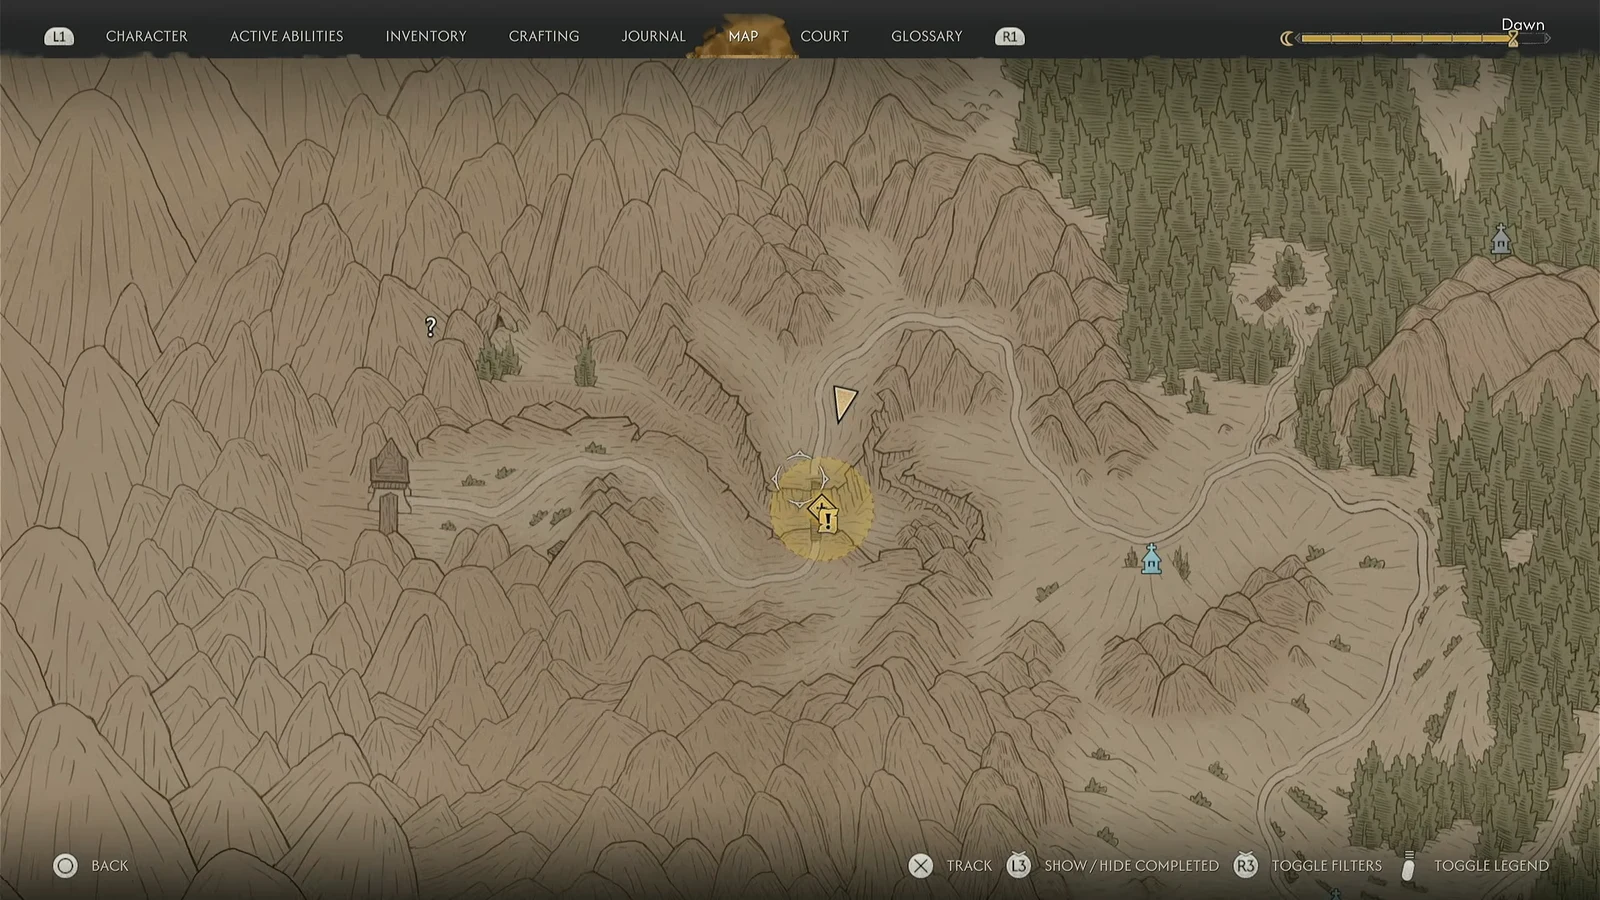
The direct option is the northwestern corner of the map. Fast travel to the Coward’s Path shrine and follow the road uphill to the northwest, then south, until you reach the collapsed bridge. Approaching the break in the bridge, or the wreckage on the chasm floor, starts the quest on its own.
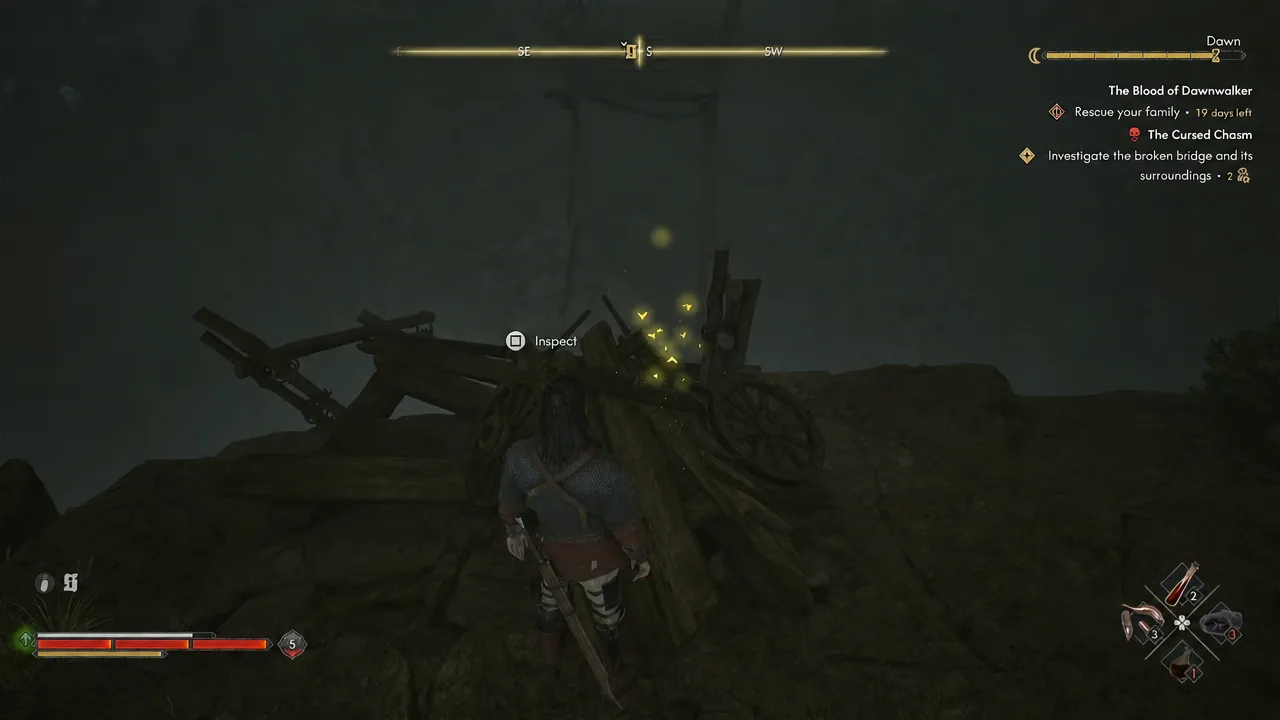
Investigate the broken bridge and get the Special Orders
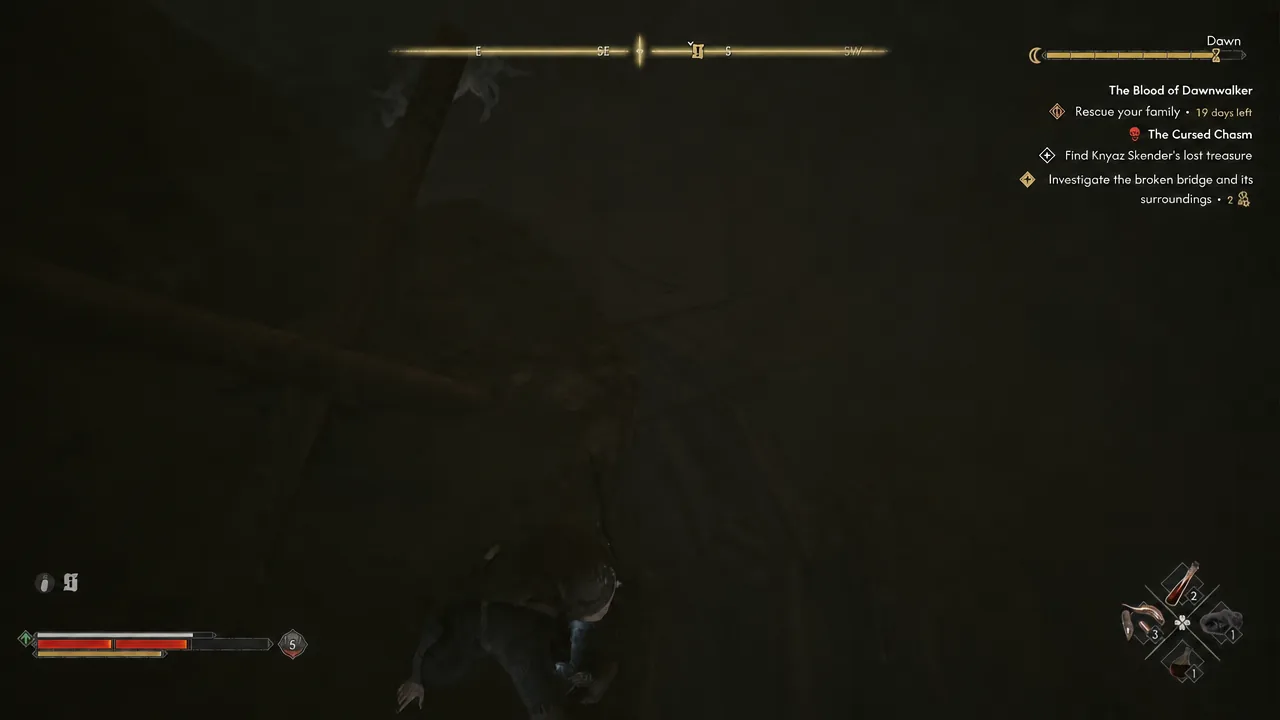
How to get down to the chasm floor safely
There are two ways down, and only one of them works in daylight.
Beating the wolves, Vidmo, and the Echo
A pack of wolves is picking over the wreck under the bridge and will attack as soon as you approach. They are the weakest part of the encounter and are not scaled to the rest of the quest.
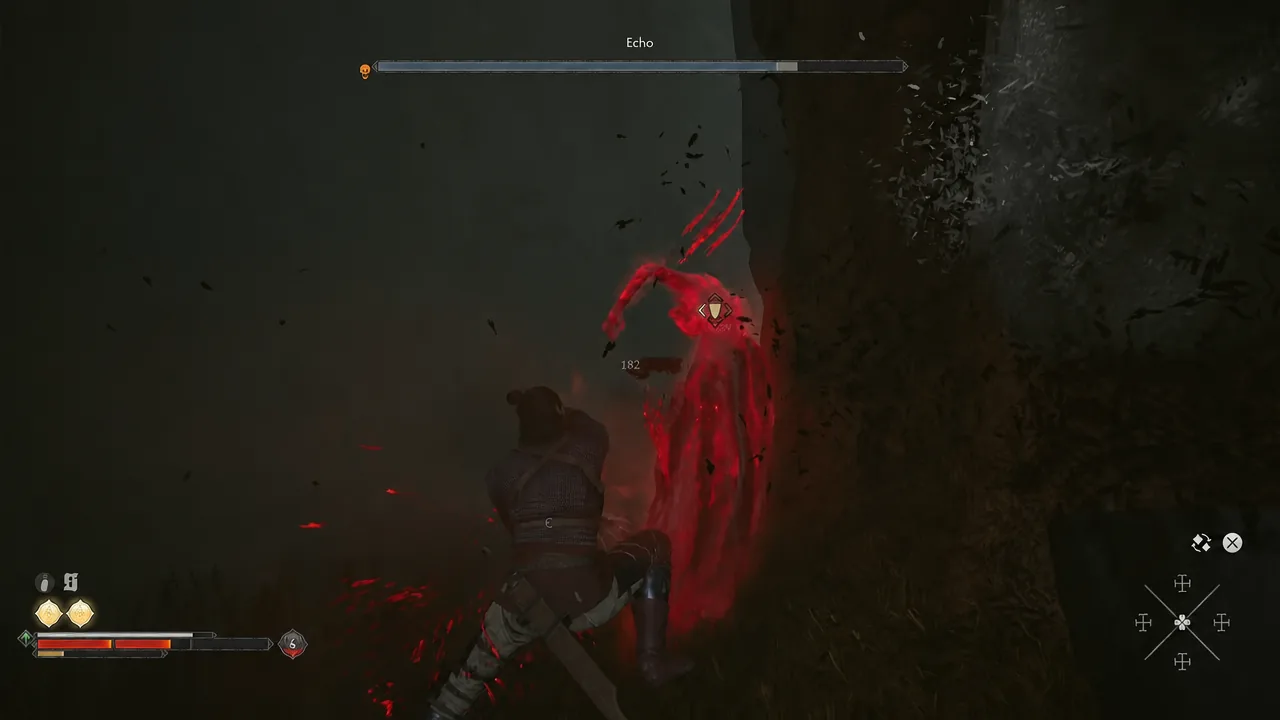
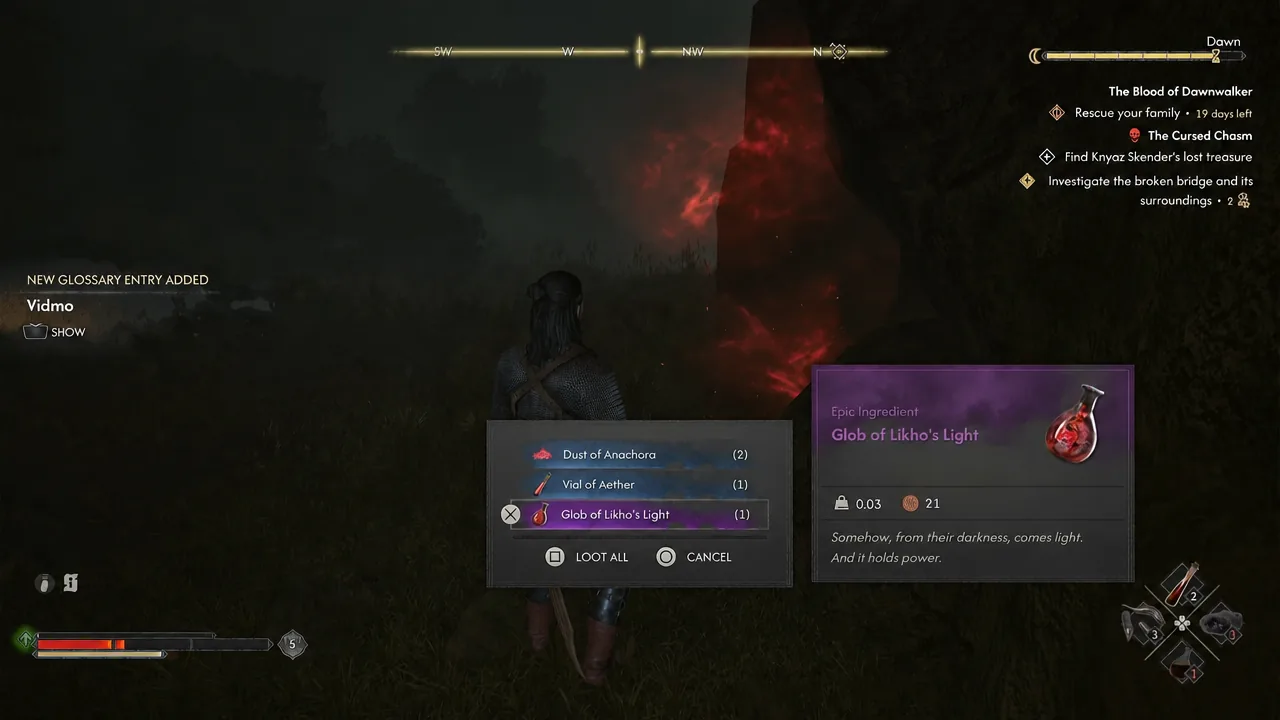
Shortly after the fight starts, two Vidmo and a blood-red variant called Echo spawn in. These wraiths hit far harder than the wolves. Both types use blockable claw swipes plus an unblockable spinning attack flagged by the red skull icon, which is an area hit you have to back away from rather than parry.
Echo’s dangerous move is the drain. It raises an arm and pulls your blood from a distance to heal itself, and it cannot be blocked or dodged. If you see blood streaming off your body and your health bar sliding down, stop what you are doing and land a hit on Echo to break it.
Tip: the wolves and the wraiths are different enemy types, so positioning yourself between them can get them swinging at each other. That buys you room to fight one thing at a time instead of three.
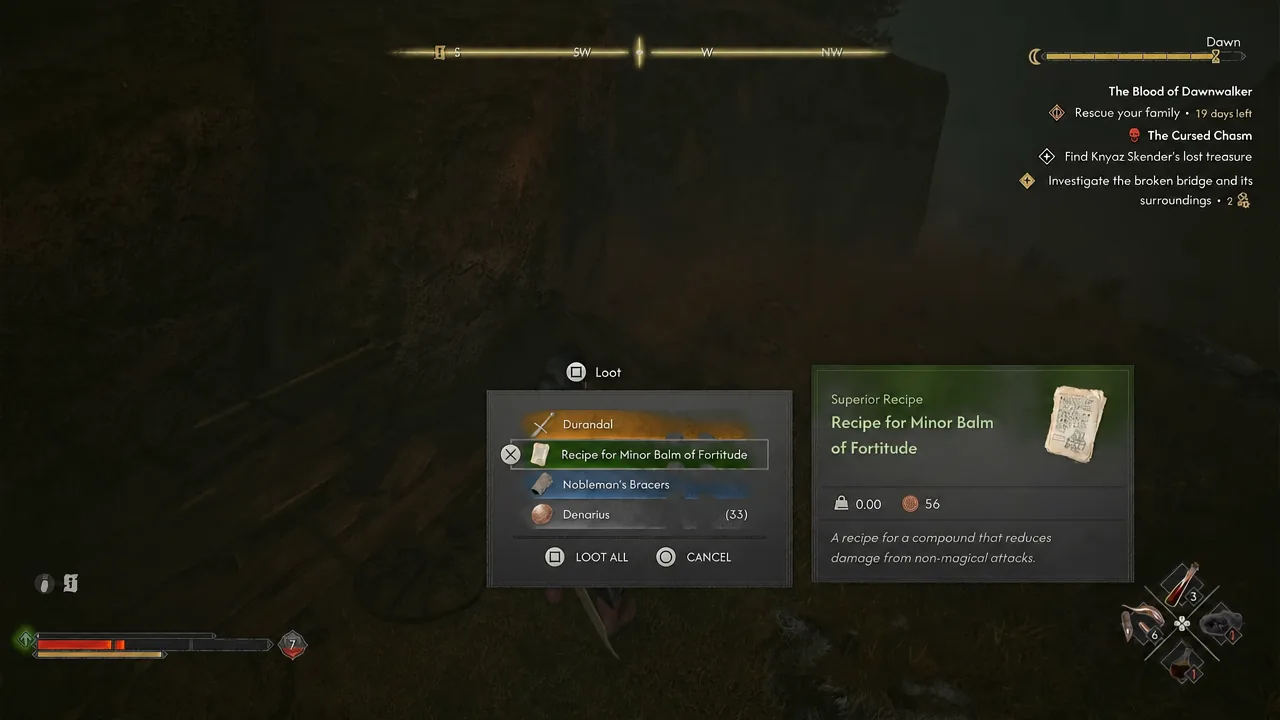
Durandal location and everything else in the wreckage
If the quest will not start or complete
Two things gate this one. The quest needs Smoke and Ashes finished before it becomes available, and it only registers once you actually reach the break in the bridge or the wreckage on the floor. Standing on the intact side of the crossing is not close enough.
The completion trigger is looting Durandal specifically, not clearing the enemies or reading the Final Report. If the journal still shows the treasure objective, you have missed the broken wagon remains and need to Focus Mode the debris again.
Before you jump back up the ledges, it is worth clearing the rest of the gorge. The gold barrel near the wreck also feeds into Finders Keepers, and Ancient Circle: North-West Pass sits further along the chasm, which is easy to knock out while you are already down here.





