Under Watchful Eyes is the side quest that begins the moment you finish The Firebrand by speaking to Mert the Miller in the dungeon beneath Stoneward Post. Mert has to survive that quest for this one to trigger. What follows is a low-level escape from a camp full of soldiers, with a 250XP reward and three time segments spent from your 30-day clock.
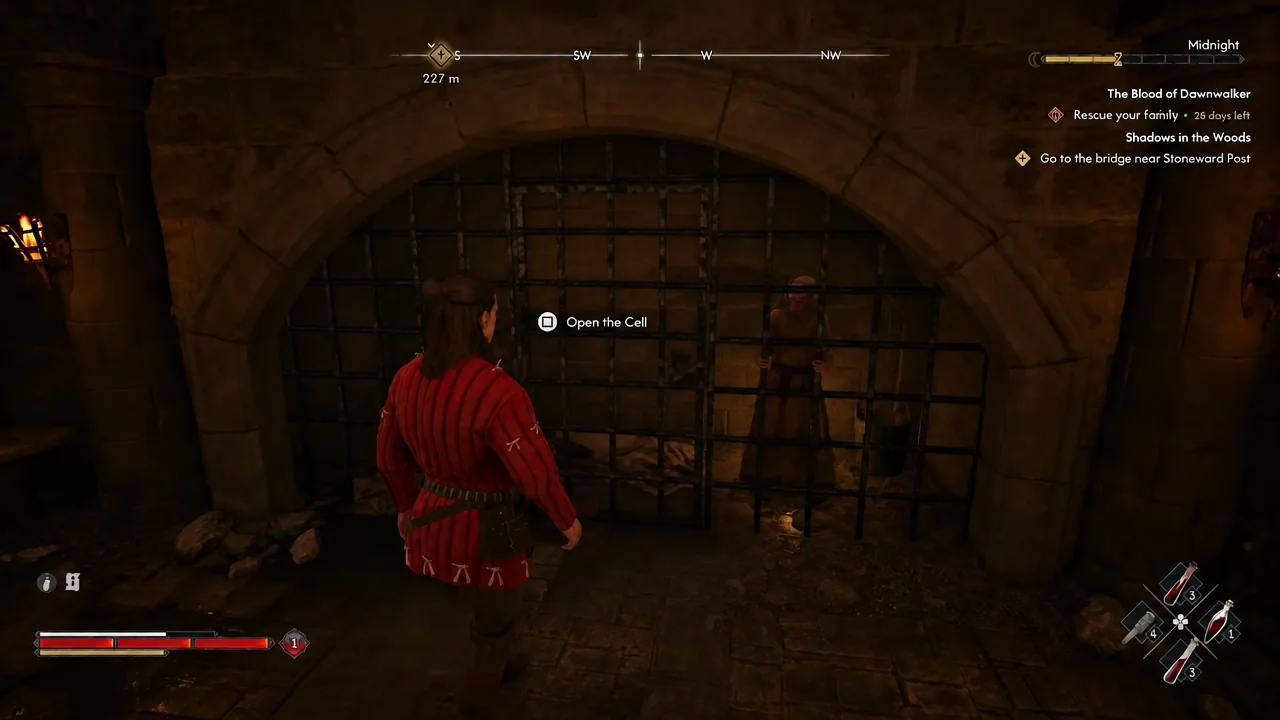
Quick answer: Take the Prison Keychain from the table upstairs while the guard captain’s back is turned (or loot it from the guard’s body), unlock Mert’s cell, then leave through the locked door in the lit alcove on the north side of the overseer’s tower — it uses the same key and completes the escort objective without touching the main gate.
Quest details for Under Watchful Eyes
| Detail | Value |
|---|---|
| Location | Briar Sloughs / Stoneward Post |
| Quest giver | Mert |
| Requirement | Mert must survive The Firebrand |
| Objectives | Get the key to Mert’s cell, free Mert, escort him through the main gate |
| Reward | 250XP |
| Time cost | 3 time segments |
| Fail state | None |
The camp doubles as a Court Activity for Ambrus. Clearing the enemies inside and rescuing the Miller counts toward the Prisoner Processing Camp entry as well, so you are raising Ambrus’s anger level at the same time.
Get the Prison Keychain and free Mert
Fighting out of the tower
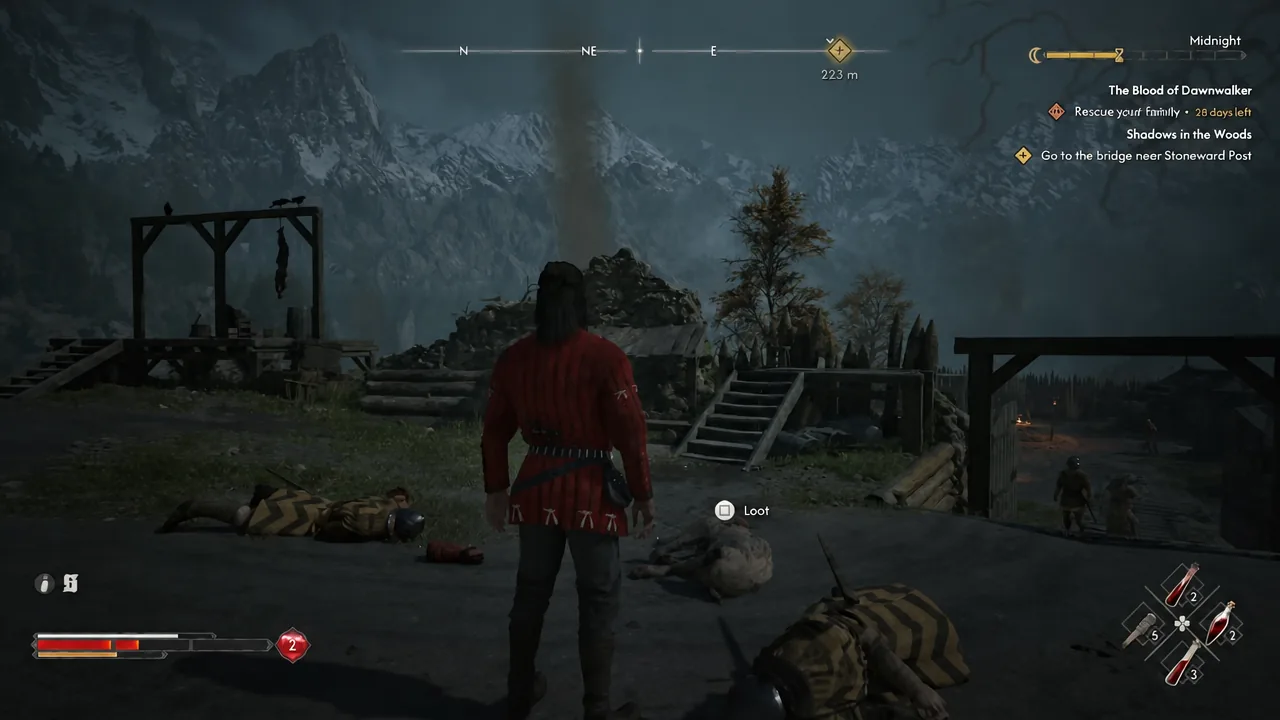
Freeing Mert alerts the camp. Expect Friedo upstairs alongside the miniboss Rayko the Incorruptible, and shortly after that a group of three guards plus a dog pushing into the tower. There is no stealth route past this ambush, so hold a doorway, use the directional parry system, and dodge the unblockable swings rather than trying to block them.
Make a quicksave the moment combat ends. Crafted healing items matter more than food here, since you are underlevelled and the fights come in waves.
Note: keep an eye on your hunger before the quest ends. If Coen is starving during the final conversation, he will feed on Mert automatically. Drinking from animals or a stray guard beforehand avoids that.
Where to find the Growing Momentum Manual
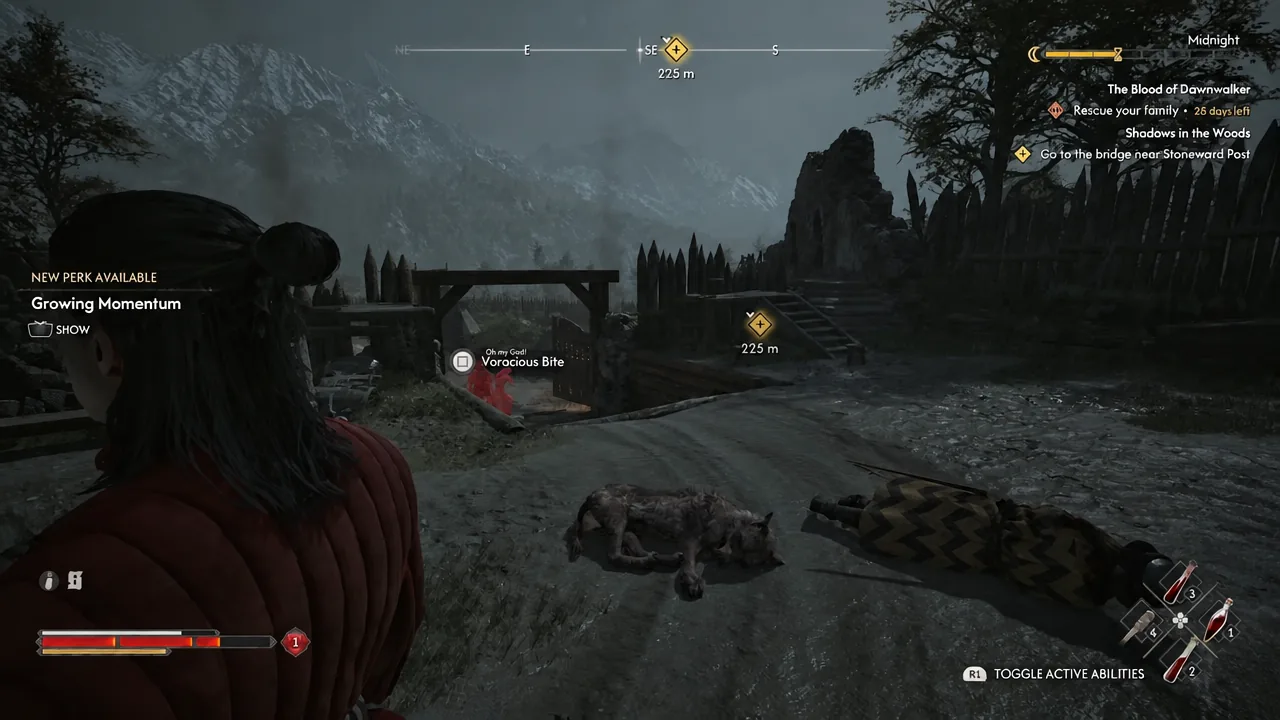
The Growing Momentum Manual is a Swordmastery book, and the copy most players run into here comes off the guards you clear outside the prison. Loot every body and container in the camp — the manuals that drop from soldiers are randomised, so the exact pile it lands in varies, but the bodies from the tower ambush are the usual source. The same sweep also turns up Common Yarrow and Dog Hide.
Growing Momentum sits in the Swordmastery tree and raises your weapon damage with each successive attack. Owning the manual is only half of it. To actually unlock the perk you need to interact with a Shrine, open the perk selection, and spend a Skill Point earned from levelling up or quest rewards.
If you miss the drop, the manual is not lost. There is no cap on manuals in the game, and several merchants stock this one.
| Merchant | Location and access |
|---|---|
| Constantin | Southern Bandit Camp in Rockfalls — beat him in a duel, then spare him |
| Tantari Blacksmith | South of Tantari Shrine, St. Tyna’s Grove — reach Tantari village |
| Drogos | Svartrau City, Sliberstein — during the Manumit questline |
| Catalin’s Tutor (Baltzer) | Northeast of Oghasti — free the captive outside Lunar Manor |
| Parlita Blacksmith | Parlita, Boar’s Back — reach Parlita village |
Merchant stock rotates somewhat between saves, so a vendor who is not showing manuals on one visit may have them on the next.
The back-door exit that skips the main gate
The objective text tells you to escort Mert through Stoneward Post’s main gate, and that is misleading. On the north side of the overseer’s tower there is a lit alcove with a door locked by the same prison key you already used. Behind it is a second door, again on that key, opening straight through the outer wall.
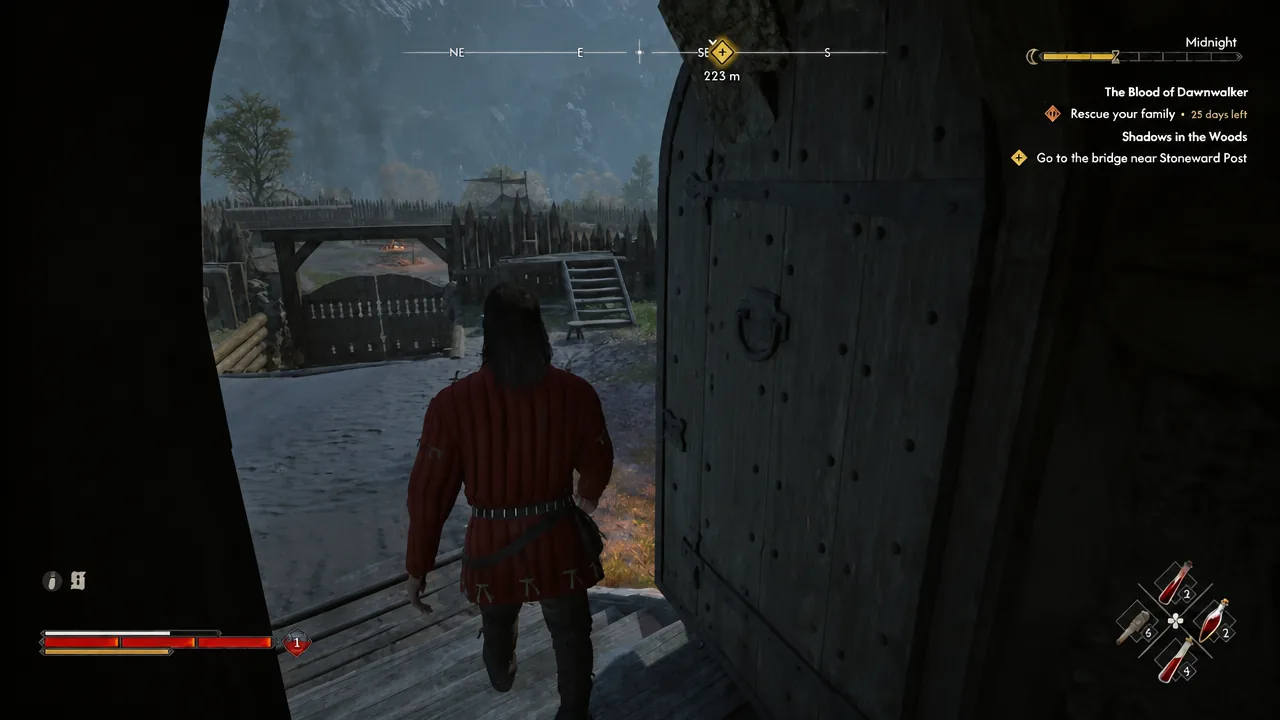
Fighting your way out the front instead is a longer road. You take on four guards in the eastern section, then Cerbus, the Scornful with three more soldiers to the north. Cerbus is worth killing on purpose if you want the loot — his body carries 130 Denarius, One-and-a-Half Mead, two Minor Fortitude Paste, Brencis’s Elite Soldier’s Fibula, the Ring of Purging amulet, a Wicked Falchion, and an Adrenaline Rush Manual.
Ending the quest and sending Mert to safety
Once you are outside the walls, a cutscene plays and Coen asks Mert where he can go. Pick “The almshouse in Svartrau” to point him somewhere safe. The quest closes out and 250XP lands.
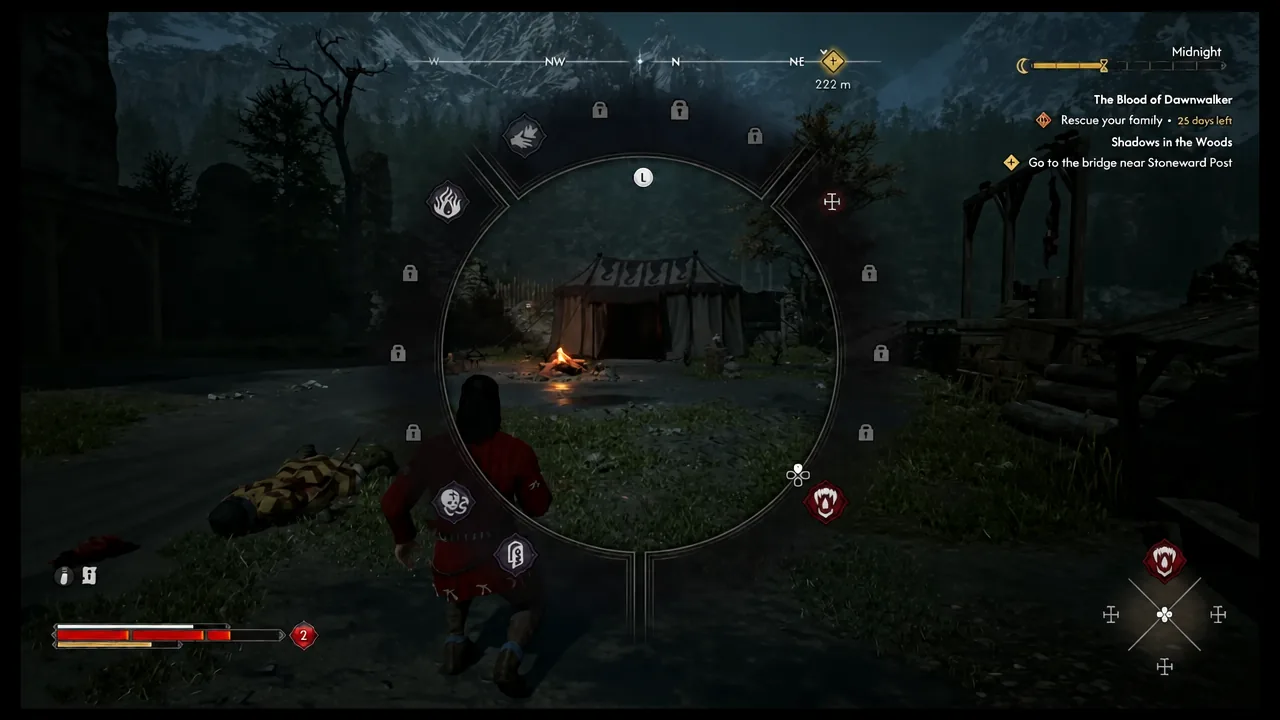
Freeing both Mert and his wife back at the mill pays off later — with both alive, you can find them again in Svartrau. Skipping the animal blood beforehand is the one thing that reliably ruins the ending here, since a hungry Coen takes the “[give in to the hunger]” route and Mert never makes it out.