The Conspiracy of Art, The Flesh of Images Walkthrough in Honkai: Star Rail 4.5
Every password, the window puzzle solution, and the office fight needed to clear this Lodestar Tower quest.
Every password, the window puzzle solution, and the office fight needed to clear this Lodestar Tower quest.
by Sehaj Padda
The Conspiracy of Art, The Flesh of Images sends you into Lodestar Tower to track down a strange noise, free the kidnapped Owlibert, and break out of a pixelated studio through a 2D platforming challenge. The segment ends with a fight in the Circular Office and a meeting with Nihilux.
Quick answer: Free Owlibert from the cardboard box on the sofa, enter the “Interplanar Jump! Difficulty II” portal, input the passwords Up, Right, Down, Left, Up, Right, Down, Left and later Right, Up, Left, Down, Right, Up, Left, Down, swap the middle-bottom frame with the middle-top frame in the Window Control puzzle, then defeat the IPC forces in the Circular Office.
Investigate the sound and rescue Owlibert
The quest opens inside Lodestar Tower with the objective to investigate the source of a sound. Head up the green ramp toward the sofa where the noise is coming from.
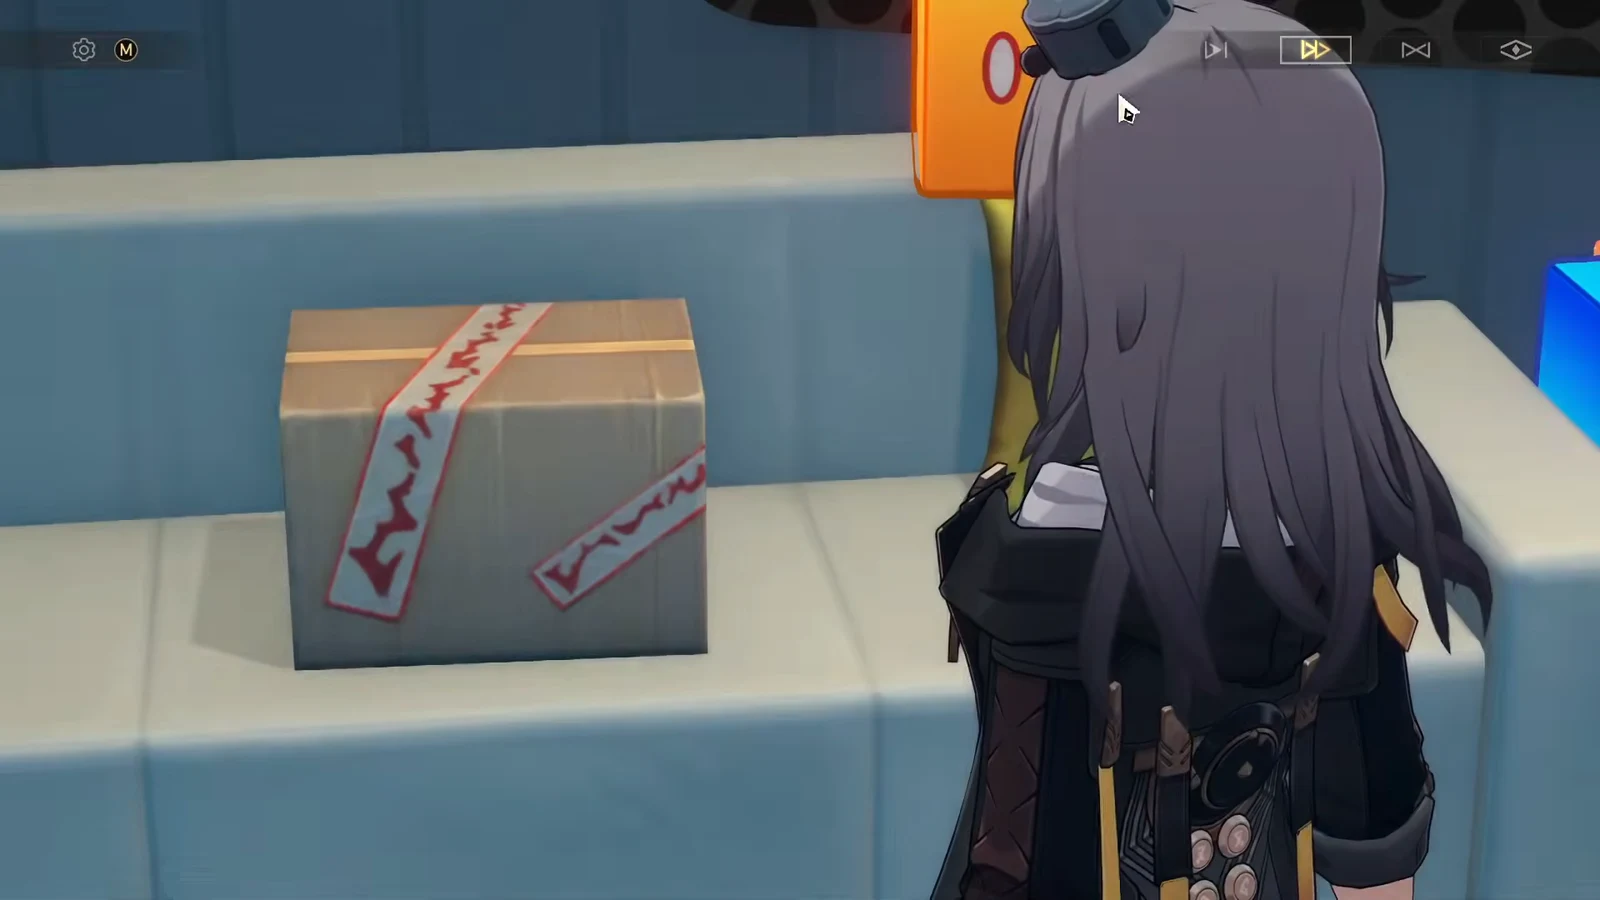
Interact with the cardboard box sitting on the sofa. This reveals the kidnapped Owlibert and immediately changes the objective to “Escape the Studio.” You can skip the dialogue that plays here.
Use the yellow fast-forward control to skip the dialogue after freeing Owlibert. Image credit: HoYoverse
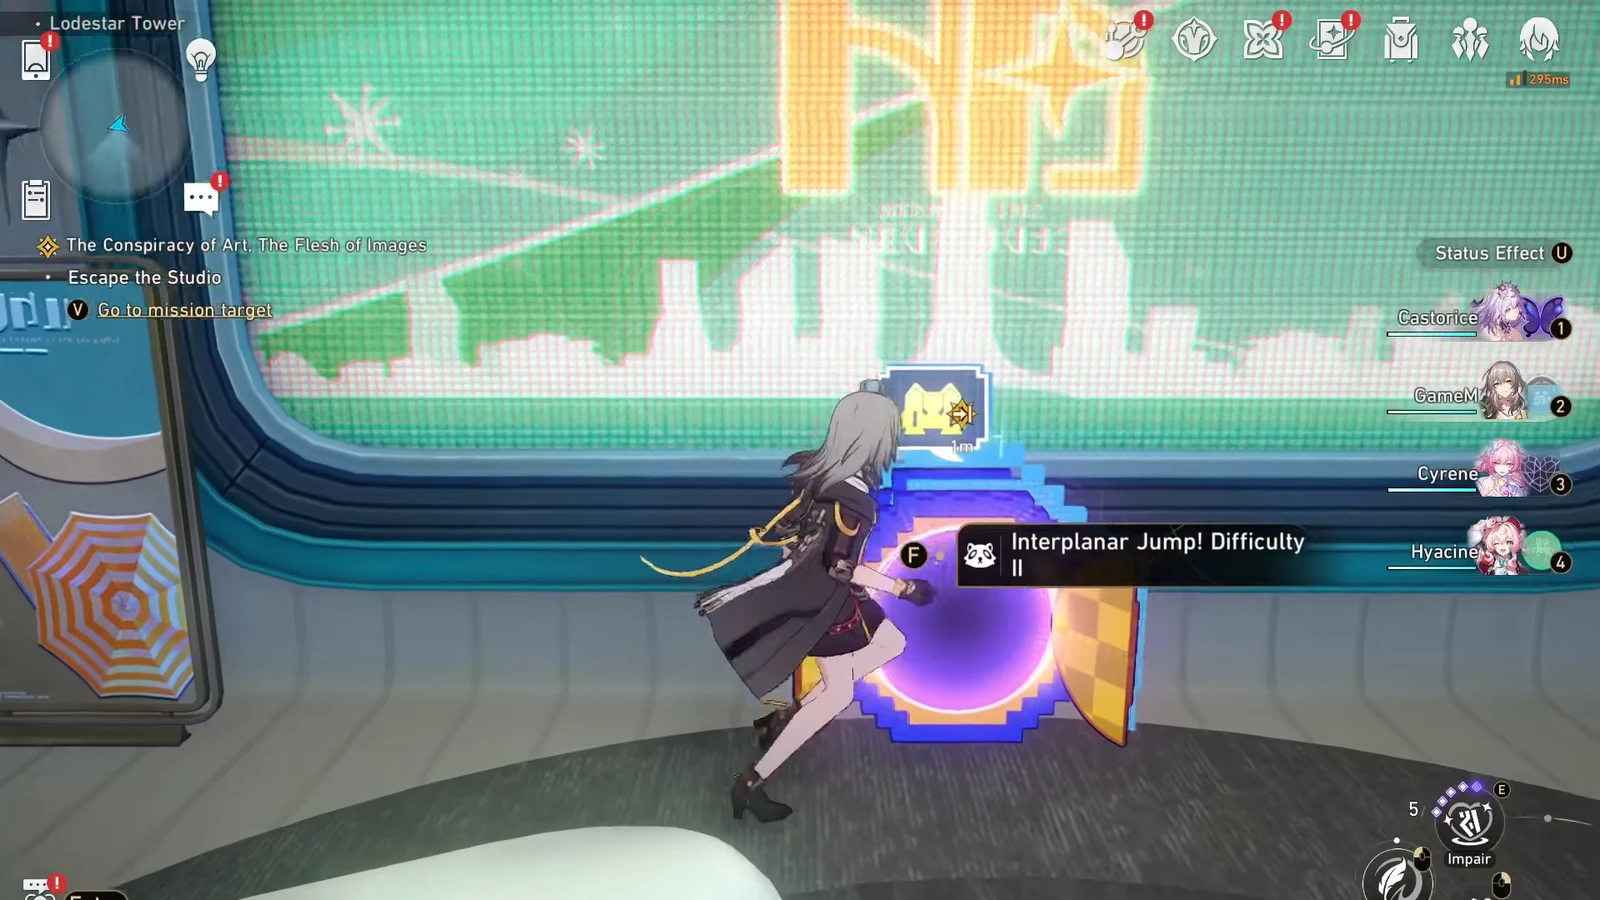
Move to the pixelated portal on the wall. Interacting with it starts the “Interplanar Jump! Difficulty II” mini-game.
Press F on the wall portal to begin Interplanar Jump! Difficulty II. Image credit: HoYoverse
Clear the Interplanar Jump! Difficulty II mini-game
Inside the 2D mini-game you control Trailblazemon: Universe Form, which can sprint in an aimed direction to move between gravity rings. A short tutorial explains how to navigate these rings before the first section opens up.
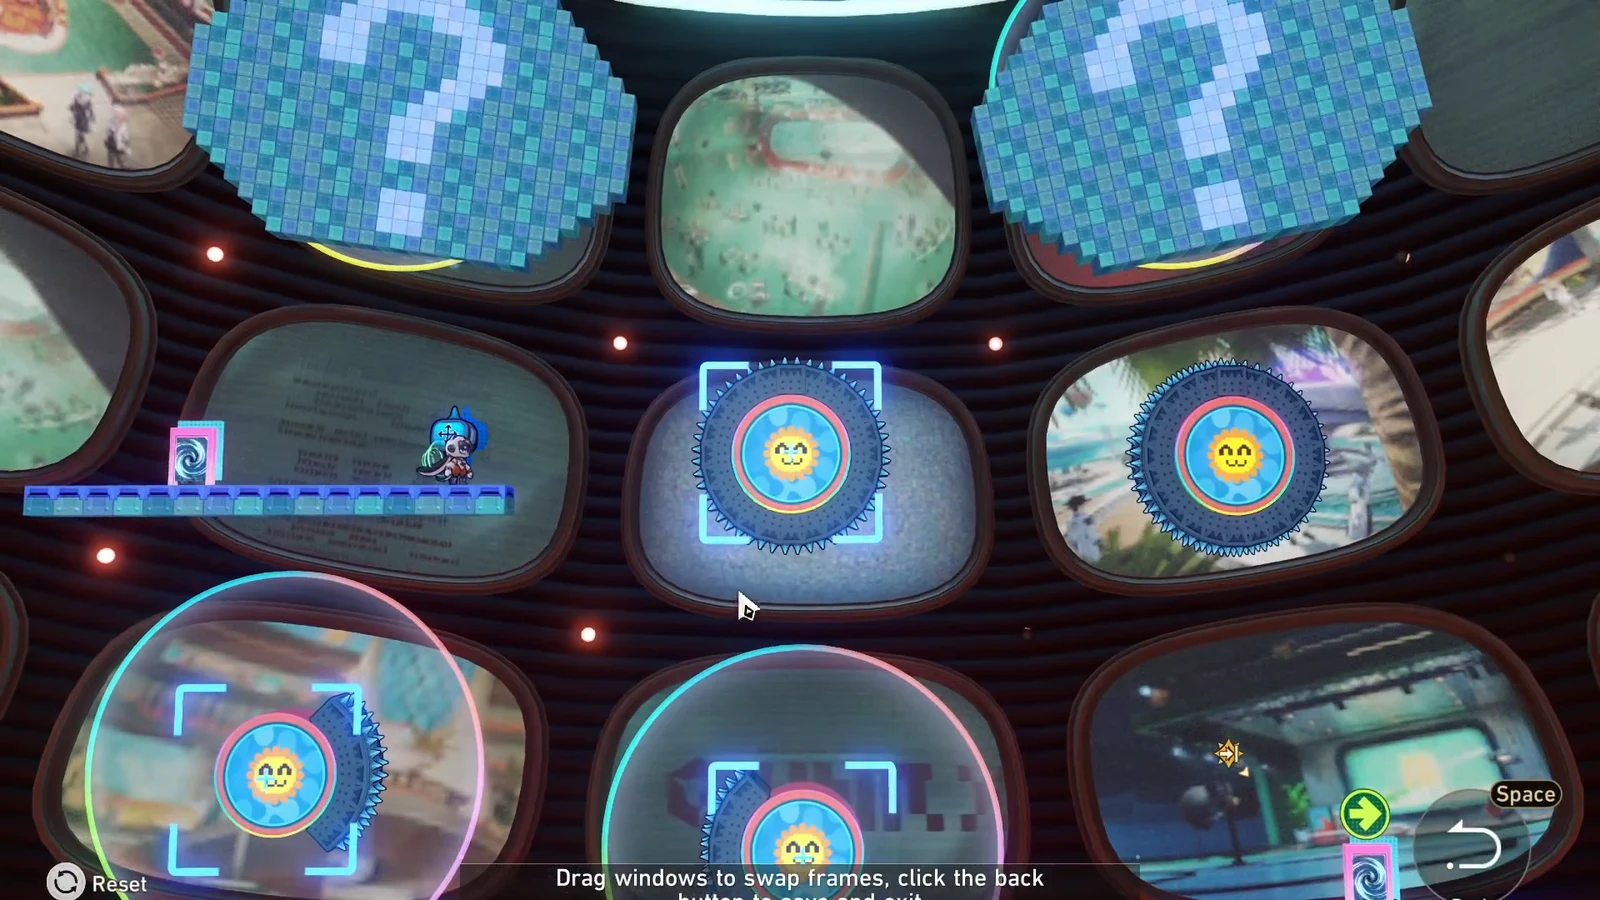
In the Window Control puzzle, drag the windows to swap the middle-bottom frame with the middle-top frame. This aligns the gravity rings so you can cross them. Click the back button when you are finished to exit.
Swap the middle-bottom frame with the middle-top frame to align the rings. Image credit: HoYoverse
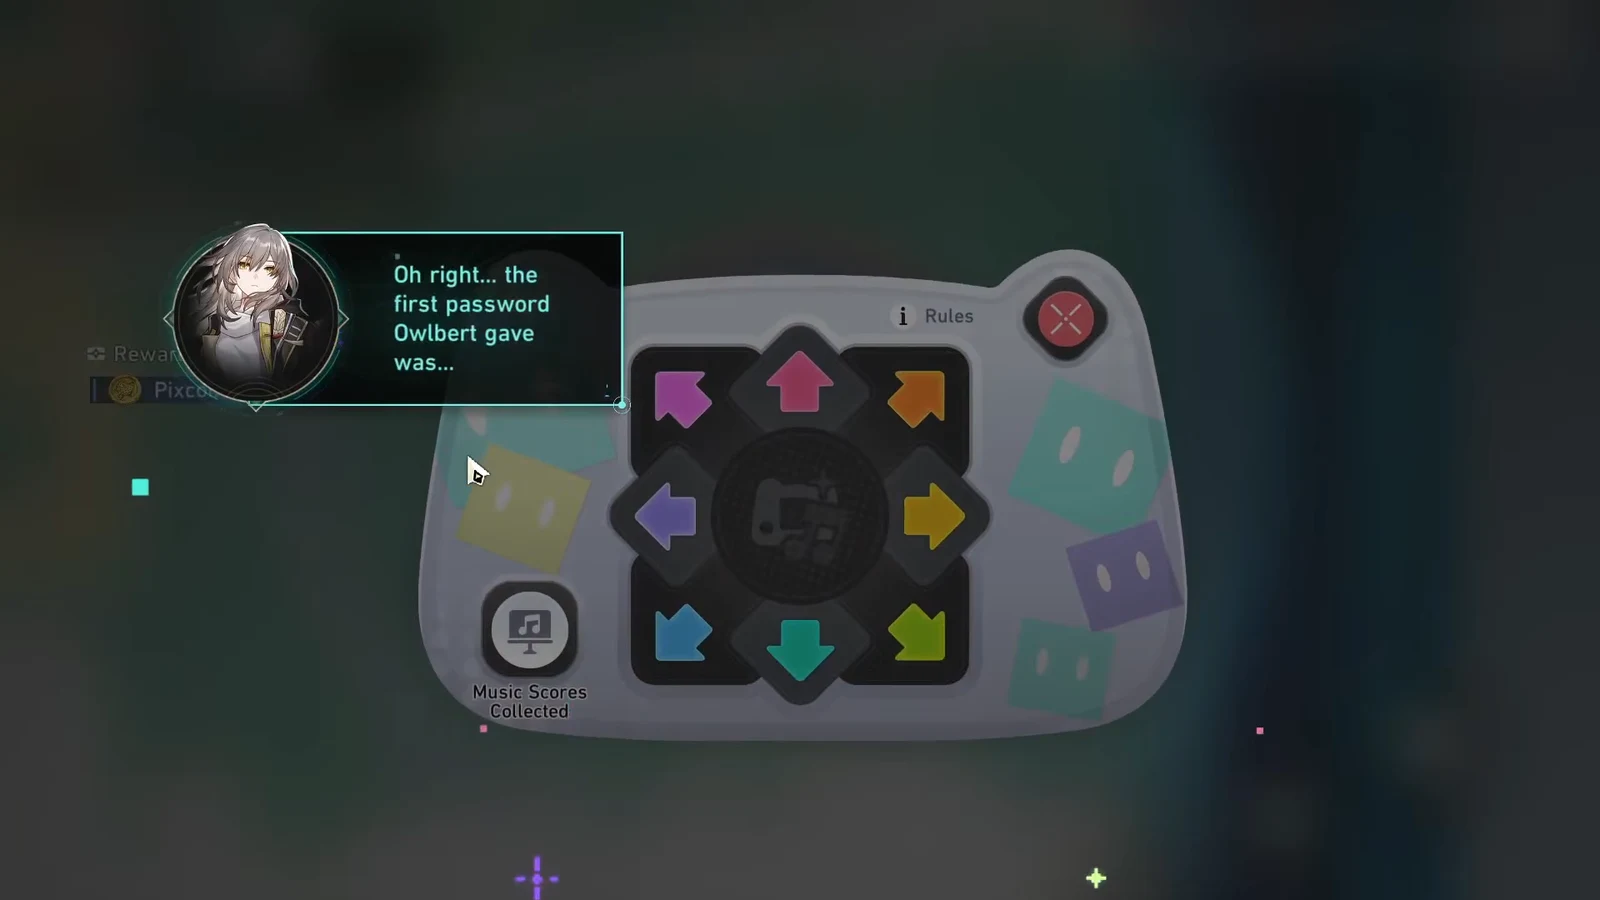
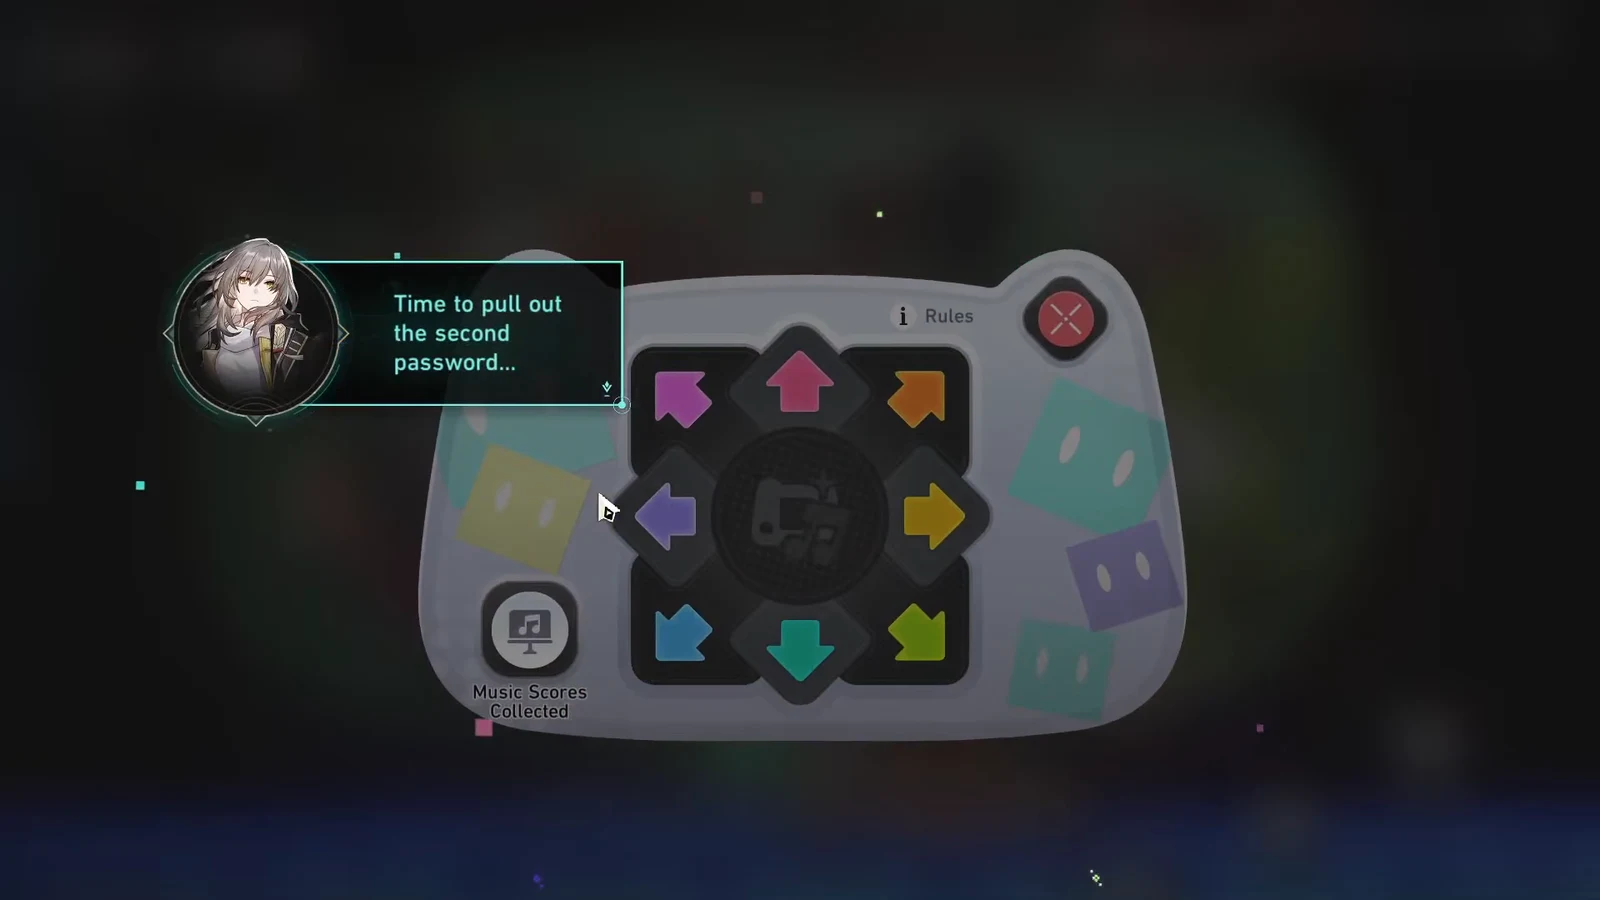
Cross the newly aligned rings, gather the Pixcoins, and open the first Basic Treasure chest. Then use the vibrating instrument again to enter the second password.
The second keypad takes the Right, Up, Left, Down sequence repeated twice. Image credit: HoYoverse
Navigate the final gravity rings while upside down, collect the remaining Pixcoins, and open the second Basic Treasure chest before heading to the exit.
Mini-game treasure rewards
The two Basic Treasure chests inside the mini-game hand over a mix of currency, relics, and quest materials.
Category
Contents
Currency
Stellar Jade, Credit, Arcadian Token
Materials
Adventure Log, Lost Gold Fragment
Relics
Recluse’s Wide-Brimmed Hat, Recluse’s Refined Silk Robe
Fight through the Circular Office
Exiting the studio triggers a cutscene showing the Space Anchor activating, followed by the objective to fight your way out of the Circular Office.
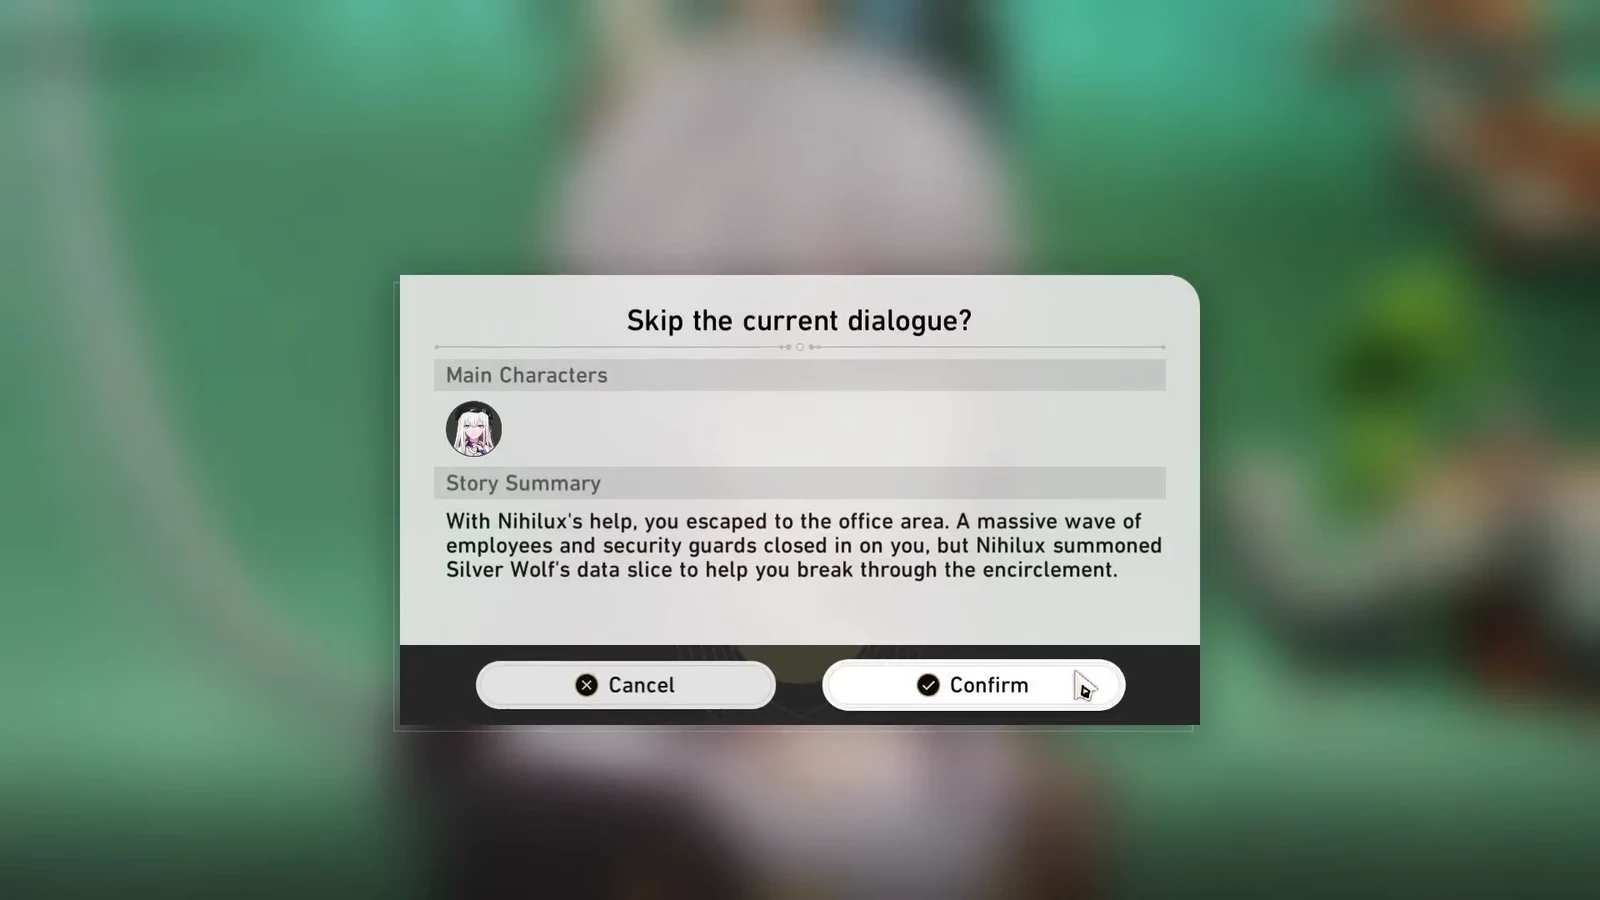
Skip the cutscene and dialogue summary if you want to reach the fight faster. You will receive the “Everybody Make Waves!” item as the office section begins.
Confirm the skip prompt to bypass the Space Anchor cutscene. Image credit: HoYoverse
Reach the exit door and defeat the last of the guards. Doing so triggers a dialogue with Nihilux, which marks the end of this quest segment.
You have finished the segment once the last guards fall and the conversation with Nihilux begins. If the studio exit does not open, check that both passwords were entered exactly as listed and that the Window Control frames are swapped correctly, since misaligned gravity rings block the path forward.