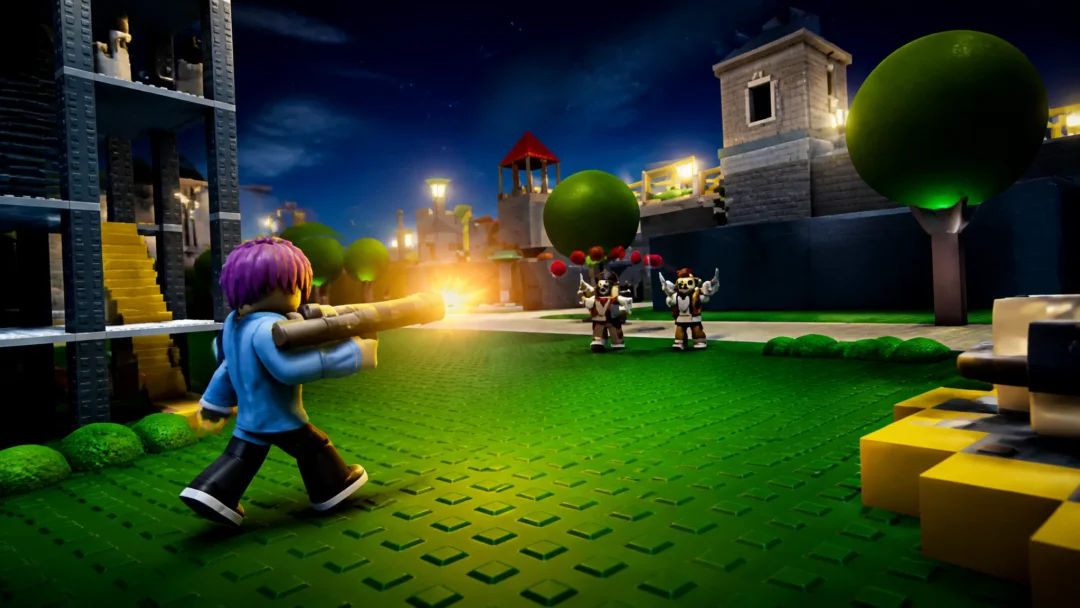
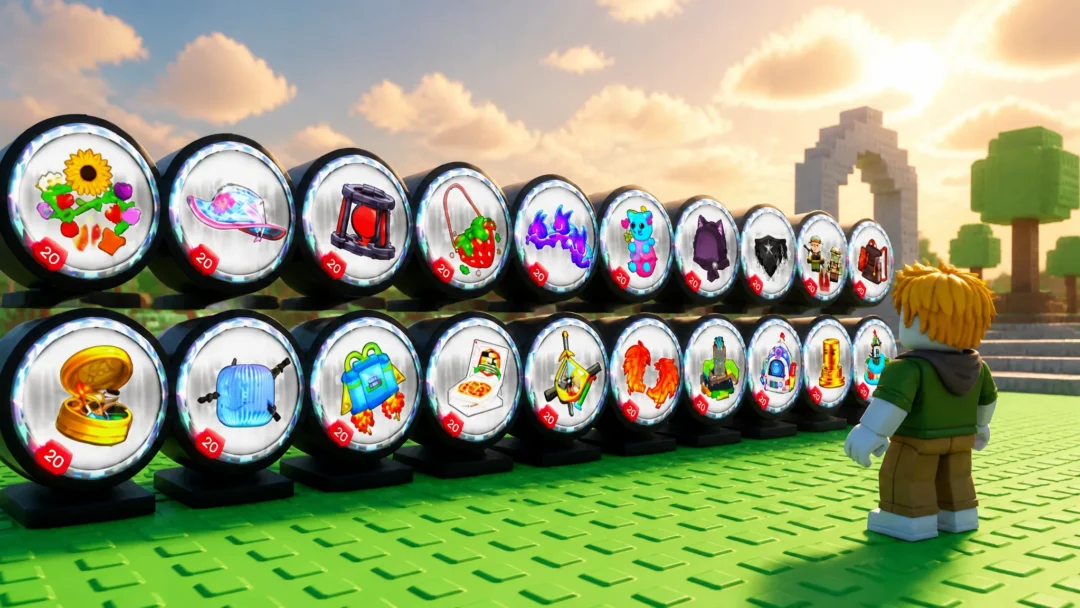
The Hunt: Roblox 20 – How to Get Secret Badges 16-20 (Final Wave)
The exact requirements for the final five secret quests across five participating games before the event closes.
The exact requirements for the final five secret quests across five participating games before the event closes.
by AllThingsHow Staff · Edited by Pallav Pathak
The last five secret badges in The Hunt: Roblox 20 span Sword Fights on the Heights IV, Murder Mystery 2, Lumber Tycoon 2, Jailbreak, and Grow a Garden. Each one is a hidden objective that only opens after you clear that game’s normal Hunt quest, and each completion drops one fragment toward the event’s final puzzle.
Quick answer: Finish each game’s regular Hunt quest first, then complete the secret objective in Sword Fights on the Heights IV, Murder Mystery 2, Lumber Tycoon 2, Jailbreak, and Grow a Garden. You can do them in any order.
Image credit: Roblox via YouTube/@highlywanted
What you need before starting the final wave
The hidden track is available only after the main event: clear the annual content for 2006 through 2025, unlock Year Infinity, and use the hub clues to find each participating game. In each game, its regular quest must be complete before the secret quest activates.
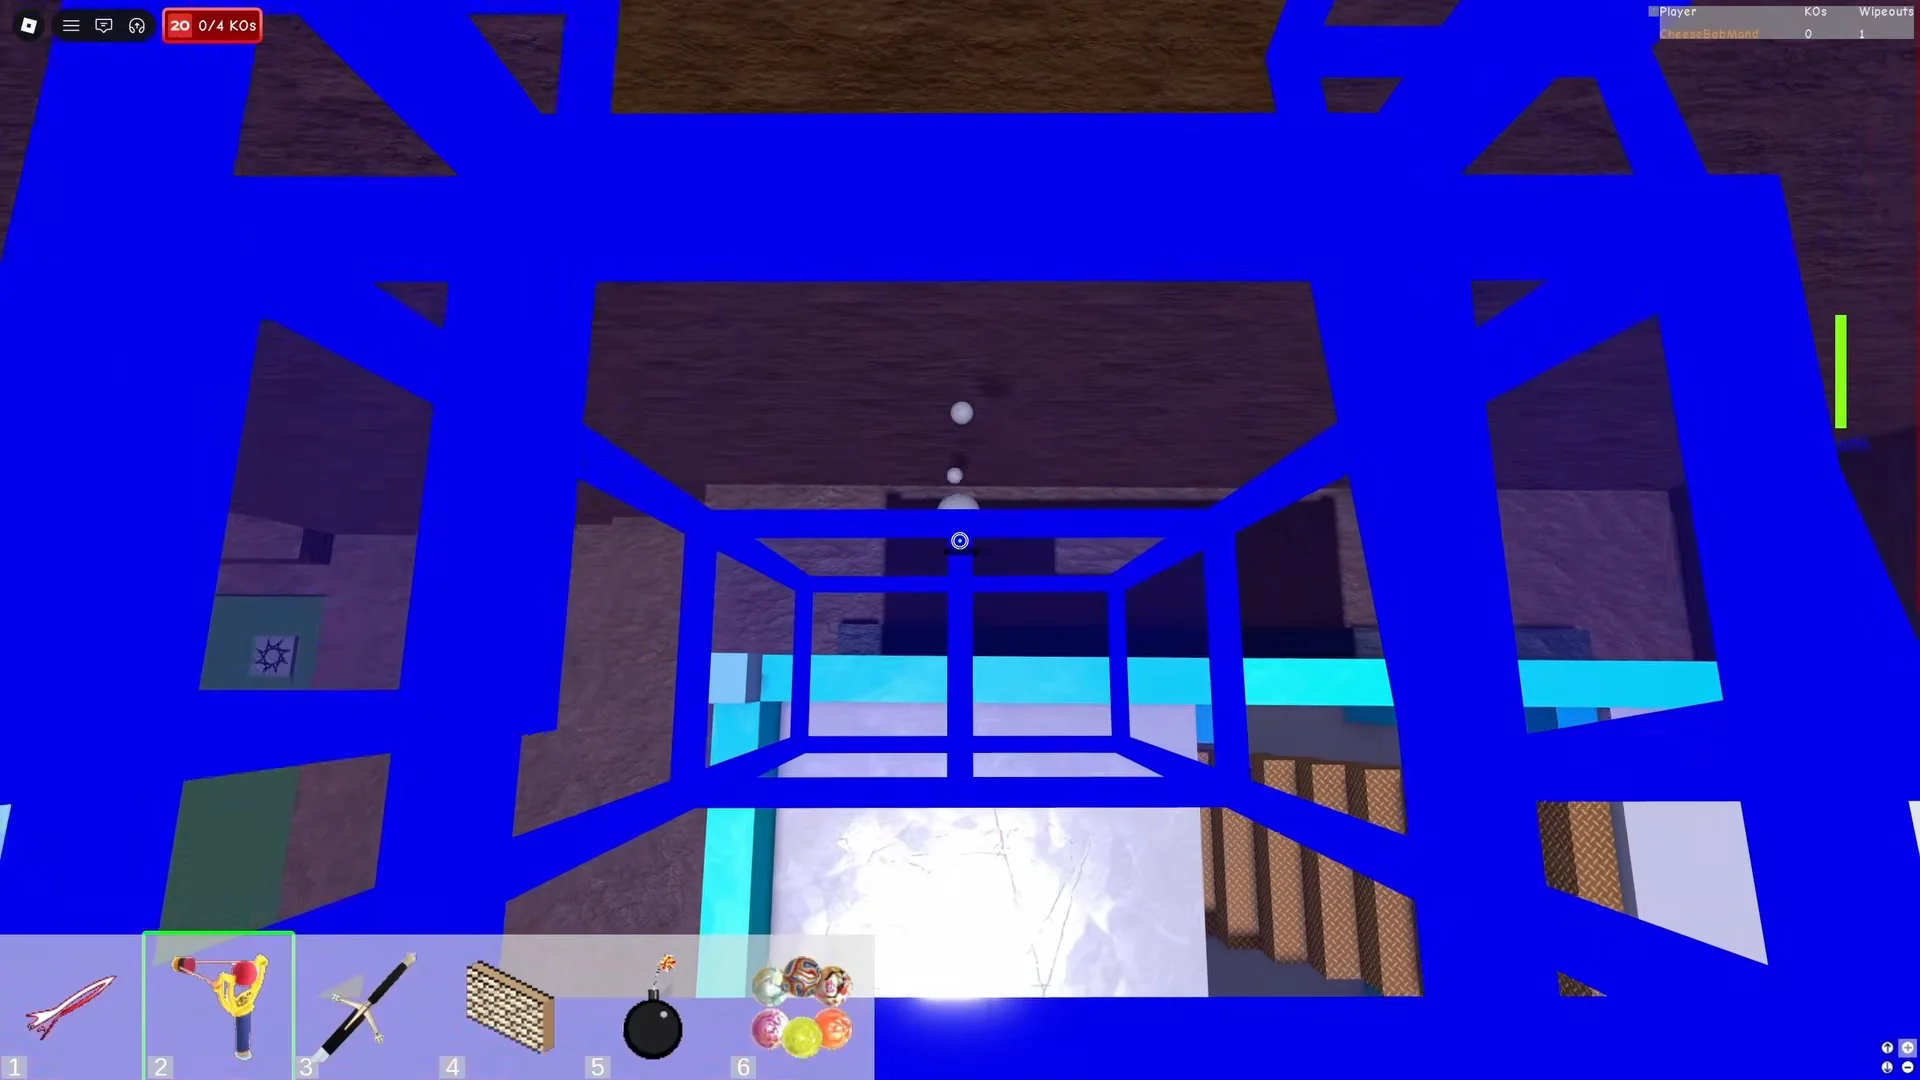
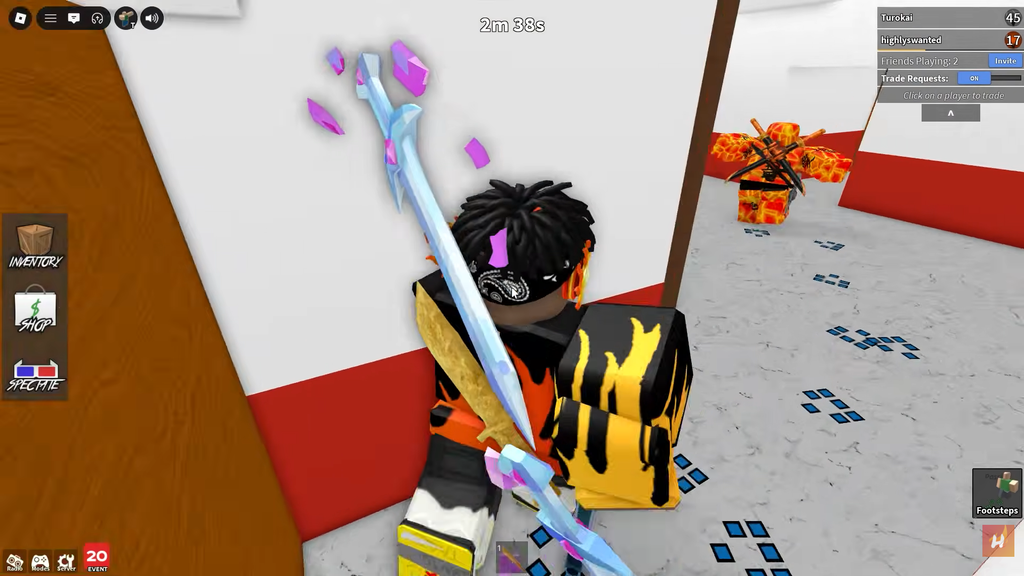
The first-person view has the slingshot selected and an aiming reticle centered on the wall. Image: Aliluma / via @KAMGats
The event ends on September 28, 2026 at 17:00 UTC. Every secret badge and reward becomes unobtainable after that, so clear the final wave while it is live.
Badge
Game
Core requirement
16
Sword Fights on the Heights IV
Multi-phase Ring of Fire boss with sword trades
17
Murder Mystery 2
Inspect 3 classic items across the 2014 maps
18
Lumber Tycoon 2
Cave route, globe puzzle, bunker item placement
19
Jailbreak
Prison bomb sequence, then a hidden obby
20
Grow a Garden
Give 8 kg of carrots, then solve three puzzles
Badge 16: Sword Fights on the Heights IV
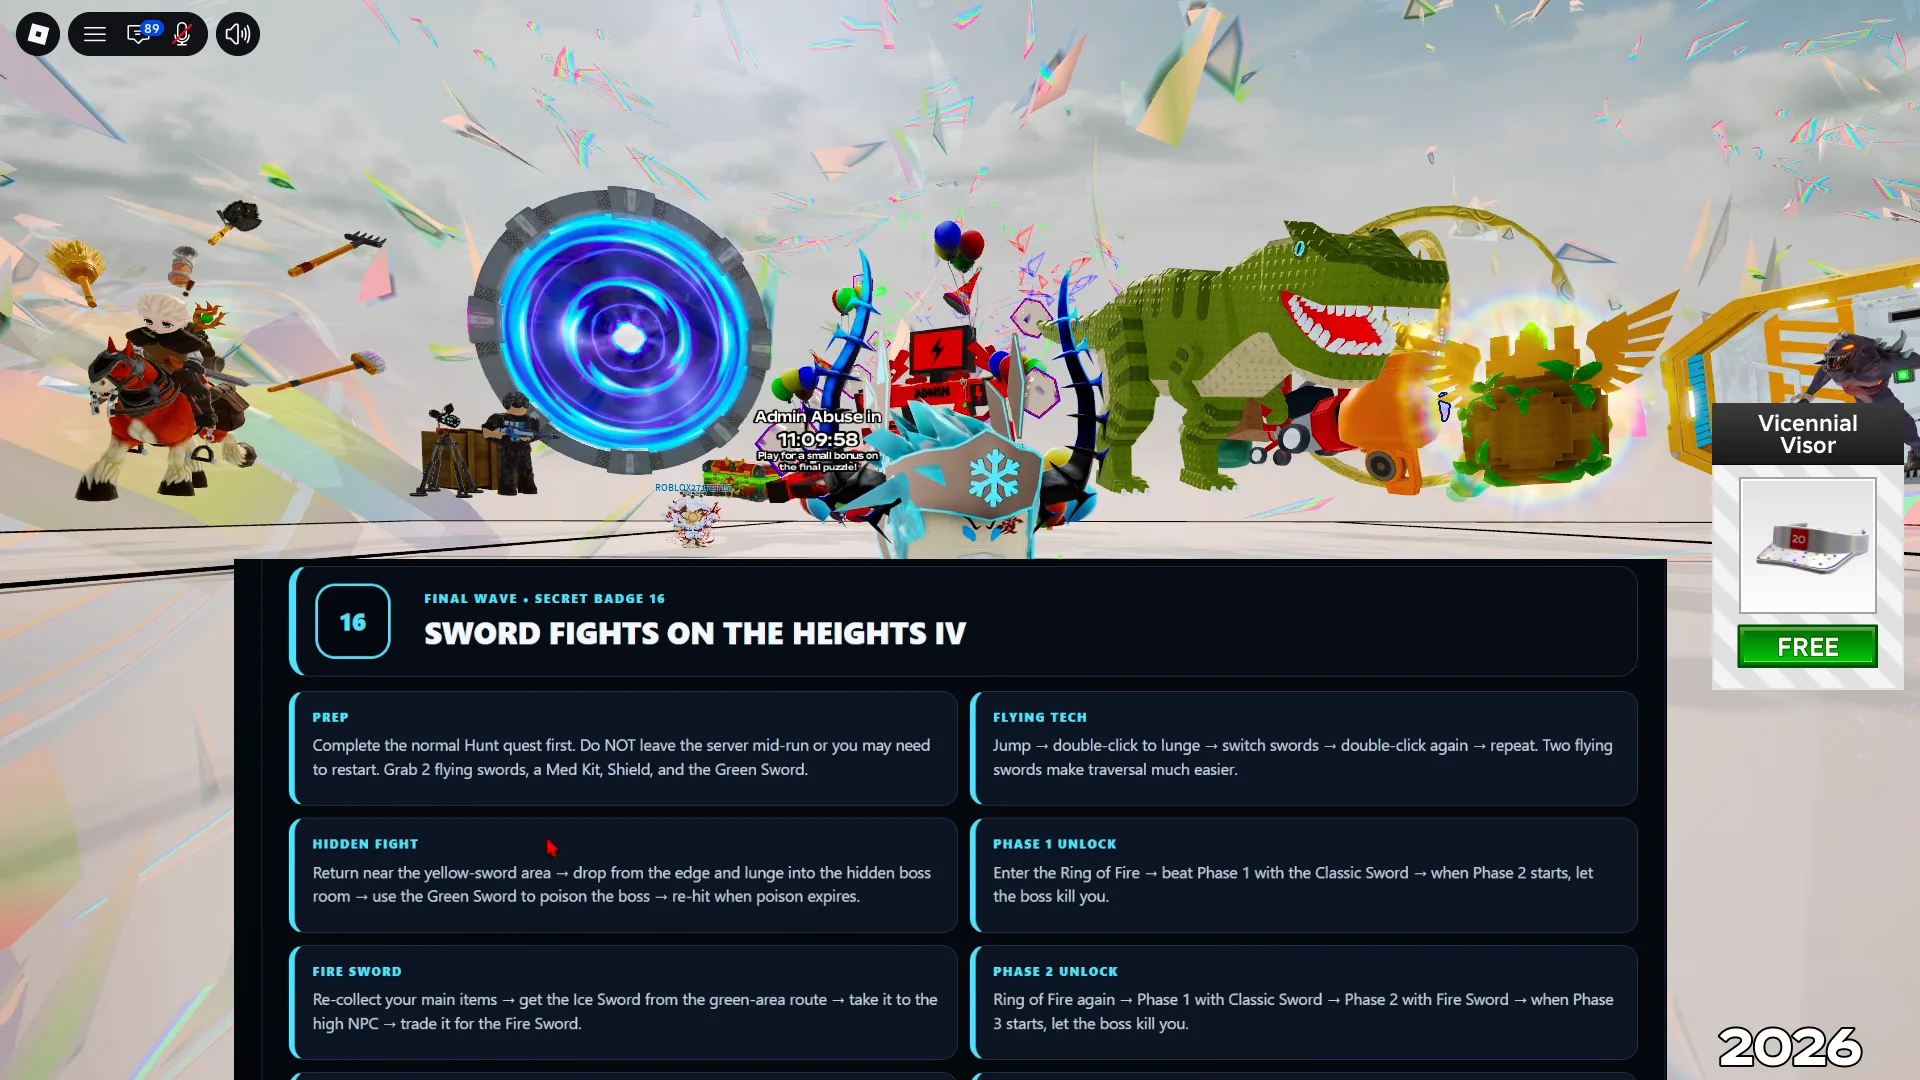
This is the longest of the five and repeats gear collection several times. Complete the normal quest and stay in the server for the whole run, since leaving mid-run can force a restart.
Head back toward the yellow sword area, step off the edge, then lunge into the concealed boss room. Apply poison with the Green Sword, and strike the boss again each time the effect ends.
Pick up your gear again, then collect the Ghost Sword beside the Blue Fire Ring. Take it to the lower NPC next to the green-area wall and trade it for the Black Sword.
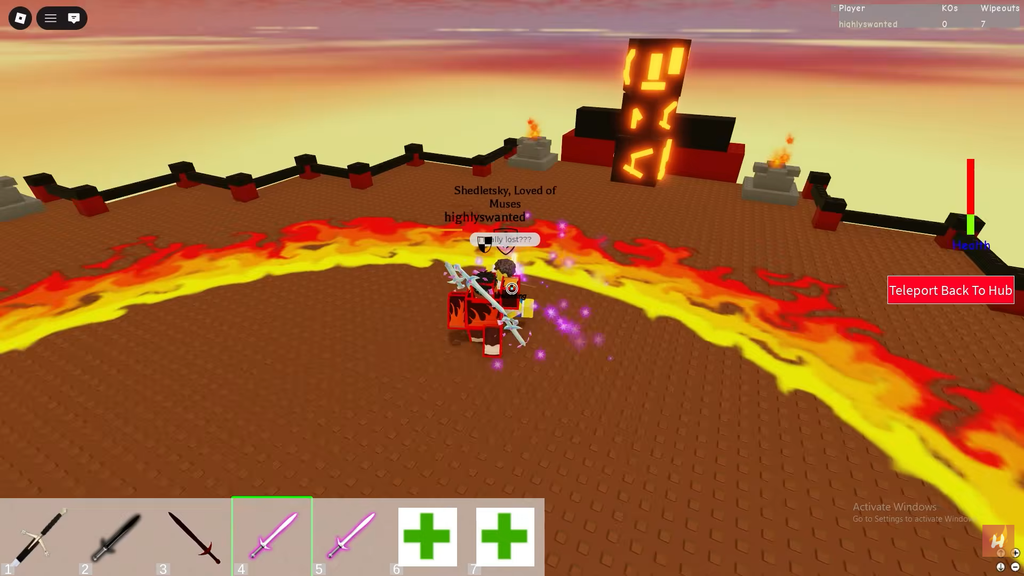
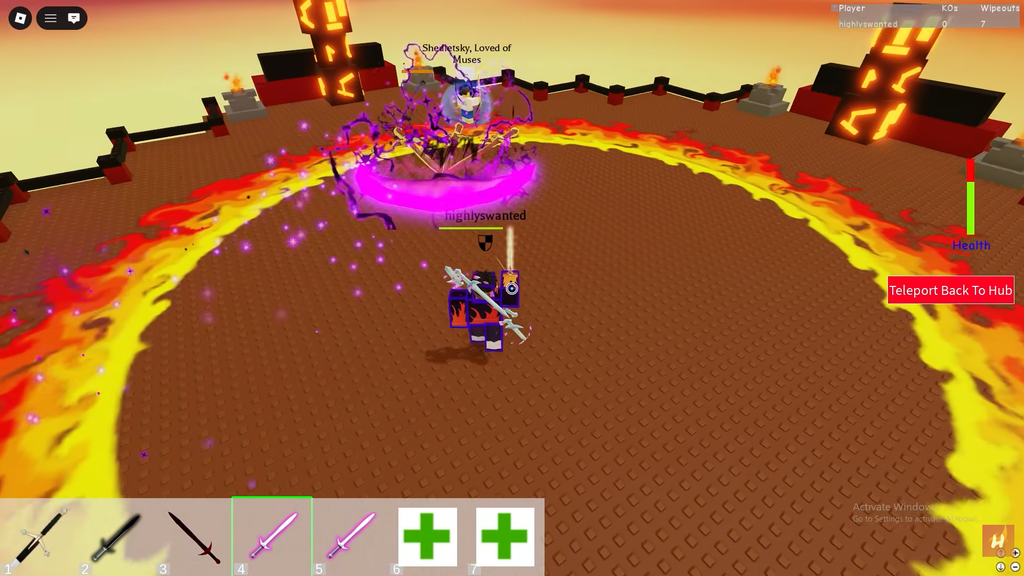
Return to the Ring of Fire. Use the Classic Sword in Phase 1, the Fire Sword in Phase 2, and the Black Sword in Phase 3. When Phase 4 begins, let the boss kill you.
Find both trading cards. Card 1 is to the left of the Green Sword area; Card 2 lies on the stairs’ left side near the Purple Portal. Leave the Purple Portal untouched while collecting Card 2. Together, the cards award the Enchanted Illumina.
Do the final run with Classic, Fire, Black, then Enchanted Illumina, and beat Phase 4 to earn Badge 16.
Image credit: Roblox via YouTube/@highlywanted
Keep Med Kits ready for every boss run, because the fight resets your gear each cycle.
Badge 17: Murder Mystery 2
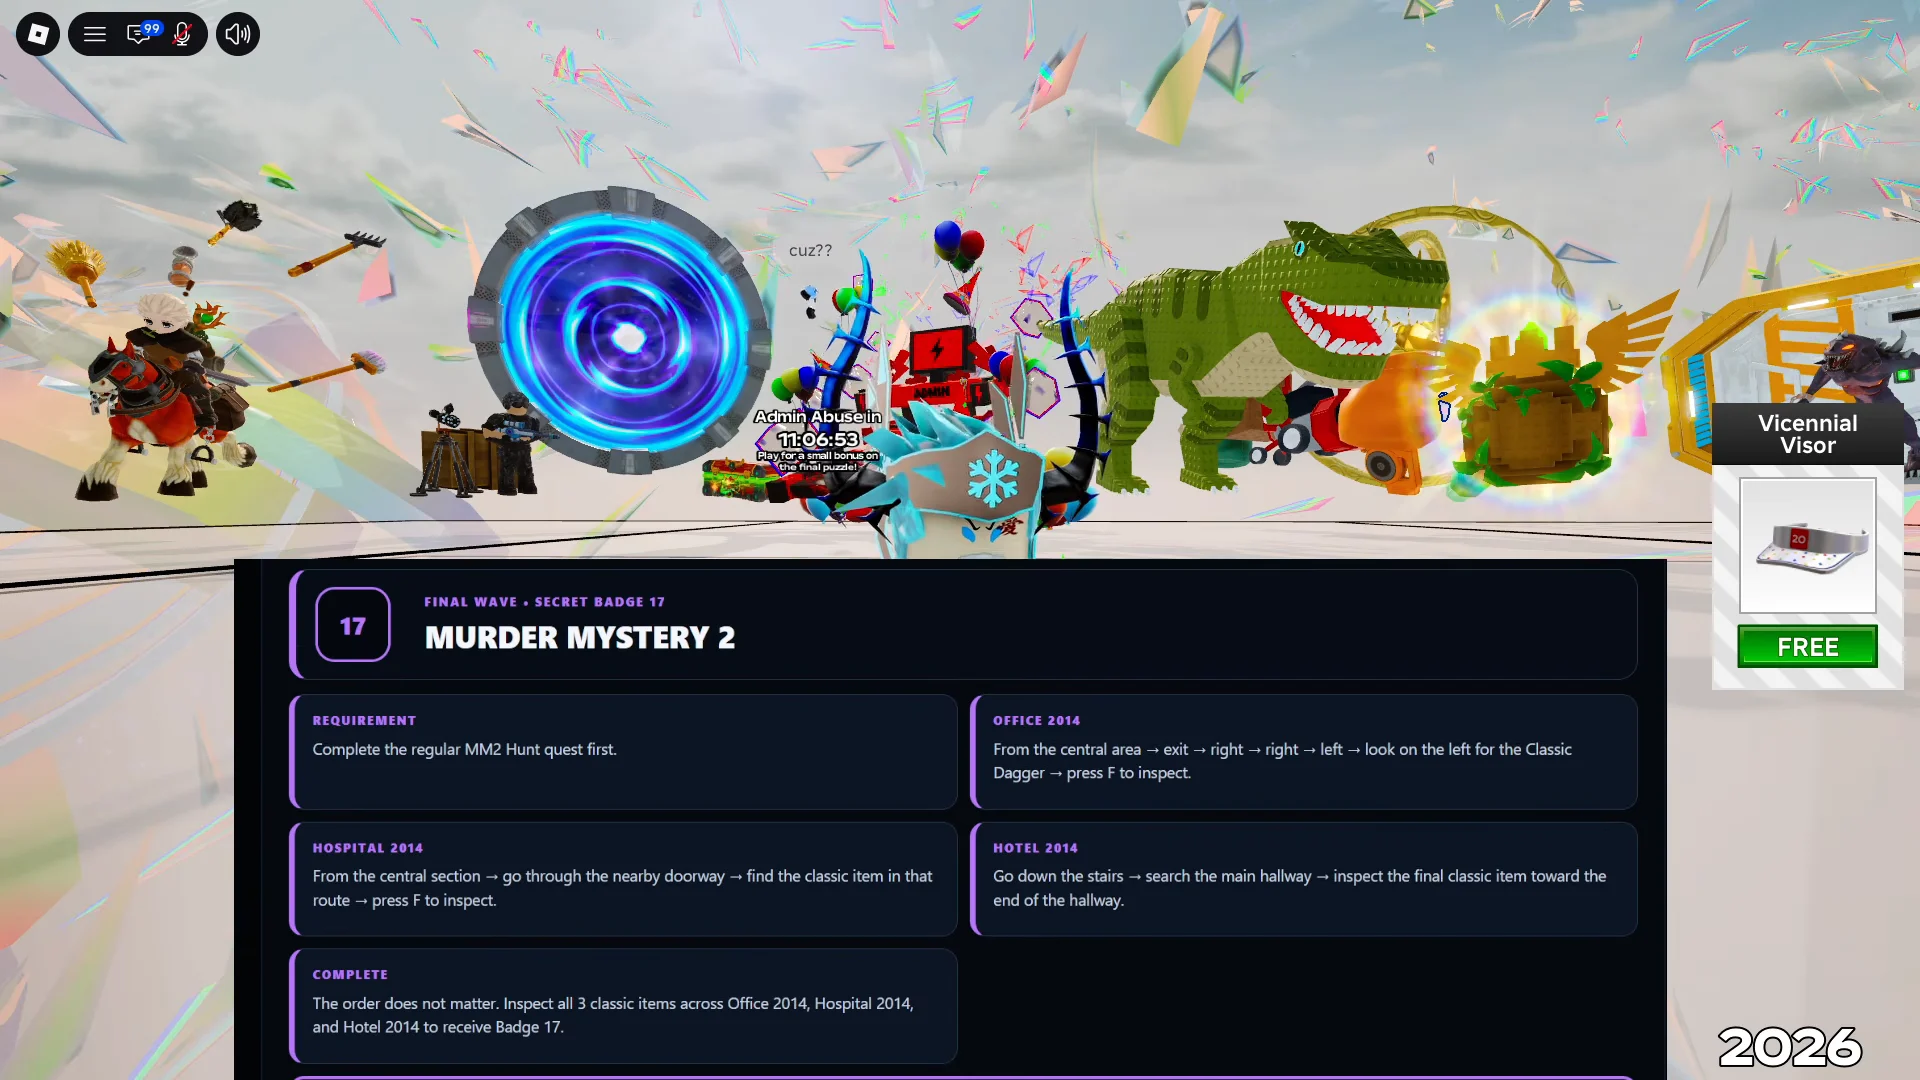
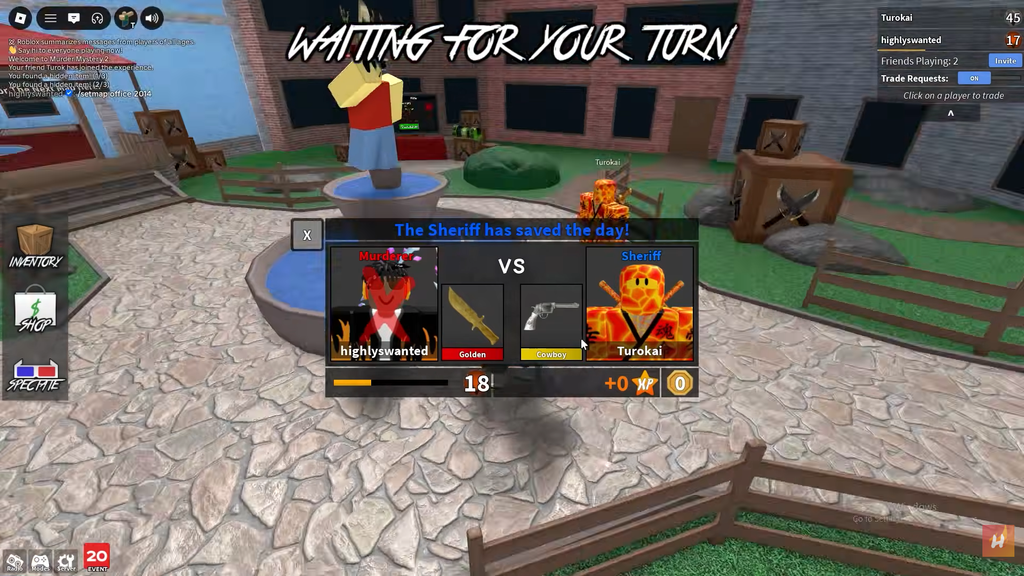
This one is short compared to the sword quest. After finishing the regular MM2 Hunt quest, you inspect three classic items spread across the Office 2014, Hospital 2014, and Hotel 2014 maps. The order does not matter, so clear whichever loads first.
On Hotel 2014, head down the stairs and search the main hallway. Inspect the final classic item near the end of the hall.
Image credit: Roblox via YouTube/@highlywanted
Inspecting all three items awards Badge 17. The trickiest part is simply getting all three classic maps to come up in the rotation.
Badge 18: Lumber Tycoon 2 (updated method)
This is the post-nerf route. The updated version uses the new truss cave entrance and no longer needs the old plank and dynamite setup. A Work Light helps you see inside the cave, and a car saves time when moving objects.
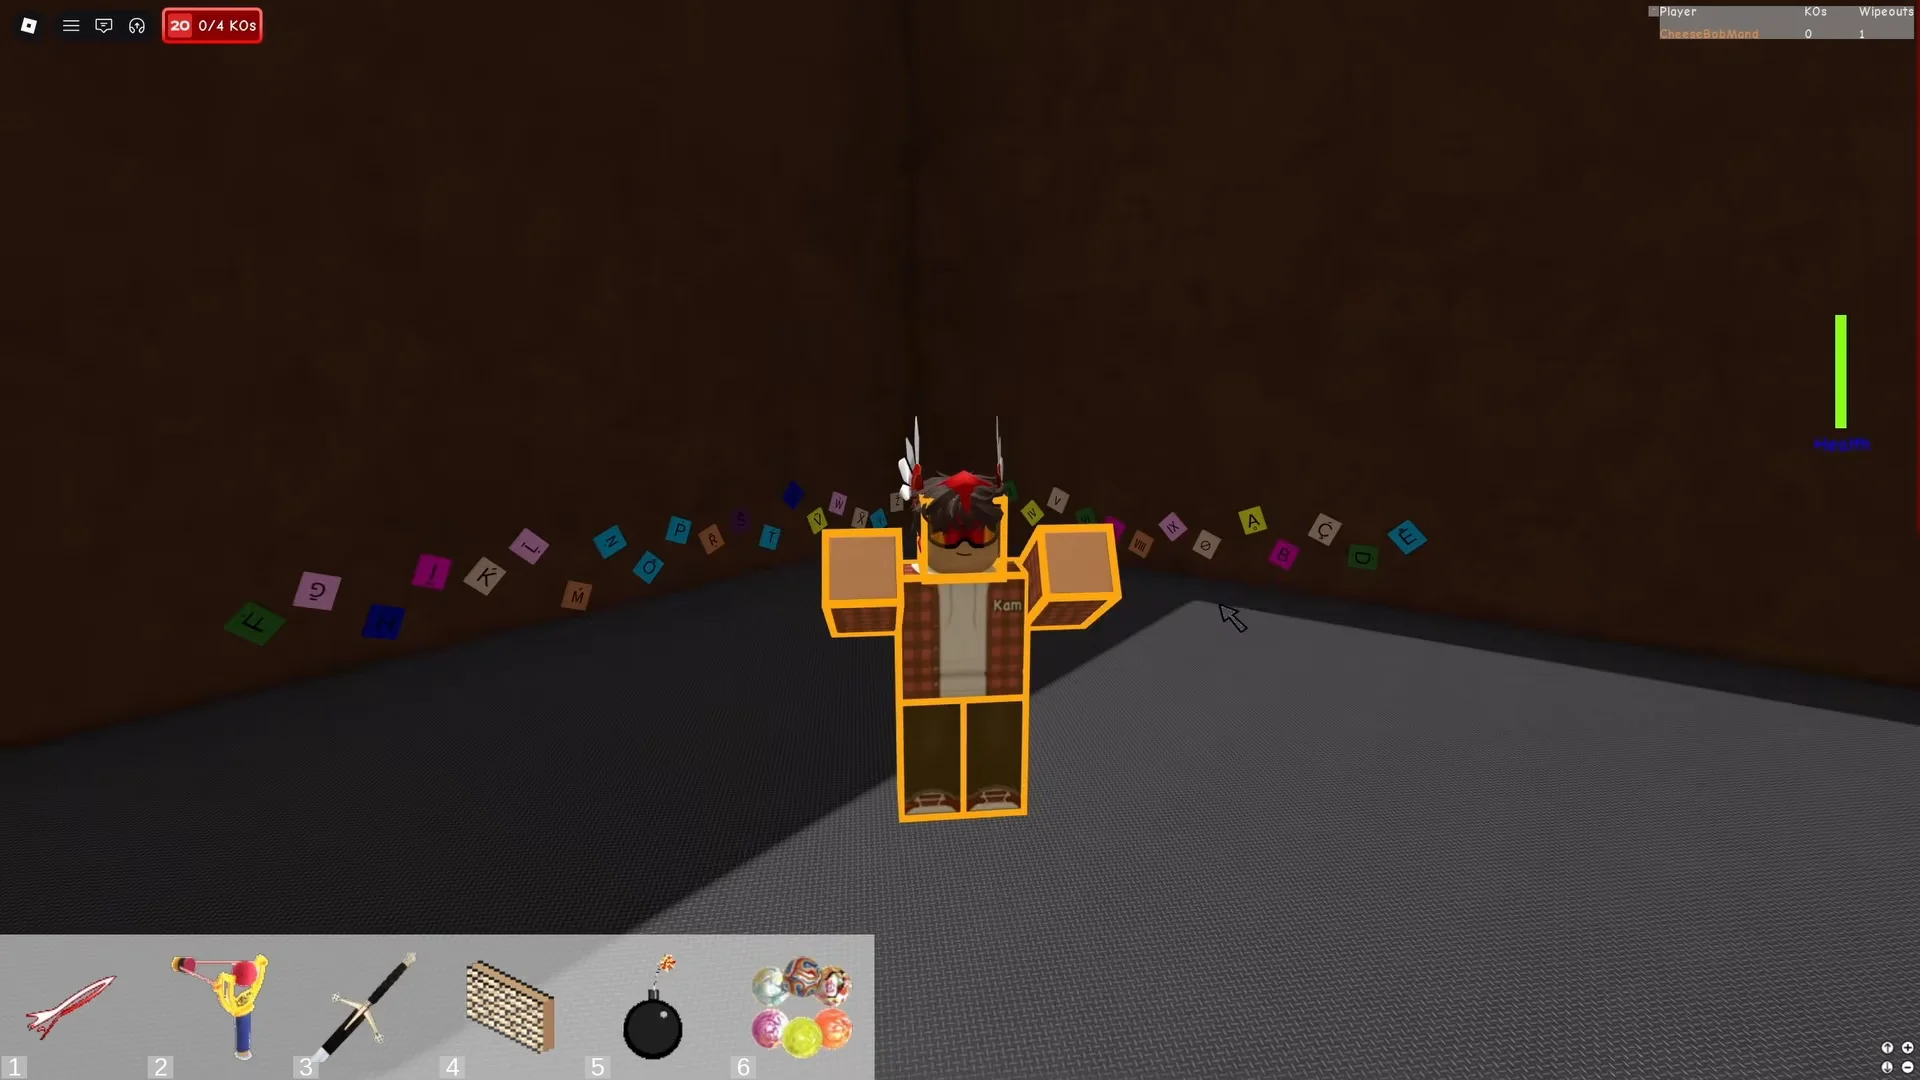
A game avatar with an orange outline stands before a wall of symbol tiles. Image: Aliluma / via @KAMGats
Open the Purple Bag globes and find one whose sequence begins with Purple, followed by Black and then Orange. Interact with it 18 times to reach its final Orange state, and leave it there.
Do not keep clicking after the globe reaches its final Orange state, or you will cycle it past the point you need.
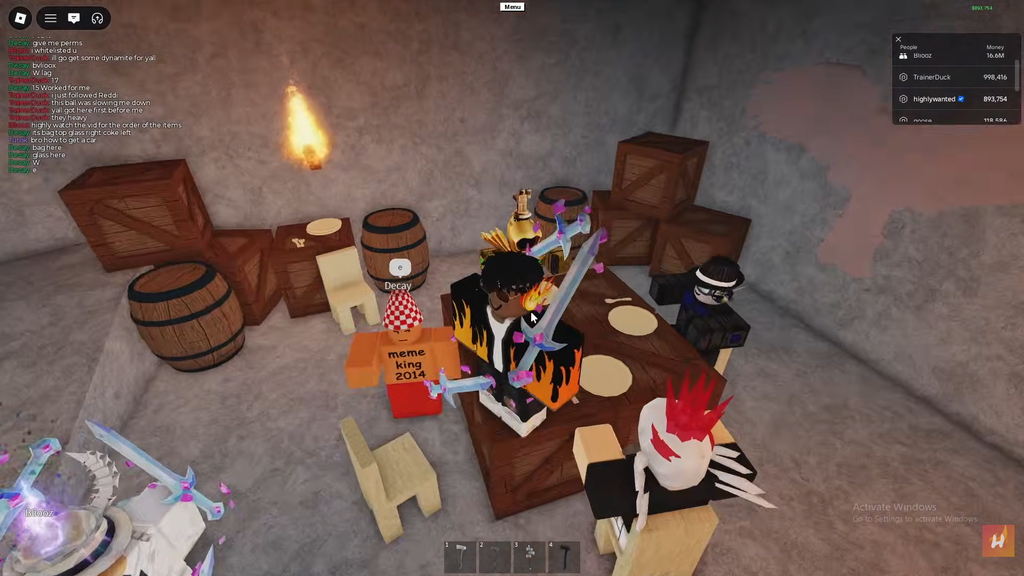
Match the objects to their destinations: put the Glass item with the White Dominus character, the Purple Bag with the character lacking a Dominus, and the Can on the Gold Dominus plate.
Image credit: Roblox via YouTube/@highlywanted
The display grows brighter; Badge 18 unlocks as the Purple Axe materializes.
Badge 19: Jailbreak
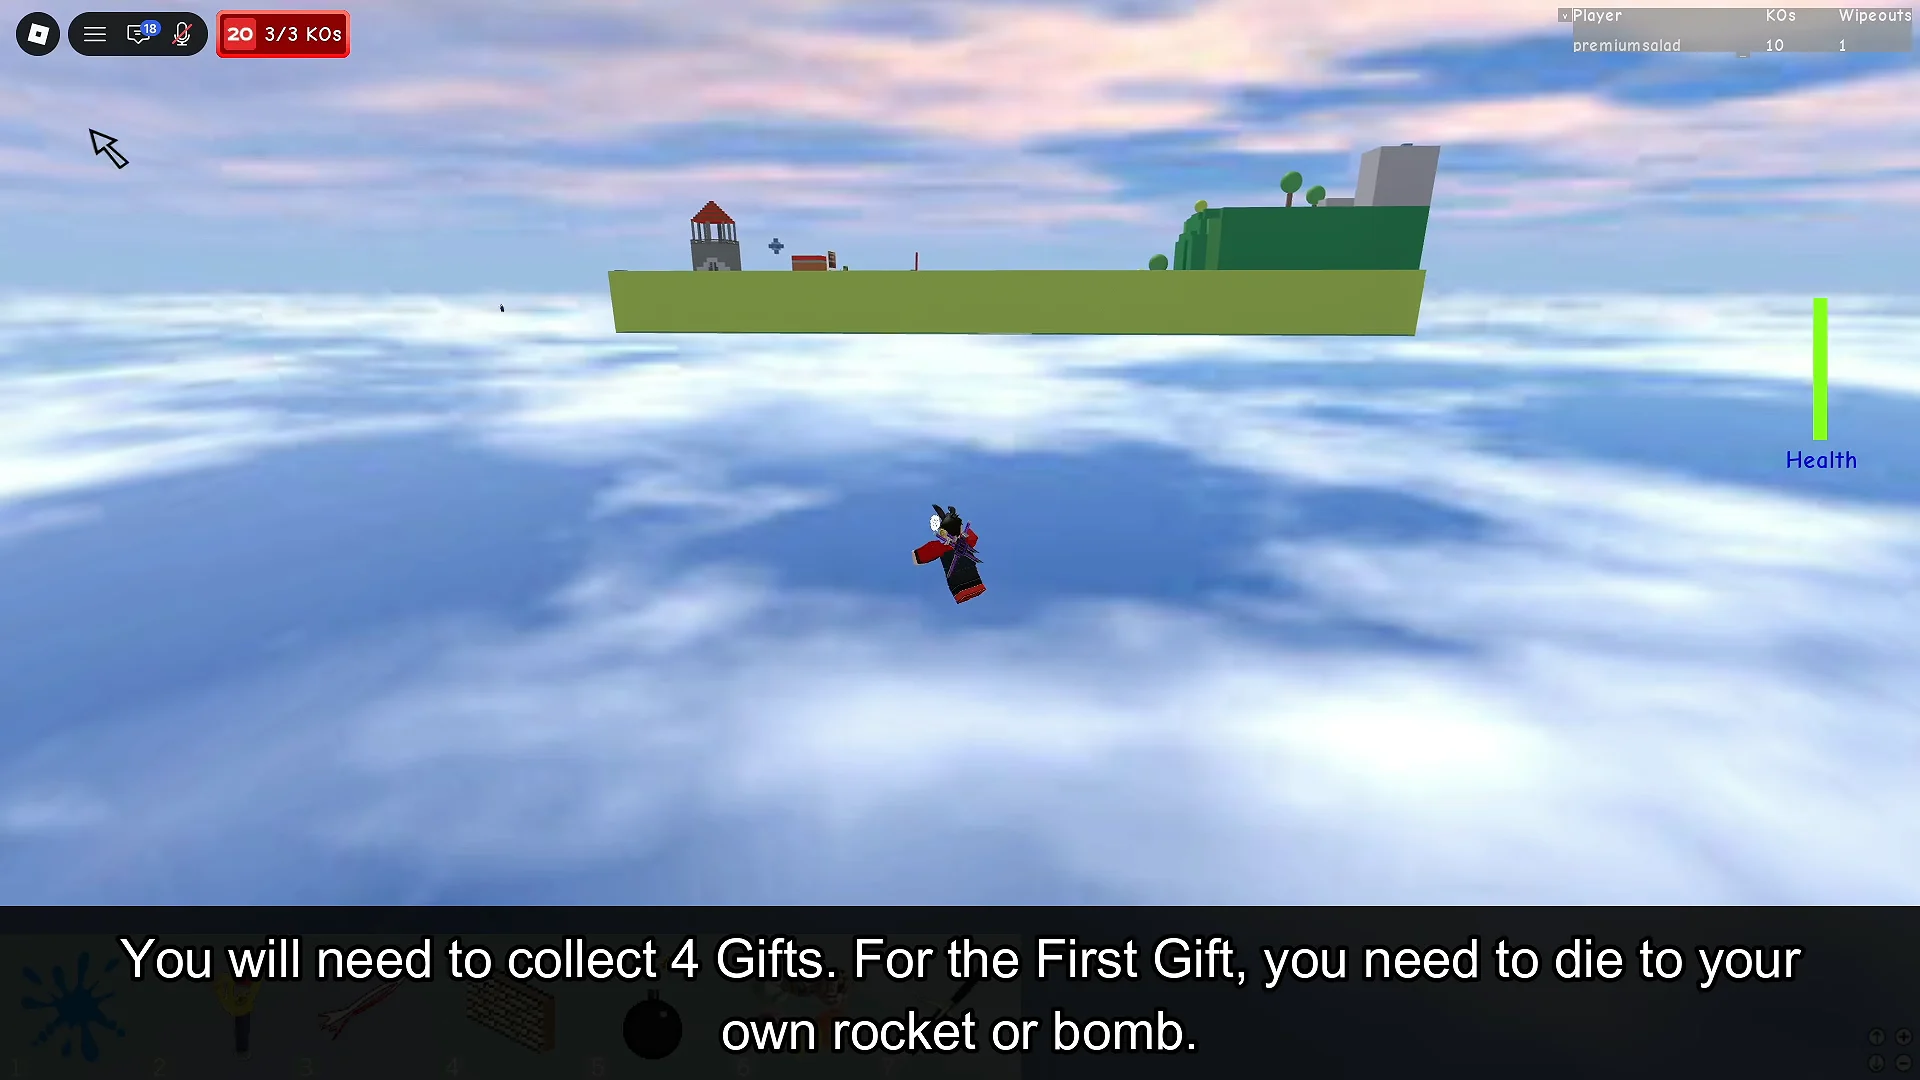
Finish the regular Jailbreak Hunt quest before starting this one. A helicopter is recommended because you must travel between the Prison and a bomb that appears elsewhere on the map.
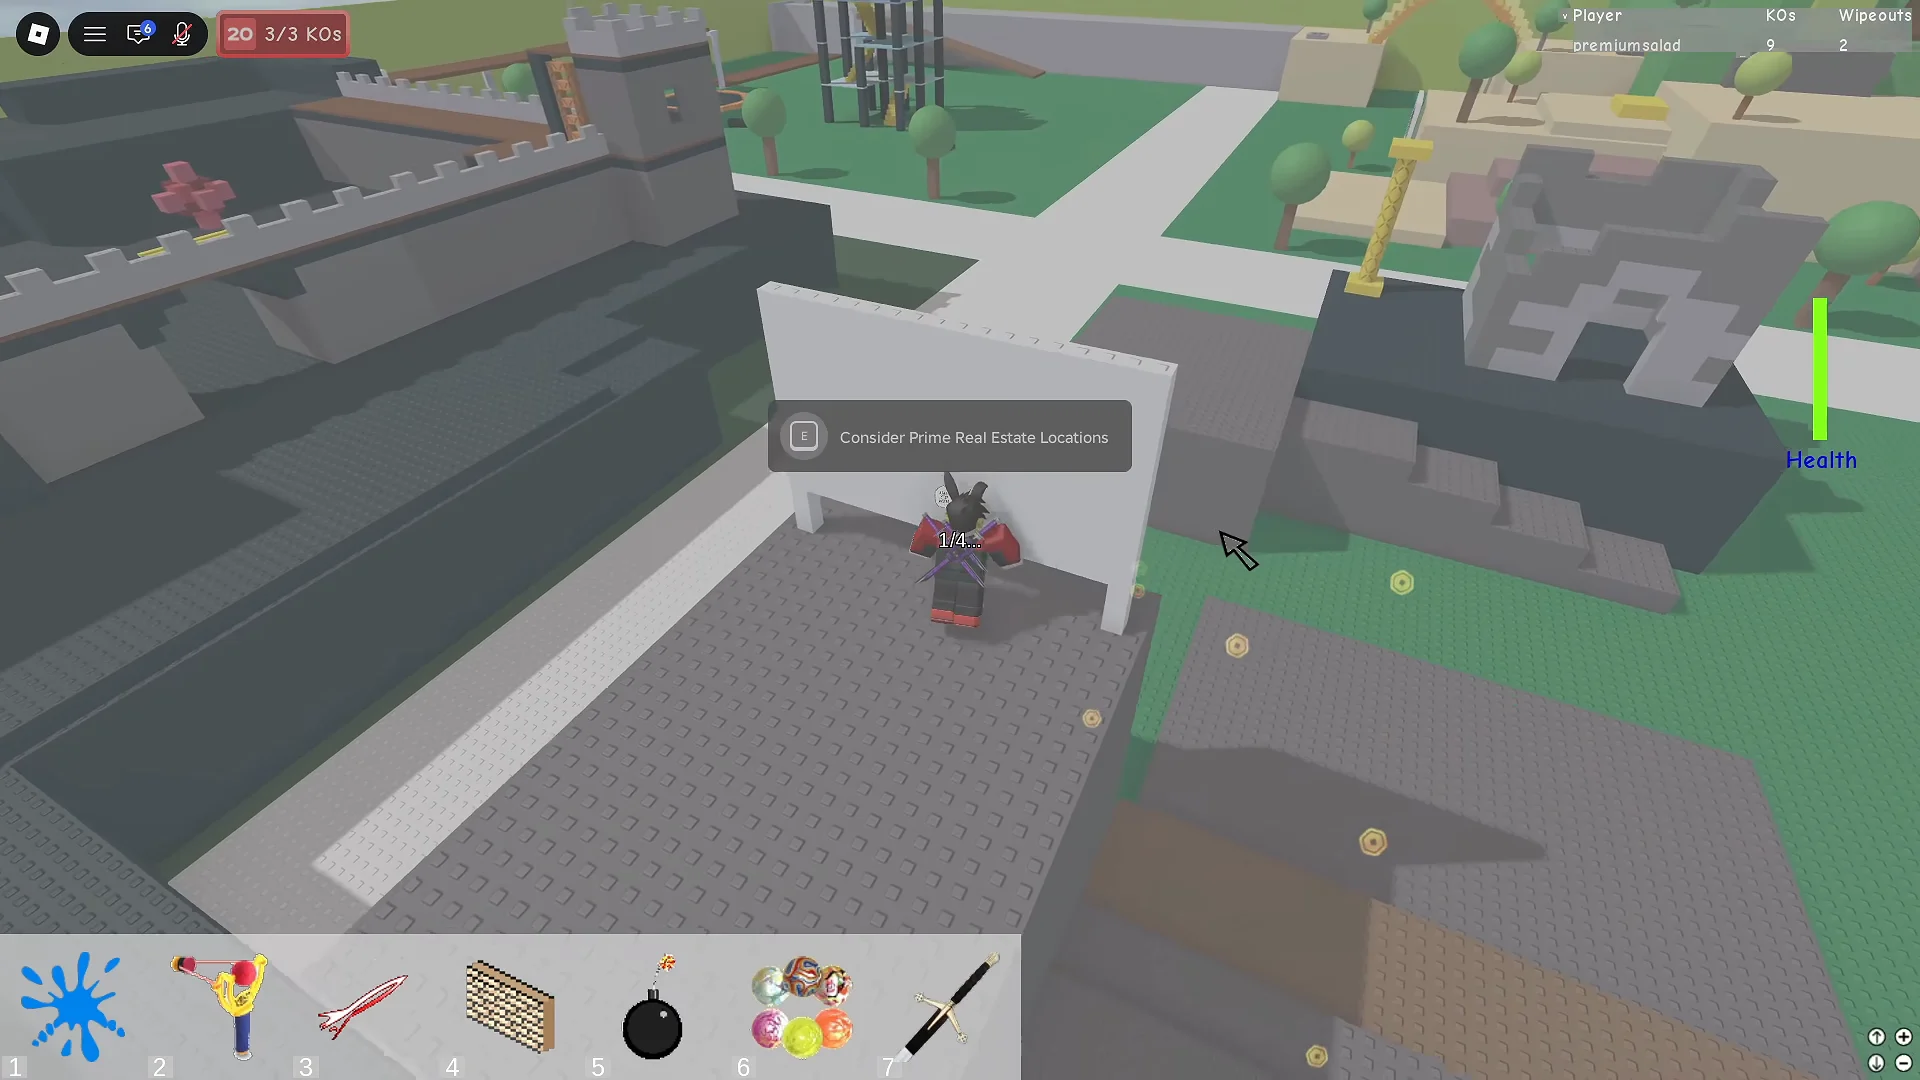
The player stands behind a large white sign with an interaction prompt visible. Image: Aliluma / via @Premiumsalad
At the Roblox 20 area again, head to the left side and set the bomb by the wall’s midpoint. Move away and wait for the blast to reveal the hidden entrance.
Enter the revealed portal, complete the hidden obby, and step into the final portal to earn Badge 19.
Image credit: Roblox via YouTube/@highlywanted
Badge 20: Grow a Garden
The last badge quest begins with delivering carrots and finishes with three puzzles underground. A Recoil Wrench is optional, but it speeds up travel across the map.
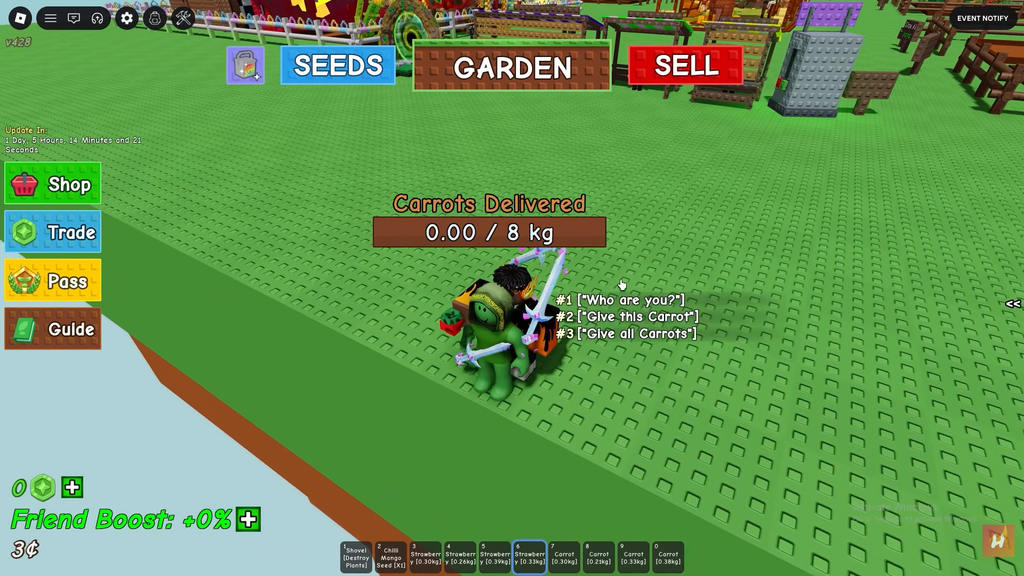
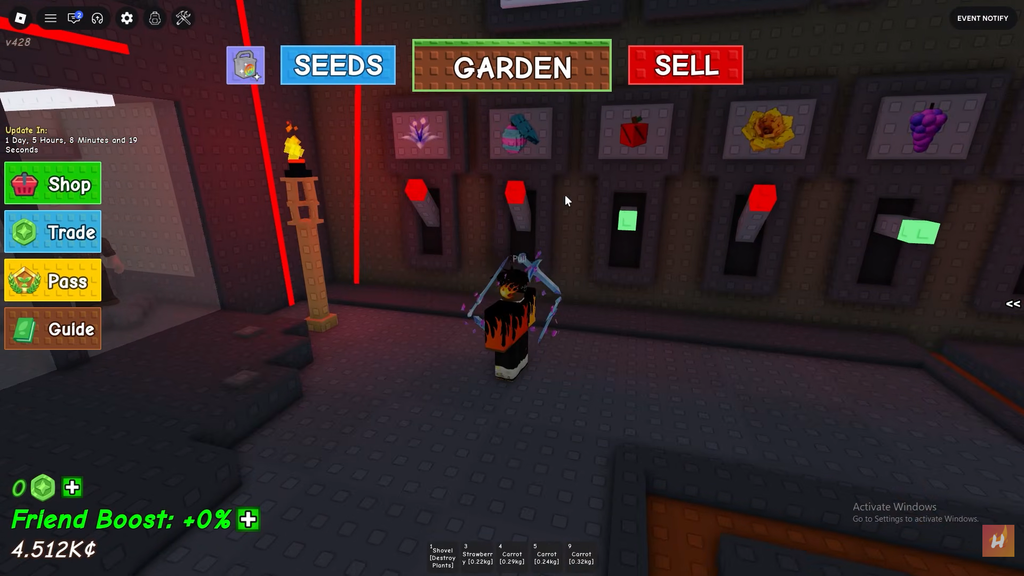
Grow carrots and harvest them, then deliver a total of 8 kg to Green Bean. You can find Green Bean on the side of the map with Pet Eggs and Gear Shop. Continue handing over carrots until you reach the required weight.
In puzzle two, treat the two monitors as clues to the words’ first letters; for instance, the left may show S and the right D. Cycle the choices on both sides until each word starts with its monitor’s letter.
Image credit: Roblox via YouTube/@highlywanted
The letters on your monitors may differ from the S-and-D example. Follow the letters displayed in your own puzzle.
For the third puzzle, pull the object levers in order to spell GARDEN: G, A, R, D, E, N.
Finishing all three puzzles completes the quest and awards Badge 20.
Confirming each badge and collecting fragments
You know a secret quest worked when the badge notification appears and the associated exclusive item and fragment are granted. Return to the hub afterward to claim the reward tied to that game, since completing the objective does not always hand it over automatically.
Every secret quest adds one fragment to a 20-fragment track. Once your counter reaches 20, the hub opens the final puzzle, so clearing all five of the last badges before the September 28 cutoff keeps that path within reach.