Gaming Guide

The Last Caretaker: Transposium Habitat Walkthrough

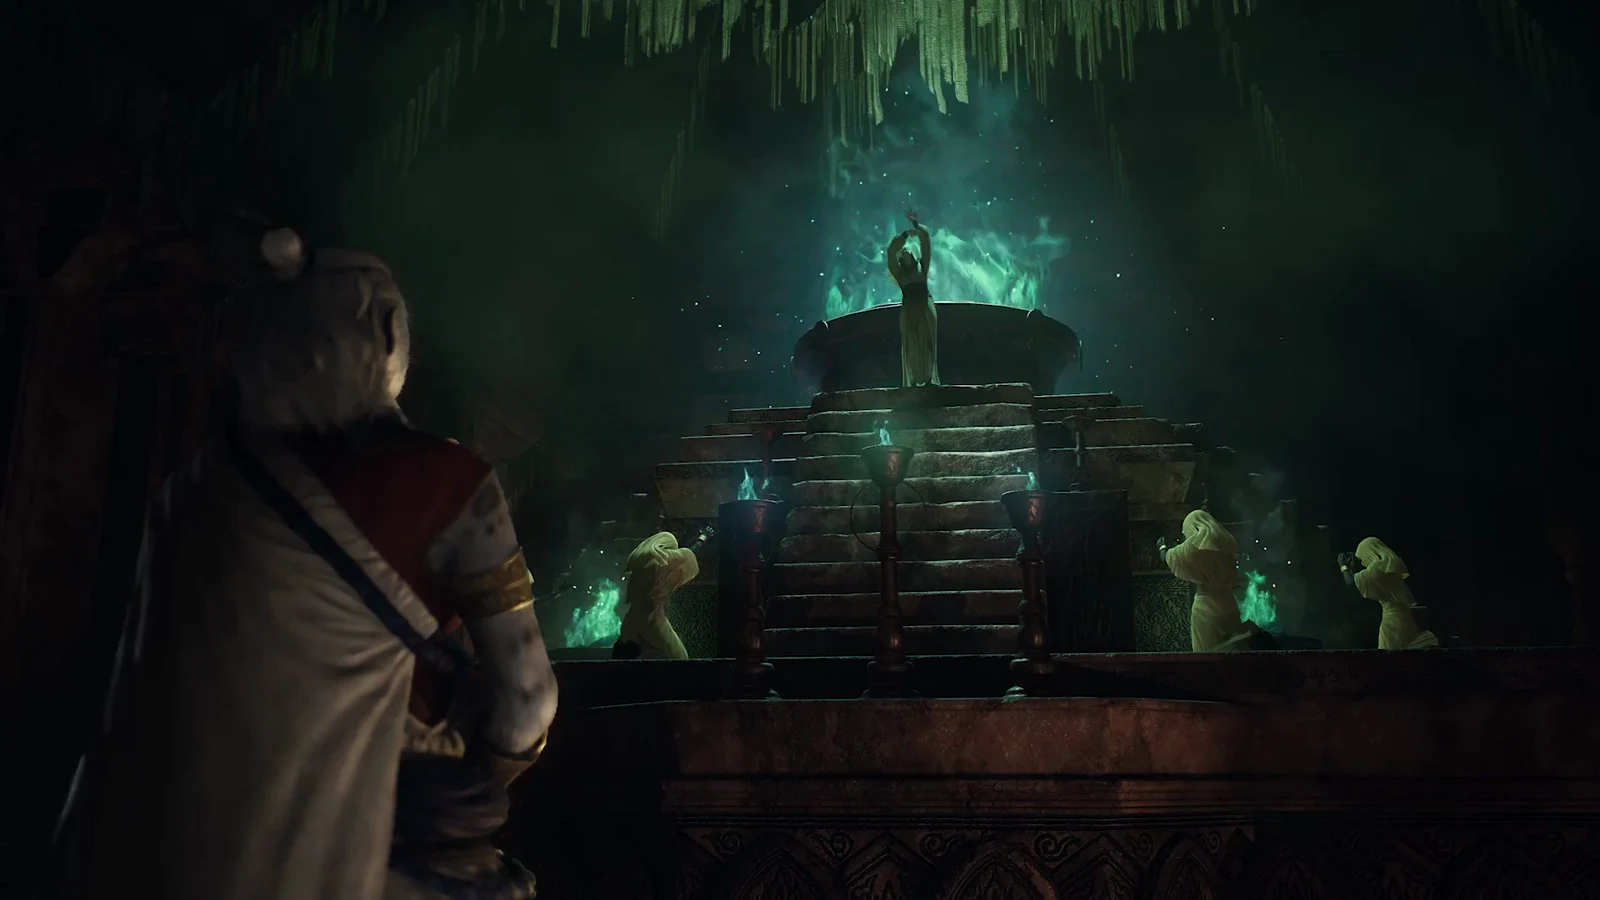
Power the facility, clear the puzzle rooms, and strip the suspended androids for high-tech scrap.

Power the facility, clear the puzzle rooms, and strip the suspended androids for high-tech scrap.

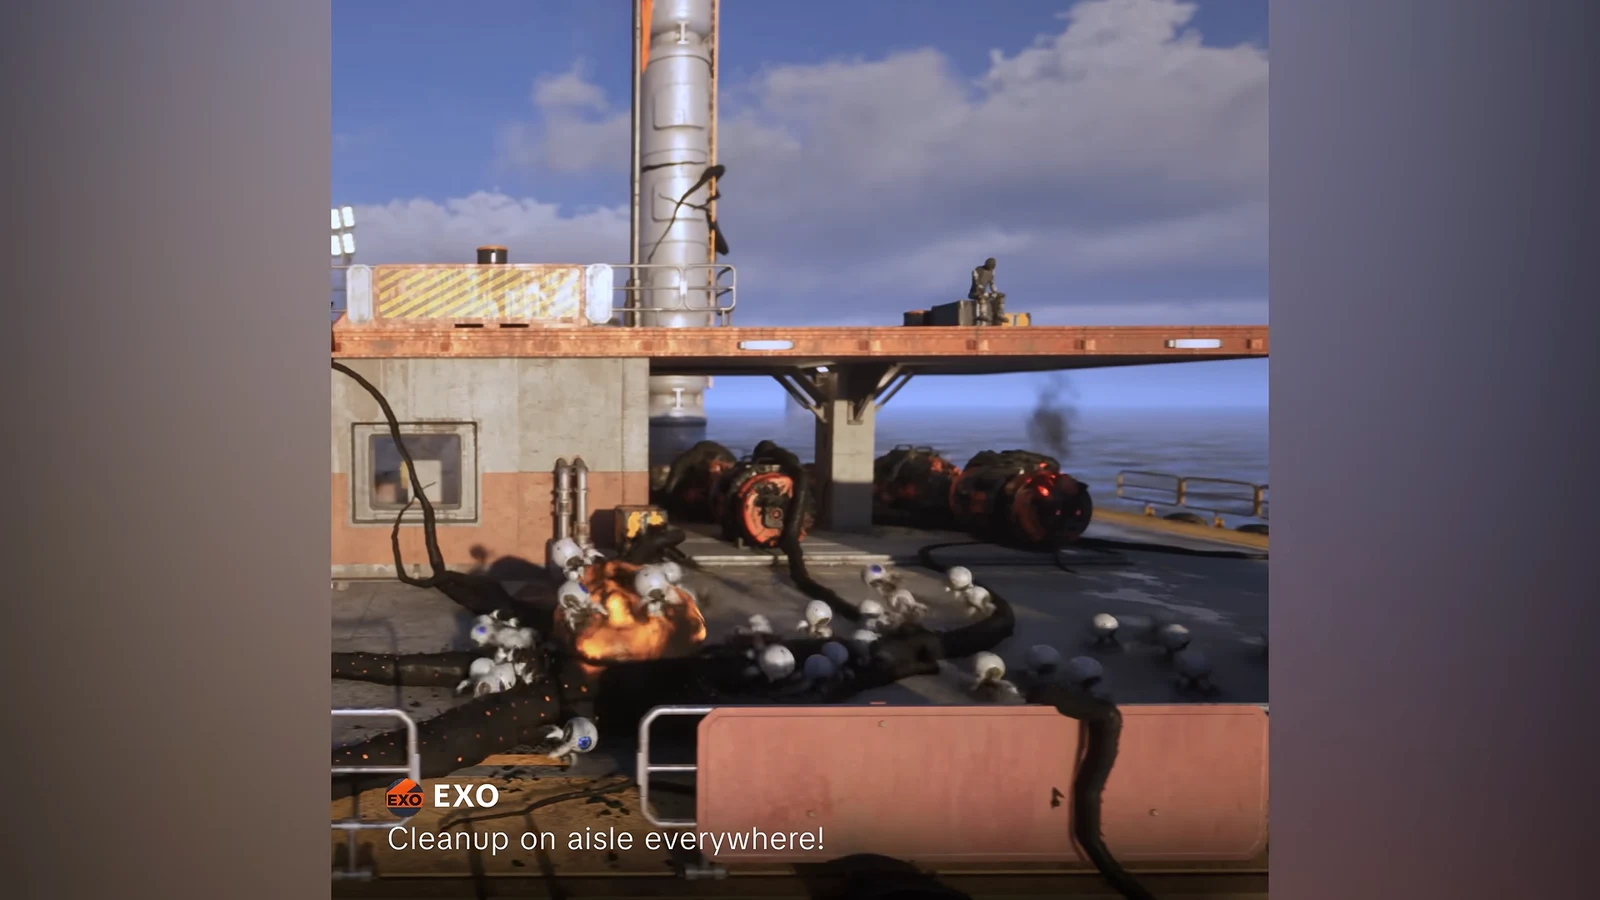
Image: Channel37 Ltd

The Transposium is a puzzle-heavy habitat installation in The Last Caretaker, standing on a rocky base far out in the open ocean. Getting through it means powering the facility from your ship, descending its ladder shafts, and working through a chain of crate, switch, and toy puzzles that end at a storage room full of suspended synthetic bodies. Those androids are the payoff, giving high-tech scrap when dismantled.

Quick answer: Power the Transposium from your ship, descend the shafts, solve the crate and hidden-switch puzzles to light all three security indicators, clear the button-matrix and teddy bear rooms, then dismantle the suspended androids for scrap.


What you need before reaching the Transposium

The Transposium run rewards preparation more than reflexes. Sort your ship before you leave, because you cannot craft replacement gear halfway down a ladder shaft.

  • The Flamethrower, used to burn the marine predators and bio-organic crawlers on the exterior landing.
  • A rotary power cutter to break down the metal cargo crates blocking interior hallways.
  • An electric cable with an extender and a charged Medium Battery to feed the facility’s backup generator.
  • Enough fuel and free storage space to sail out and haul back the high-tech scrap.

Inspect the bridge systems, top up the battery, and confirm your throttle and engine draw are steady before you cast off.
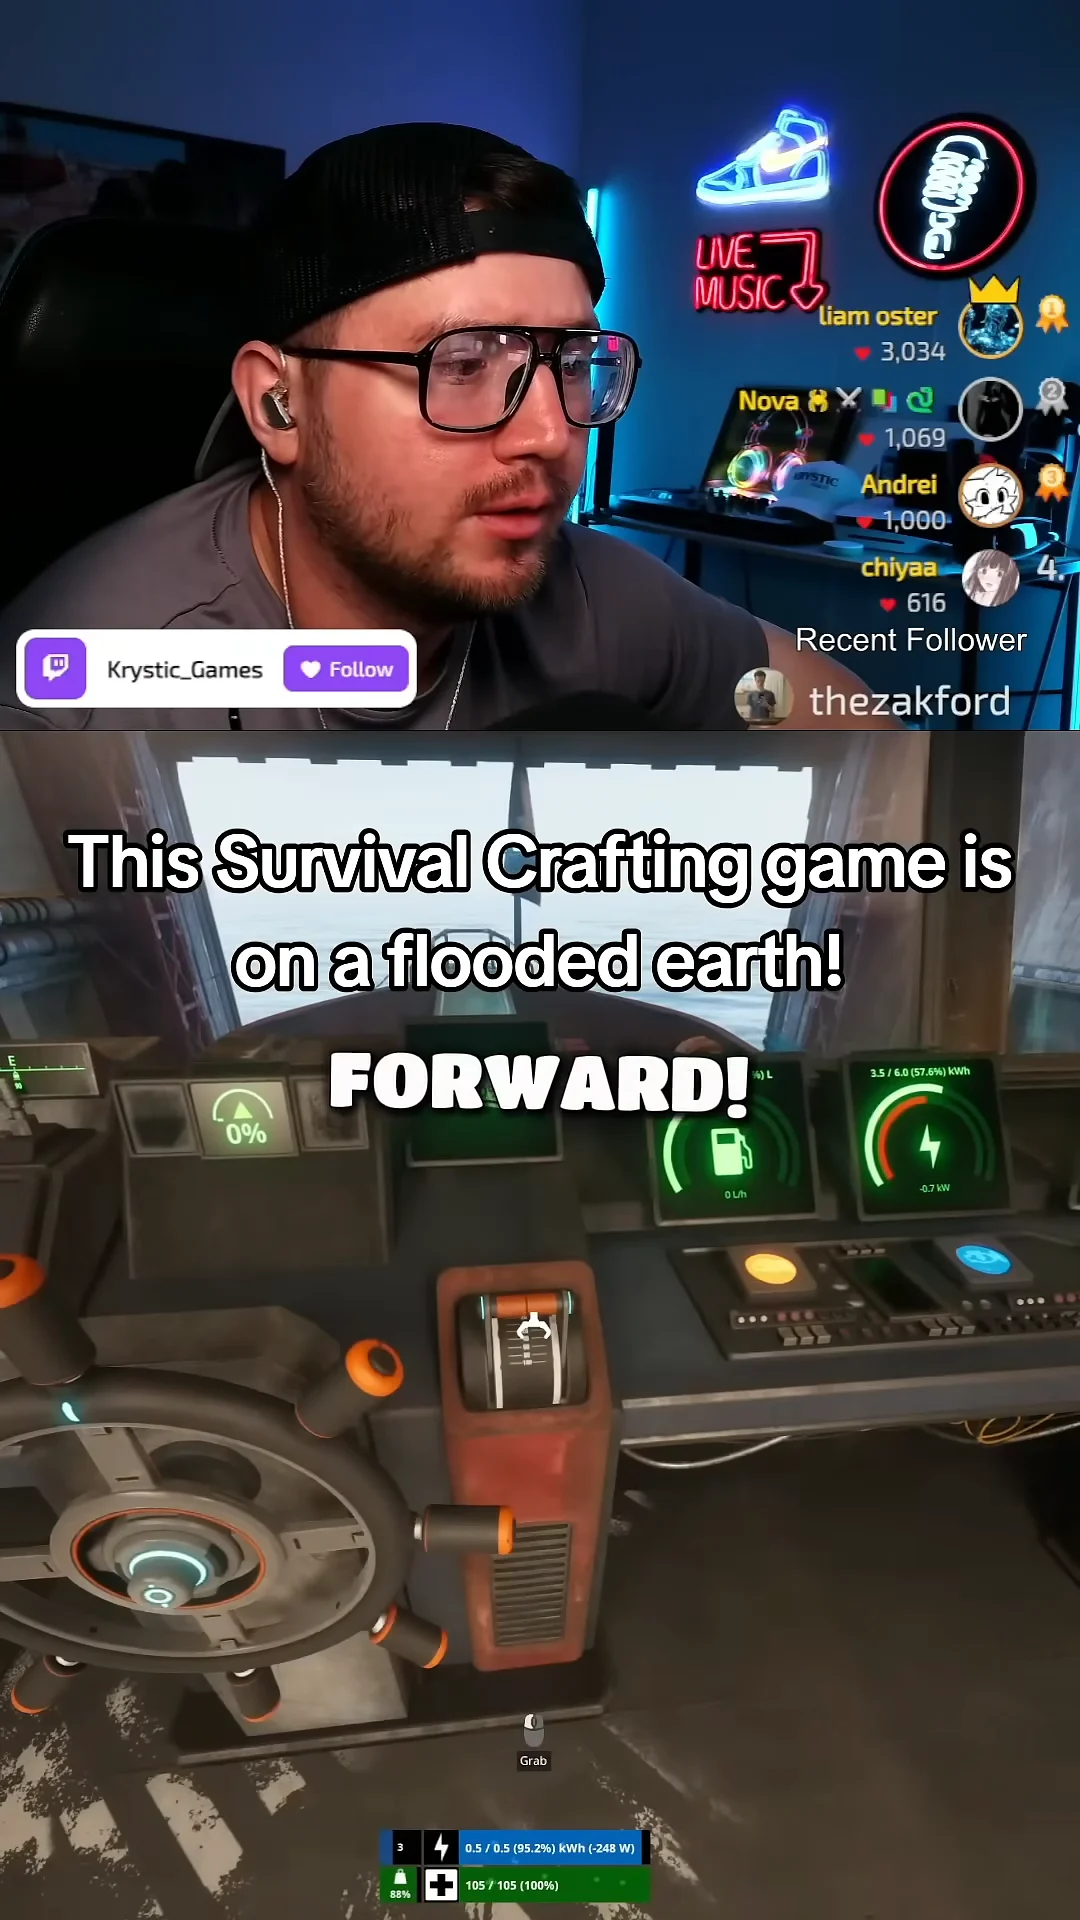
Boat Bridge Controls00:04Boat Bridge Controls
The boat's bridge dashboard, where the throttle and steering are set. Shown at 00:04 in KrysticGames’s video. Image: Channel37 Ltd

Open the world map to line up your route. It lists reachable locations and the distance to each, so you can gauge fuel needs before committing to the trip.
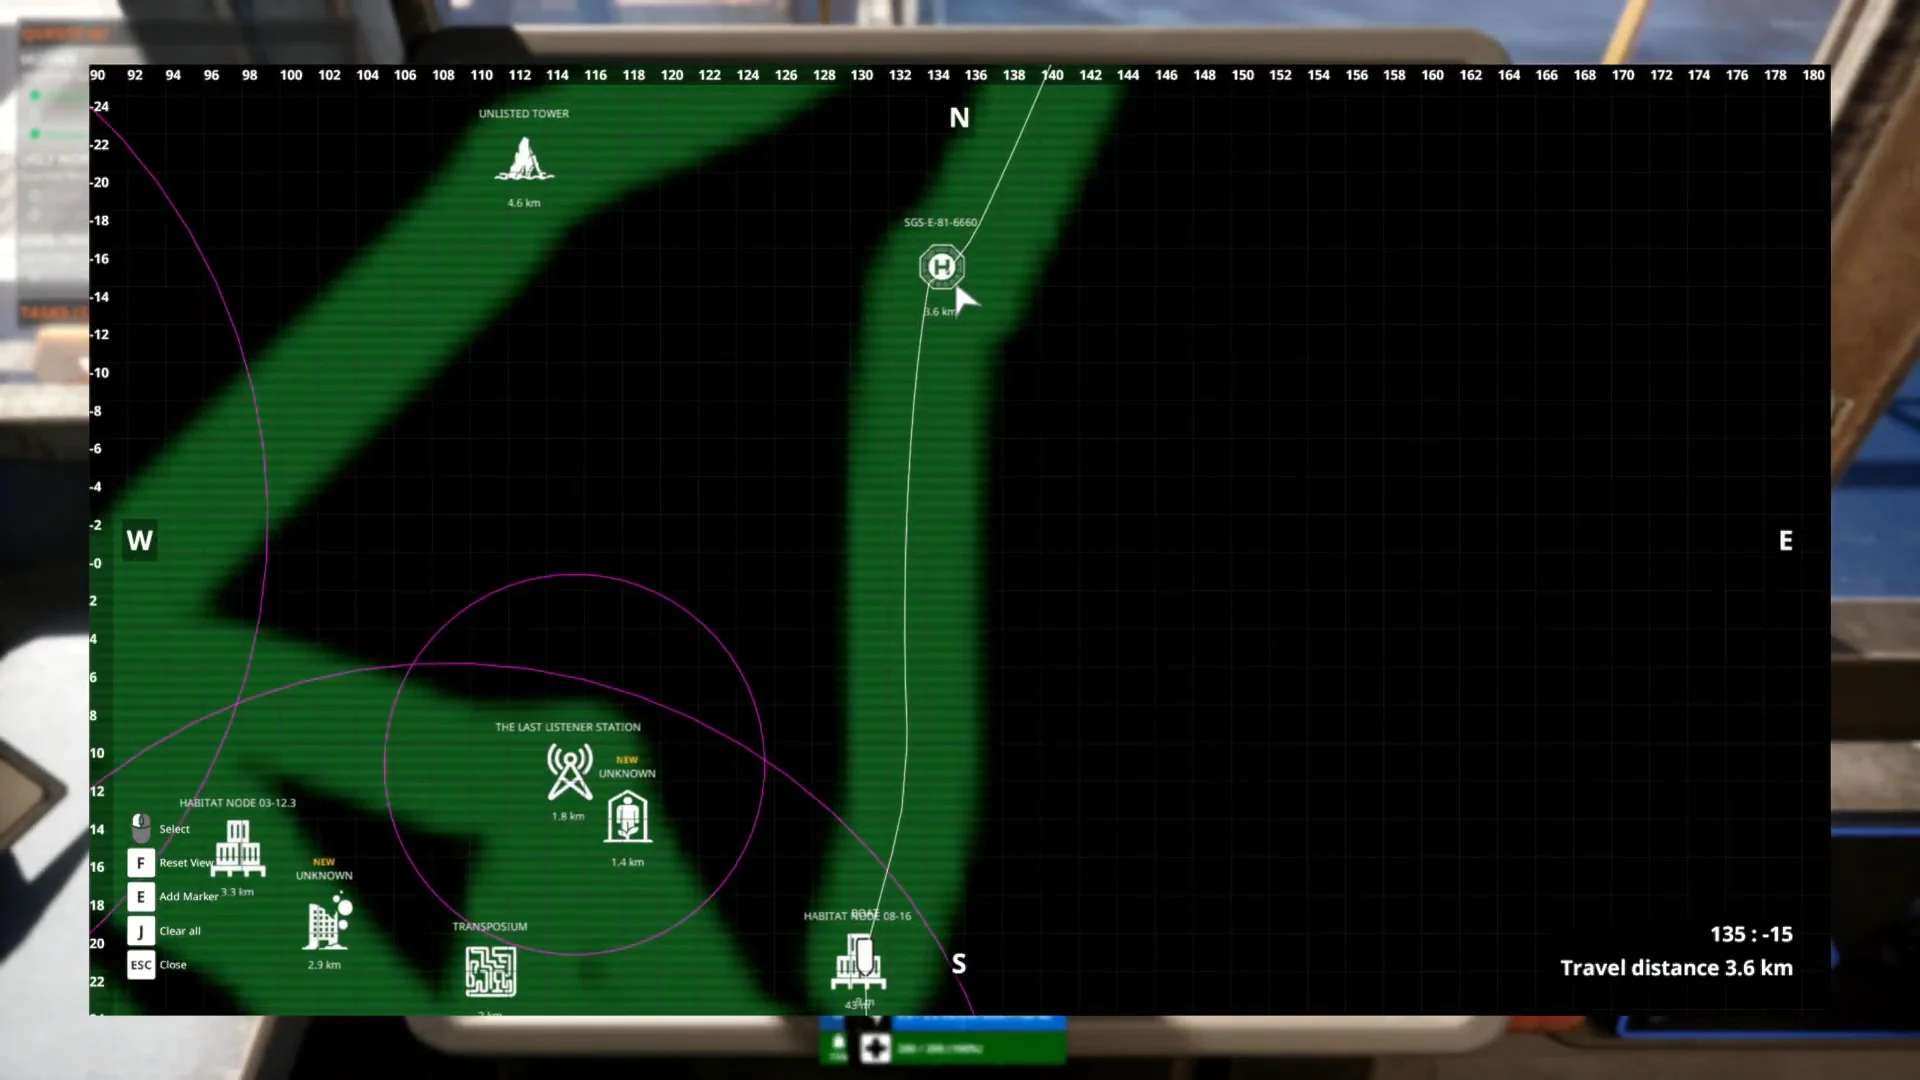
Setting sail from Habitat Node 16-1600:20Setting sail from Habitat Node 16-16
The world map lists reachable locations and their travel distances. Shown at 00:20 in Fhiach’s video. Image: Channel37 Ltd

Sailing to the Transposium

Steer the vessel out of the dock bay and into open water. Keep an eye on the horizon during the crossing, since airborne and aquatic “Angel” enemies can strike the ship while it is underway.
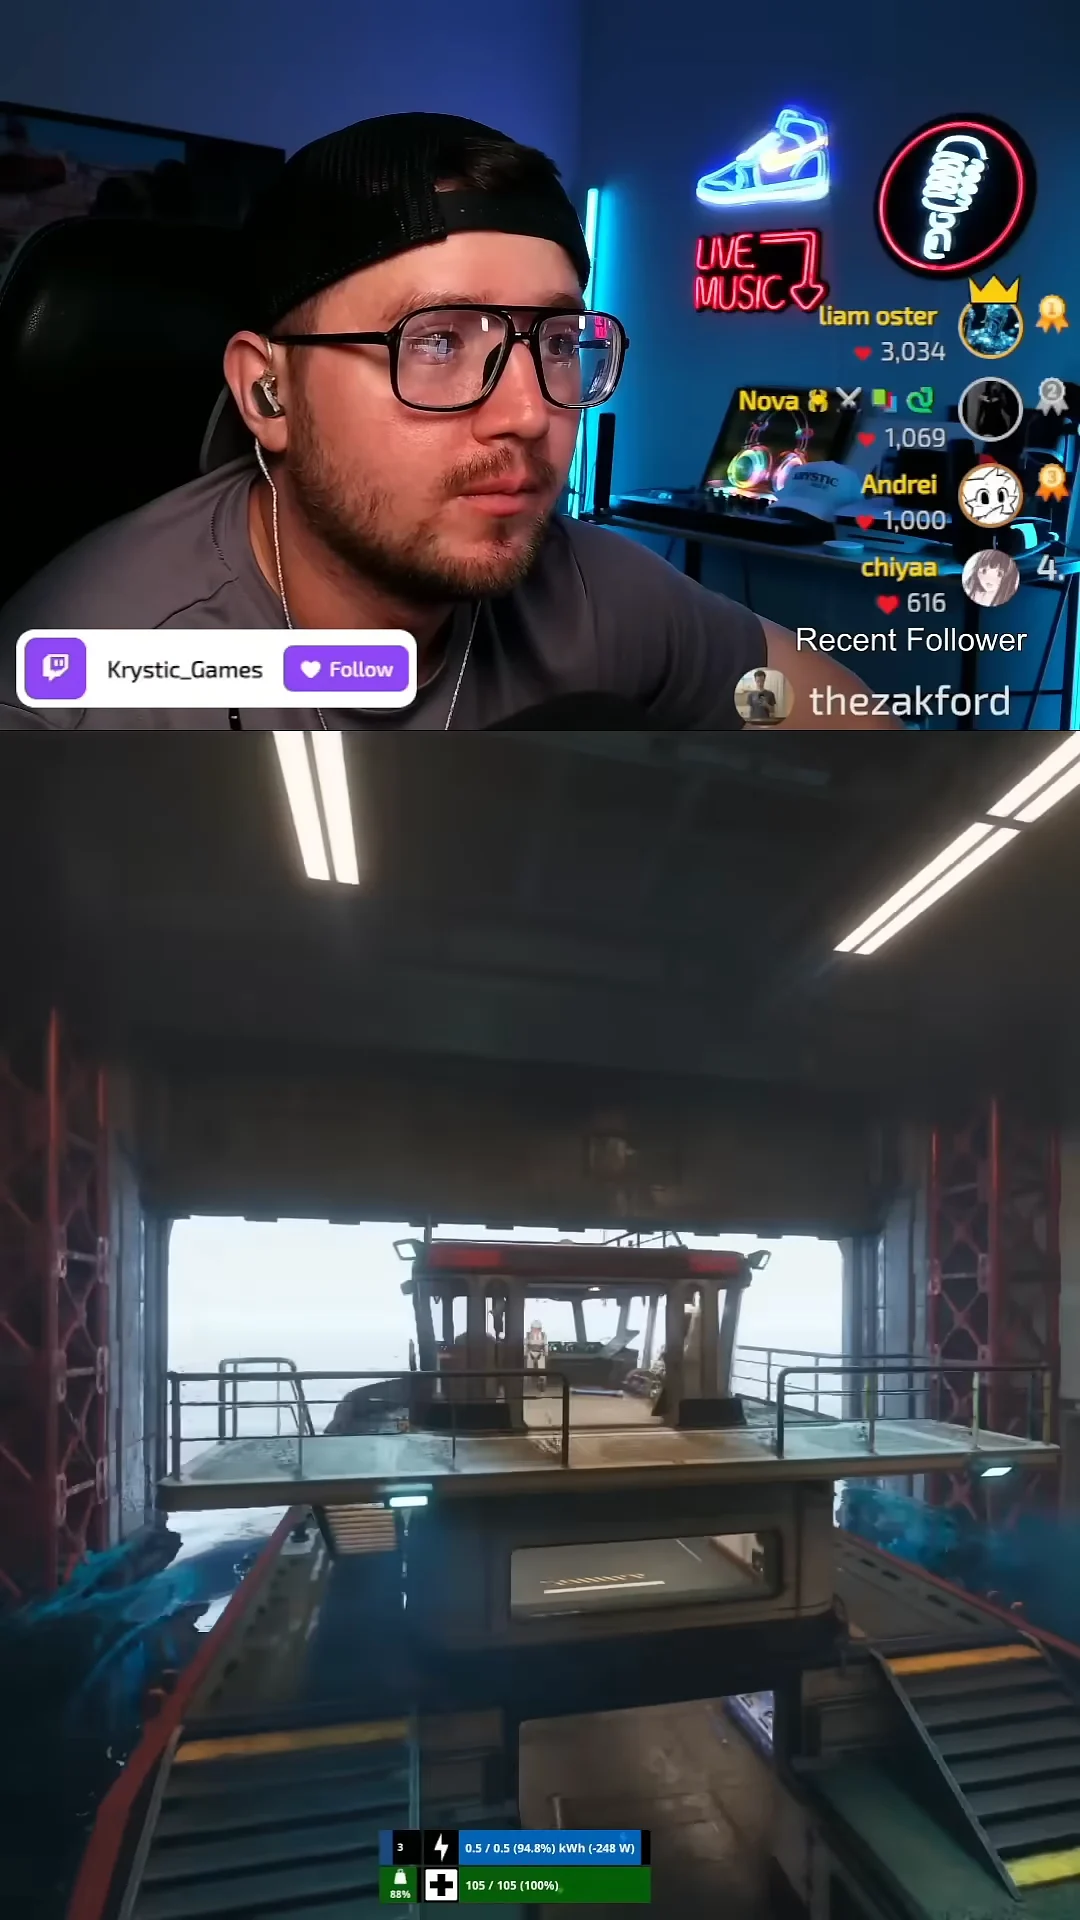
Boat Exiting Facility00:13Boat Exiting Facility
The vessel pulling out of its dock bay into open water. Shown at 00:13 in KrysticGames’s video. Image: Channel37 Ltd

Mark the Transposium on the navigation map and follow the waypoint. The map shows the direction and remaining distance, which helps you time throttle and battery use across dark water.
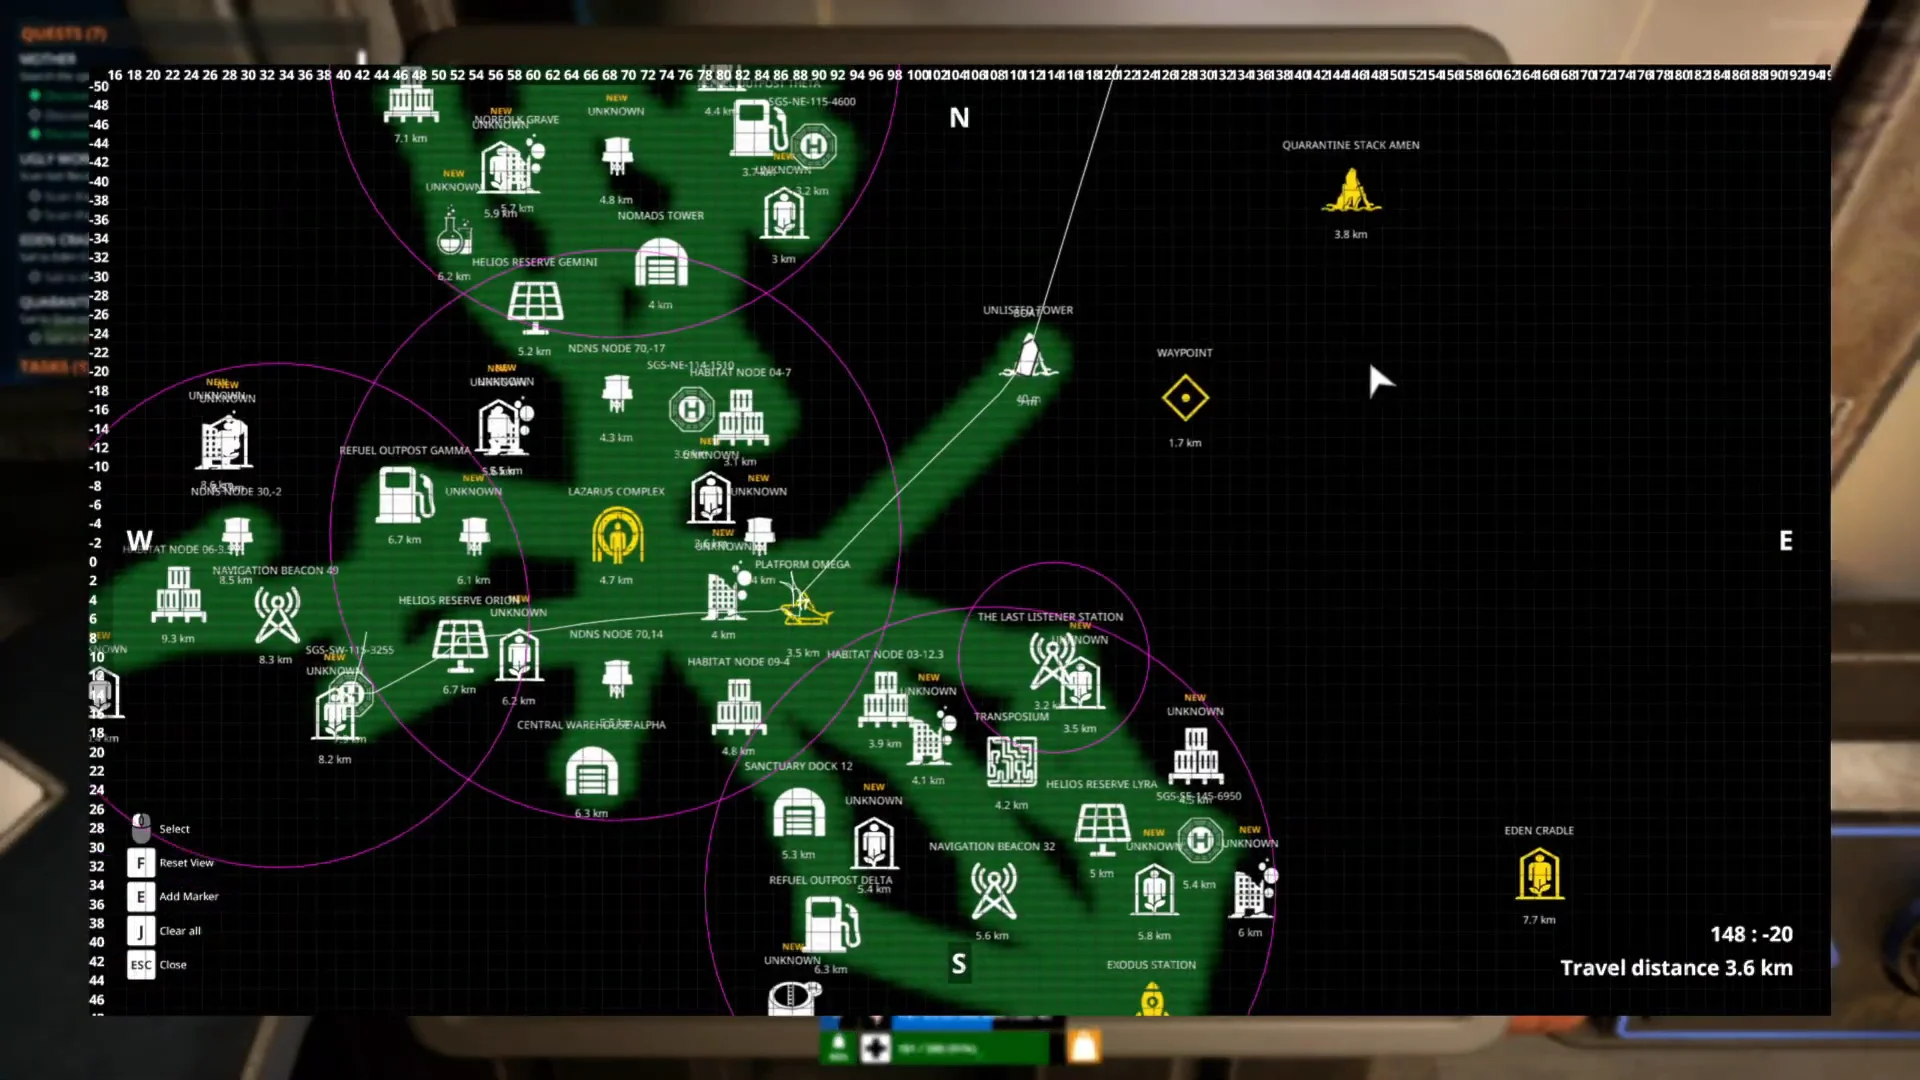
Setting Course for Quarantine Stack AMEN13:15Setting Course for Quarantine Stack AMEN
The navigation map marks a destination and shows the distance to sail. Shown at 13:15 in Fhiach’s video. Image: Channel37 Ltd

When the structure rises out of the fog, bring the ship alongside the rocky base and moor to the outer docking platform.


Power the facility and clear the entrance

Moor the vessel to the outer docking platform of the Transposium. A stable connection point matters because the next steps run a live cable from the ship to shore.
Run an electric cable from the ship’s battery to the facility’s backup power terminal. Cables are directional and may need an extender to bridge the gap between the floating vessel and the stationary platform.
Before going indoors, use the Flamethrower to incinerate the marine predators and crawler organisms covering the exterior landing. Make sure no hostile biological swarm can trail you below.

Solve the Transposium interior puzzles
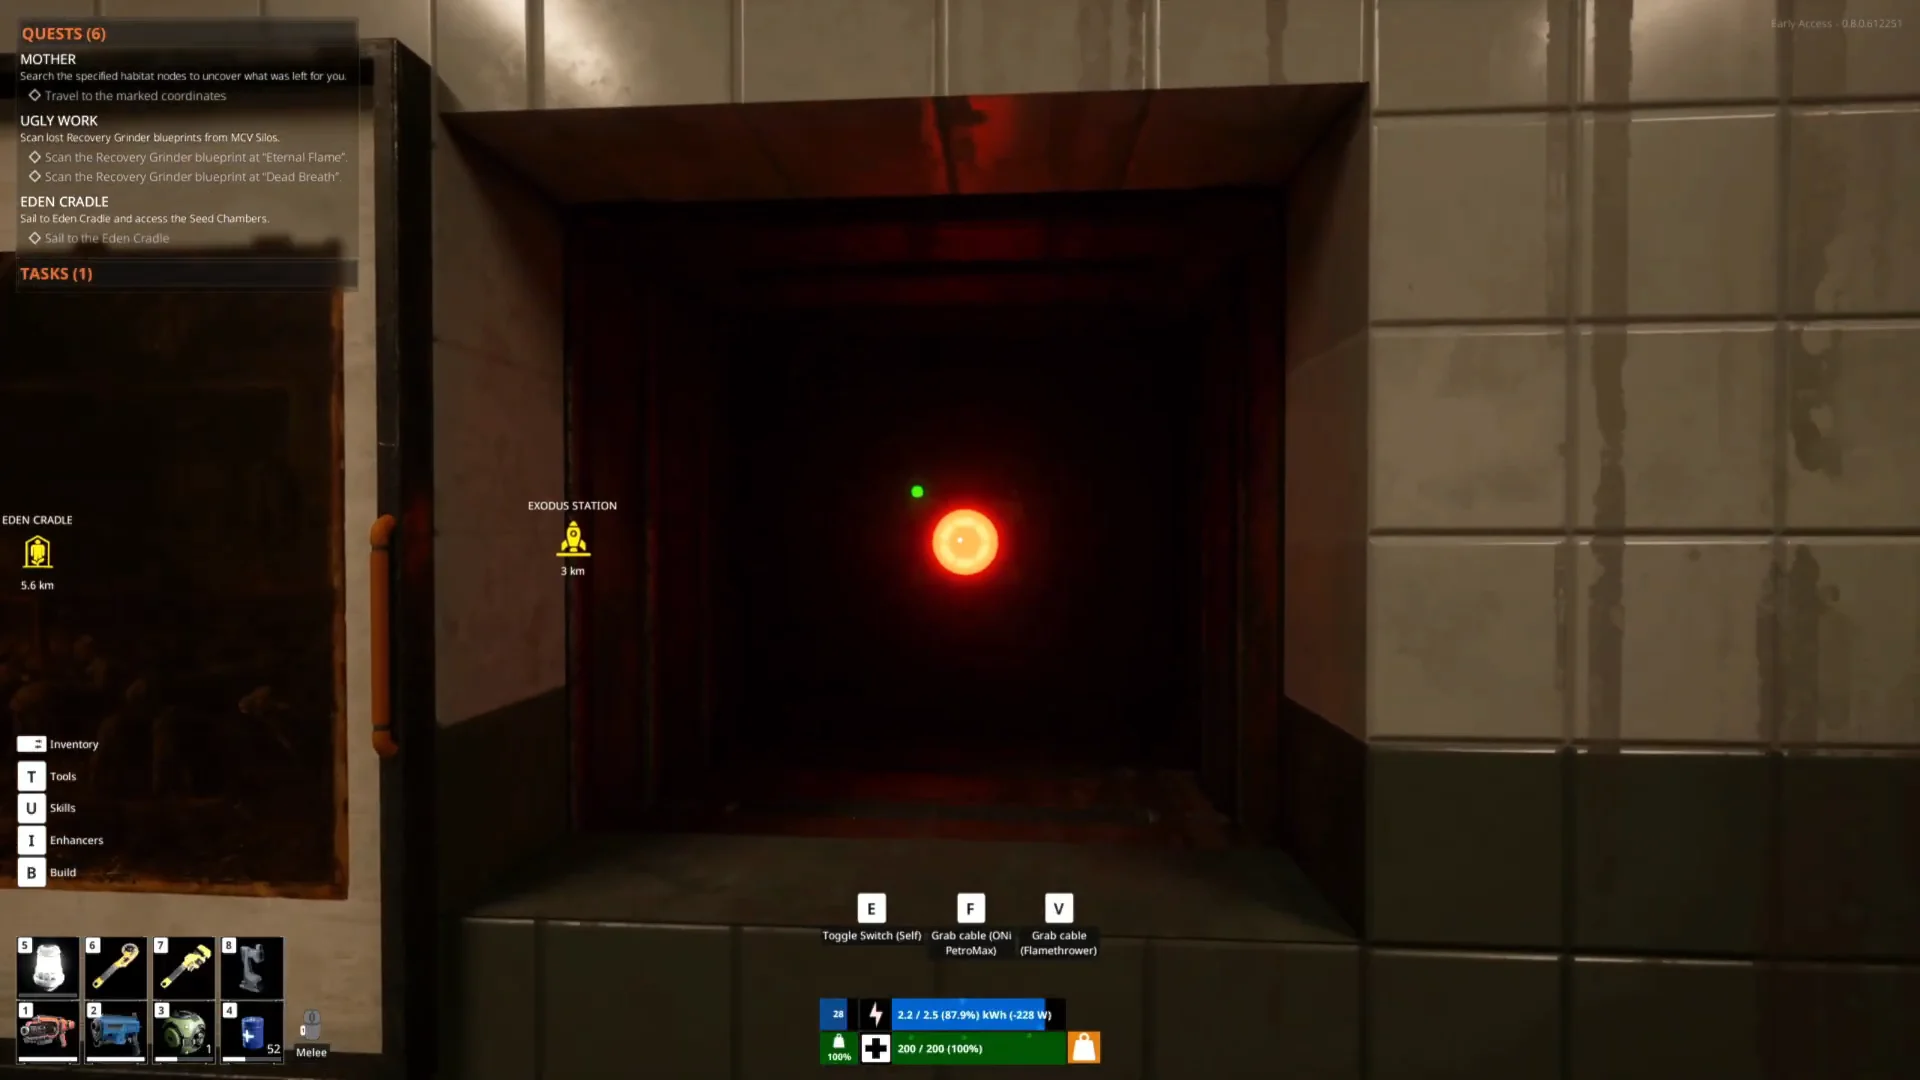
Descend the long vertical ladder shafts into the modular cube corridors. Rooms are labeled with numeric IDs such as 000, 025, 040, 046, 066, and 085, which you will use to keep your bearings while backtracking.
Interact with PECO Terminal 1.0 when you find it. The terminal shows surveillance cameras and system boot logs, which help you spot where sealed doors and switches sit.
Inspect the walls for switches concealed by ship paintings and religious artwork. Whenever you find one, flip it to unlock the route ahead.
Hidden picture switches30:05Hidden picture switches
A hidden red switch exposed inside a wall compartment behind a painting. Shown at 30:05 in Fhiach’s video. Image: Channel37 Ltd
Use the rotary cutter to break down the stacked metal crates that block the halls. Clearing them exposes hidden ladders and ceiling crawlways you cannot reach otherwise. Also watch for a red floor switch tucked under an office desk.
Rearrange the crates along the color-coded wall tracks to reach the switch panels behind them. Working these panels lights the indicator lamps on the main security hatch, and you need all three lit to proceed.
Go into the button matrix room, where red push buttons cover the floor, then press the button labeled backward to start the final security sequence.
Solve the teddy bear room by collecting and matching the plush toys against the timer. Completing it releases the locked hatchway to the final chamber.

If your gear or battery runs low mid-run, climb back to the vessel to recharge equipment and gather crafting components before returning to the puzzle rooms.
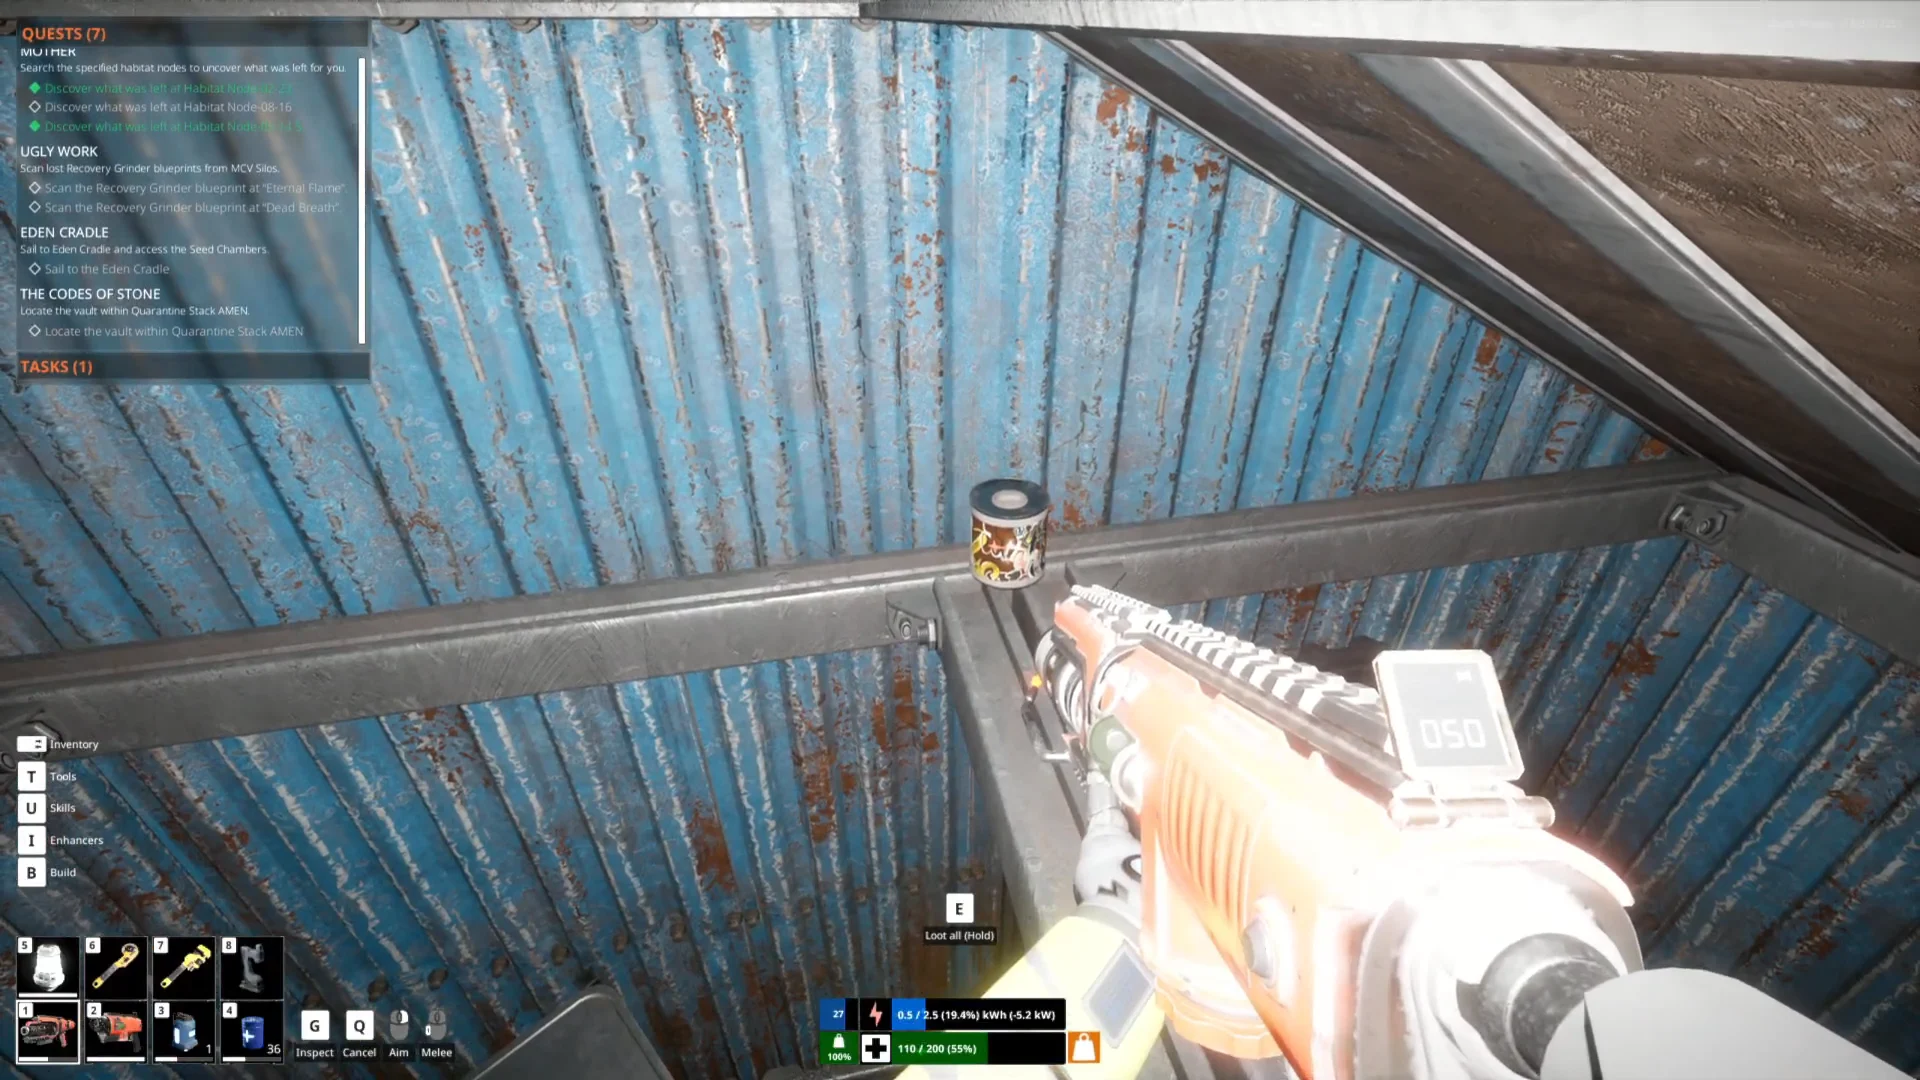
Exploring Mid-Level Shacks38:28Exploring Mid-Level Shacks
Scavenging a container room for cans and crafting components. Shown at 38:28 in Fhiach’s video. Image: Channel37 Ltd

Harvest the androids and confirm completion

With the security sequence triggered and the teddy bear room cleared, the final hatch opens onto the android storage room. Inside, rows of synthetic bodies hang suspended from the ceiling.

Dismantle each suspended android to collect high-tech scrap, the reason for the whole descent. Carry the components back up the shafts to your moored vessel.

You know the run is finished when all three indicator lights on the main security hatch turn green, the final chamber unseals, and the suspended androids yield high-tech scrap when broken down. Once your storage is loaded, unmoor and sail clear of the Transposium.