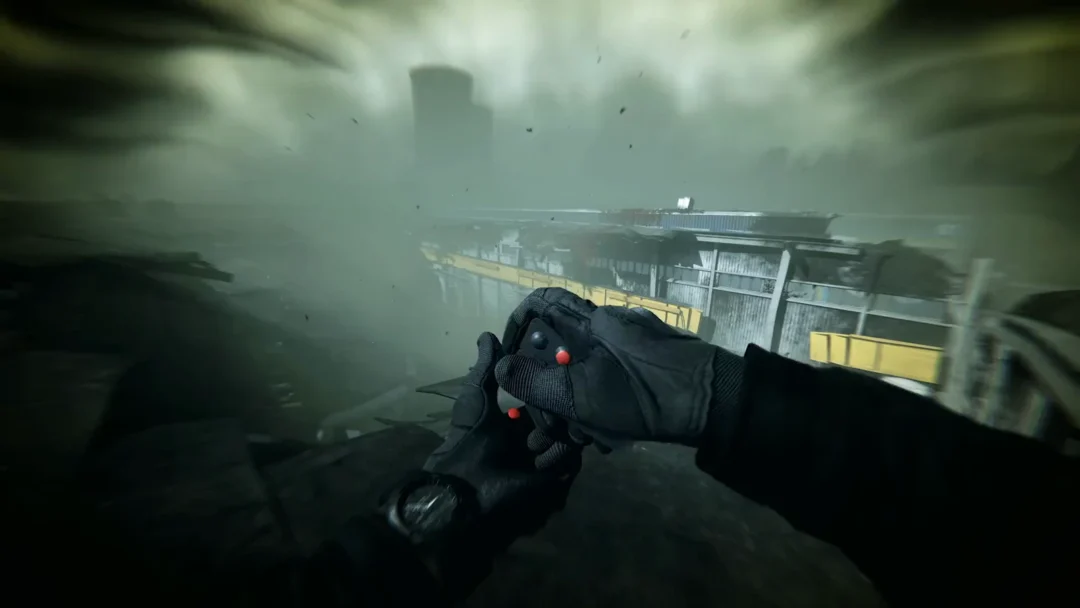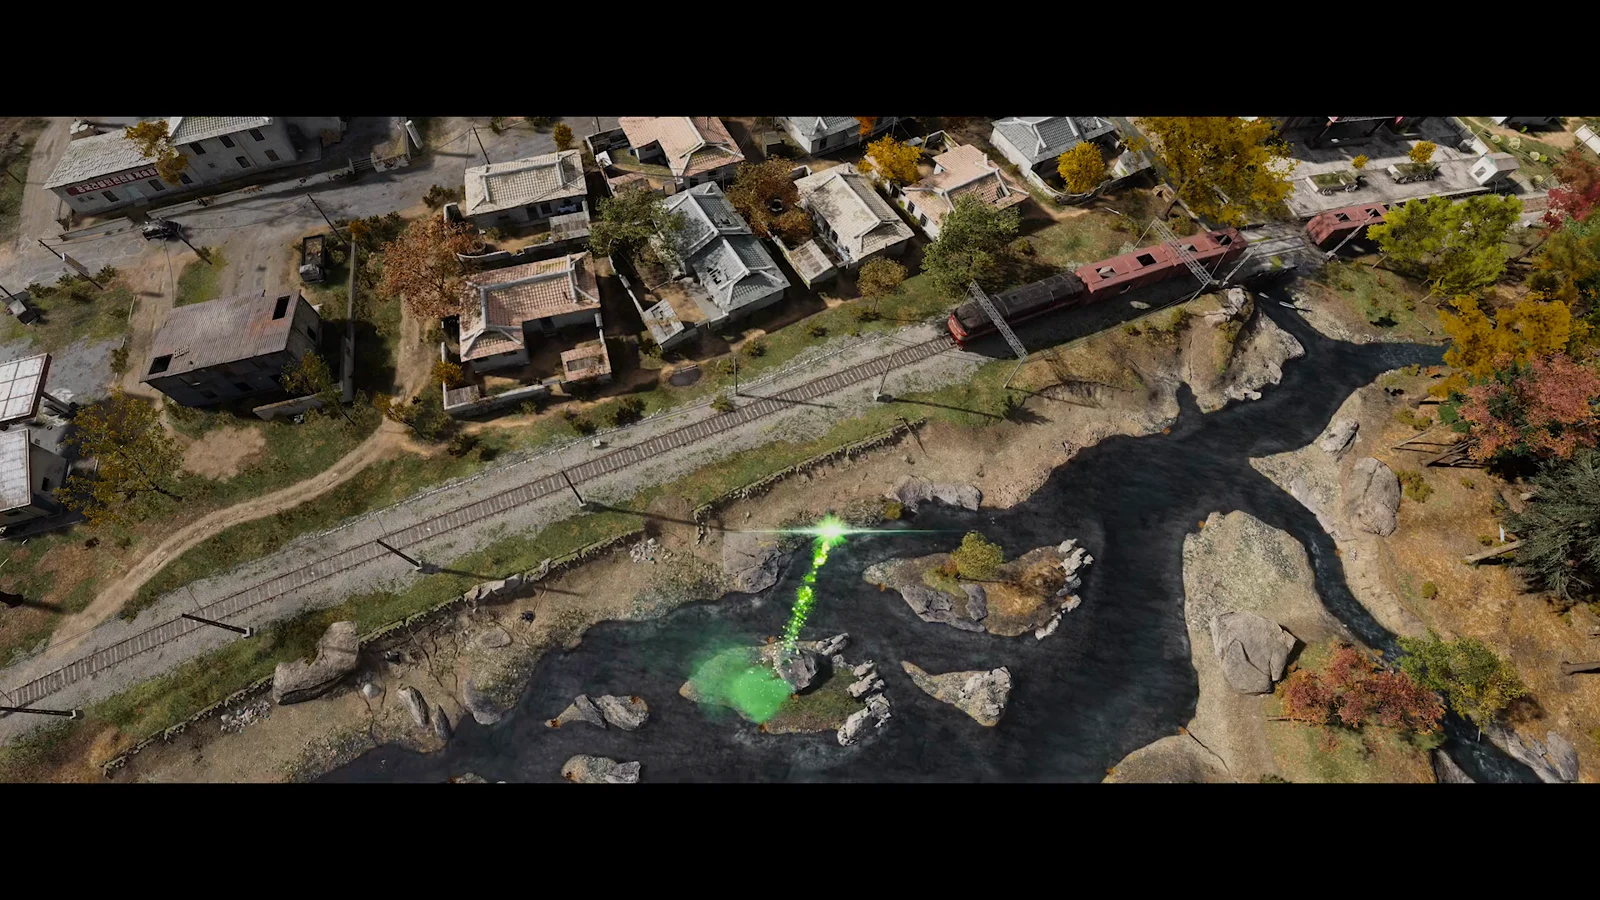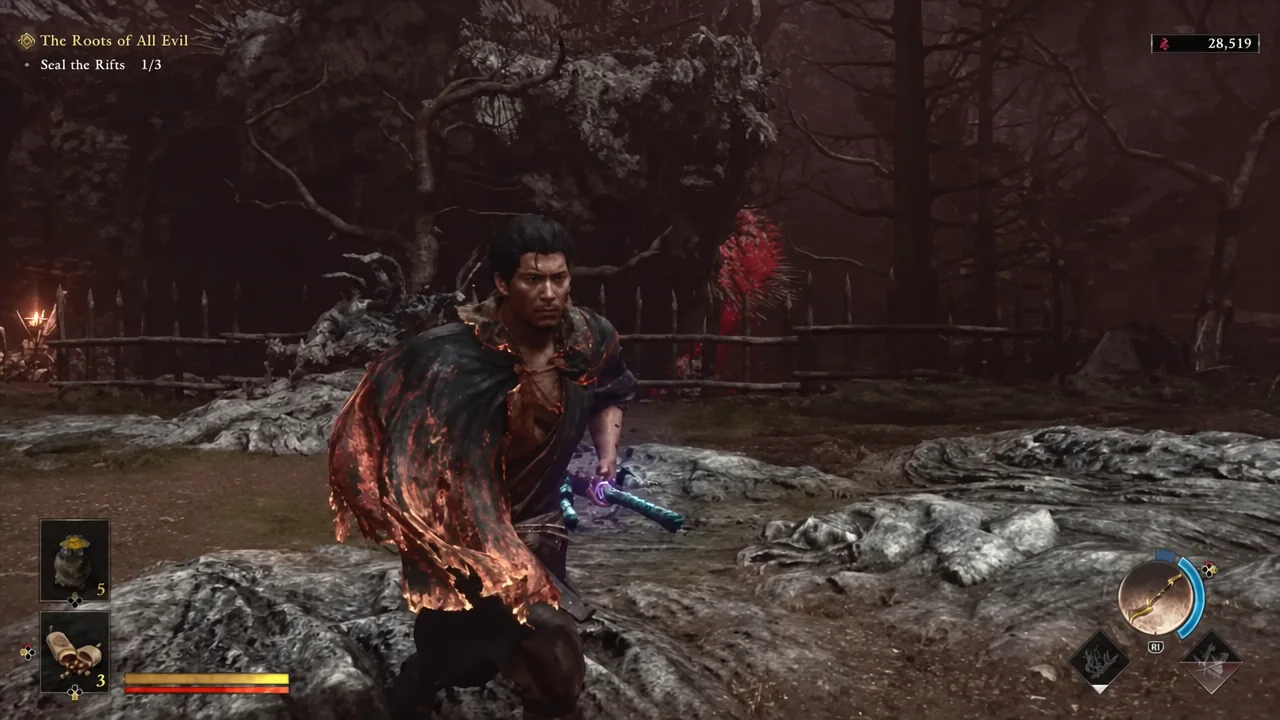
The Roots of All Evil sends Musashi down into a swamp flooded with red water, where Malice has taken root and Genma are waiting on every stone platform. The objective is short and blunt: find three rifts and shut them. Getting to them is the hard part, because the swamp is a tangle of winding paths, huts, and giant bone structures you have to wall run across.
Quick answer: Seal three Malice rifts. Hit each floating red rift with the Oni Bow or a melee strike to expose its core, then seal it — the objective under the mission name counts up from Seal the Rifts 0/3 to 3/3.
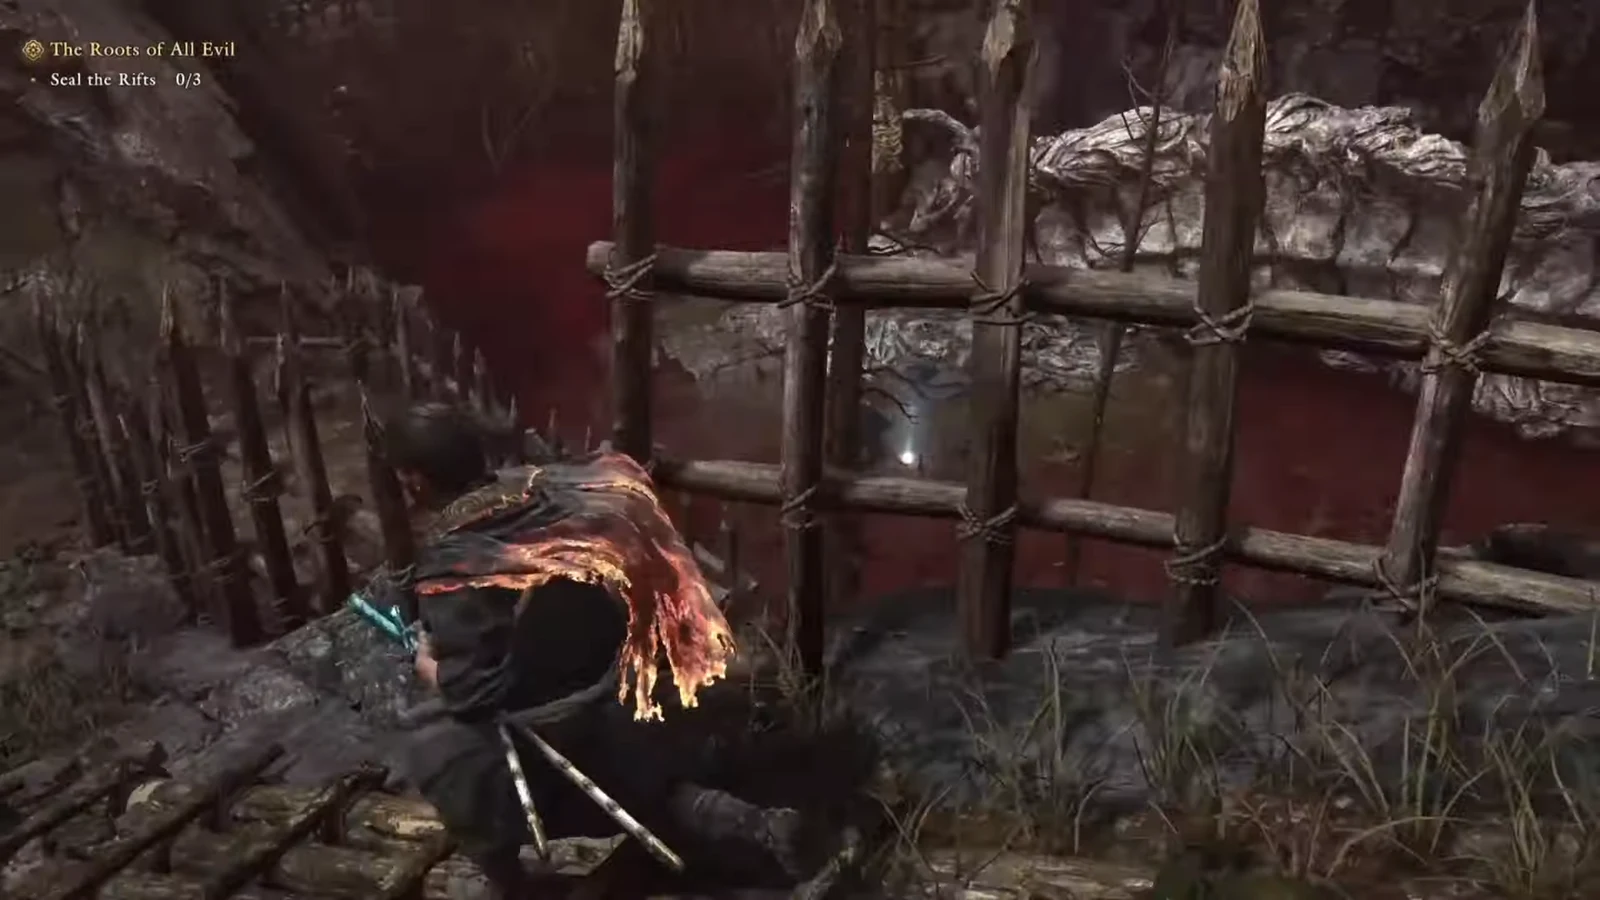
How the rifts work in The Roots of All Evil
A rift is a red mass floating above the ground, and you can’t seal it while it’s still covered. Shoot it with the bow from range or hit it with your sword up close, and the outer layer comes off to reveal a core. Only then does the seal prompt appear.
Clear the Genma standing around the rift first. Every rift in the swamp is guarded, and trying to line up a bow shot while a swordsman is swinging at you is how these fights drag on. Once the seal goes off, the counter updates immediately and the corruption in that pocket of the swamp visibly clears.
Note: the same red organic cores show up outside of rift arenas — there’s one on top of a bone structure near the first village huts that can simply be destroyed. Breaking those does not move the rift counter.
Wall running and Oni Power traversal in the swamp
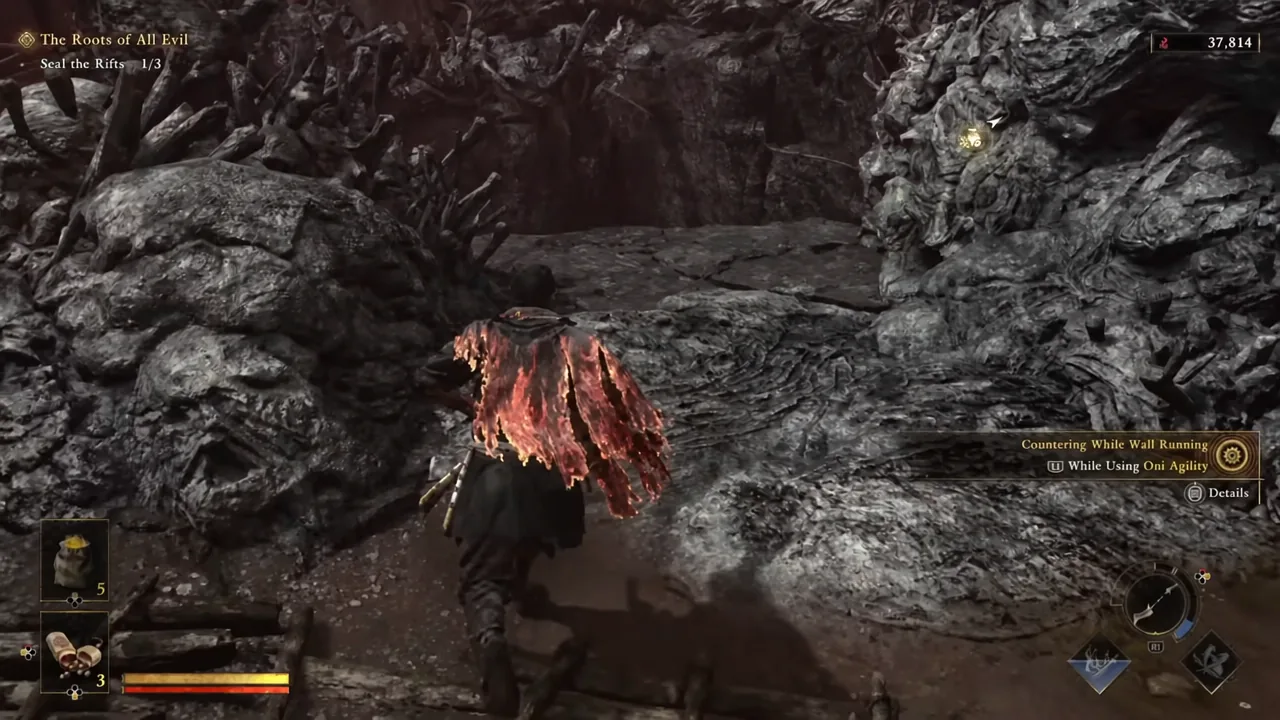
Most of the swamp’s elevation is gated behind wall running. Oni Power lets Musashi run along specific surfaces — the yellow-glowing rock faces and the enormous bone structures arcing over the water. If a wall isn’t marked, it isn’t a route.
Wall runs aren’t purely movement, either. Enemies will contest you mid-run, and the game prompts L1 for a counter while you’re on the wall, so keep your defensive finger ready instead of just holding forward.
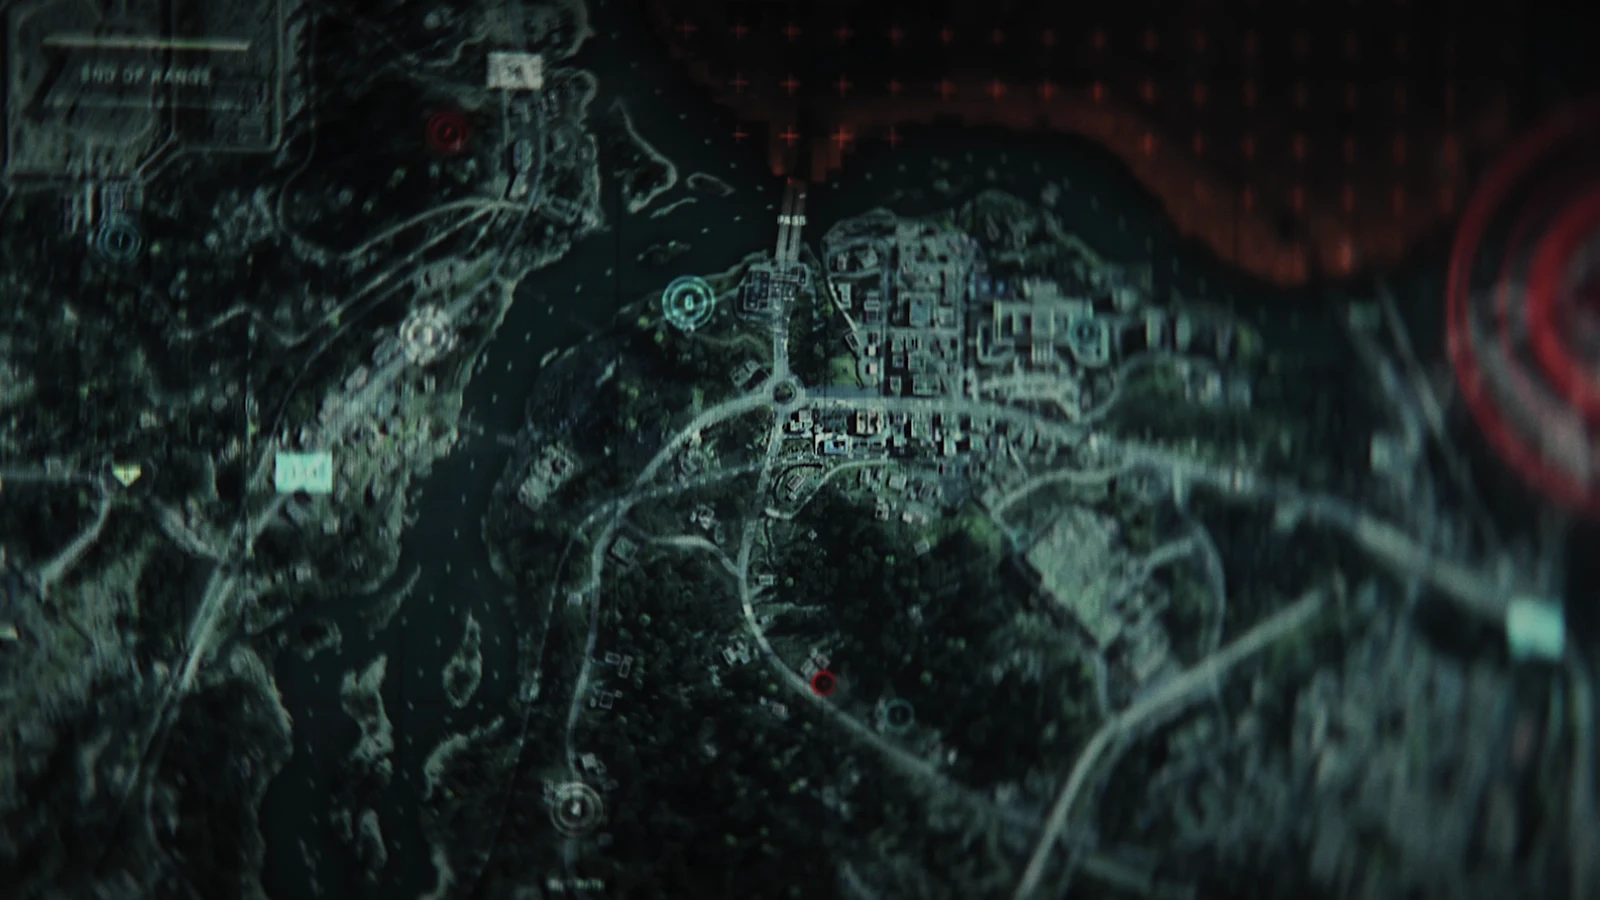
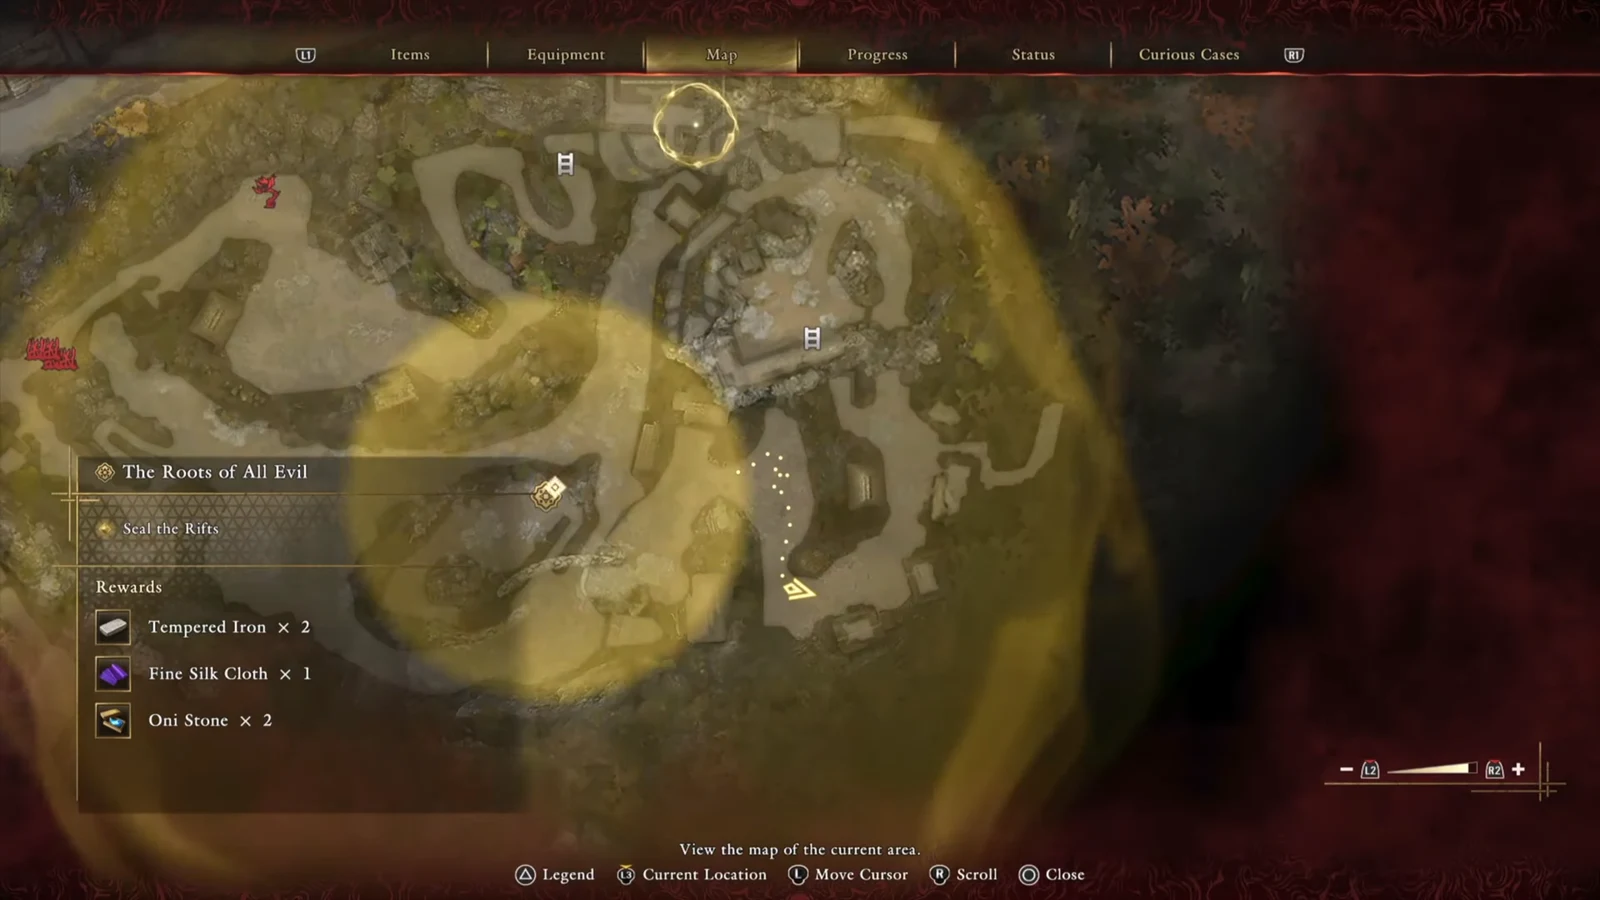
Open the map often. The swamp doubles back on itself constantly, and the map is the fastest way to spot which huts you haven’t entered and where the next rift marker sits.
First rift: swamp descent and the bone bridge
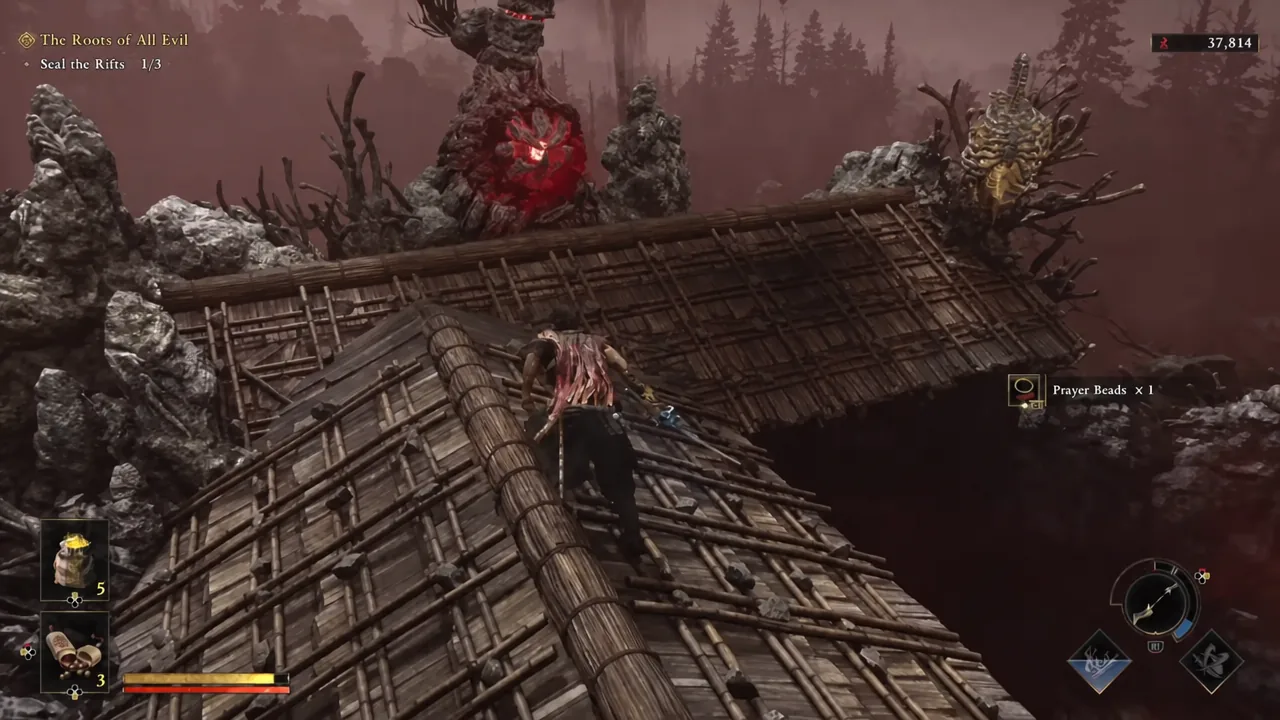
Second rift: village huts, the cave chasm, and the rooftop fight
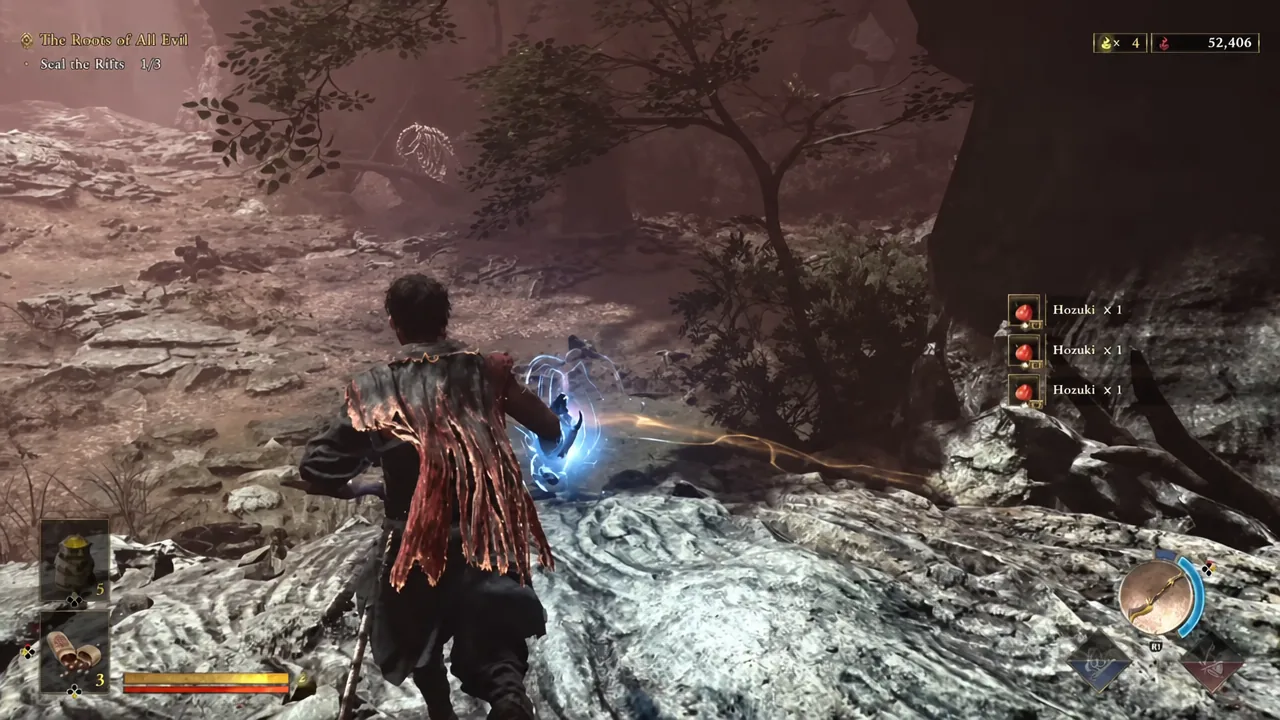
All items on the route to the second rift
| Item | Where it is |
|---|---|
| Prayer Beads (x4 sets) | Glowing spots in the swamp water, near the bone structure, by a village hut, and on the hut roof at the second rift |
| Blessed Beads | Inside the hut across the long bone wall run |
| Tamahagane | Chest in the same hut |
| Lesser Might Talisman | Glowing spot on the approach to the main village |
| Leather | Inside a village hut |
| Unrefined Sake | Glowing spot inside a village hut |
| Cotton Cloth | Glowing spot in the village |
| Heavy Restorative | Behind one of the village huts |
| Mild Restorative (x2) | High ledge above the cliff path, and near the second rift after it’s sealed |
| Greater Might Talisman | Glowing spot after the second seal |
| Greater Defense Talisman | Beside a stone monument after the second seal |
| Tempered Iron, Fine Silk Cloth, Oni Stone, Honoki | Crafting materials picked up across the swamp route |
If the rift won’t seal
There are only a couple of reasons the prompt doesn’t show up. The rift’s core is still covered, so keep attacking until the red mass opens. Or the Genma guarding it are still alive and pulling you out of position — clear them first, then commit.
You’ll know it worked without checking anything: the objective line under the mission name ticks up, and the red corruption drains out of the surrounding area. If the counter hasn’t changed, the seal didn’t land.
With two rifts down, the counter still sits at 2/3, so the last one is further out in the swamp. Stock up on the restoratives you passed on, keep the bow ready for anything floating out of melee range, and treat every glowing bone as a route rather than scenery.