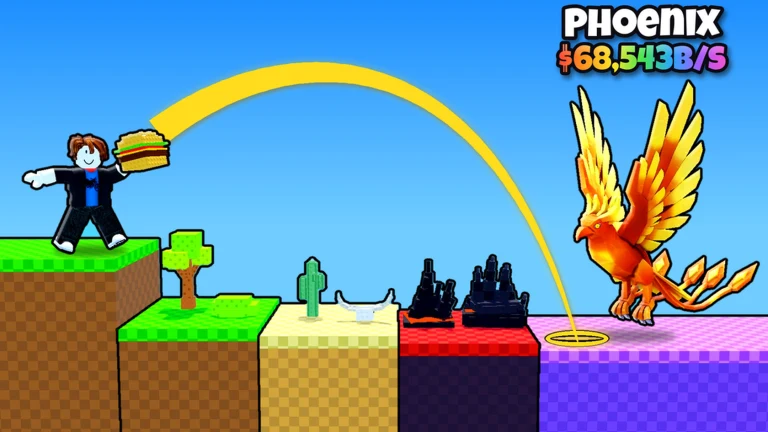
Luck in Throw Food for Animals is about distance. Every throw sends your food down a long runway split into biomes, and the Luck multiplier rises the farther the food travels. Wherever the food stops, that multiplier applies to the animal it attracts. Better food decides which animals are in the pool. Distance decides how lucky the roll is.
Quick answer: Train Throw Power on the pull-up bar and time the meter for PERFECT. Throws that reach Taiga carry roughly 19x to 20.7x Luck, the highest multiplier on the track.
Luck multiplier by biome
The runway always runs in the same order, and the multiplier climbs continuously along it rather than jumping only at biome borders. Labels on the track show the current value as your food passes, so you can read exactly where a throw ran out of steam. The ranges below are the values the track displays in each biome.
| Order | Biome | Luck range on the track |
|---|---|---|
| 1 | Forest | 2.54X to 3.37X |
| 2 | Savanna | 4.21X to 6.71X |
| 3 | Desert | 7.59X to 9.99X |
| 4 | Jungle | 10.98X to 13.33X |
| 5 | Ocean | 14.36X to 16.57X |
| 6 | Mountains | 17.51X to 19.44X |
| 7 | Taiga | 19.23X to 20.67X |
The gap between the start and end of the track is huge. A throw that dies in Forest gets roughly an eighth of the Luck a Taiga landing gets. Even inside Taiga, small gains still count. A few extra levels of Throw Power pushed landings from 19.48X up to 20.67X.
What controls distance: Throw Power and the throw meter
Two things push your food farther. Your base Throw Power, which you build on the pull-up bar, and the timing bonus from the throw meter on each individual throw. Food itself does not add distance, so buying a pricier item will not raise your Luck on its own.
Pull-up bars
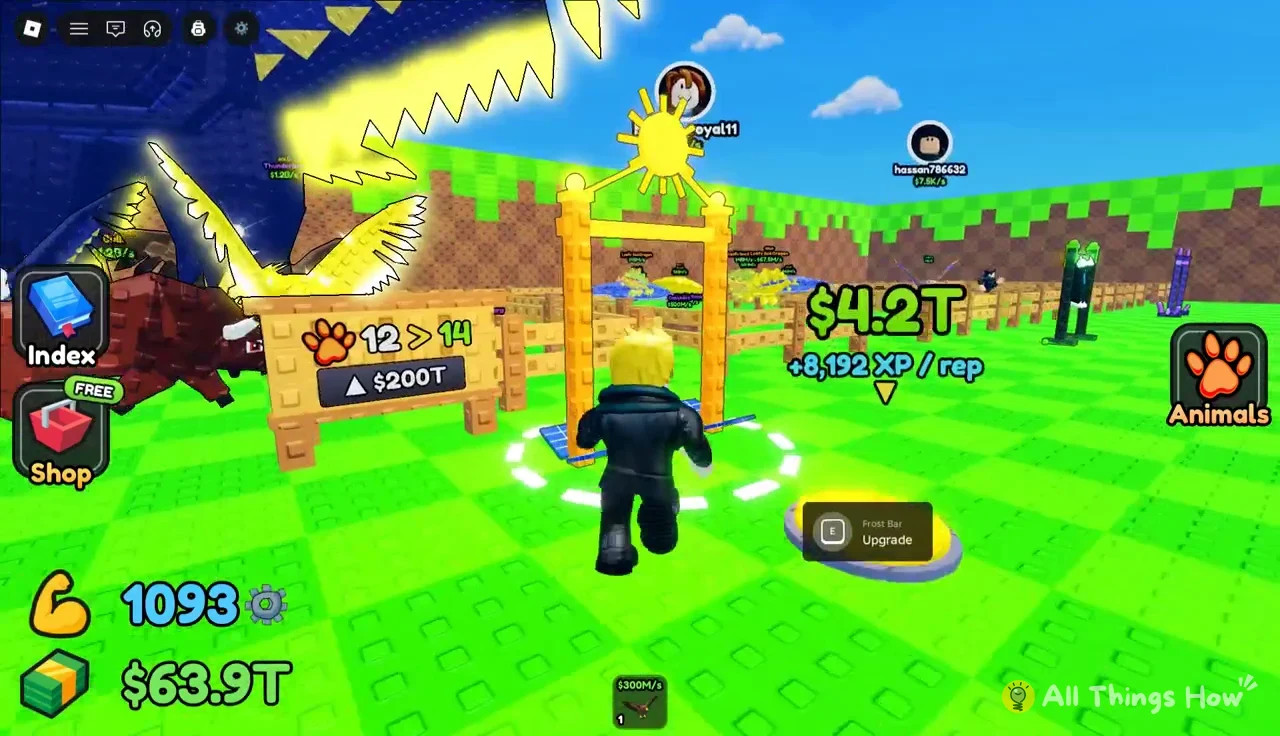
Each rep on the bar earns XP, and every level gained adds Throw Power +5. Training is free; cash only goes into upgrading the bar, which raises XP per rep. Tapping the purple x2 button while you train speeds up progression further. Two late-game bars look like this.
| Bar | Upgrade cost | XP per rep |
|---|---|---|
| Solar Bar | $680B | +4,096 |
| Frost Bar | $4.2T | +8,192 |
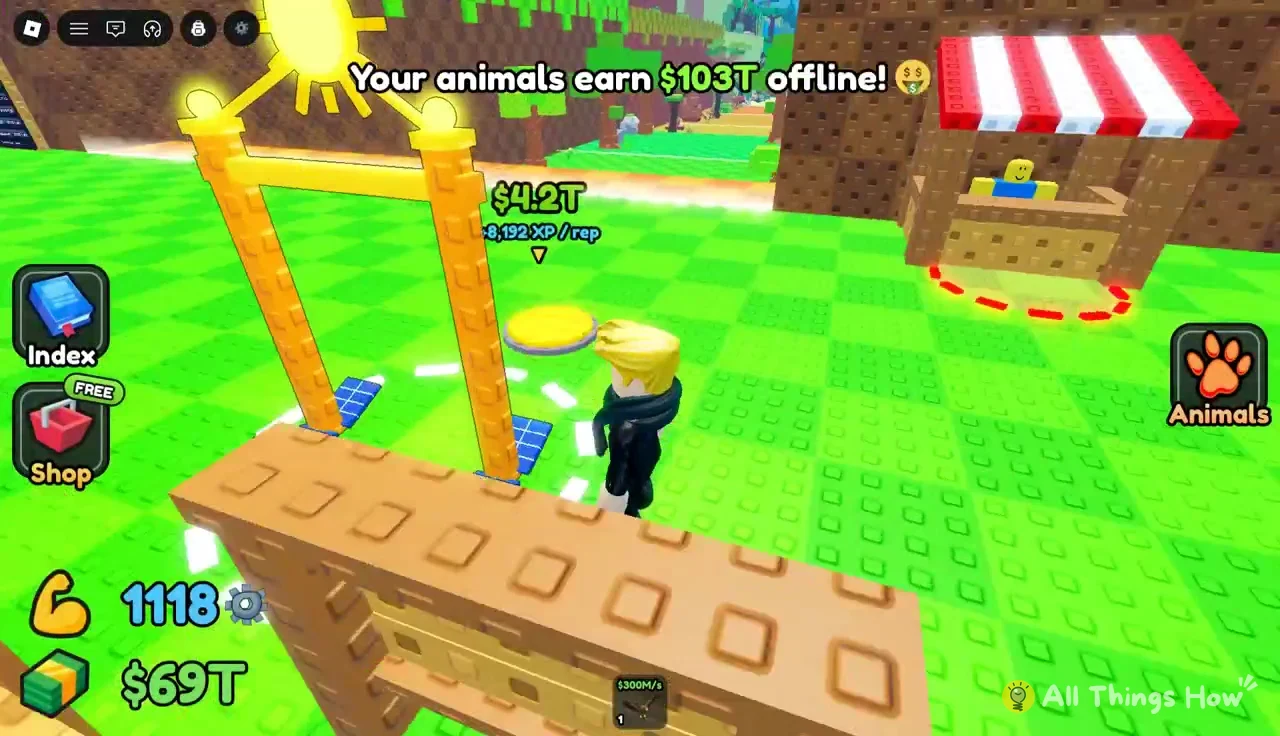
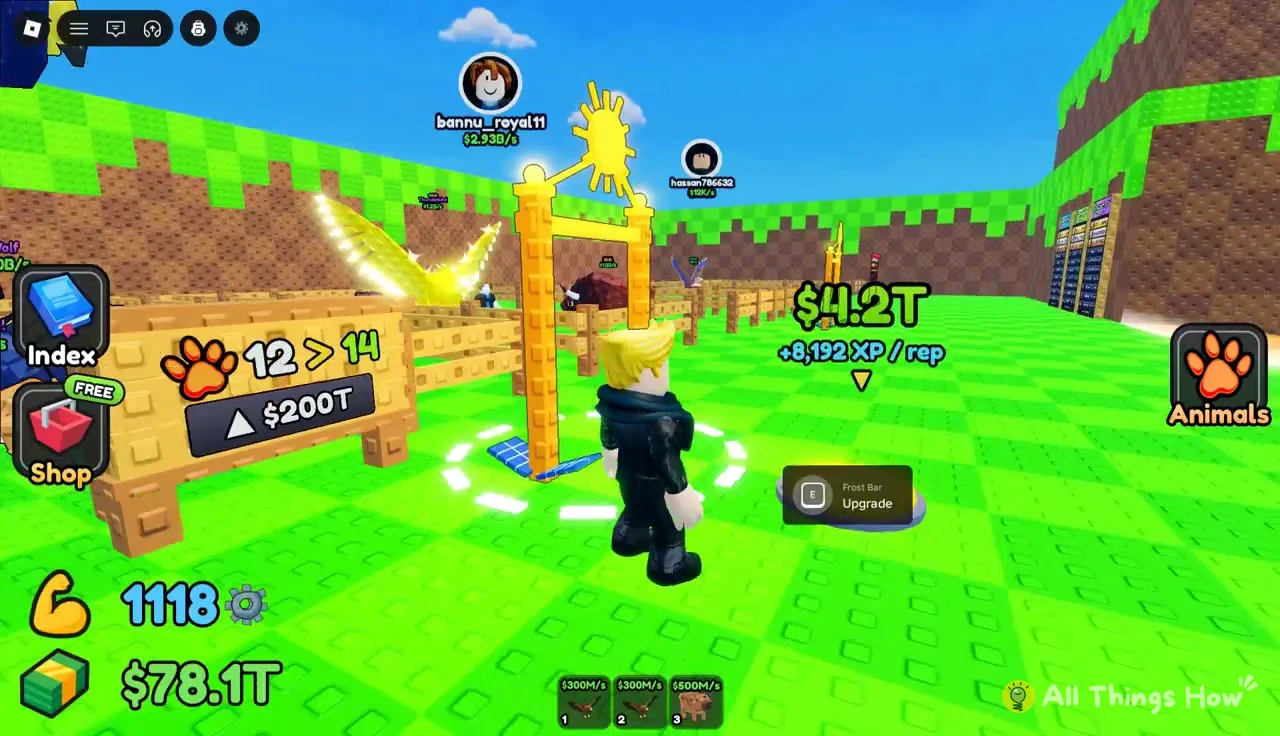
New bars announce themselves with a “NEW EQUIPMENT!” pop-up once you can afford them. To buy one, walk onto the yellow circular upgrade pad next to the training station, which shows the price and the XP per rep above it. Buying the Solar Bar immediately surfaces the Frost Bar as the next option.
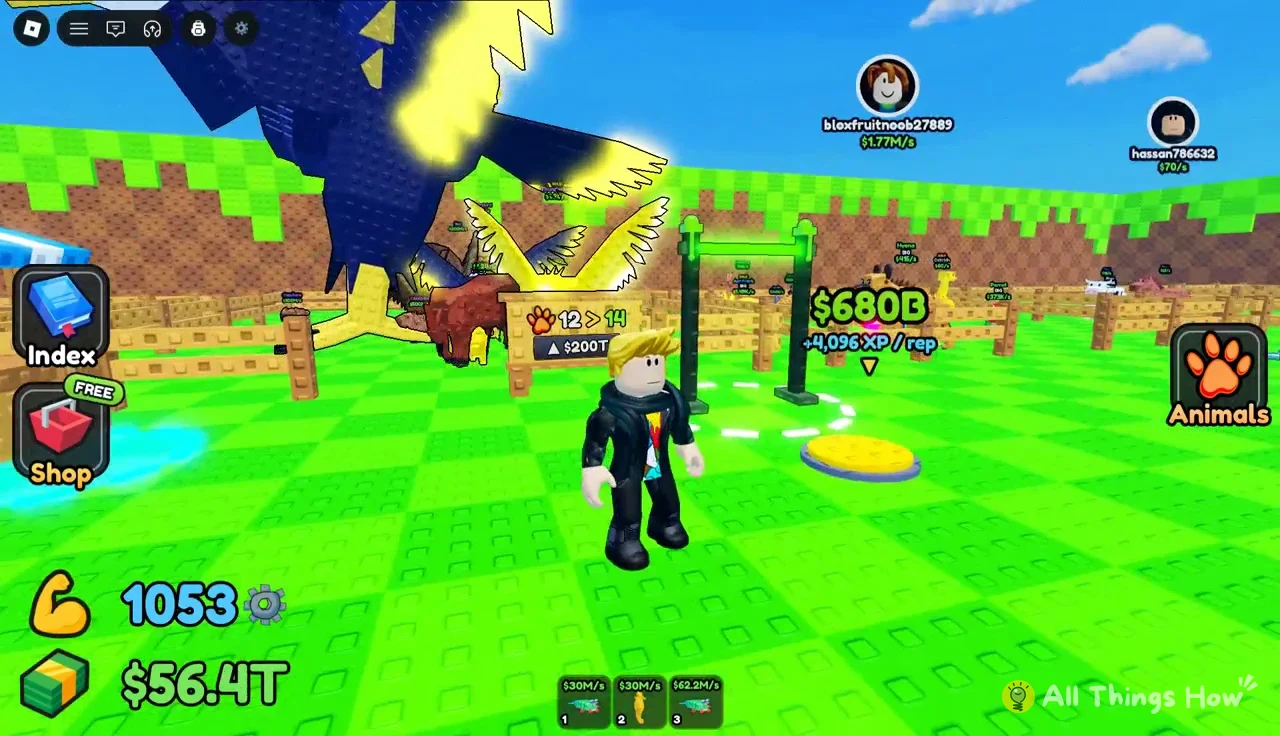
Step into the dashed white ring around the bar to start a set. Levels come quickly at this stage; the Solar Bar took Throw Power from Level 208 to Level 216 in one session, and later sets pushed it to Level 225. Hit the red STOP button to end training when you want to throw again.
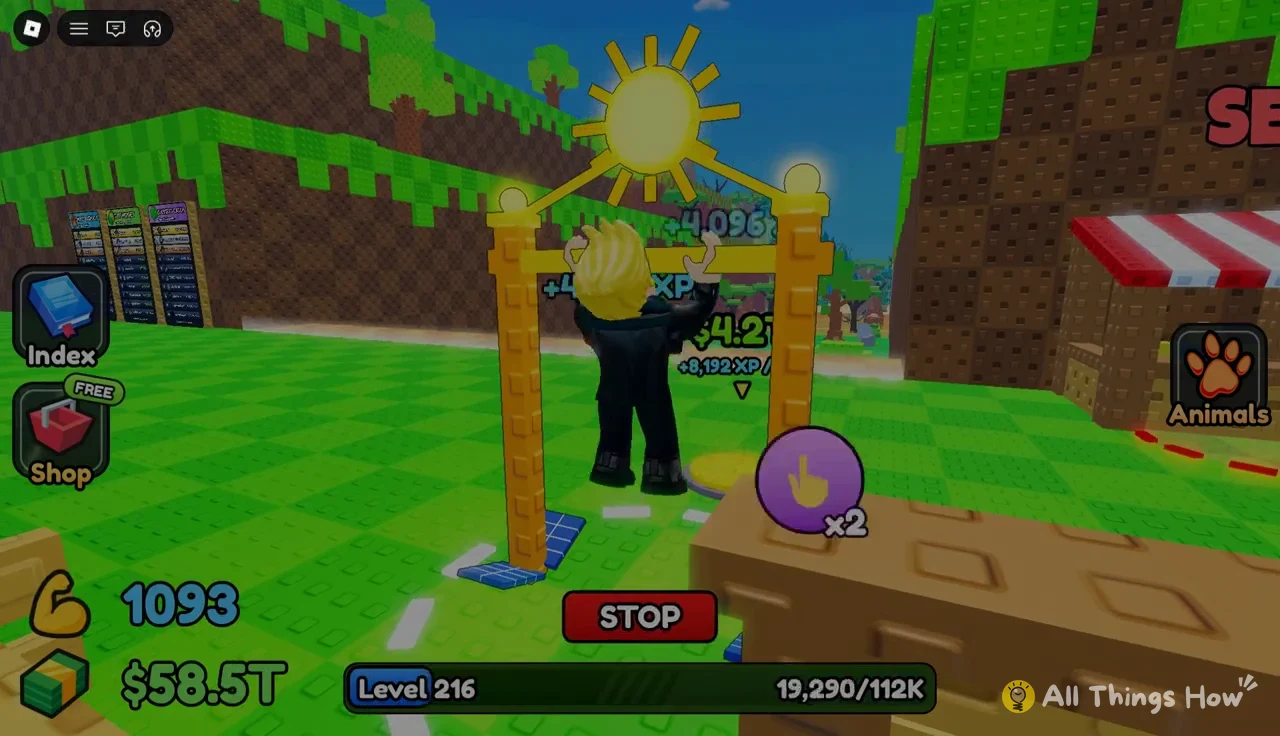
Once you have the cash for the next tier, the Frost Bar station gives you an E prompt to upgrade. At $4.2T it is a big step up in price, but it doubles your XP per rep compared with the Solar Bar.
Throw meter ratings
Every throw adds a one-off power bonus based on where you stop the meter. That bonus is on top of your trained Throw Power, so a sloppy tap costs you distance and therefore Luck. The ratings work out like this.
- PERFECT! gives +19 or +20 POWER.
- GREAT! gives between +15 and +18 POWER.
- The meter runs from 0 to 20, so stopping near the top is always the goal.
How to make a high-Luck throw
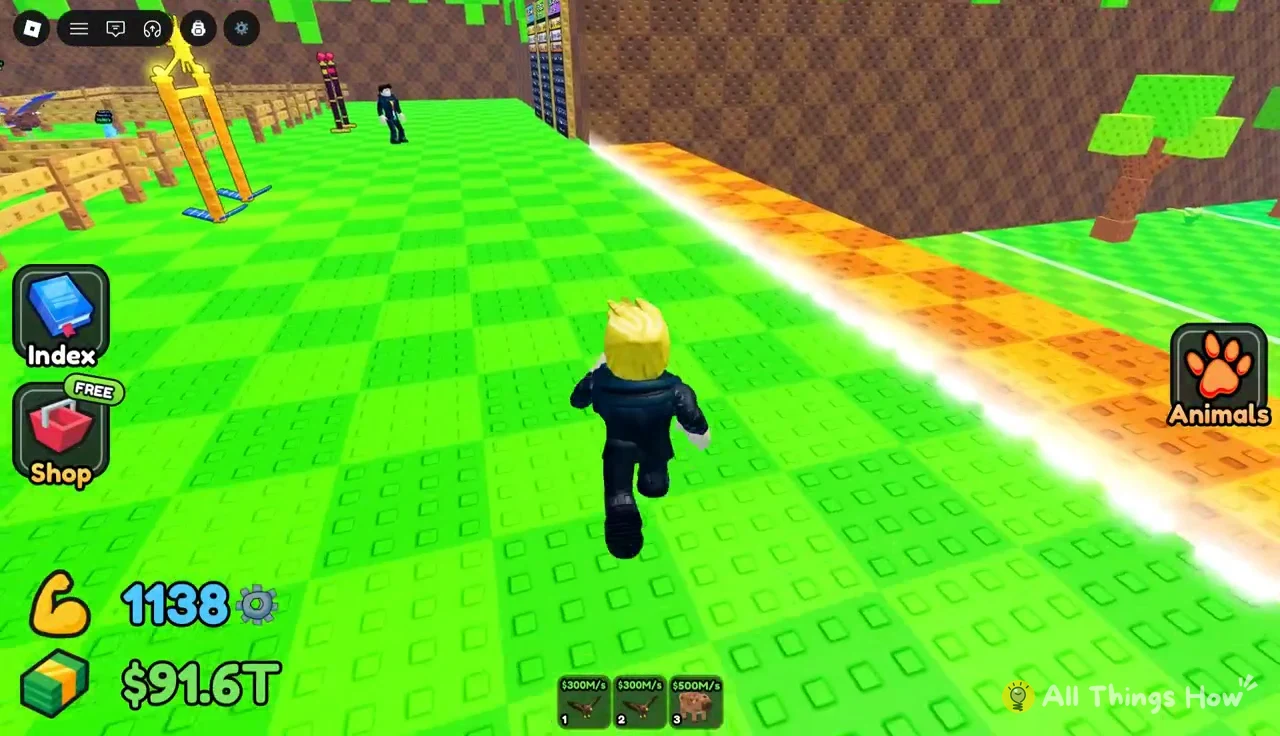
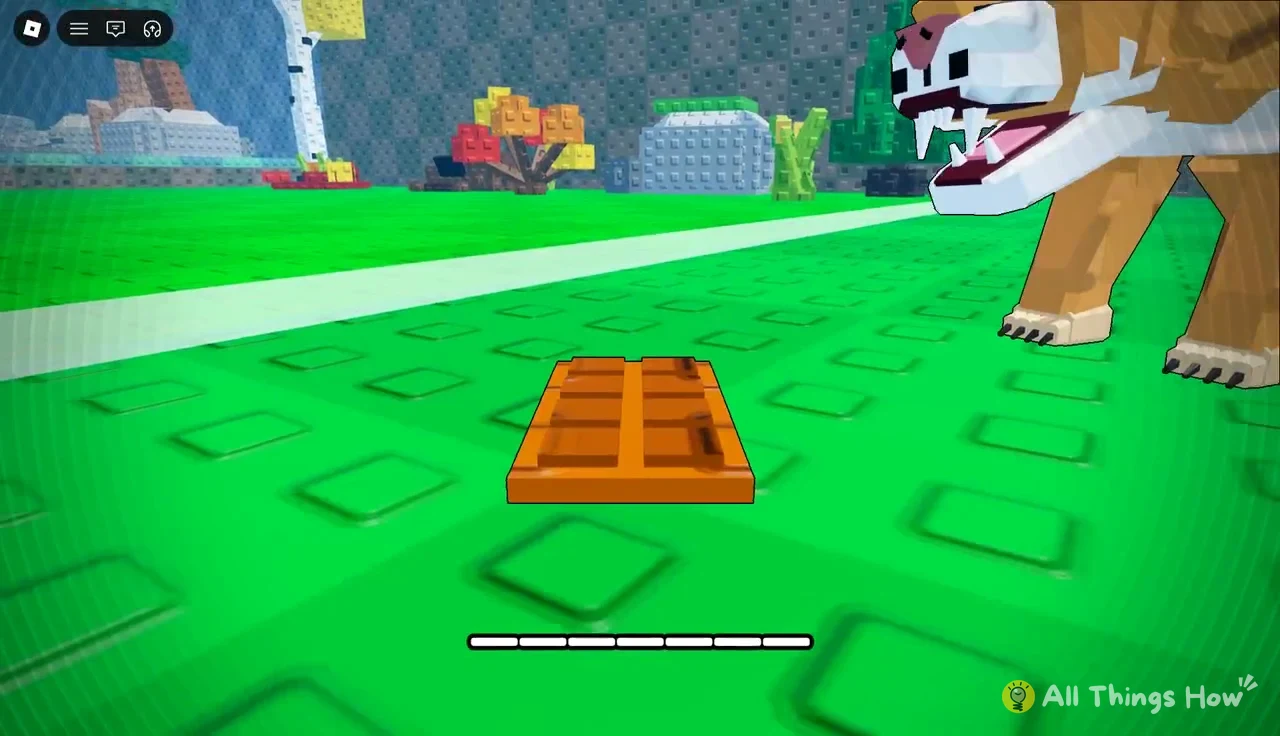
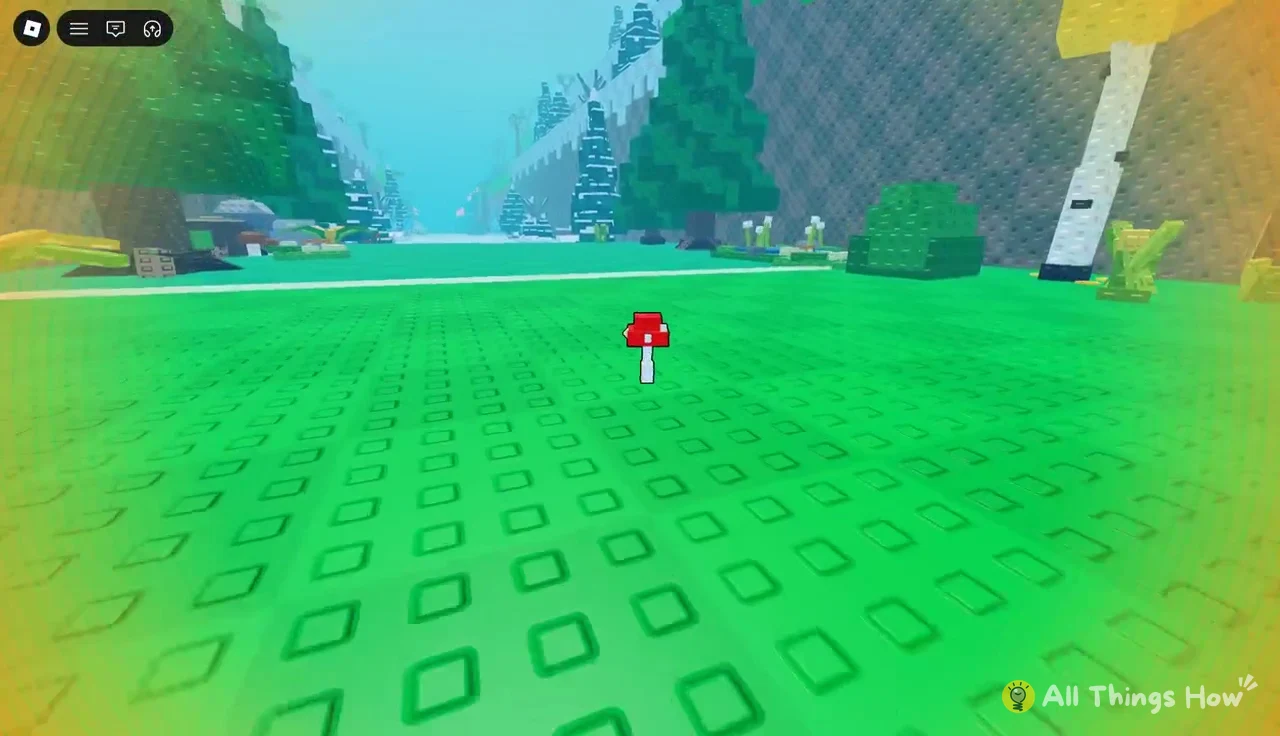
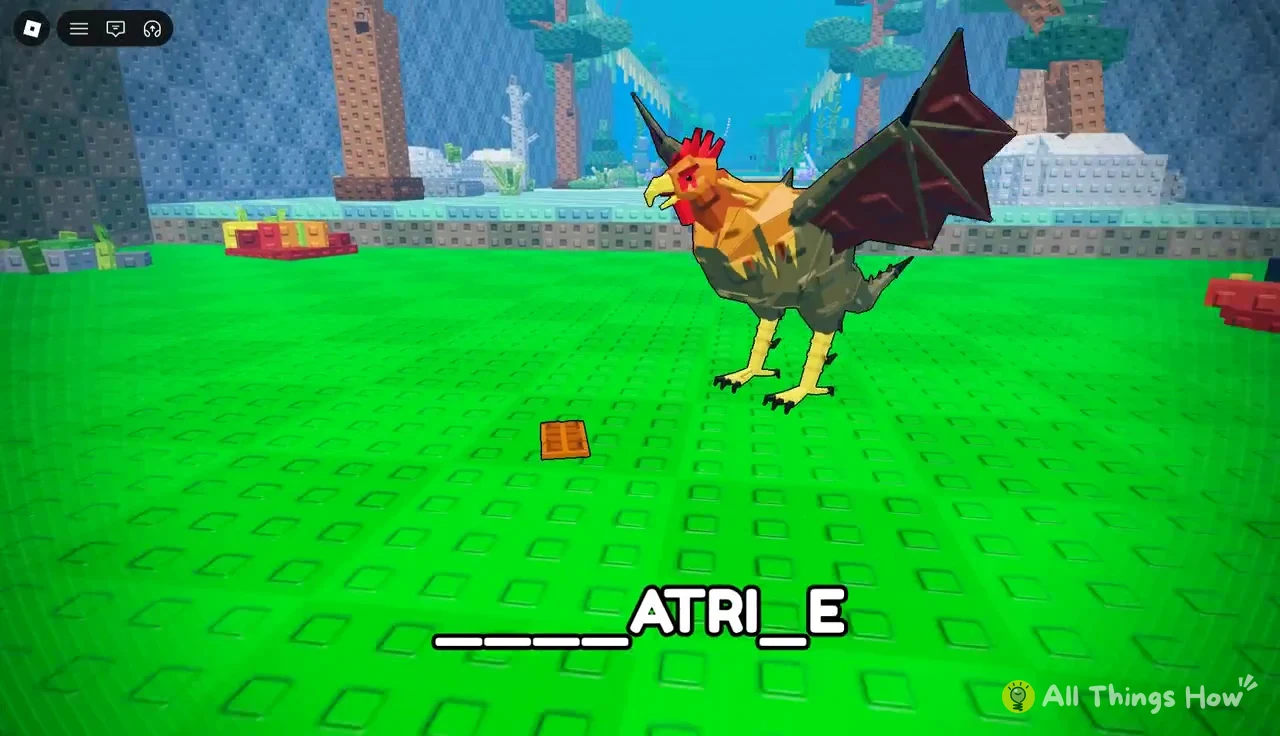
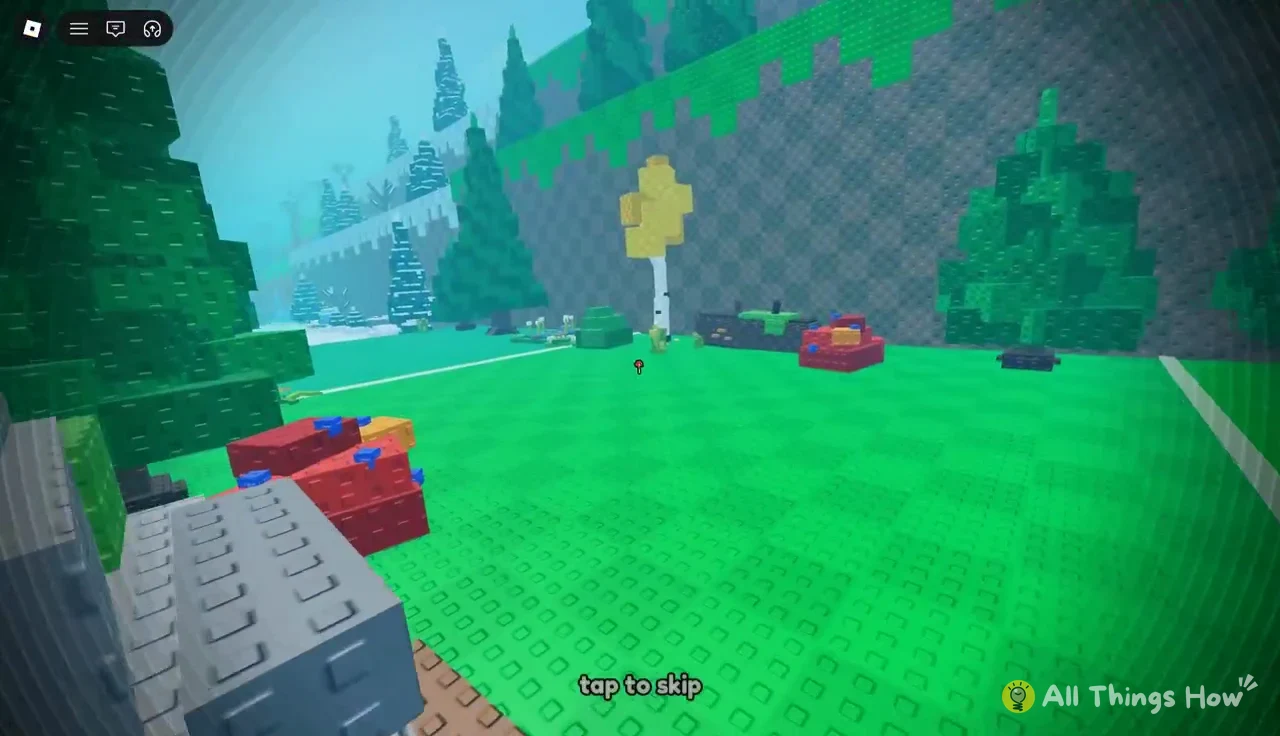
The discovery card confirms the catch. It shows the animal’s name, a tag such as NEW!, NEW BEST! or HUGE, and its income per second, followed by “tap to continue.” The game may also play a short cinematic that you can skip with “tap to skip.”
Lucky score rolls and Huge animals
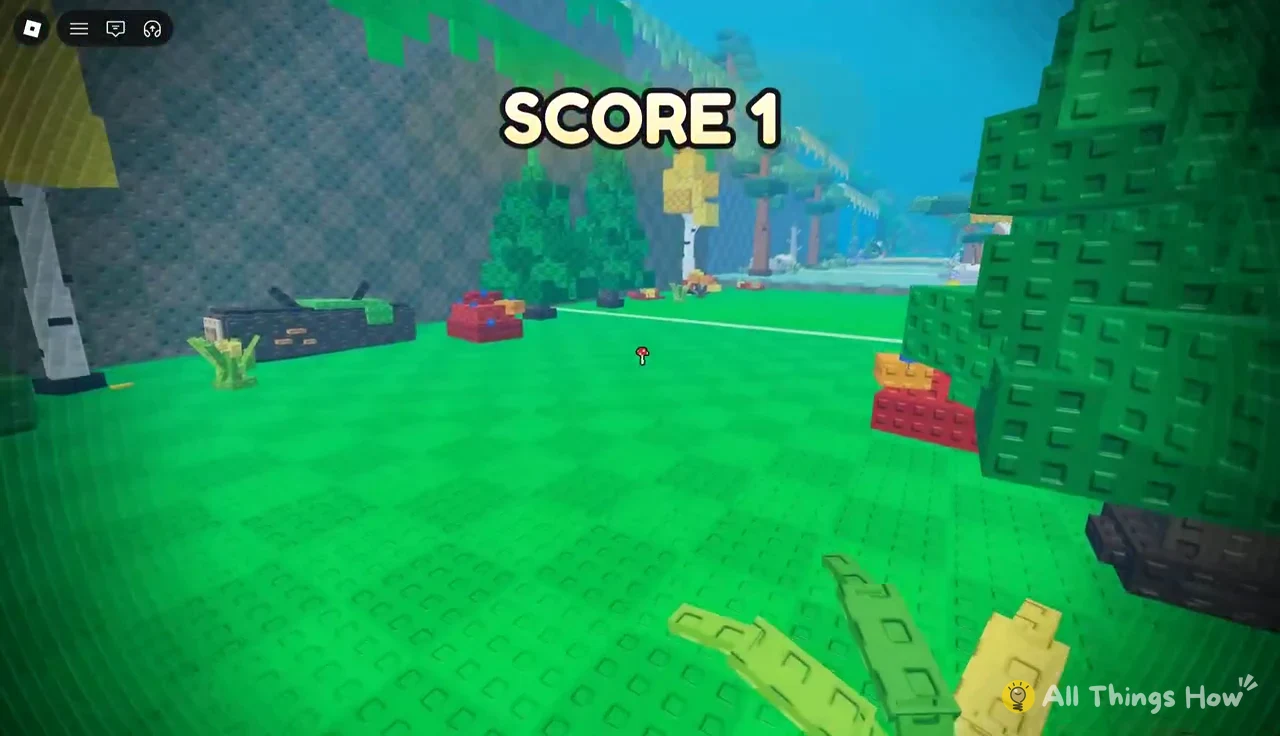
Some landings trigger a score sequence instead of a normal catch. A score counter starts low and climbs through LUCKY!, SUPER LUCKY! and INSANE LUCK! as multipliers stack. The higher the final score, the better the result.
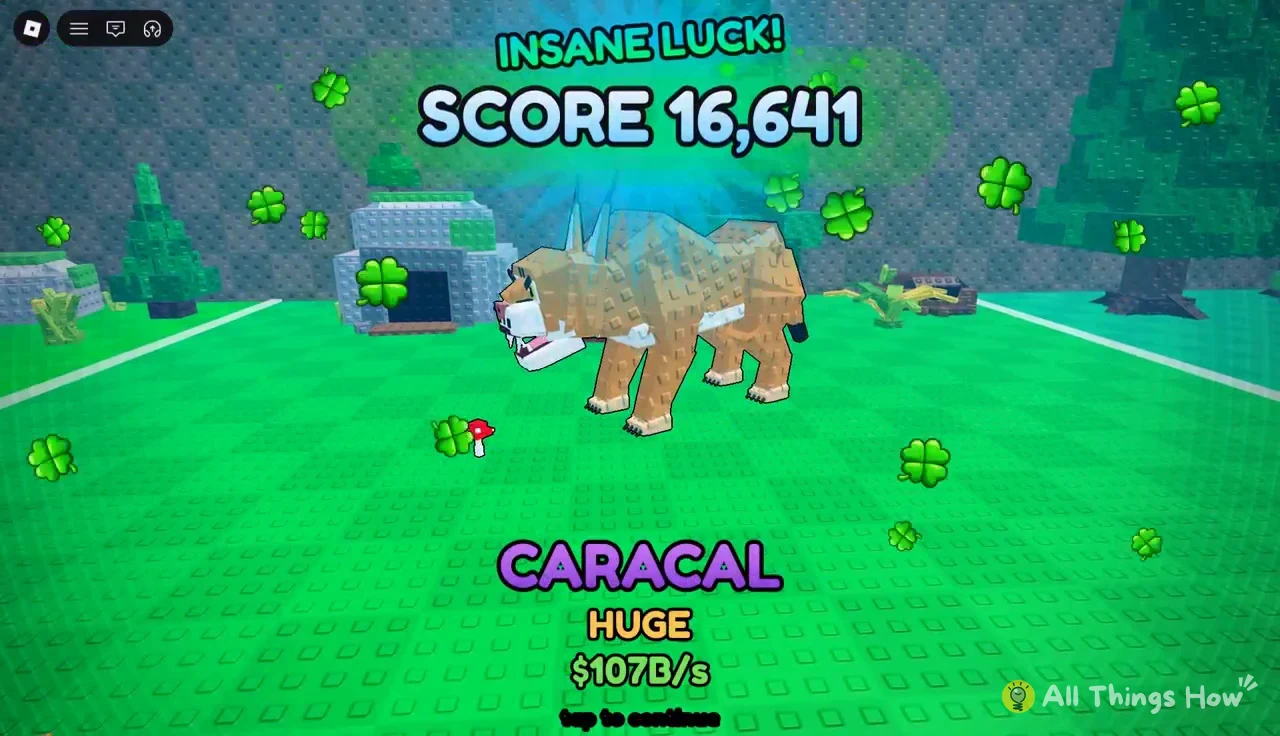
An INSANE LUCK! roll reaching a score of 16,641 on a Mushroom throw into Taiga summoned a Huge Caracal earning $107B/s. A regular Caracal from the same biome earns $12B/s, so a Huge version is close to nine times the income of the standard one.
Food tiers and what Taiga throws catch
Luck rolls on top of whatever pool your food attracts, so better food matters once your throws already reach Taiga. These are the Epic foods around the Taiga stage and the next unlock beyond them.
| Food | Rarity | Tier | Price |
|---|---|---|---|
| Croissant | Epic | 5 | $650M |
| Chocolate | Epic | 5 | $3.2B |
| Mushroom | Epic | 6 | $30B |
| Fillet | Mythic | 8 | $57T |
Taiga landings at 19.48X to 20.67X Luck with Chocolate and Mushroom produced these animals. The Gold Wolf came from Mushroom and immediately became the best animal on the plot.
| Animal | Income | Food used |
|---|---|---|
| Cockatrice | $8B/s | Chocolate, Mushroom |
| Caracal | $12B/s | Chocolate |
| Wolf | $20B/s | Chocolate |
| Gold Wolf | $30B/s | Mushroom |
| Huge Caracal | $107B/s | Mushroom |
Making room for lucky catches
A great roll is wasted if the animal sits in your backpack, since only animals on your plot earn money. Plots start full quickly at 12/12. Open My Animals and press EQUIP BEST, and the game places your 12 strongest animals on the plot and confirms it with “Your best 12 animals are on your plot!”
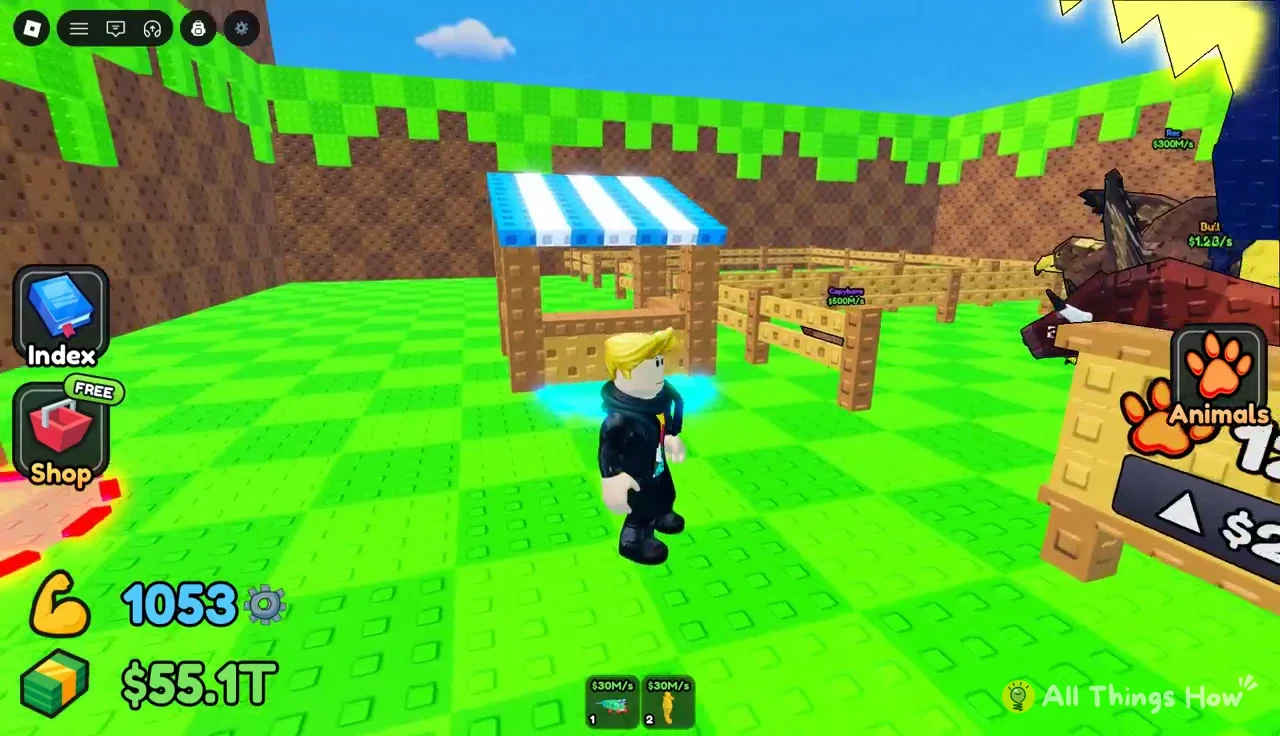
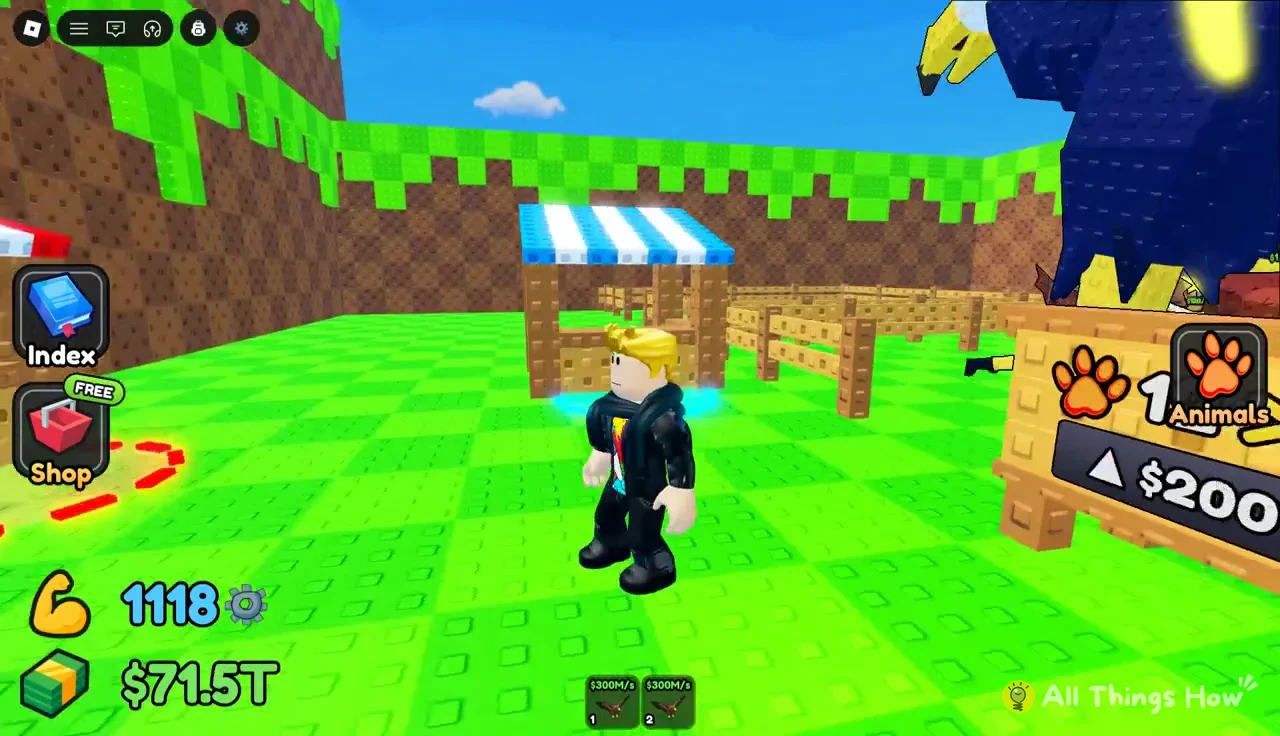
Anything left over can go to the red-and-white Sell booth. Stand in the red dashed circle in front of it, choose SELL ALL, and confirm. Animals on your plot are kept, and the menu reads “NO ANIMALS IN BACKPACK” once the sale goes through. If you want more slots instead, the plot expansion sign raises capacity from 12 to 14 for $200T.
The pattern holds at every stage of the game. Train until your throws reach the end of the track, land PERFECT! as often as you can, and only then put cash into the next food. Distance is what buys you Luck, and Taiga is where it peaks.