
File History in Windows 11 regularly copies your personal files to an external drive or network location, creating automatic backups of folders like Documents, Pictures, and Desktop. While this feature protects against accidental data loss, some users find File History runs persistently or consumes system resources, even after attempts to disable it. Disabling File History can free up system resources, prevent unwanted backups, and give you full control over where your files are stored.
Disable File History Using Control Panel
Win + R, typing control, and pressing Enter. This opens the classic Control Panel interface, which provides direct access to File History settings.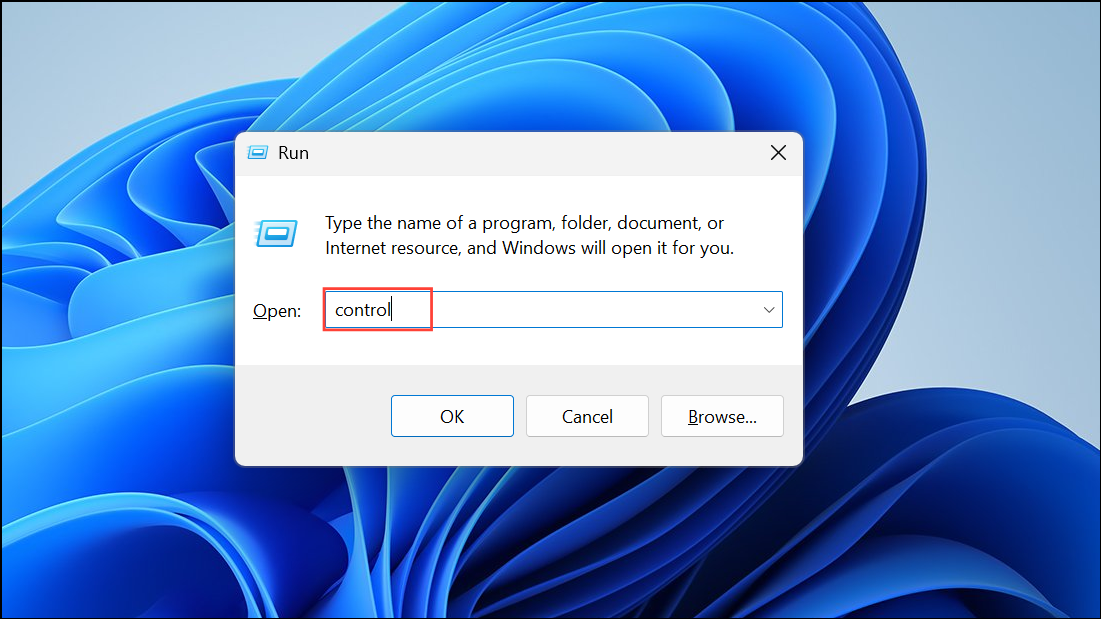
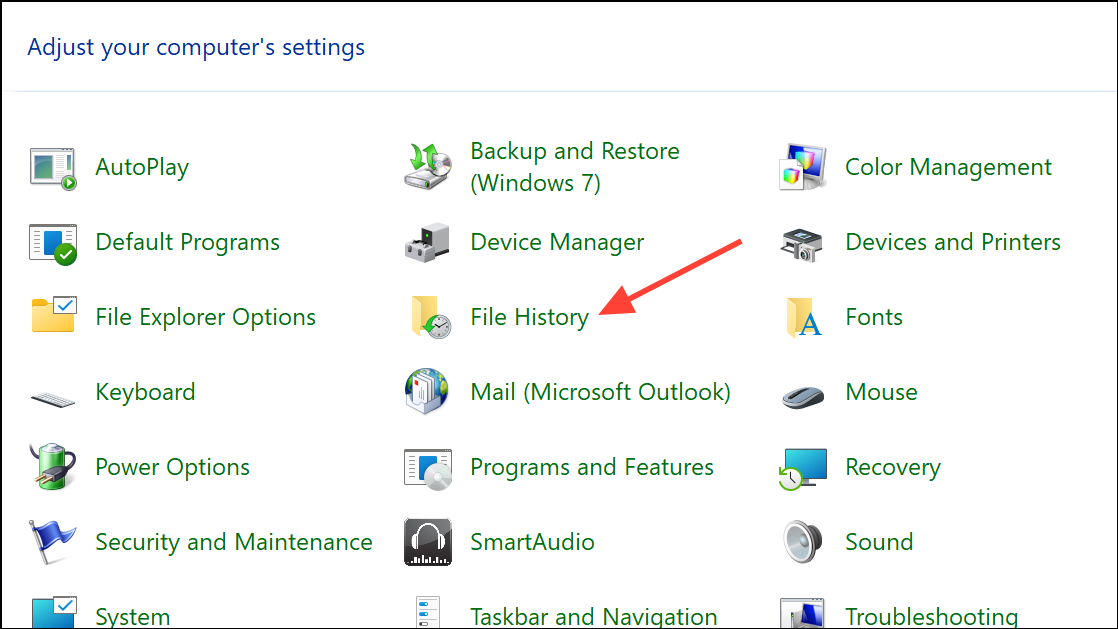
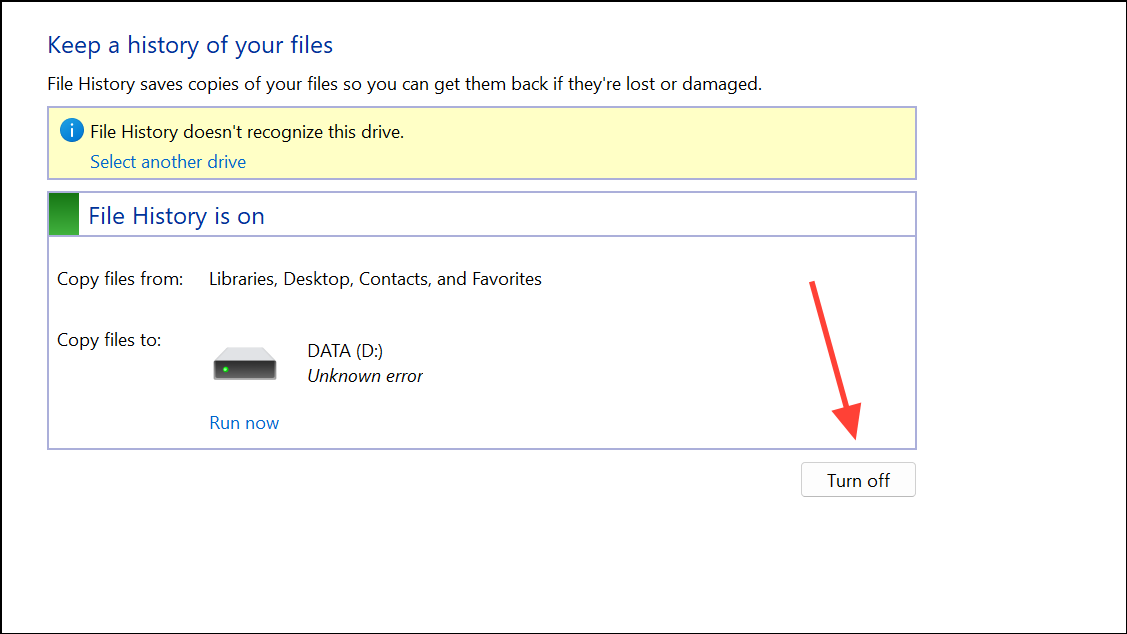
Disabling File History from Control Panel is the simplest method for most users, as it requires no advanced configuration and takes effect immediately. If you ever want to re-enable it, return to the same location and click Turn on.
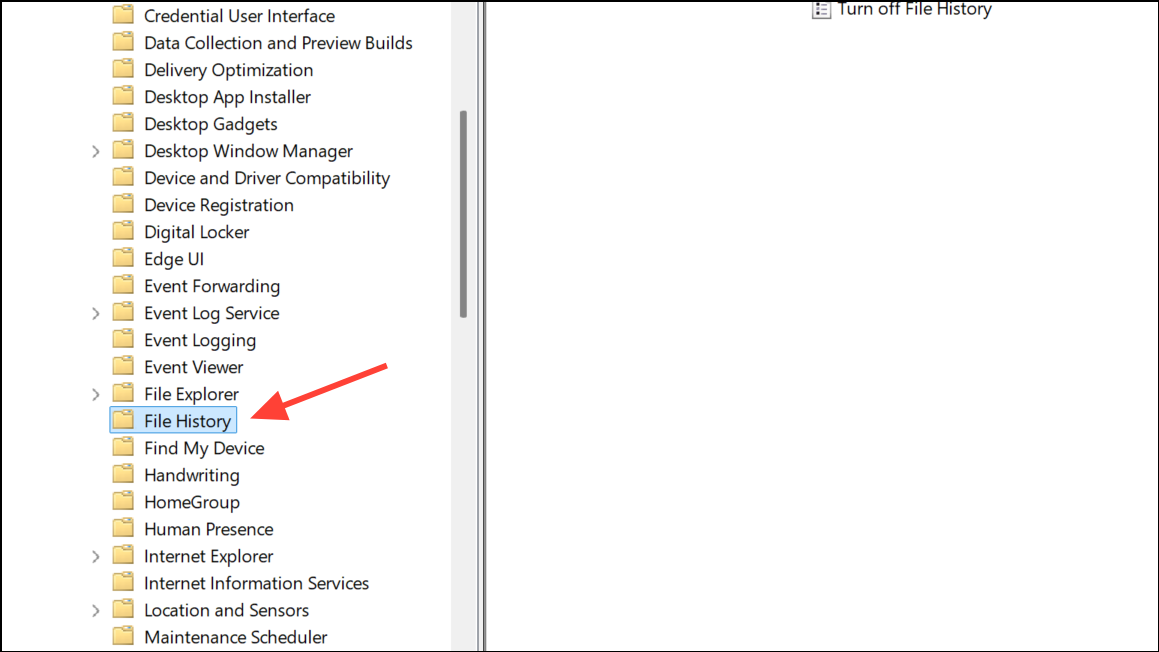
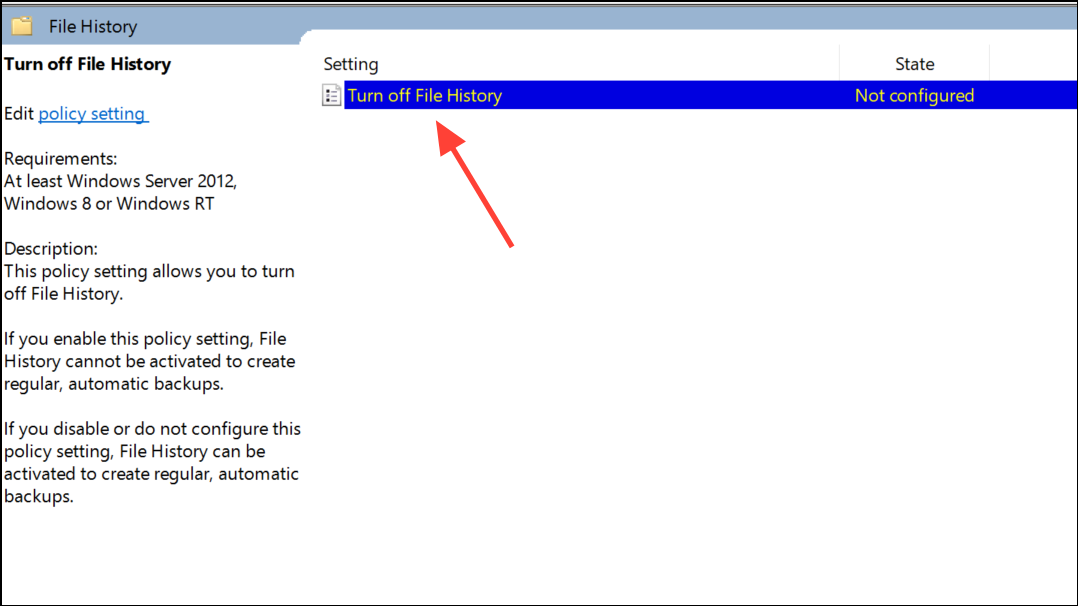
Disable File History with Group Policy Editor
For users running Windows 11 Pro, Enterprise, or Education editions, the Group Policy Editor provides a way to disable File History system-wide. This method prevents all users on the computer from enabling File History, and is especially useful in managed environments or when Control Panel options appear grayed out due to administrative restrictions.
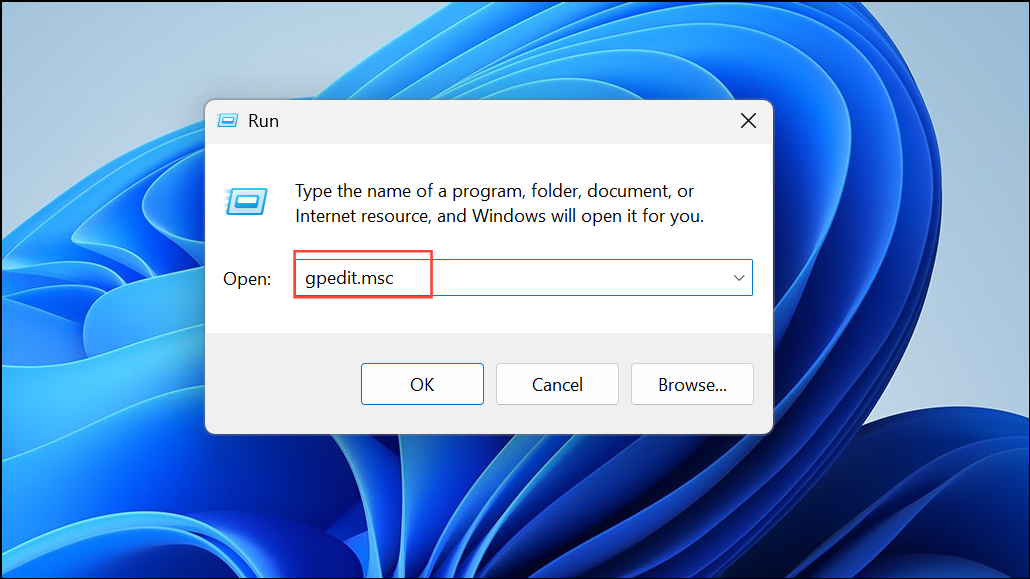
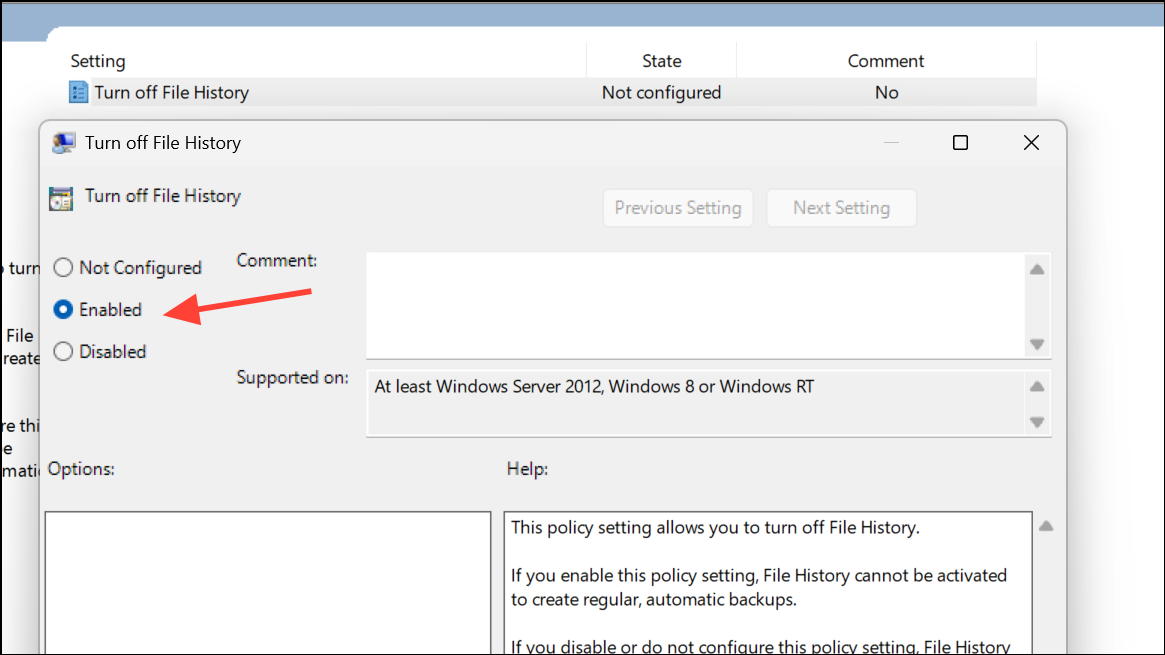
After making this change, you may need to restart your computer or run gpupdate /force from a command prompt to ensure the policy takes effect.
Disable File History via Registry Editor
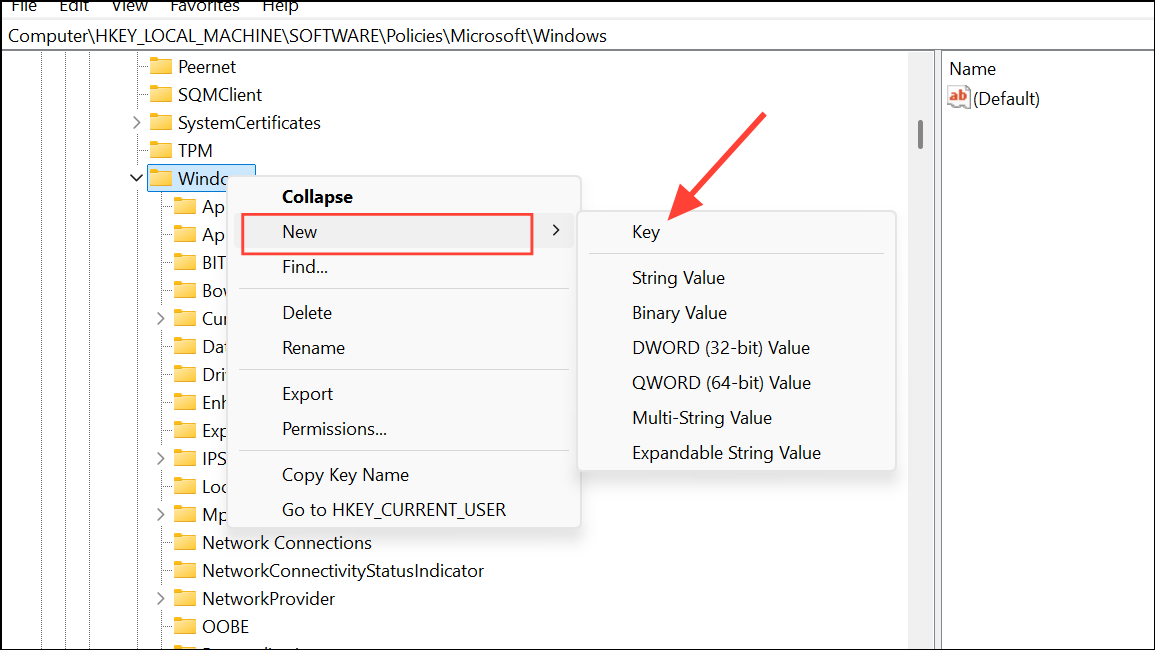
The Registry Editor allows precise control over system settings, including File History. This method is useful if you are running Windows 11 Home or if other methods are unavailable. Editing the registry disables File History for all users on the device.
Win + R, type regedit, and press Enter to launch the Registry Editor. If prompted by User Account Control, click Yes to continue.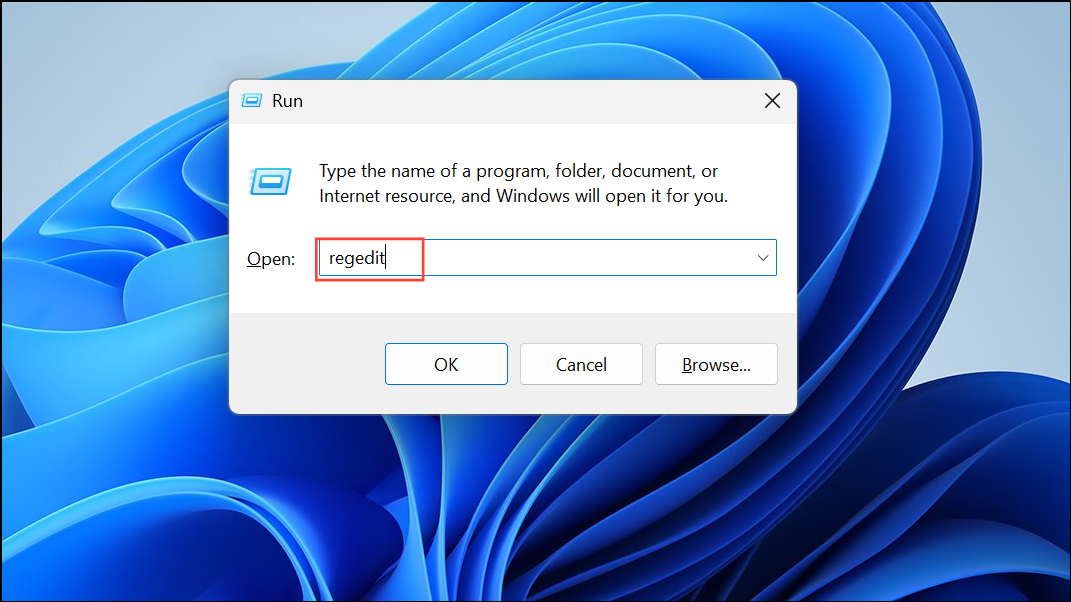
HKEY_LOCAL_MACHINE\SOFTWARE\Policies\Microsoft\Windows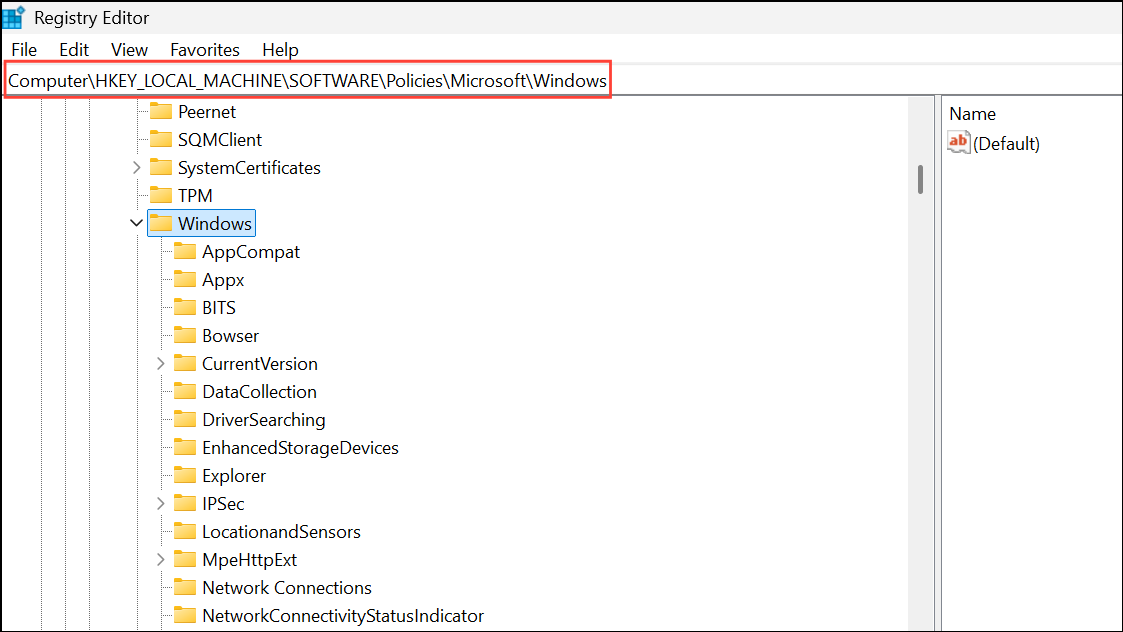

1, and click OK. This disables File History across all user accounts.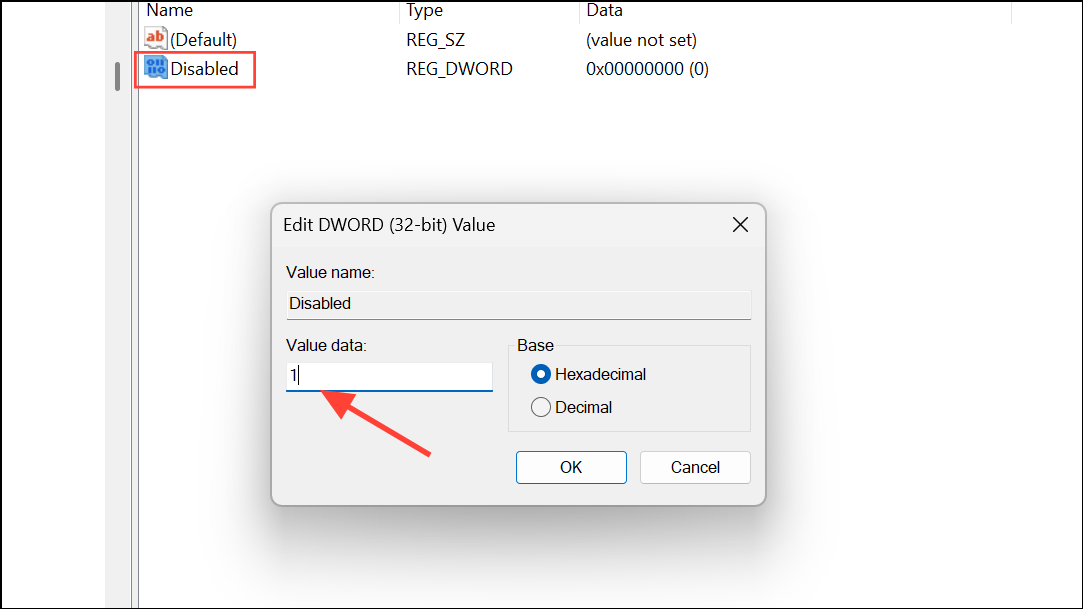
0 or delete the Disabled DWORD.Resetting File History Settings
In rare cases, File History may continue to run or cause issues even after disabling it. Resetting File History removes all configuration and cached backup data from your user profile, which can resolve persistent behavior.
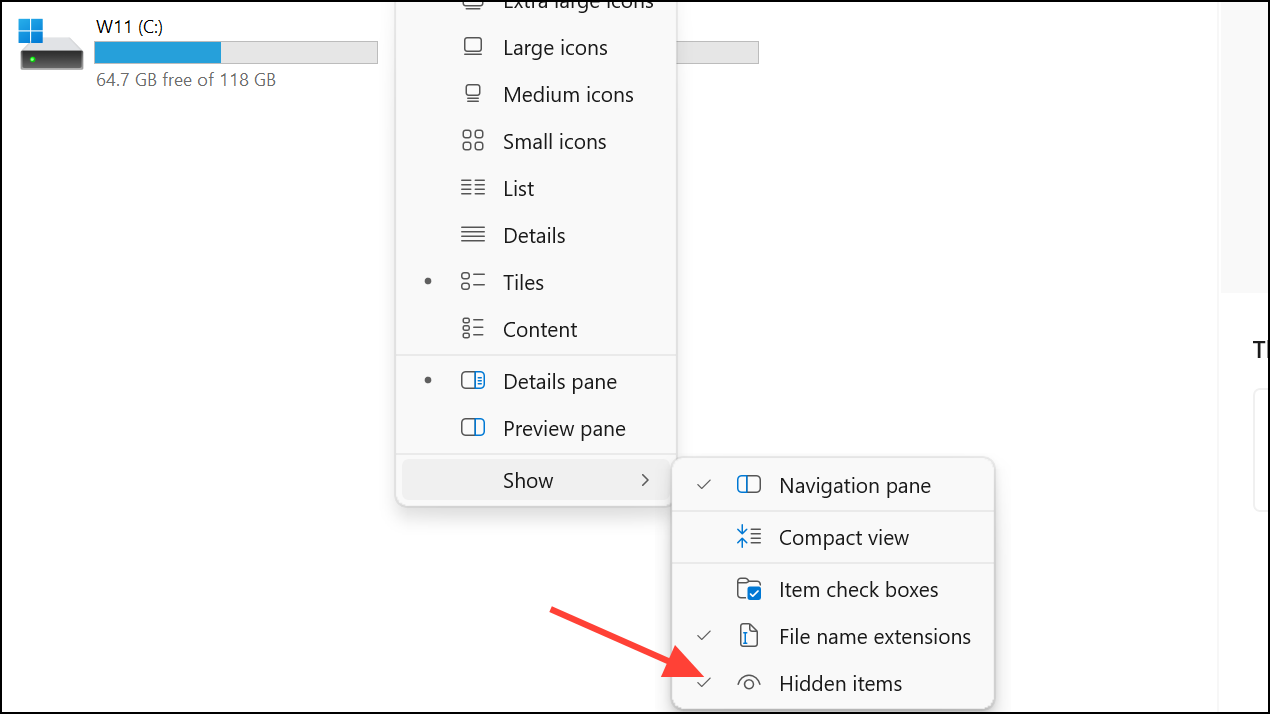
C:\Users\[YourUsername]\AppData\Local\Microsoft\Windows\FileHistory. Replace [YourUsername] with your actual Windows username.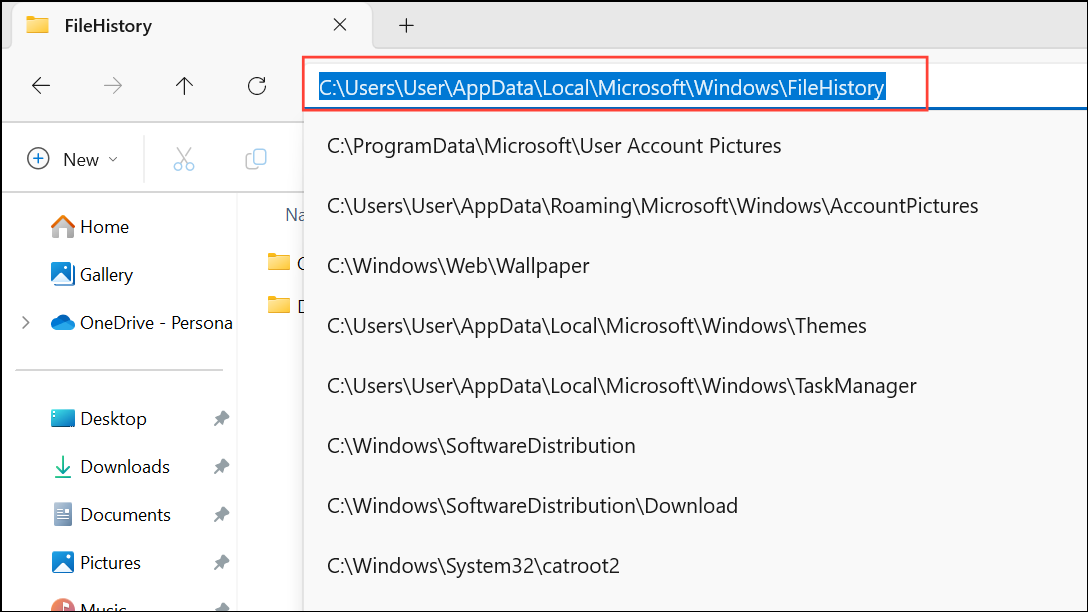
if exist "%UserProfile%\AppData\Local\Microsoft\Windows\FileHistory" RD /S /Q "%UserProfile%\AppData\Local\Microsoft\Windows\FileHistory"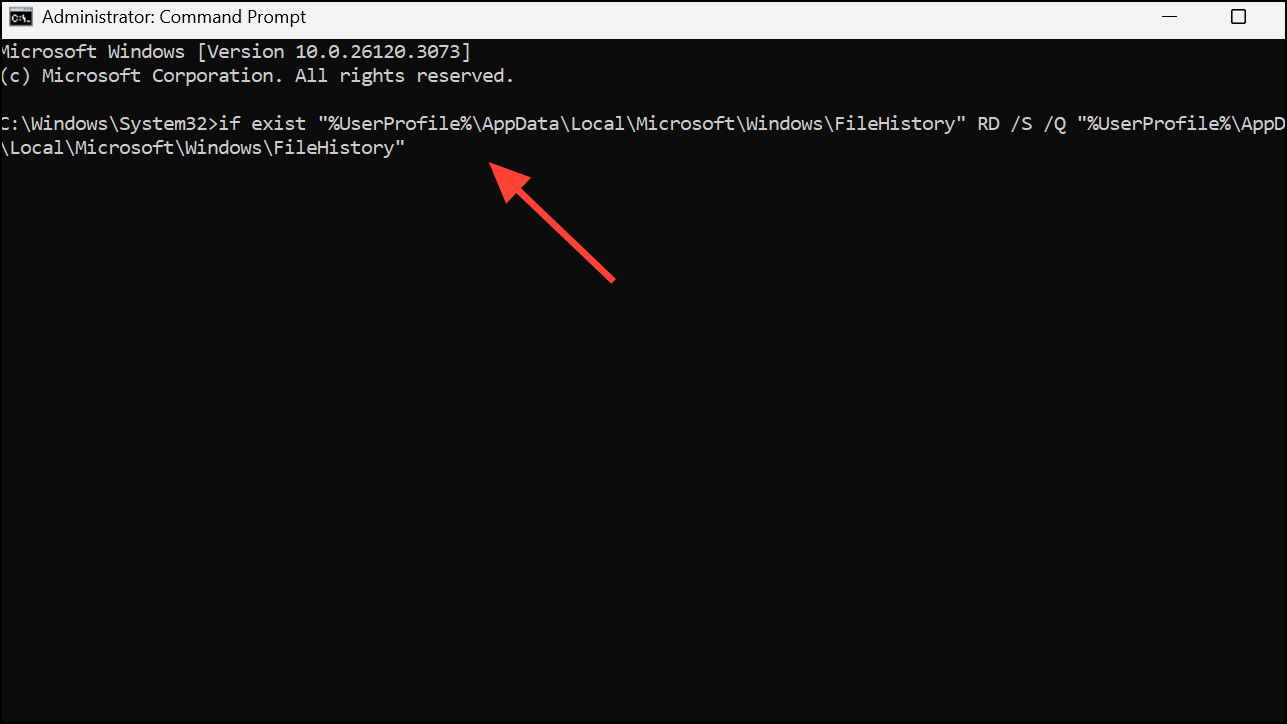
After resetting, File History will no longer have any previous configuration or backup history associated with your account.
Troubleshooting Persistent File History Activity
Some users report that File History continues to run or uses system resources even after it is disabled. This can occur if Group Policy or registry changes have not applied correctly, or if other backup software (such as OneDrive) is syncing files in the background. To confirm File History is truly disabled:
- Check the File History status in Control Panel—ensure it says “File History is off.”
- Verify Group Policy settings if using Pro or Enterprise editions.
- Double-check the registry key as described above.
- Restart your computer after making changes to ensure settings apply.
- Check Task Manager for any running processes named
FileHistory.exeand terminate them if found. - Ensure OneDrive or other backup utilities are not enabled if you see ongoing network or disk activity.
If File History continues to reactivate itself after Windows Updates, repeat the disabling steps above. Occasionally, updates may reset some system policies, requiring you to apply the changes again.
Disabling File History in Windows 11 gives you direct control over backups and system performance. If you ever want to restore the feature, simply reverse the steps outlined above.


