
Extended help — walkthroughs, tier lists, strategy.
Content Type: Guide
-
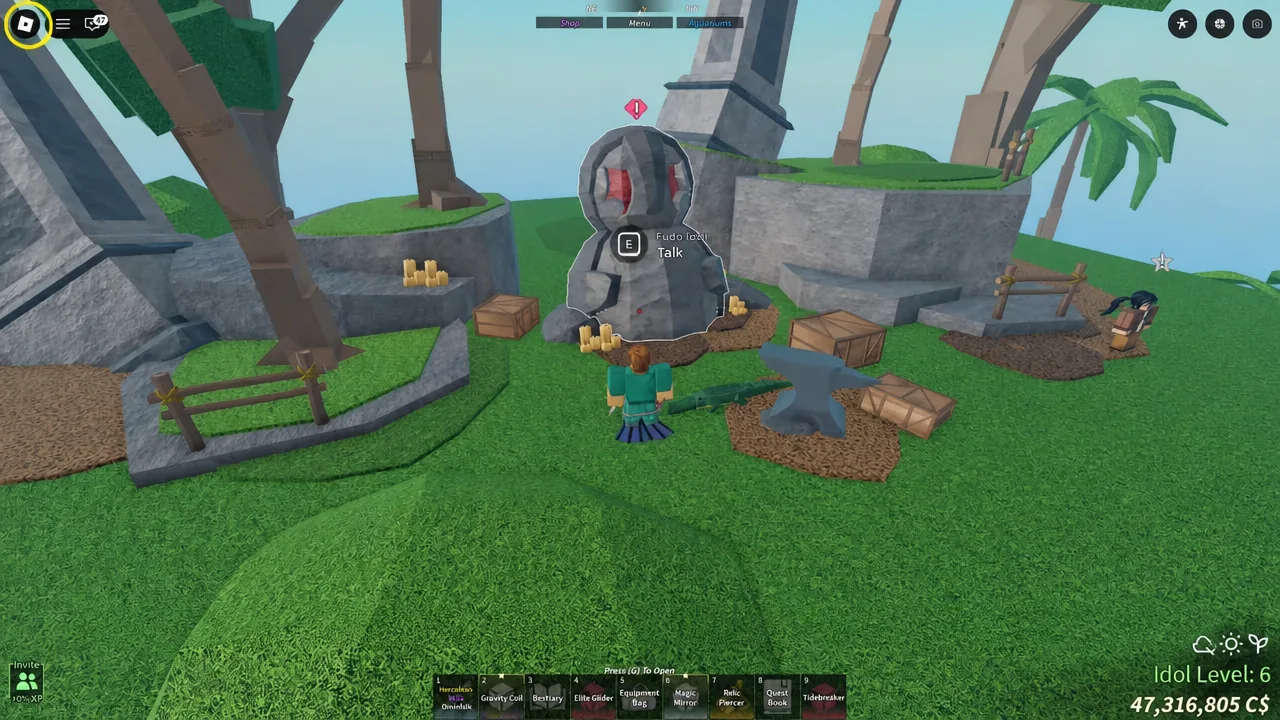
Fisch Skycrest: Full Guide to the Fudo Idol Trials
Every objective, rod and bait setup needed to clear all five Fudo trials and claim the Endurance Charm.
-

The Blood of Dawnwalker: The Night of Horrors Full Quest Walkthrough
Every objective, the crypt fight, and the Mandrake Ward perk you get for finishing Lacra’s swamp expedition.
-
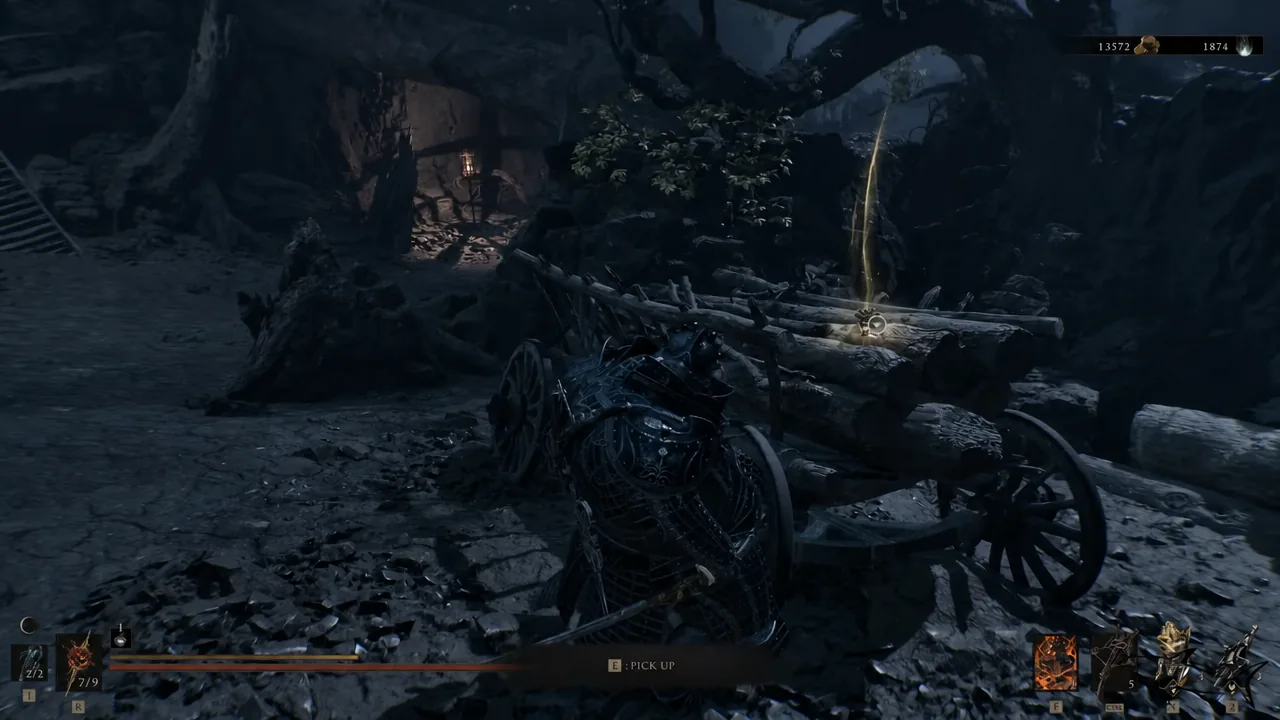
Mortal Shell 2: Fulminant Stone Location (Night Mode Tarstone)
The Collector only stocks this Ballistazooka Tarstone at night, near the Abandoned Outpost beacon in the Deserted Slums.
-

The Blood of Dawnwalker: What Hunts the Night Walkthrough
Every objective in order, from Crake’s cellar to the Beast of St. Teotim’s and the inscription that ends the quest.
-
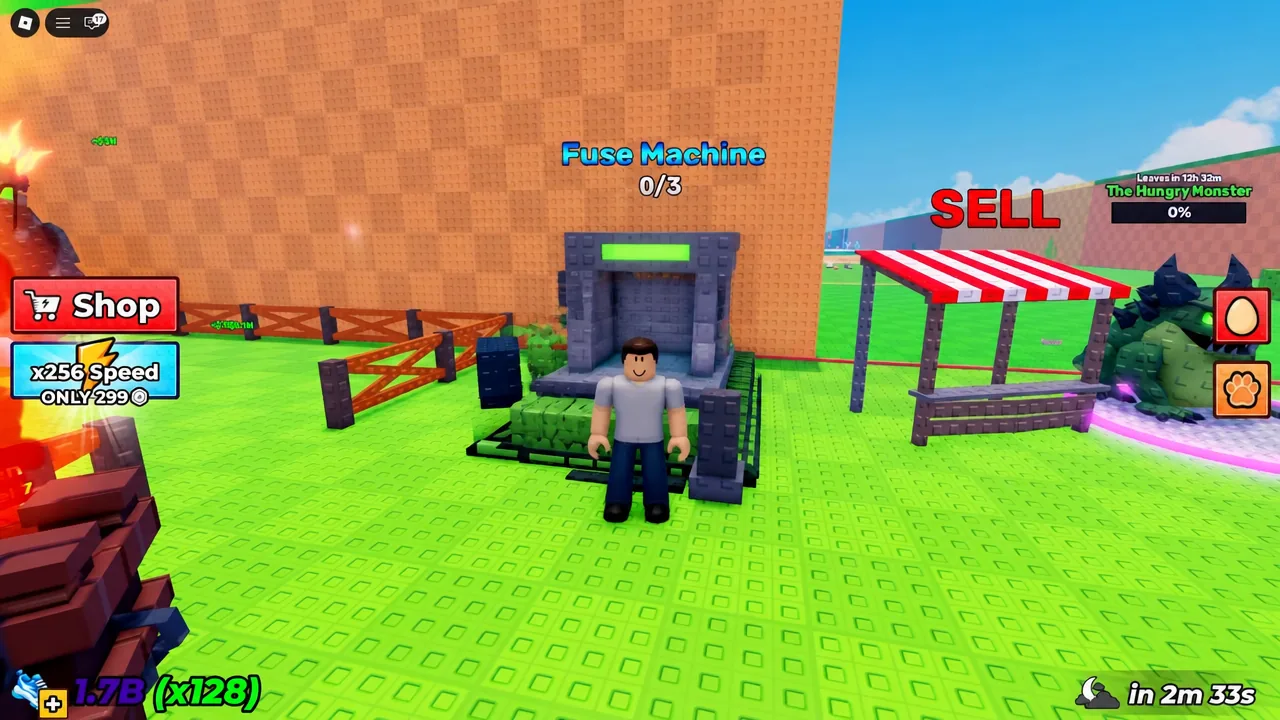
Steal An Egg Glitches That Still Work in Roblox
How the night reset bypass, boss corner traps, disconnect dupes, and AFK farming work in Steal An Egg.
-
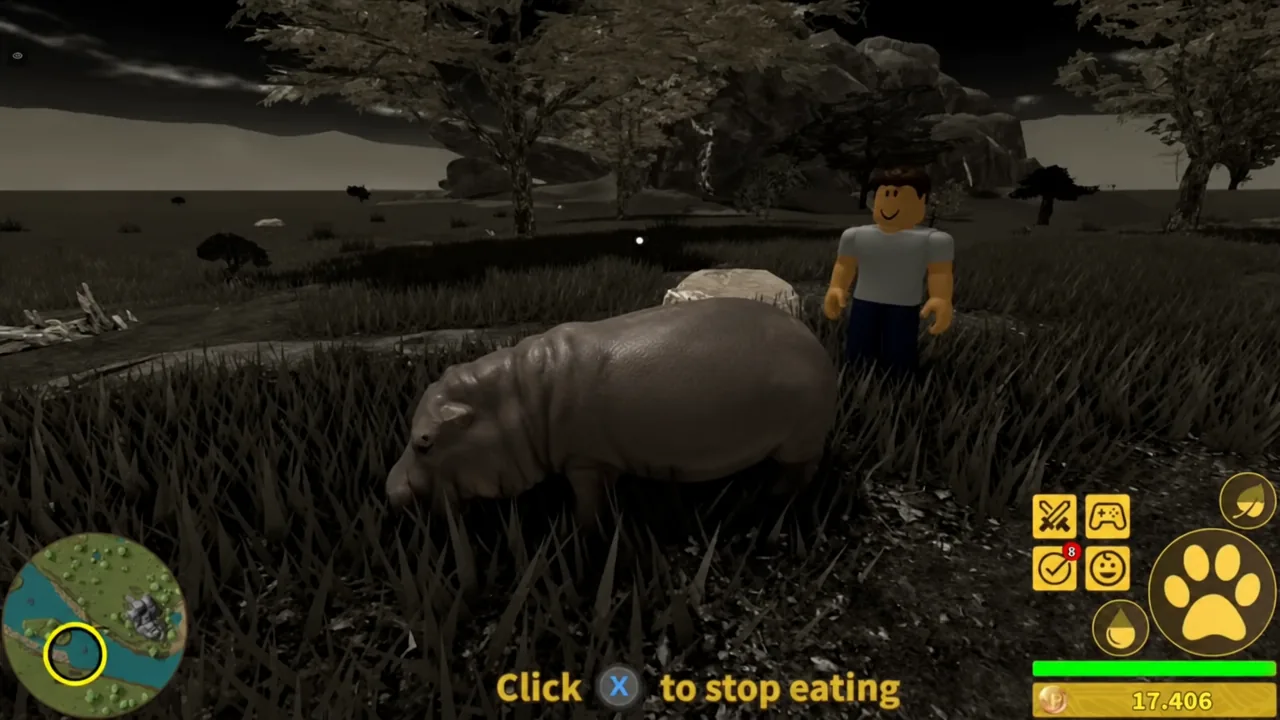
Savannah Life: How Kosing Works as a Hippo, Rhino, or Elephant
Stat lines, terrain advantages, and growth buyback costs for the game’s three heaviest herbivores.
-
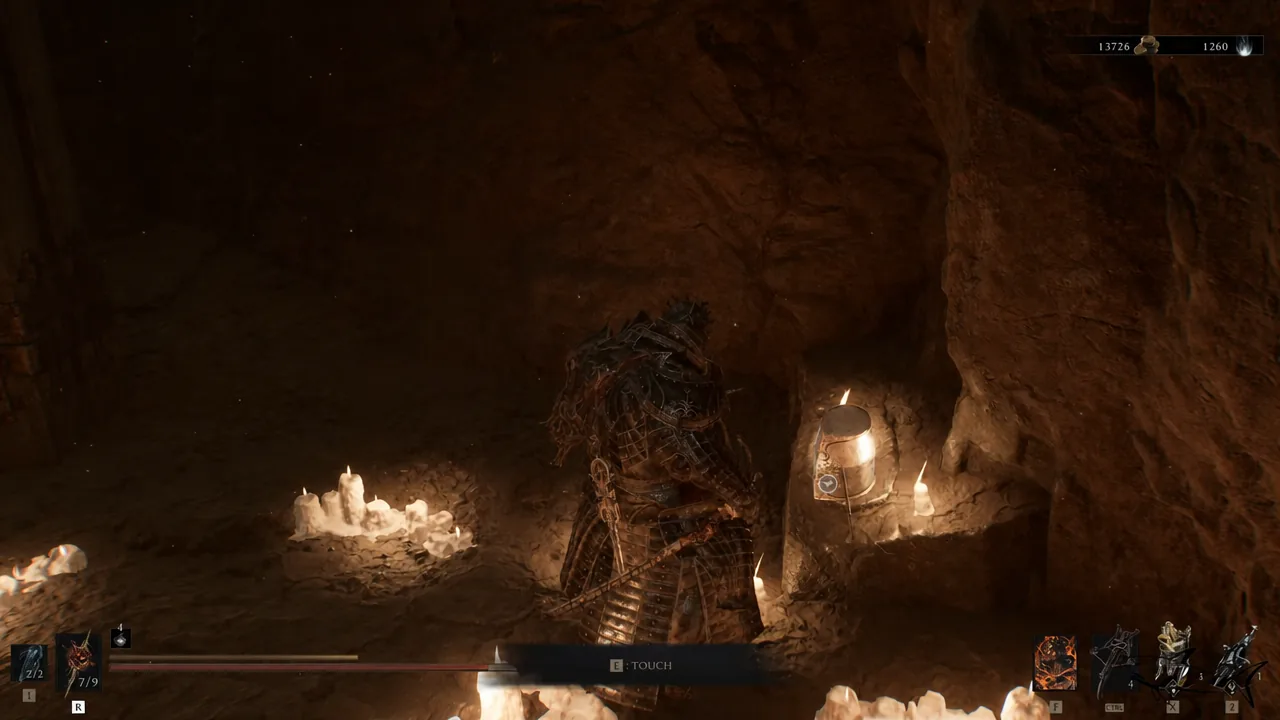
Mortal Shell 2: Zealot’s Stone Location and Light Combo Finisher
The exact route from Outskirts of Mammon to the Besieged Ruins, plus the stone’s Resolve numbers and upgrade path.
-
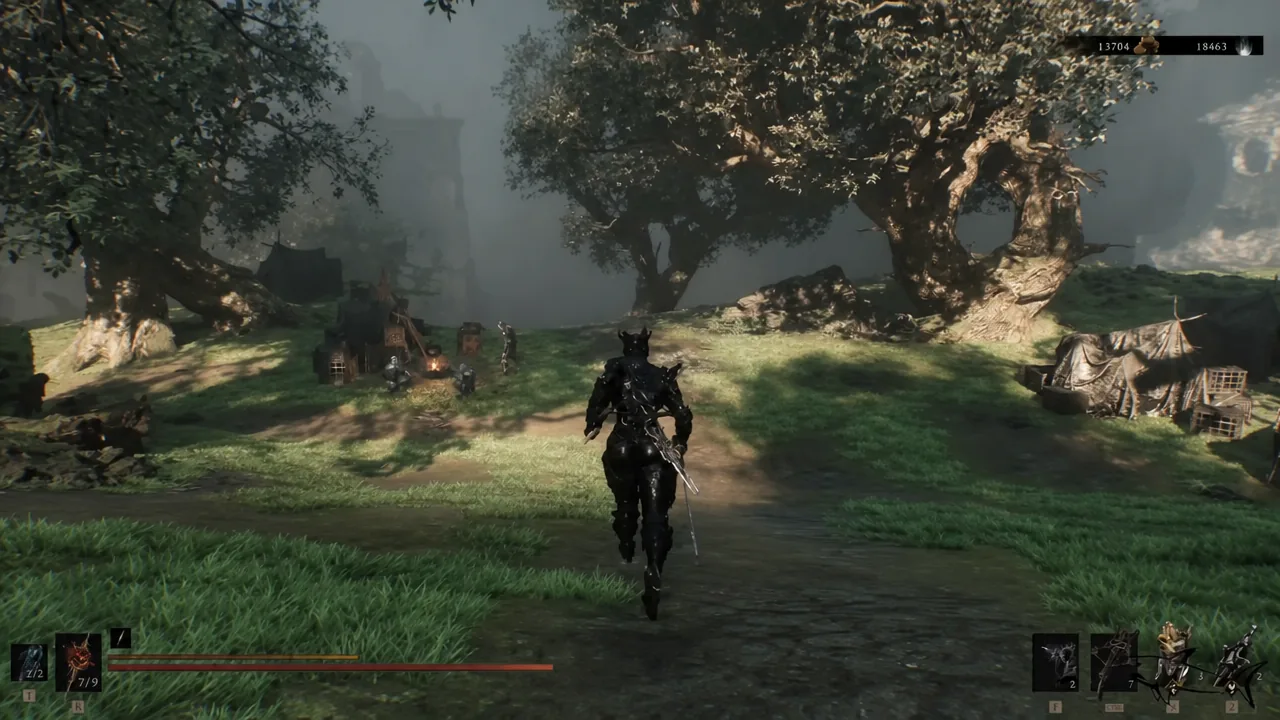
Mortal Shell 2: Spoiled Mortuary Location and 100% Walkthrough
Every enemy, chest, and hidden room inside the Ruins of Mammon dungeon, plus the fastest beacon route to its entrance.
-
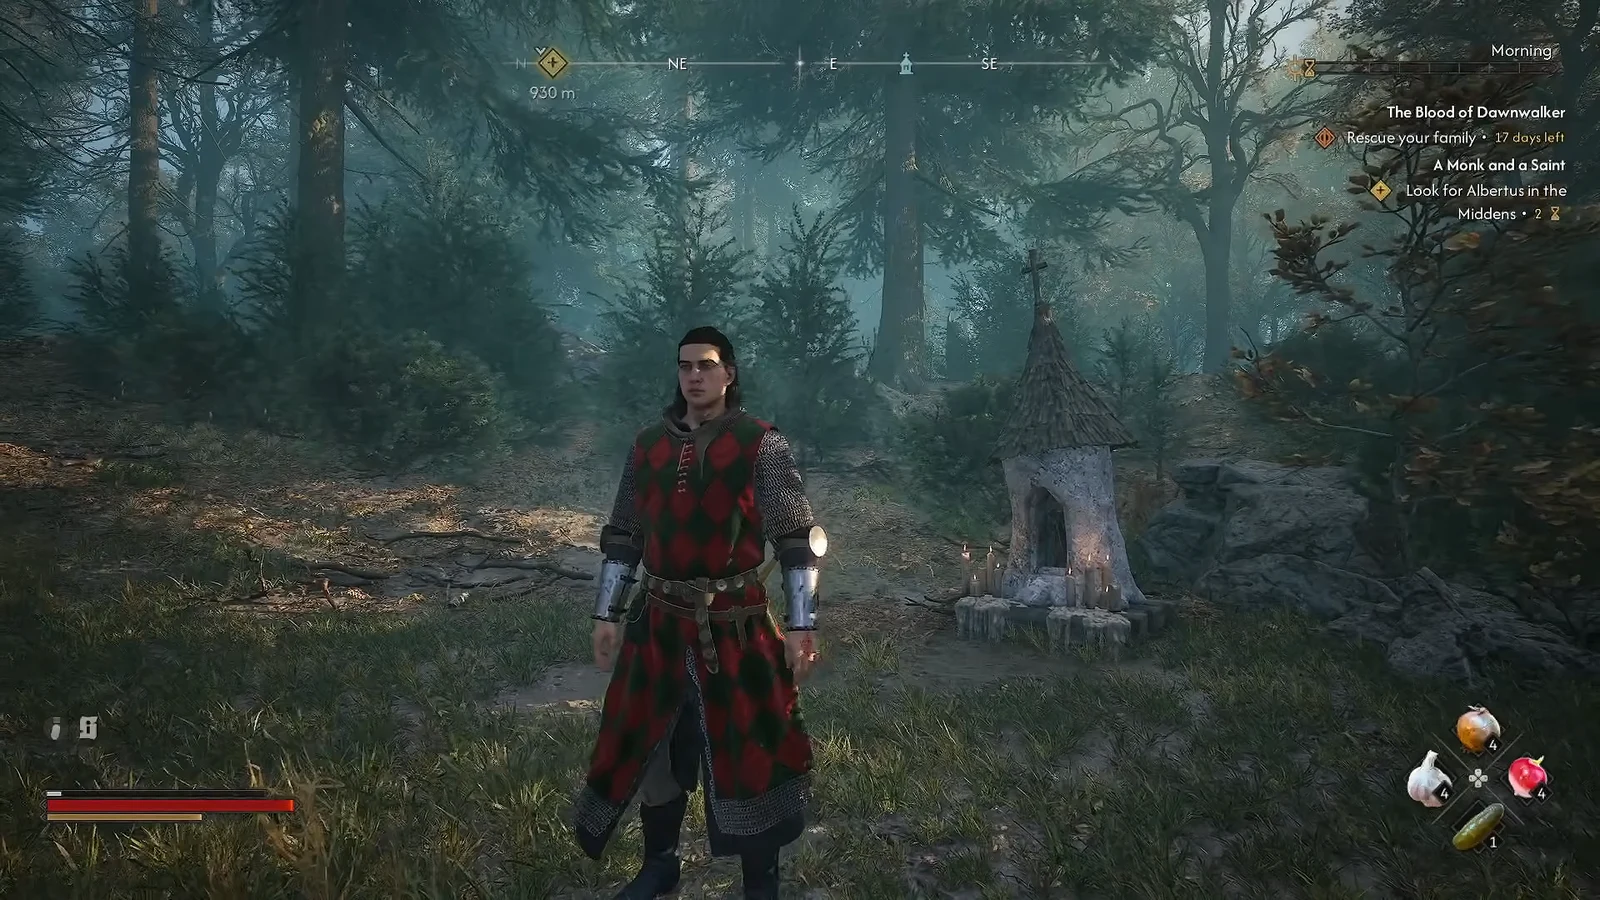
The Blood of Dawnwalker: Best Day and Night Build (Artery Strike Combo)
The crit-stacking loadout that chains Artery Strike decapitations through Sword Sage cooldown resets, plus every manual and gear location.
-
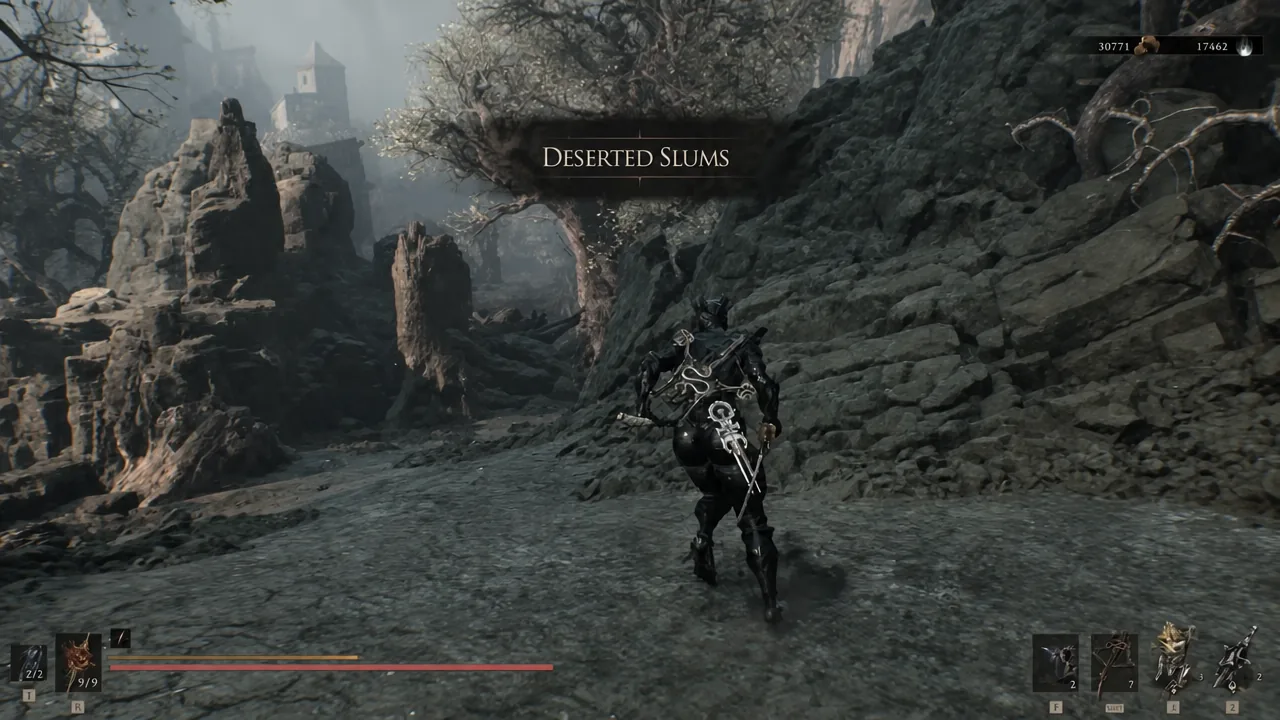
Mortal Shell 2: Splitting Stone Location and Multi-Shot Effect
The Splitting Stone sits in a chest at the Lonesome Spire, just east of the Gate of Mammon beacon.