
Extended help — walkthroughs, tier lists, strategy.
Content Type: Guide
-
The Blood of Dawnwalker: How to Complete What Moves the Dead (Full Walkthrough)
Every objective in Crake’s Manumit questline, from Mevasser’s woodcut to the Crypt Dweller boss fight and the loot inside.
-
The Blood of Dawnwalker: Distant Shadows Full Quest Walkthrough
Every objective in the optional Distant Shadows quest, from shadowing Ascar in Tantari to the report back in Svartrau City.
-
The Blood of Dawnwalker: Who Pulls the Strings Full Walkthrough
Every objective, both bosses, the Vault Key, Silas’s Book, and the journal bug that fakes a failed search.
-
The Veil Roblox Guide: Codes, Best Races, and Class Rules
How race rerolls, super and ultra classes, prestige, sanity, and enchanting work in BlackstarDW Studios’ labyrinth MMORPG.
-
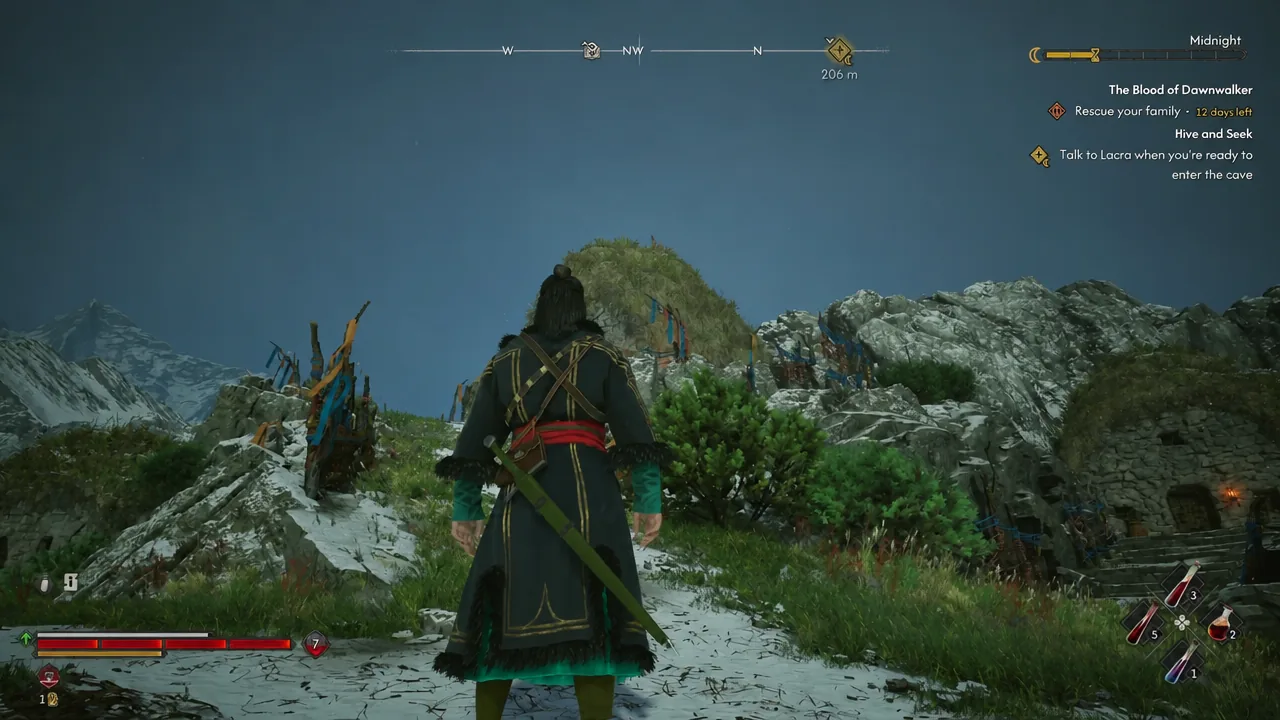
The Blood of Dawnwalker: Hive and Seek Walkthrough (Full Quest)
Every objective, the safe route down to Boar’s Back, and how to beat Chonk the Inatiable and free Isbrand.
-
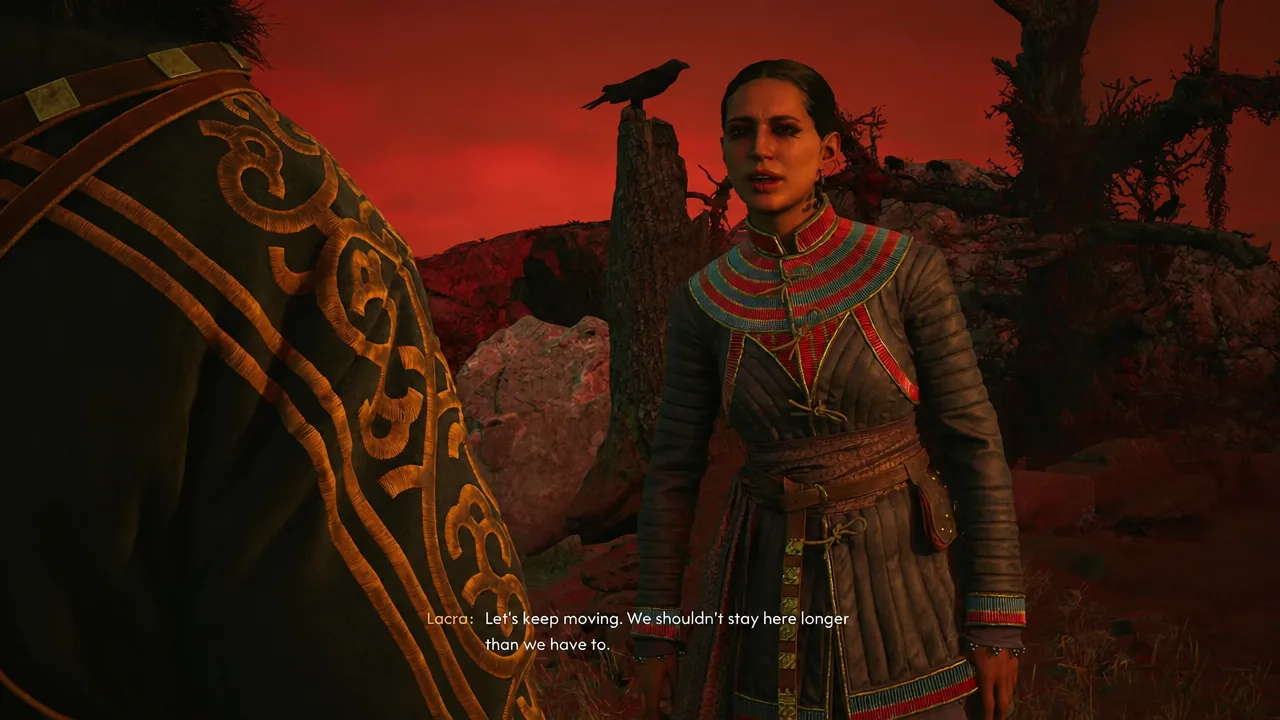
The Blood of Dawnwalker: Our Rotten Roots Full Quest Walkthrough
Every objective inside Anachora, the three Isbrand memories, the Broken Shade fight, and the Piercing Shriek reward.
-
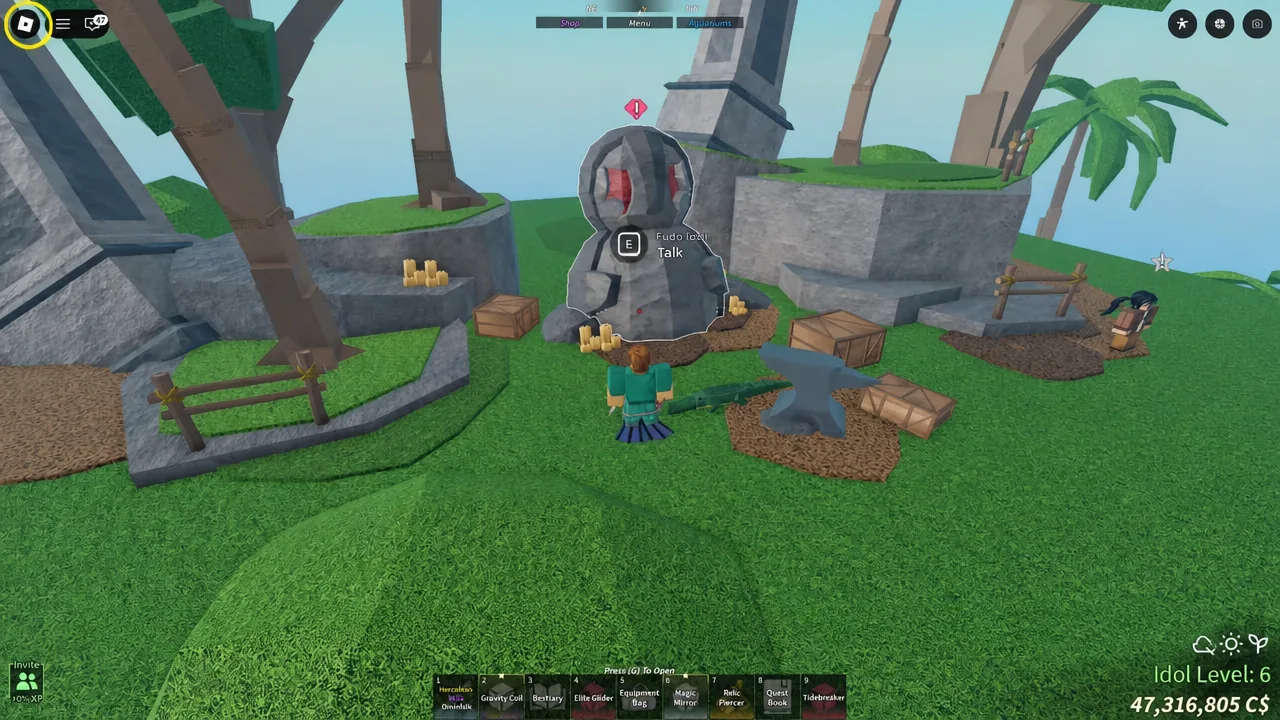
Fisch Skycrest: Full Guide to the Fudo Idol Trials
Every objective, rod and bait setup needed to clear all five Fudo trials and claim the Endurance Charm.
-
The Blood of Dawnwalker: The Night of Horrors Full Quest Walkthrough
Every objective, the crypt fight, and the Mandrake Ward perk you get for finishing Lacra’s swamp expedition.
-
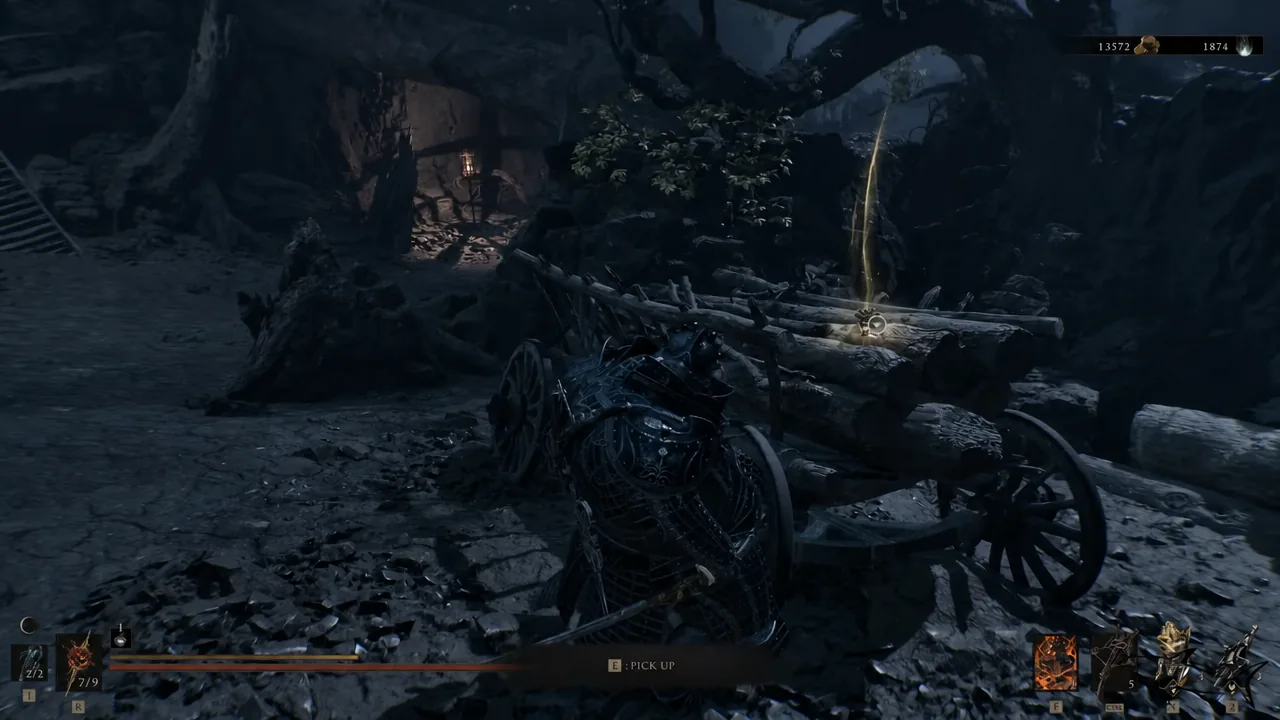
Mortal Shell 2: Fulminant Stone Location (Night Mode Tarstone)
The Collector only stocks this Ballistazooka Tarstone at night, near the Abandoned Outpost beacon in the Deserted Slums.
-
The Blood of Dawnwalker: What Hunts the Night Walkthrough
Every objective in order, from Crake’s cellar to the Beast of St. Teotim’s and the inscription that ends the quest.