
Ever wanted to record screen on your computer? You may have Googled about it and found a zillion of tools and software, but did you know Windows 10 has its own screen recorder that lets you record your PC screen.
The screen recorder in Windows 10 is primarily meant for recording gameplay videos, but you can trick it to record any app (see step 3) on your computer.
How to enable and use screen recorder on Windows 10
- Go to Settings » Gaming » Game bar » and enable the Record game clips, screenshots, and broadcast using Game bar toggle (if not enabled already).
- Open the app that you want to record, then press Win + G to open the Game Bar.
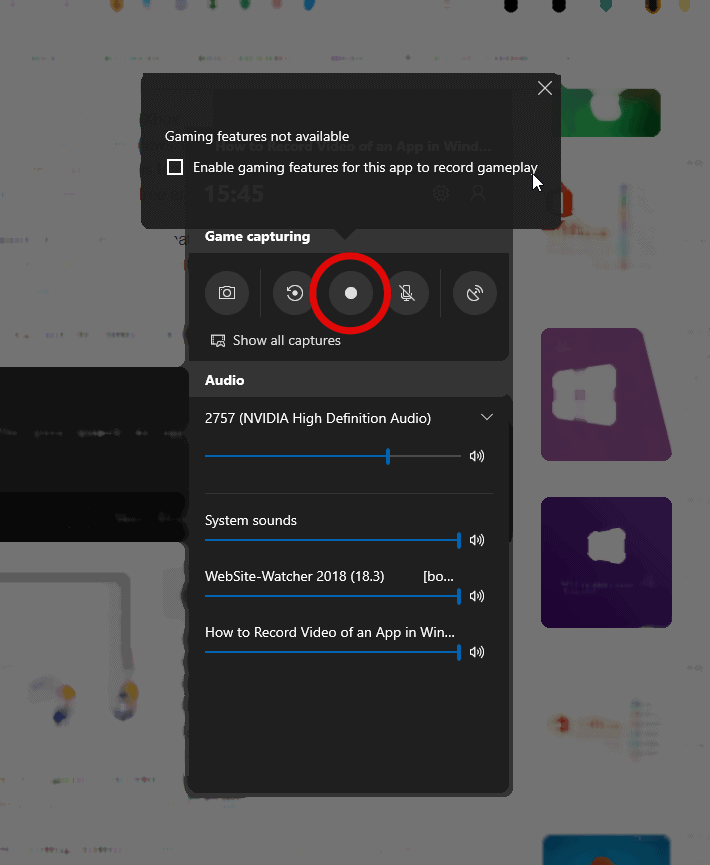
- Click on the Video recording icon, then select the checkbox for “Enable gaming features for this app to record gameplay”.
└ If you need to record audio as well, click on the Microphone icon before hitting the screen record button.
- You will see a small timer box appear on the top-right area of the screen. Click the blue icon to stop recording or press the Win + Alt + R key shortcut to stop the recording.
- To check your recordings, open Windows Explorer, then browse to the This PC » Videos » Captures folder.
That’s all.


