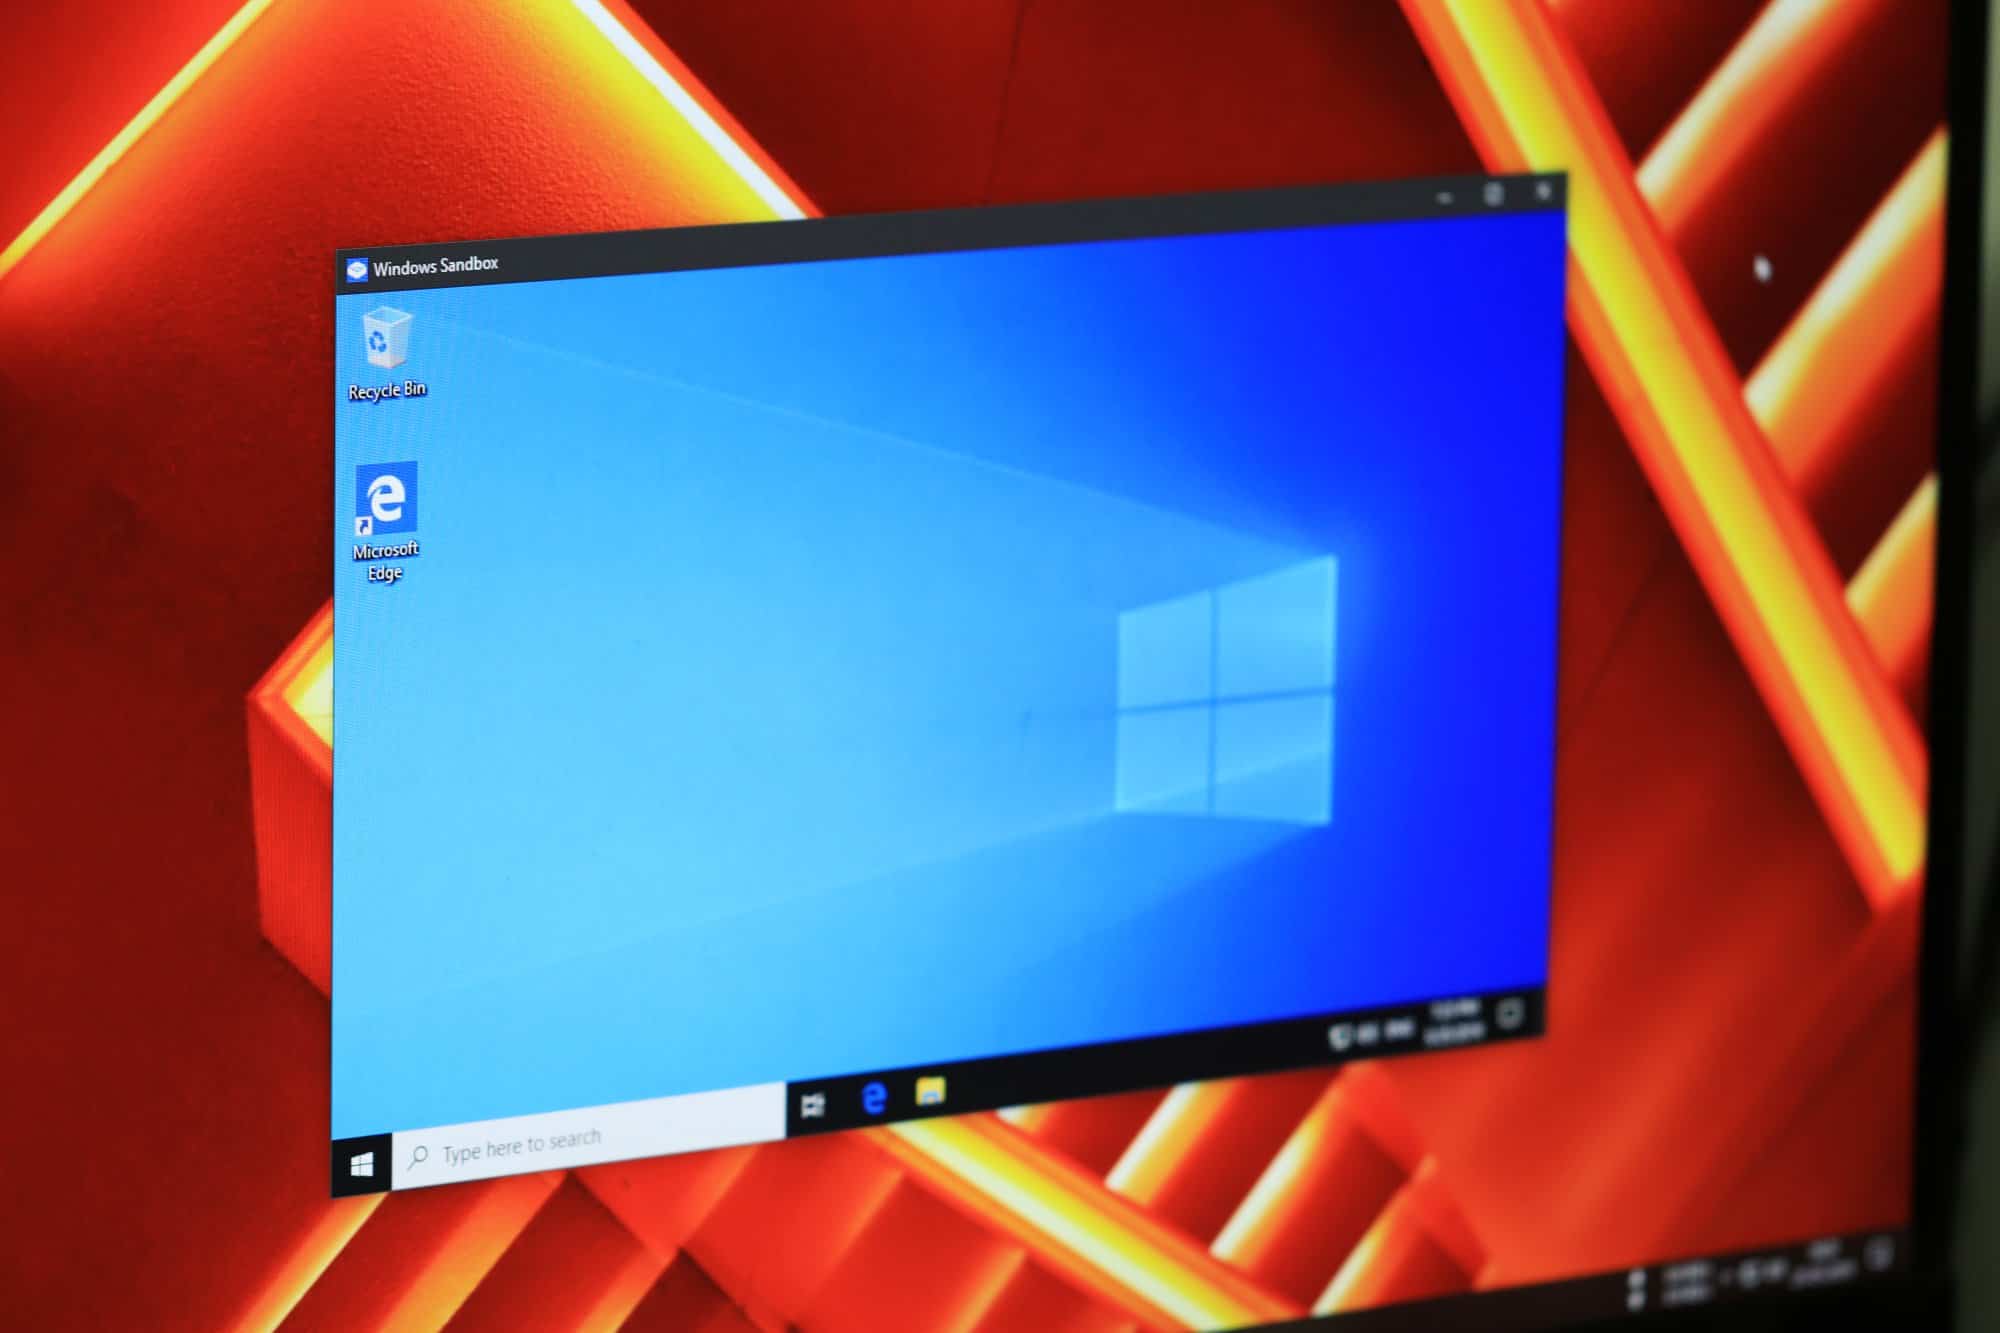
The long-awaited Windows Sandbox feature has finally arrived with the release of Windows 10 May 2019 update. The Sandbox is a new place on your PC where you can try untrusted programs without worrying about the impact it might make on your system because everything is temporary and is restricted to sandbox only.
It is a built-in Windows 10 virtual machine where nothing is stored. You can run it on your PC, do stuff, and then when you close it; everything is erased. Any file you save in the Sandbox gets deleted when you close it. The feature is most helpful for developers and testers to try raw and unfinished software on their PCs.
System Requirements
- Windows 10 (1903) Pro or Enterprise, build 18362 or later
- 64-bit architecture
- Virtualization capabilities enabled in BIOS
- At least 4GB of RAM (8GB recommended)
- 1GB of free disk space (SSD recommended)
- 2 CPU cores (4 cores with hyperthreading recommended)
How to Enable Windows Sandbox
The Windows Sandbox is disabled by default in Windows 10. You can enable from Windows Features menu in Control panel.
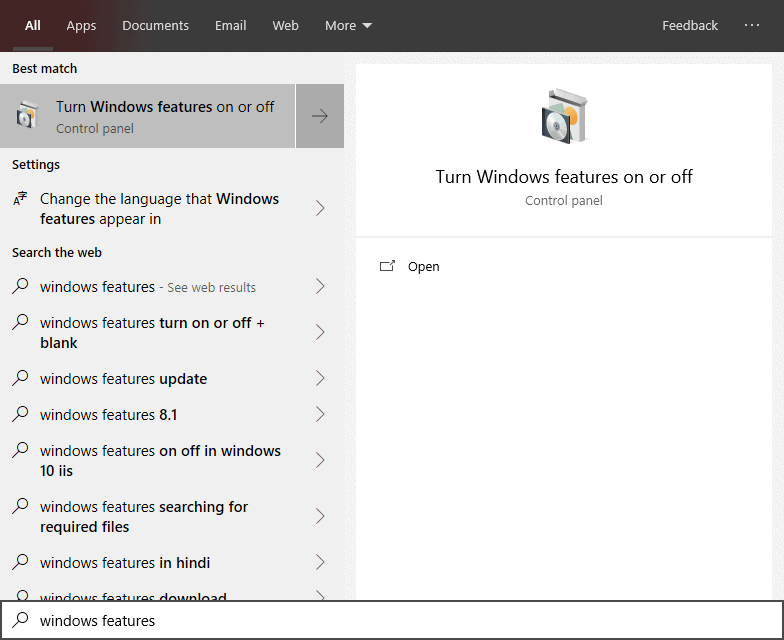
- Open Start menu » search for Windows Features and select Turn Windows Features on or off from the results.
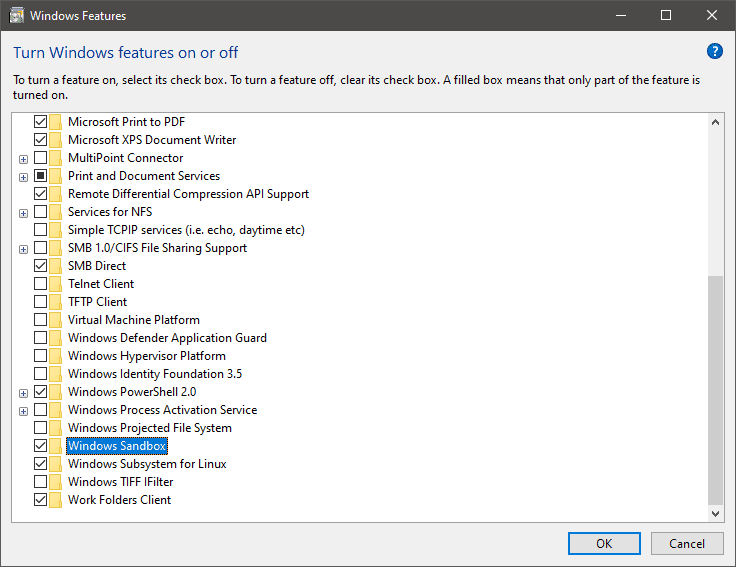
- On the Windows Features window, scroll to the bottom of the list and look for Windows Sandbox.
- Tick the Checkbox for Windows SandBox and then hit the Ok button.
- Wait for the system apply changes required for enabling Windows Sandbox, and then hit the Restart now button when prompted.
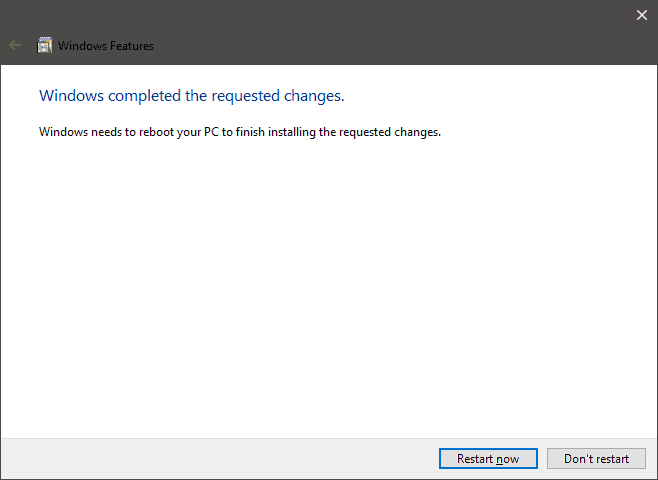
Once your PC restarts, you’ll be good to start using Windows Sandbox on your PC.
How to Open Windows Sandbox
The Windows Sandbox installs like any other program on your PC. To open it, search for Windows Sandbox from the Start menu, and then click Open.
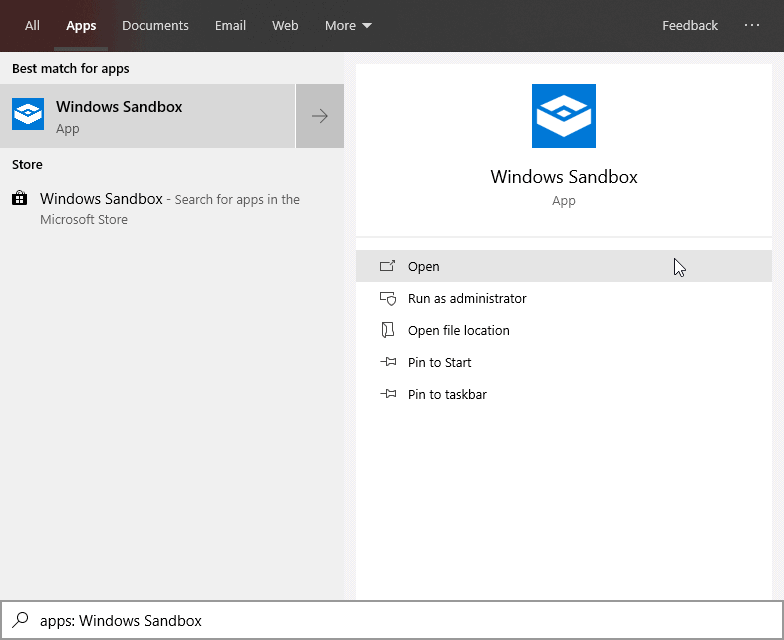
When asked for administrative permission to launch the sandbox, make sure you click Yes.
How to Mount a Folder or Drive in Windows Sandbox
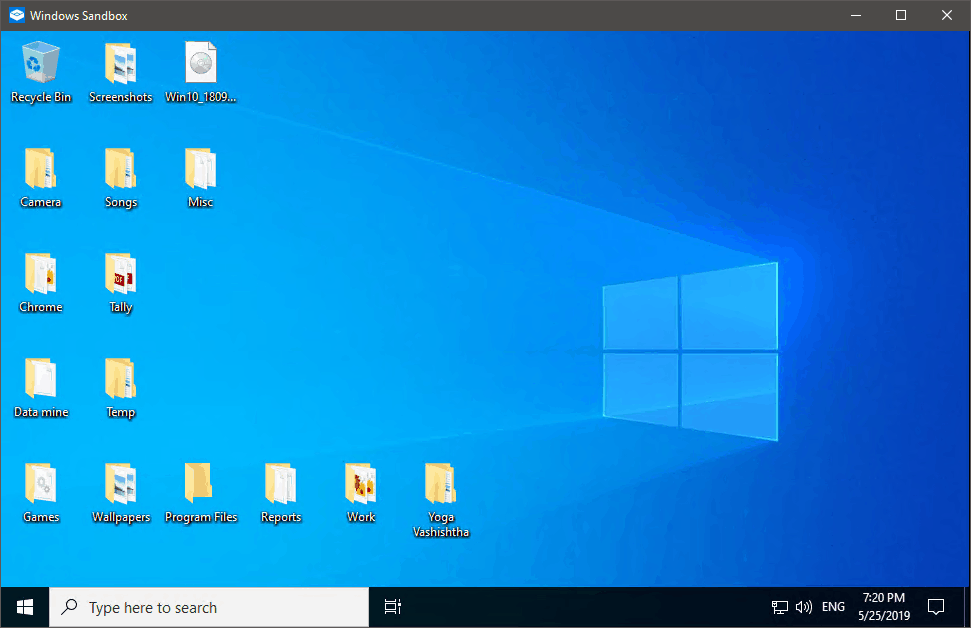
Windows Sandbox by default runs in an isolated environment. It doesn’t let you access the files stored on your PC, but you can create a Windows Sandbox config file to share a folder from your host system to the Sandbox with both read and write permissions.
Microsoft recently added support for simple configuration files (.wsb file extension) to the Windows Sandbox to make it easier for users to work within the Sandbox.
Below is an example Windows Sandbox config file to mount host PCs Downloads folder on the Sandbox.
<Configuration>
<VGpu>Default</VGpu>
<Networking>Default</Networking>
<MappedFolders>
   <MappedFolder>
     <HostFolder>C:UsersPublicDownloads</HostFolder>
     <ReadOnly>true</ReadOnly>
   </MappedFolder>
</MappedFolders>
<LogonCommand>
   <Command>explorer.exe C:usersWDAGUtilityAccountDesktopDownloads</Command>
</LogonCommand>
</Configuration>
Code guide:
- Directory address on line 6: The <HostFolder> carries the value for the directory you wish to mount in Windows Sandbox. You can change the host address to any directory on your PC to also access it from the Sandbox.
Examples:<HostFolder>E:Work</HostFolder><HostFolder>D:</HostFolder> - Read/Write permission on line 7: If you wish to mount a folder or directory with both Read and Write permissions, set the value for <ReadOnly> on line 7 to False as shown below.
<ReadOnly>false</ReadOnly>
How to Create a Windows Sandbox Config File
To create a .wsb configuration file for Windows Sandbox, open Notepad from the Start menu, and paste your Windows Sandbox configuration code into it.
For this example, we’ll use the code we shared above for mounting a folder/drive in the Sandbox.
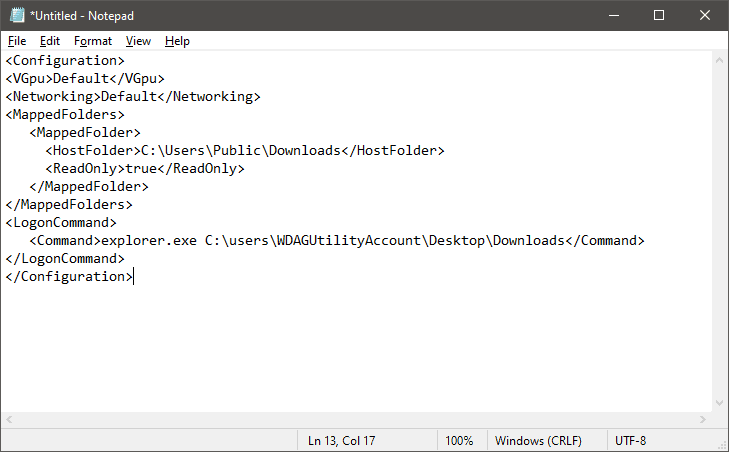
Once you’ve added the code, press Ctrl + Shift + S to save the configuration file. Make sure you use .wsb as the file extension when saving the file.
To launch Windows Sandbox with a configuration file, simply double-click on the .wsb file, and it’ll start the Sandbox with your custom config.
Have fun using Windows Sandbox on your PC. If you found this page helpful, please let us know in the comments section below.


