

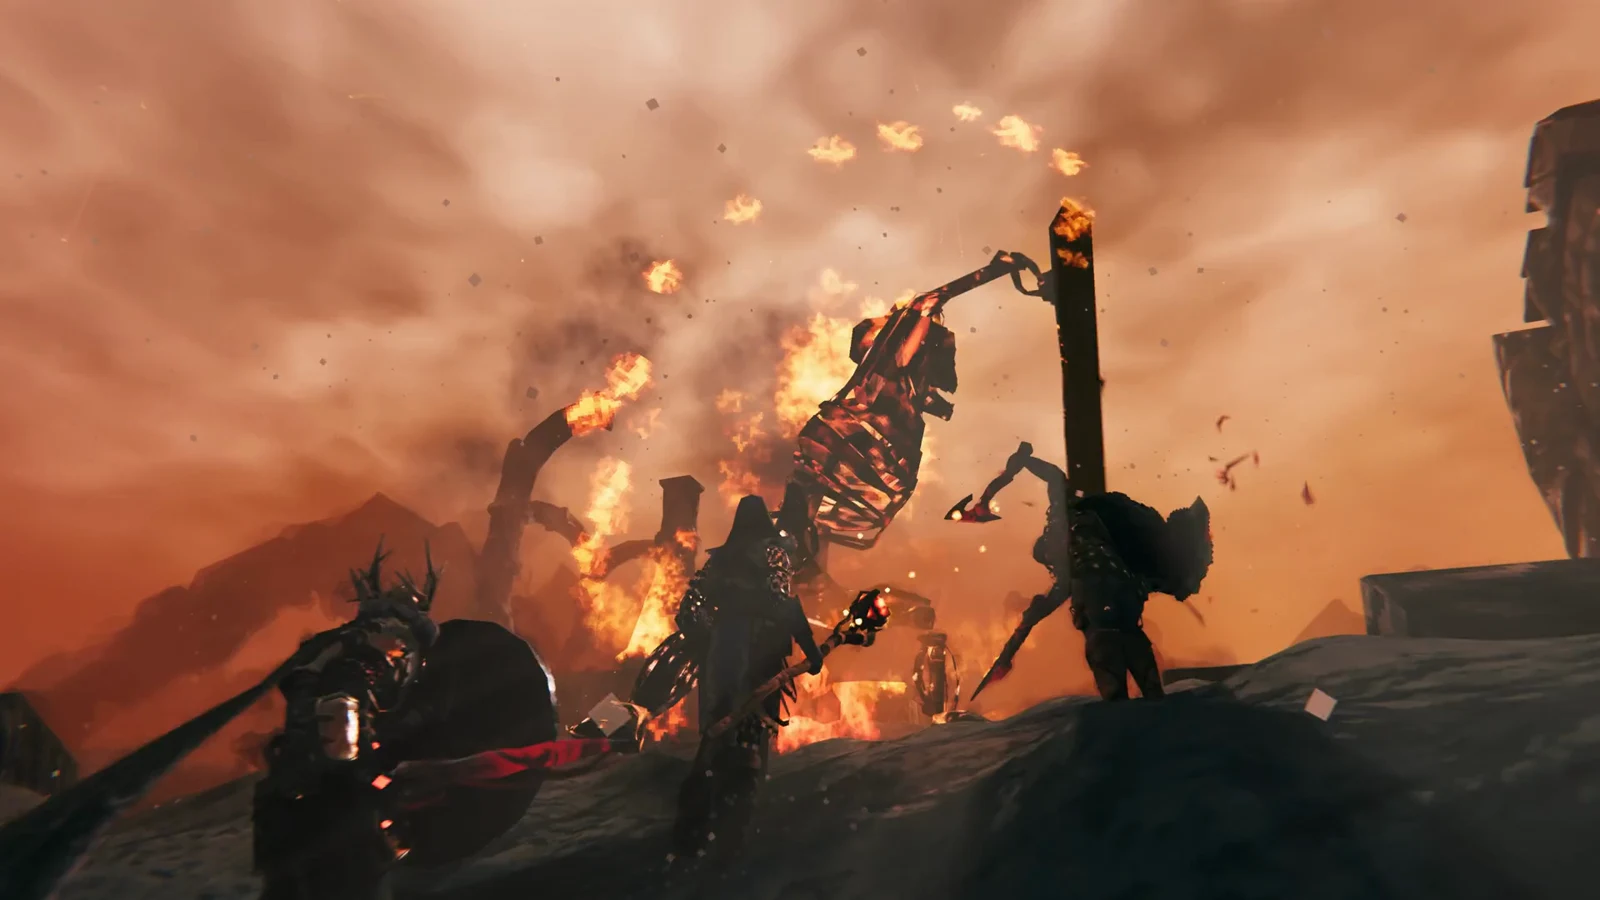
Kall Fimbulbringer is the last fight in Valheim, waiting inside the Aesir Passage in the Deep North. It is a three-phase marathon with the largest health pool in the game, and it resists almost every damage type you might reach for by default. Get the damage type wrong and the fight simply will not end.
Quick answer: Bring blunt or slash weapons like the Thunderblood Sledge or Thunderblood Greatsword, stack fire and frost resistance with your best food and meads, then grind through three phases totaling roughly 52,800 effective HP.
Damage types: use blunt and slash only
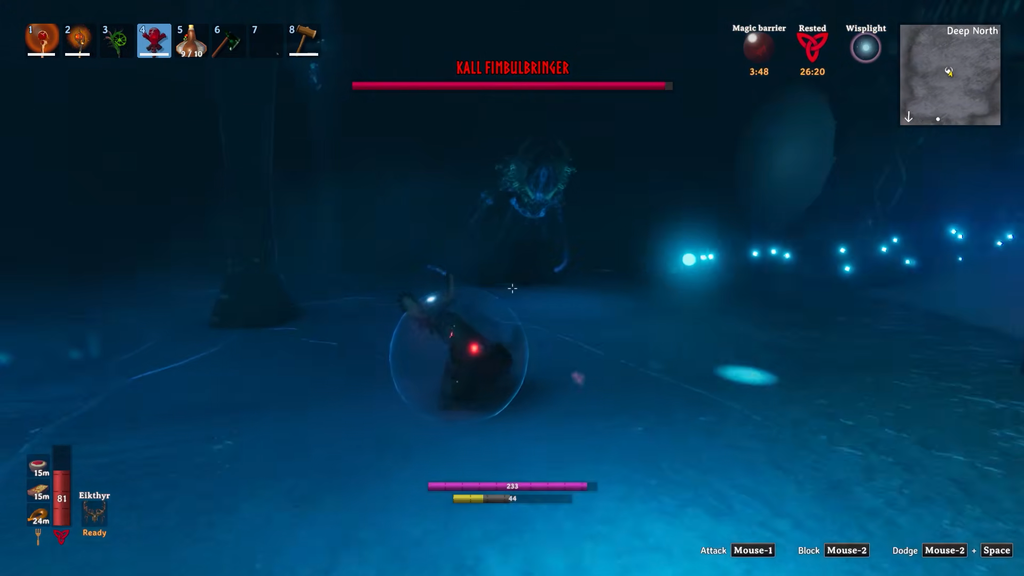
The fight hinges on this choice. Kall shrugs off pierce, fire, frost, and lightning, while spirit damage has no effect at all. As a result, only blunt and slash deal full damage, making most bows, crossbows, and staves weak primary options against him.
The Deep North sledges and greatswords do the most reliable work, even though Kall shrugs off the elemental portion of the flashier weapons. Their high physical damage still lands, which is what matters.
| Weapon | Damage type that lands |
|---|---|
| Thunderblood Sledge | Blunt |
| Frostfire Sledge | Blunt |
| Nord Sledge | Blunt |
| Thunderblood Greatsword | Slash |
| Nord Greatsword / Nord Sword | Slash |
An upgraded weapon you already handle well beats forcing yourself into an unfamiliar moveset. Prioritize the highest blunt or slash number you can bring.
How to summon Kall Fimbulbringer
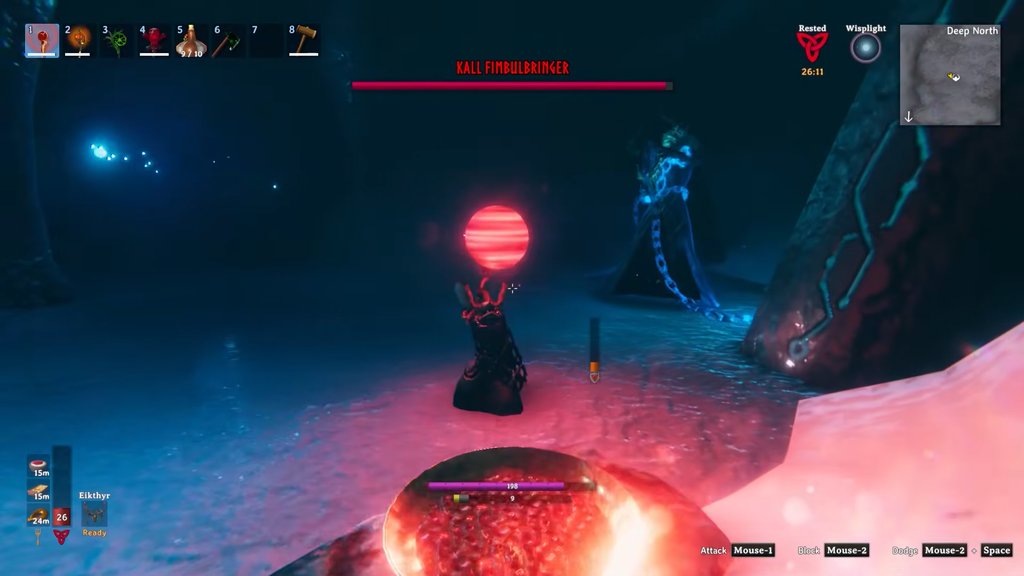
Kall is not summoned at an open-air altar like the earlier Forsaken. He sits inside the Aesir Passage, and you reach it through a map pin located with a Deep North Vegvisir. To start the fight, you offer 3 Malicious Blood into the Strange Bowl in his chamber.
Malicious Blood comes from an event back in the older biomes, not from the north itself. Destroying the Malicious Ice at the bottom of a Mörkhalla dungeon triggers a Jotun Invasion in the Meadows, Black Forest, Swamp, Mountain, or Plains. Travel to that marker, fight to the Black Ice Core, and destroy it to receive one Malicious Blood. Repeat until you have all three.
After you make the offering, there is a short delay of roughly 12 seconds before Kall breaks free. Use that window to eat, activate resistances, and confirm your weapons are repaired.
What to bring before the fight
This is one of the longest encounters in the game, so treat preparation like part of the fight. Kall’s body holds 47,000 health across the three phases, and the aspects in the middle phase add more on top, so plan for a slog rather than a burst.
- Full stacks of your best three foods, weighted toward Health with one strong Stamina option.
- Healing and Stamina meads for the extended final phase.
- Fire and frost resistance active before you offer the blood.
- Strong armor such as Flametal or a Deep North set; an Ashen Cape covers fire while Flametal handles frost.
- A fresh Rested buff and a Portal placed safely near the Aesir Passage.
Over time, Kall restores health, and dying during the 30,000-HP final phase can erase meaningful progress if the corpse run is long. The nearby Portal lets you recover quickly rather than trek across the north again.
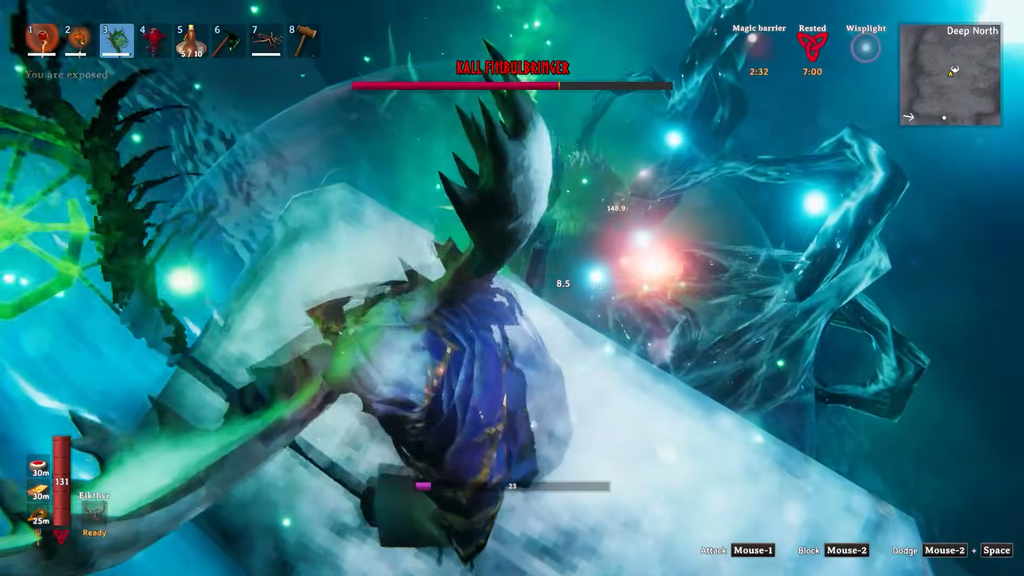
Phase 1: the chain attacks
Kall snaps the chains holding him and swings them as his main weapon. He has 10,000 health here and takes normal damage the whole time, so this is your cleanest window to chip away. The catch is reach: the chains sweep far wider than the animation suggests, so backing straight away is often the wrong move.
| Attack | Damage | Counter |
|---|---|---|
| Chain Slam | 160 blunt | Blockable; can chain twice, so wait for both |
| Double Sweep | 150 blunt | Dodge into or through it, not backward |
| Chain Whirl | 150 blunt + 20 frost | Leave his feet the moment he spins |
| Chain Rush | 125 blunt + 125 pierce | Dodge sideways; his hardest hit |
Land a short combo, back off to recover stamina, and punish the openings after a Chain Rush or a completed slam. Do not sit beside him spamming attacks, since Chain Whirl exists to punish exactly that.
Phase 2: the Aspects of the Forsaken
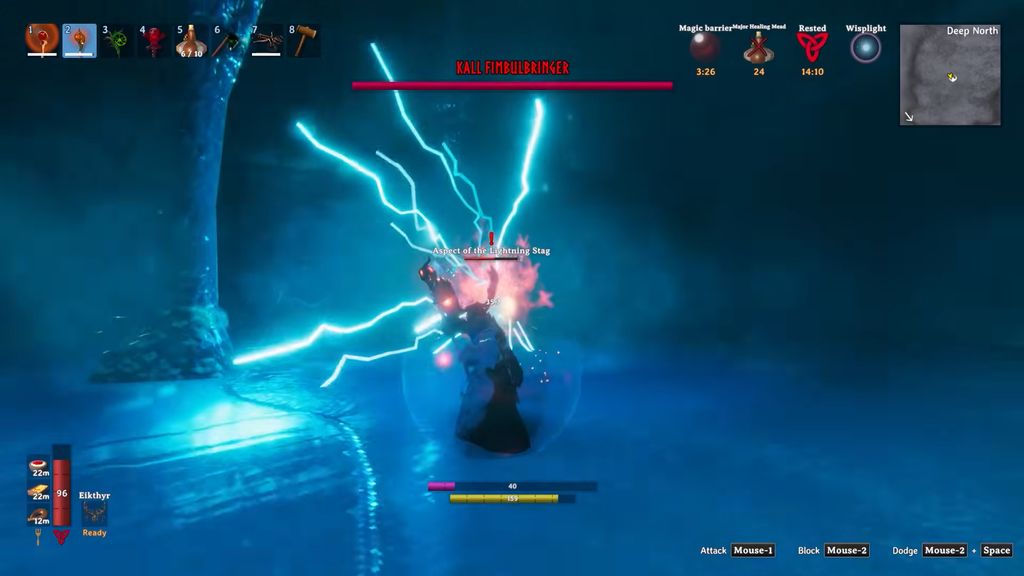
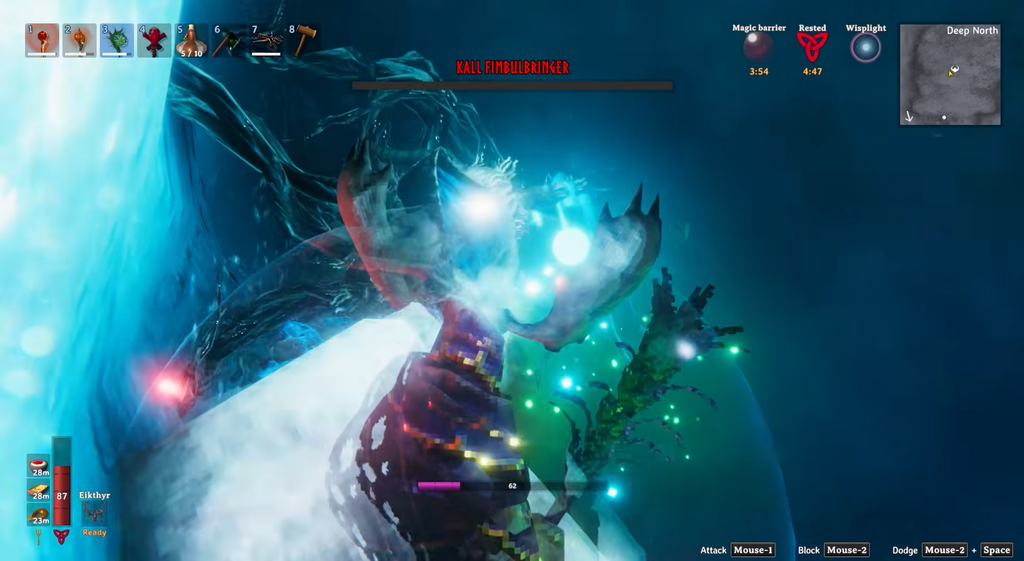
Once his health bar drains, Kall retreats into a crystal and becomes immune to every damage type, including chop and pickaxe. He throws out ghostly versions of the seven bosses you already beat. You cannot touch Kall until every Aspect is dead, so this phase is really about clearing roughly 12,800 HP of summons, one at a time.
| Aspect (origin) | Health | Best damage |
|---|---|---|
| Lightning Stag (Eikthyr) | 3,000 | Anything |
| Writhing Dead (Bonemass) | 1,600 | Blunt / frost |
| Twisted Soul (Yagluth) | 1,700 | Blunt / slash |
| Emerald Flame (Fader) | 1,700 | Blunt / slash |
| Living Forest (The Elder) | 1,600 | Fire |
| Dragon Mother (Moder) | 1,500 | Fire |
| Crawling Matriarch (The Queen) | 1,700 | Blunt / slash |
The Lightning Stag opens the phase solo. After that the Aspects arrive in pairs, with the Writhing Dead and the Living Forest showing up together first, and defeating one Aspect summons the next in its chain. The Writhing Dead resists slash, pierce, fire, and poison, and the two dragon-line Aspects fold fast to fire. Focus one target at a time instead of spreading damage, and remember summoned allies cannot clear this phase for you.
Because two boss slots can be active at once, be careful not to accidentally kill the easier of a pair and replace it with a tougher opponent. Where possible, keep the manageable ghost alive and clear each new arrival first.
Phase 3: the empowered boss
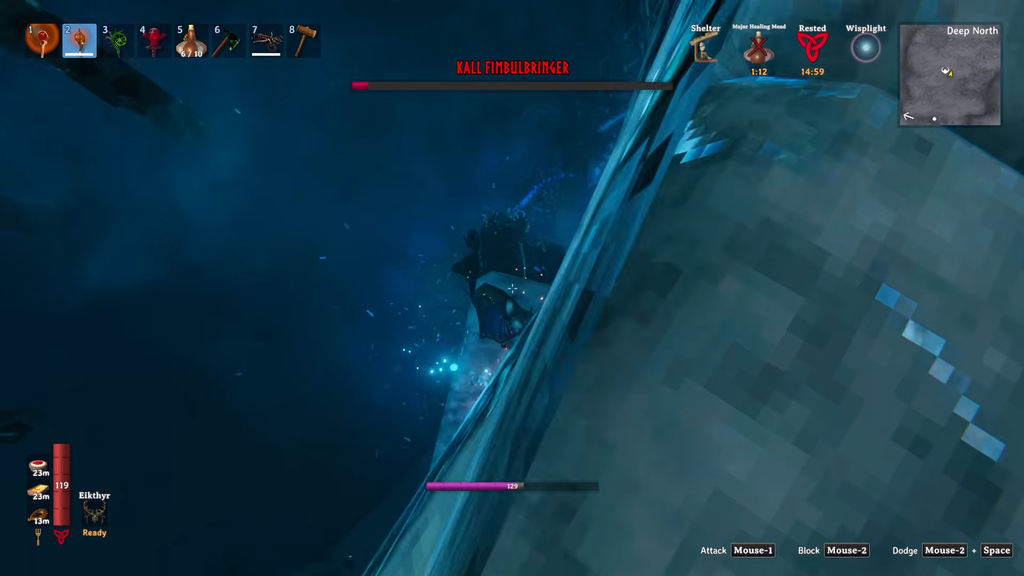
With every Aspect down, Kall breaks out of his cocoon with 30,000 health remaining. His original chain moves return, now carrying added fire and frost, and he gains two new area attacks on top of them. This is where fire and frost resistance earns its slot.
- Spike Rain: Kall leaps up and rains ice spikes for 100 blunt + 100 frost. Keep moving until the barrage ends rather than trying to block it.
- Tendrils: He plants stationary roots around the arena. They are weak to fire and clear on a timer, and only 30 can be active at once, so use open ground instead of clearing every one.
The best position is behind him. Circling to his back dodges most chain attacks, and with maxed armor and resistances you can absorb the rest. Never empty your stamina bar on one more swing, because Spike Rain or a chain rush can follow immediately and you will need the dodge.
Rewards and how to finish the game
Kall is the only Forsaken who grants no boss power, since there is nothing after him that needs one. He drops two guaranteed items instead.
| Reward | Use |
|---|---|
| Sacrificial Blood | Offer it at the starting Sacrificial Stones to complete the game |
| Crown Jewel | Craft the Crown of Valheim with five Bloodgold at a level 4 Black Forge |
The Crown of Valheim gives 50 armor, adds 5 percent movement speed, and cuts attack, run, swim, and sneak stamina use by 20 percent. Its Royalty effect makes normal creatures flee from you, though bosses are exempt.
You know the fight is over when Kall collapses and drops the Sacrificial Blood. Carry it back to the Sacrificial Stones in the Meadows, the very first altar you used, and offer it there to trigger the ending sequence and roll the credits. That closes out the entire boss chain that began with a stag in the starting biome.





