In Valheim, silver is the one ore you cannot spot by simply reaching its location. Every deposit lies beneath the Mountain biome’s snow and stone, making detection harder than mining. After you learn to locate a vein consistently, silver supplies the Mountain tier’s armor, weapons, and tools, then remains useful in the Plains and Mistlands.
Quick answer: Equip the Wishbone dropped by Bonemass, cross the Mountain biome until its pings hit their fastest rate, then dig straight down with an Iron Pickaxe until a Silver vein appears.
What you need before a silver run
The journey depends on four requirements. Failing any one can cut the expedition short: you might miss the vein, lack the means to mine it, or succumb to the cold.
| Requirement | Where it comes from | Why it matters |
|---|---|---|
| Wishbone | Bonemass, the Swamp boss | Detects buried veins |
| Iron Pickaxe | Forge, after Swamp iron | Bronze cannot break silver |
| Frost Resistance Mead | Fermenter | Cancels the Freezing debuff |
| Mountain biome | High, snow-covered terrain | Only place veins generate |
A Wolf Fur Cape or Lox Cape provides lasting frost resistance instead of relying on a timed drink, though their materials become available only after your initial mountain trips. For a first run, Mead is the practical choice. During co-op, each player involved in the Bonemass fight gets a Wishbone, eliminating the need to share one detector.
Leave with stamina food already cooked. At the cauldron, three turnips and one boar meat make Turnip Stew, granting +18 health and +55 stamina for 25 minutes; that boost helps while climbing with a heavy ore load. Wolf Skewers, prepared with wolf meat, two mushrooms, and one onion, provide +65 health and +21 stamina instead.
How the Wishbone points you at buried silver
The Wishbone goes in the utility slot and weighs just 0.1, so there is no reason to leave it in a chest. Its own description spells out the method: move in the direction the pings get more intense. Once active, it throws expanding green rings off your character with a matching audio ping. Those effects never tell you the distance, only whether the signal is strengthening, so you have to move, compare, and correct.
- Slow pings with long gaps: something is buried in the area, but you are still far off.
- Speeding pings: you are walking the right way.
- The quickest, highest-pitched ping means the deposit is beneath your feet.
- Silver is not the only target. Buried treasure and black metal chests set off the same signal.
Remember that point before blaming your pickaxe. A maximum-strength signal may lead to a chest rather than grey metallic rock, and that is normal. Cover the opening, resume scanning, and follow the next ping.
Digging out a Silver vein with an Iron Pickaxe
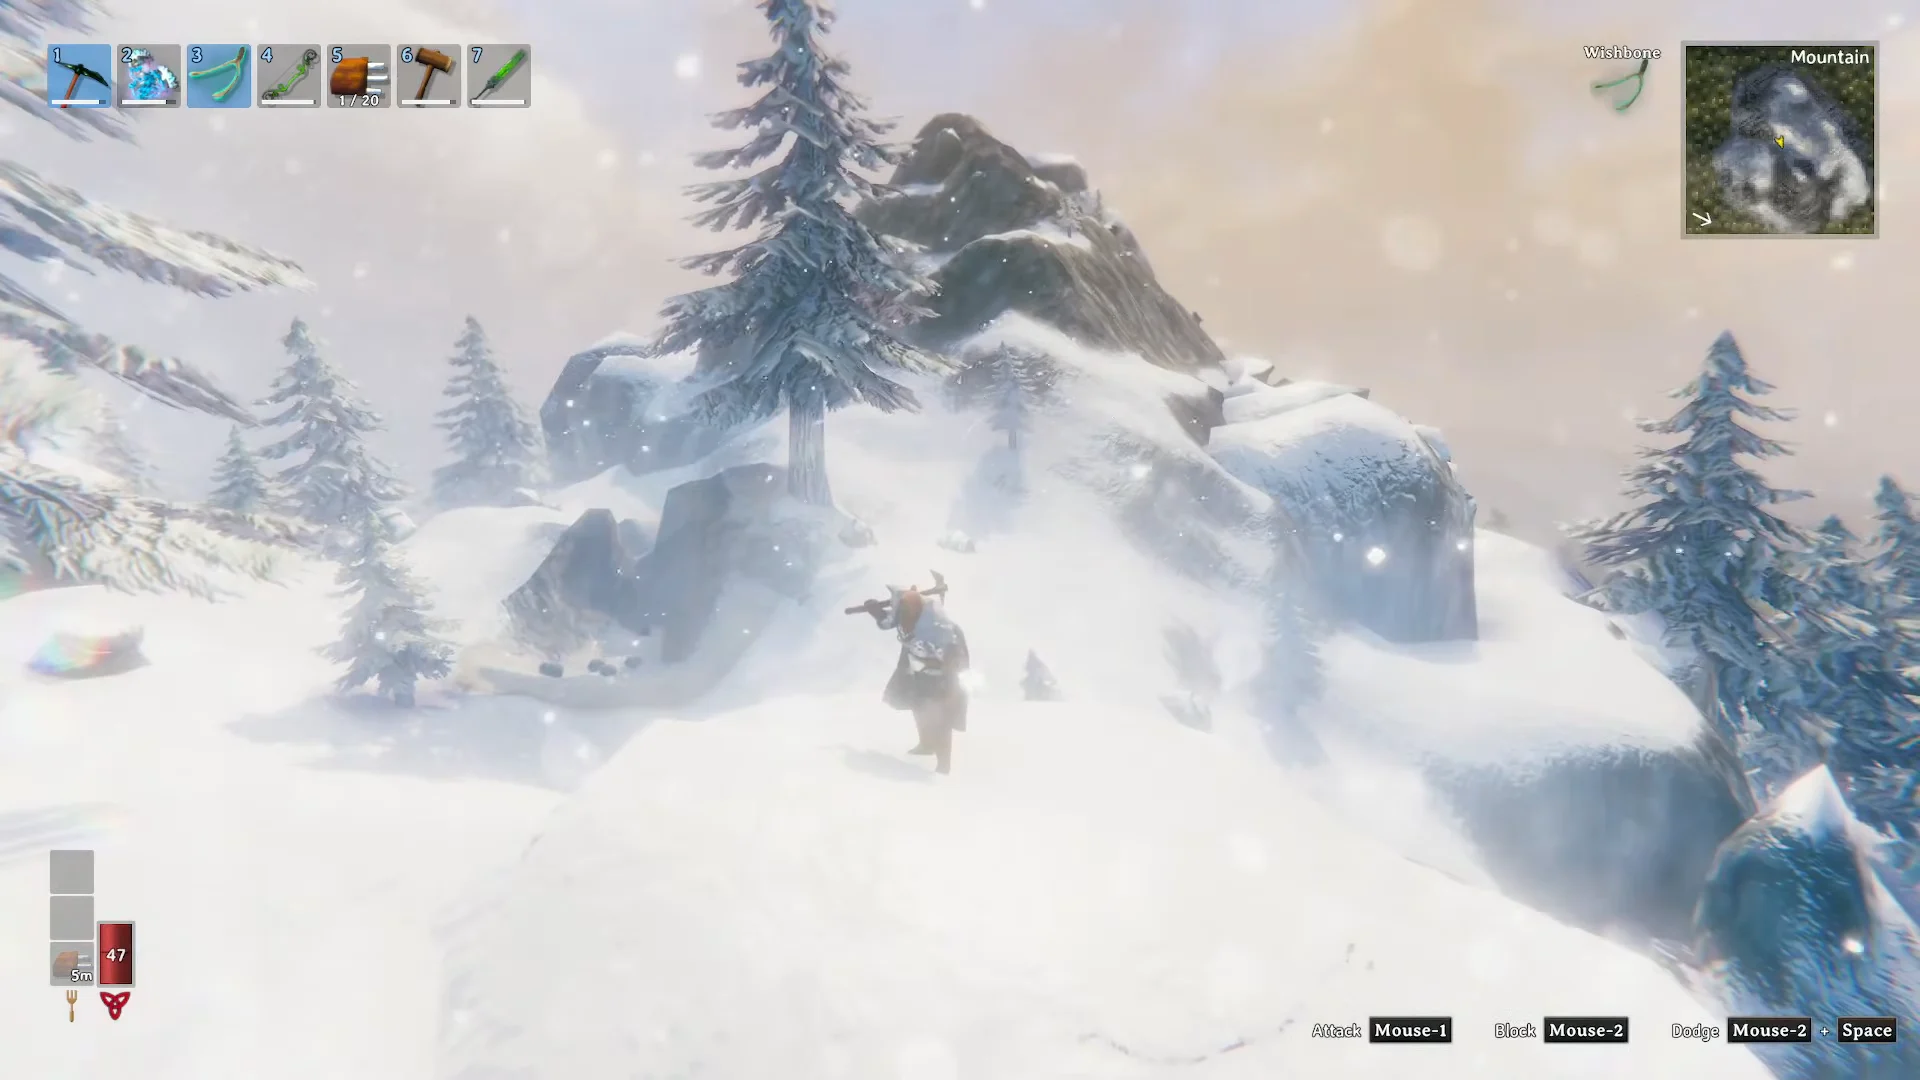
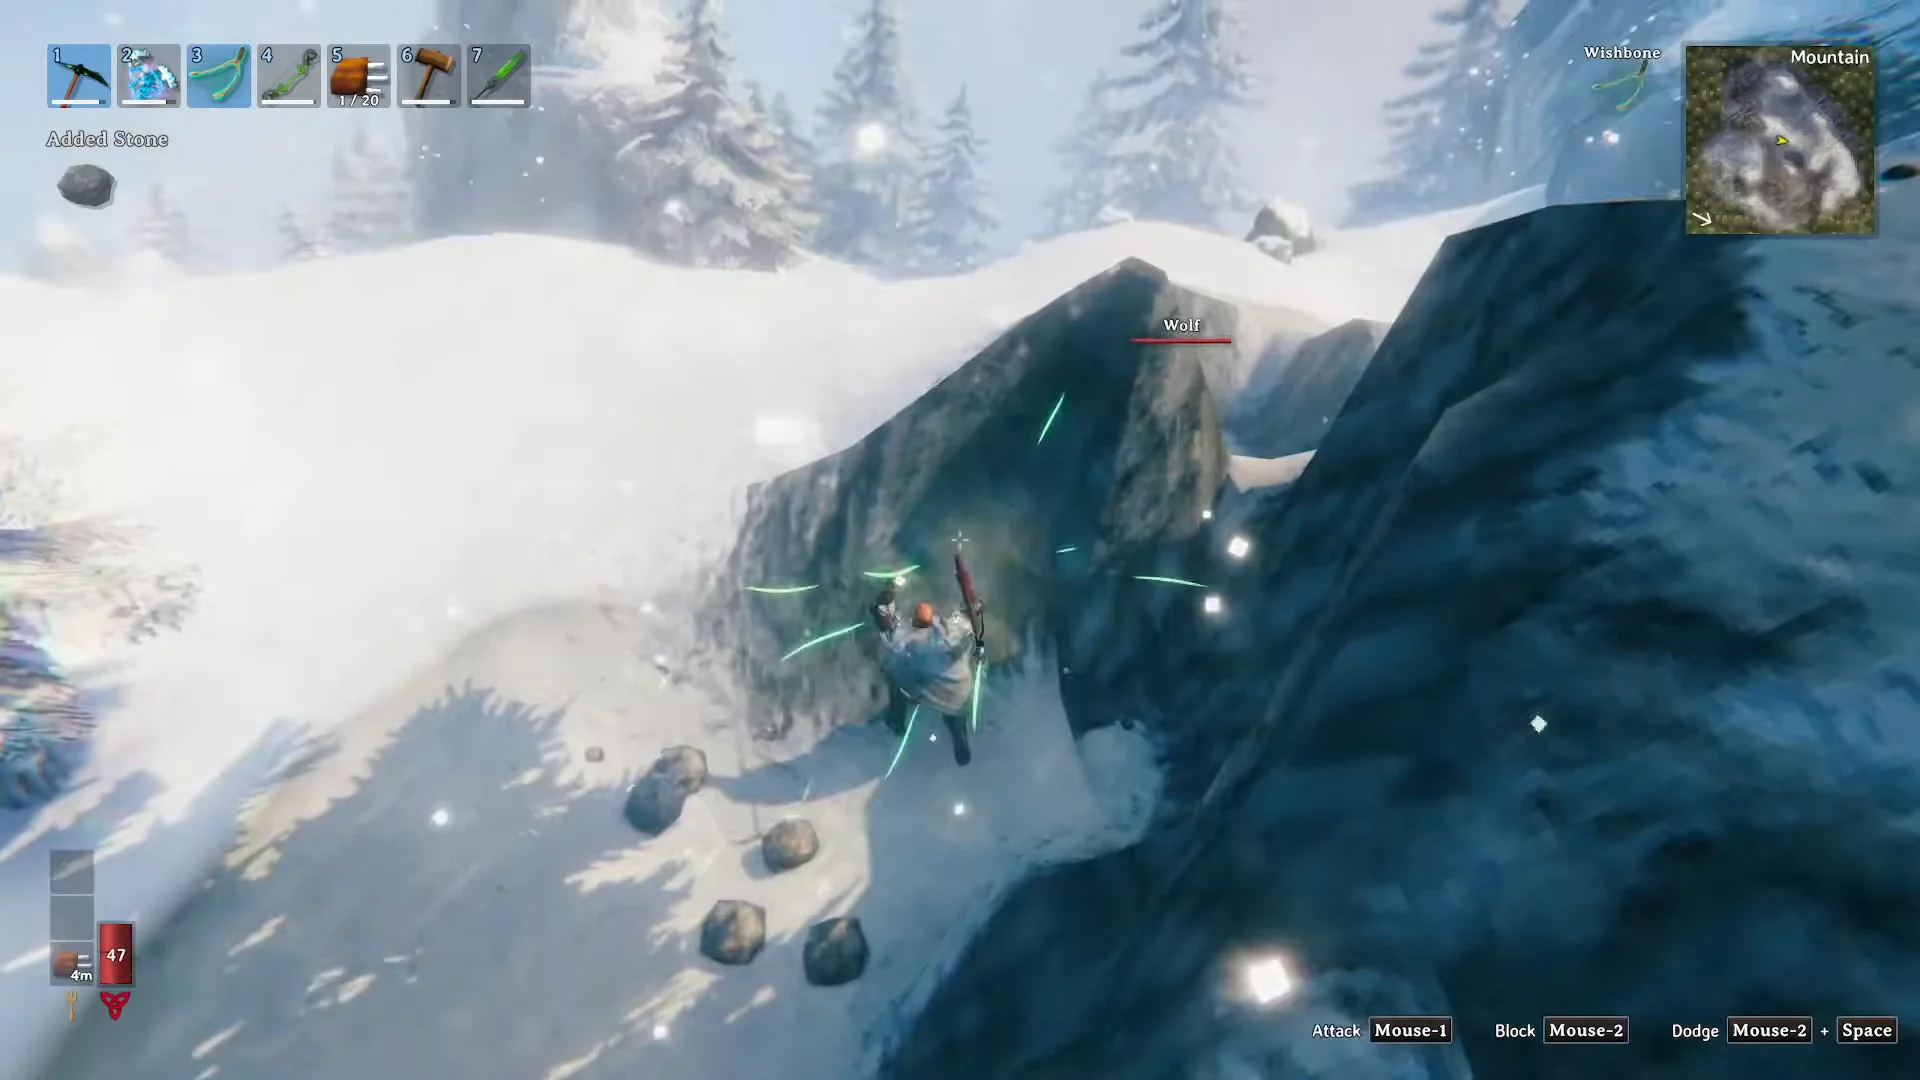
A pit makes you an easy target for wolves, drakes, and stone golems. Clear nearby threats first, or you will end up fighting with a snow wall behind you and an abandoned hole at your feet.
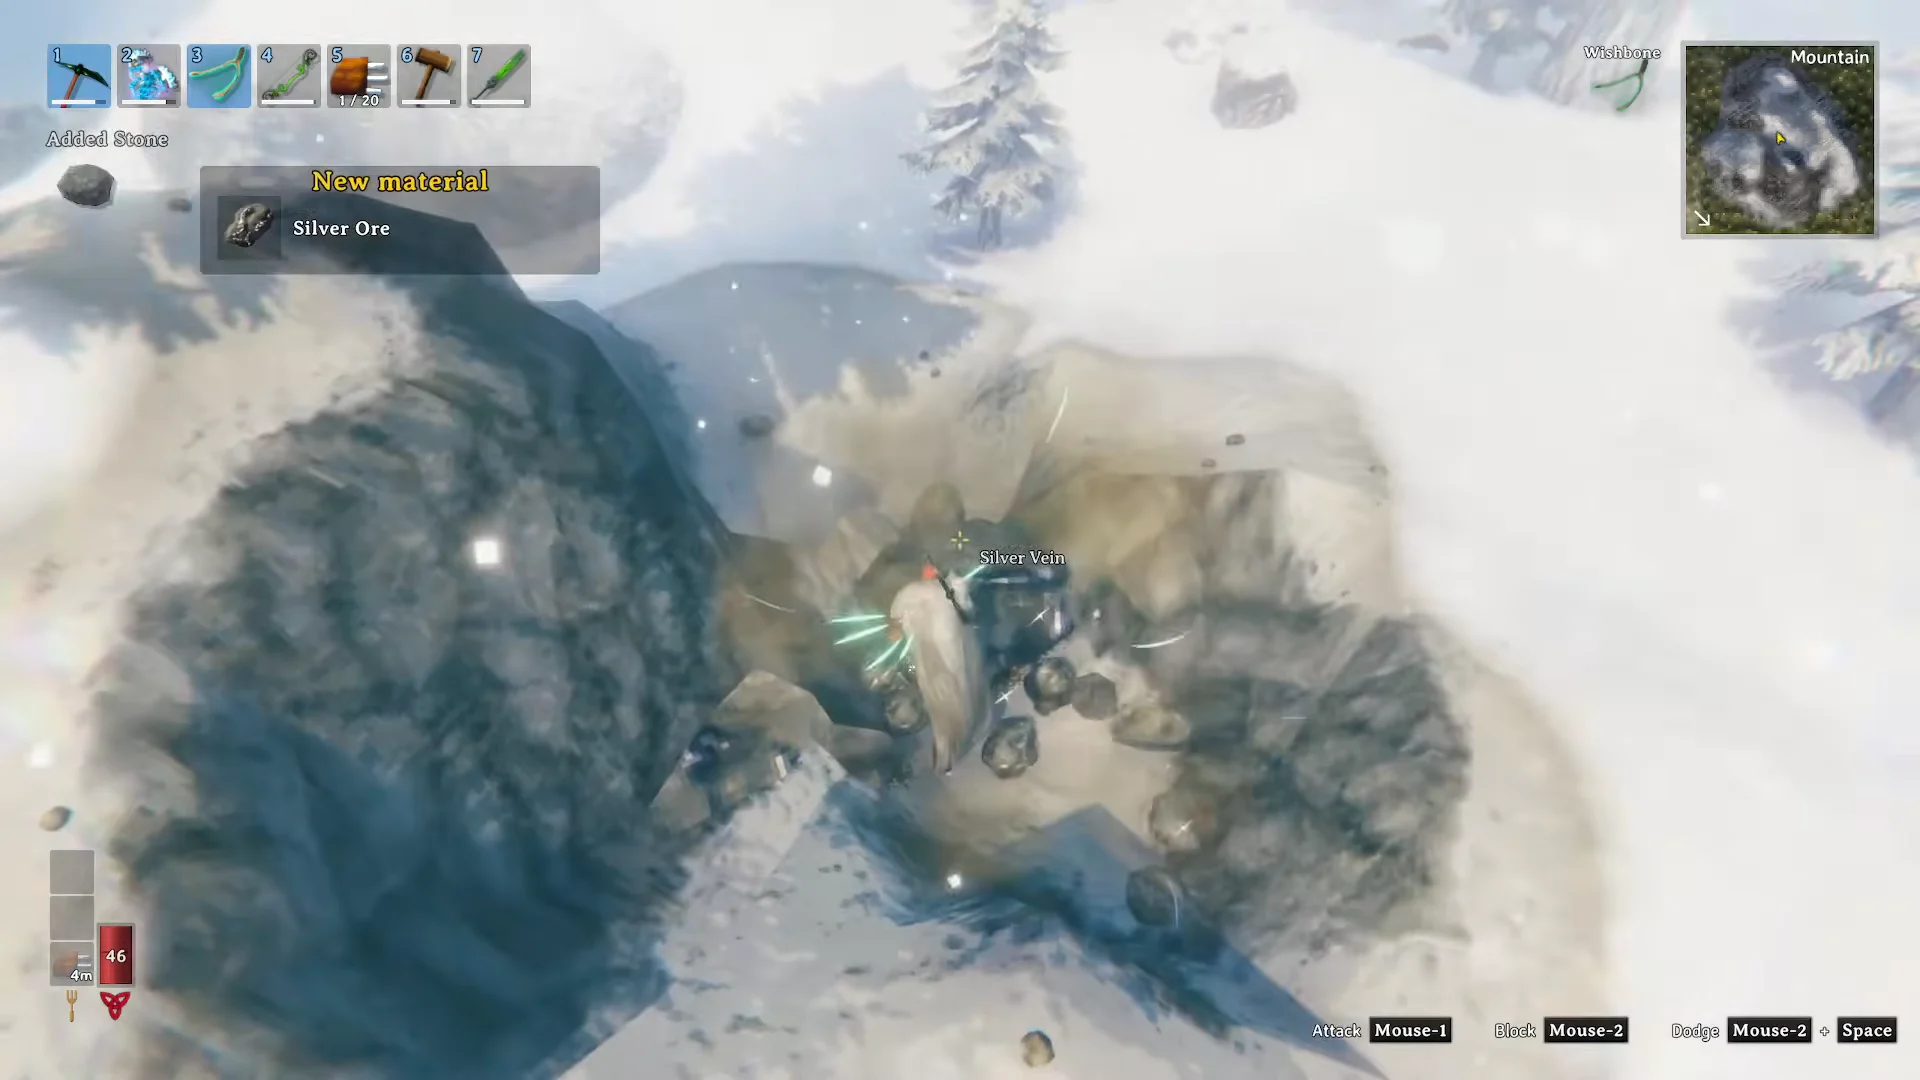
Before heading out, place the hole on your map. Silver Ore weighs 14 per piece and comes in stacks of 30, so a normal vein contains more than one trip can carry. Pay attention to the “You are carrying too much” warning: a slowed traveler in the Mountains is prime prey for a wolf pack.
Popping a whole silver node in one hit
Chipping a vein piece by piece burns pickaxe durability for no reason. If a node touches no terrain at all, breaking a single connecting chunk destroys the entire structure at once and dumps the whole thing as loose ore and stone.
Getting Silver Ore off the mountain
Transport is the real problem, not mining. Wooden portals refuse Silver Ore the same way they refuse every other metal, and smelting first changes nothing because the finished bars are blocked too. That leaves carts, ships, or a staging post near the snow.
Most players load the vein’s ore into a cart and guide it downhill toward a boat or a chest by the treeline, using the slope to move the weight. Another option is to toss the ore down the mountainside and collect it once it reaches the bottom, avoiding the cart entirely.
Building a small mountain outpost with a bed, a chest, a workbench, and a portal turns every follow-up run into a short walk instead of a full expedition. The ore still has to travel on foot, but tools, food, coal, and repairs all come through the portal. Claiming the bed there also sets your spawn point, which matters a lot the first time a drake or a cave boss kills you halfway up.
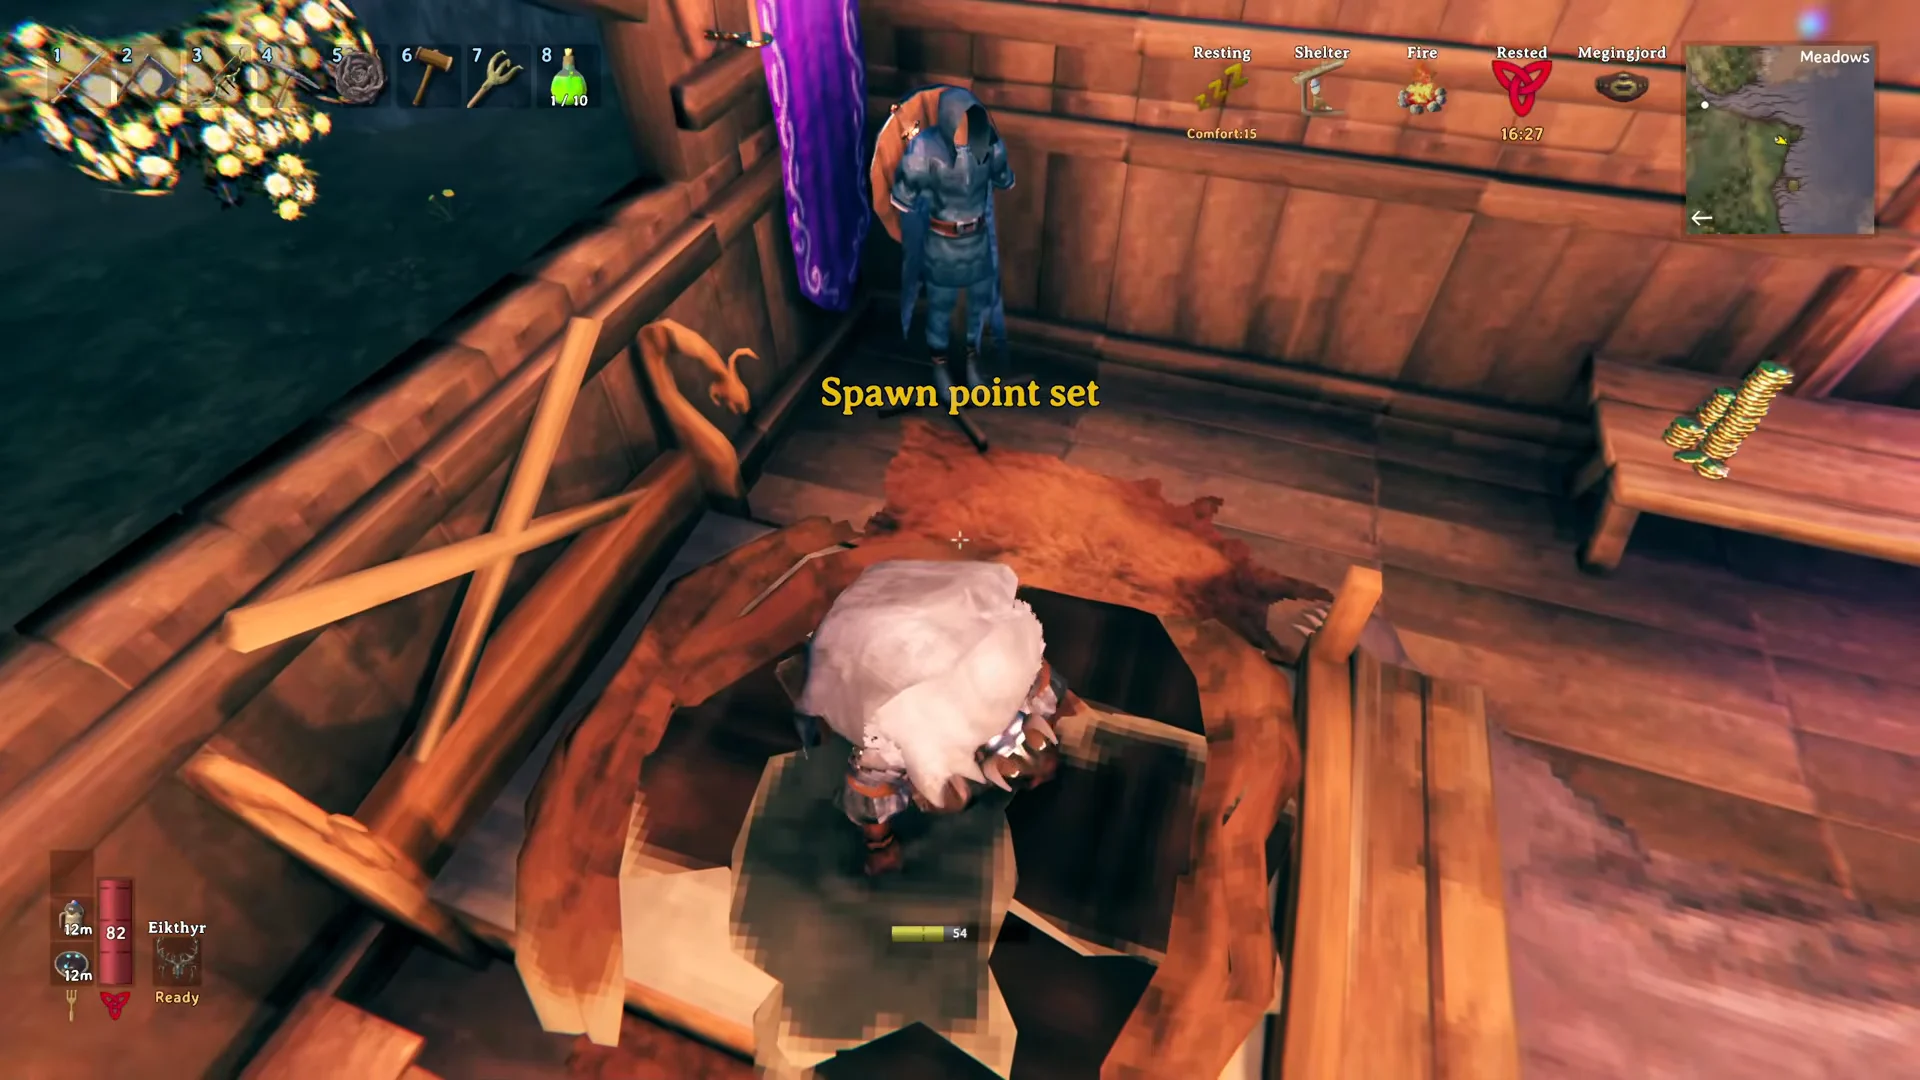
Repeated portal trips can sometimes cause severe frame drops. Quit and save to the desktop, then reload the world to bring performance back to normal.
Smelting Silver Ore into bars
A Forge needs processed metal, so start by building a Smelter with 20 Stone and 5 Surtling Cores. Put coal into it, then add the ore. Producing one bar takes 1 Silver Ore and 2 Coal; gather charcoal ahead of a full trip home. If you do not, the kilns will slow you down instead of the pickaxe, leaving you to feed them wood for the next in-game days while the ore remains in a chest.
What silver unlocks at the Forge
Silver gear needs a Forge at level 2 or higher. Build the armor first, because its cape permanently replaces Frost Resistance Mead and the rest of the set closes the gap between iron-tier defence and what the Mountains throw at you.
| Item | Silver | Other materials |
|---|---|---|
| Wolf Hide Chestpiece | 20 | 5 Wolf Pelts, 1 Chain |
| Wolf Hide Trousers | 20 | 5 Wolf Pelts, 4 Wolf Fangs |
| Drake Helmet | 20 | 2 Wolf Pelts, 2 Drake Trophies |
| Wolf Fur Cape | 4 | 6 Wolf Pelts, 1 Wolf Trophy |
| Silver Sword | 40 | 5 Iron, 3 Leather Scraps, 2 Wood |
The two wolf armor pieces each give 20 armor at Quality 1 with 1000 durability and a 5 percent movement penalty, and the chestpiece carries frost resistance on top. The Silver Sword deals 75 slash and 30 spirit damage, and that spirit component shreds undead, so it stays relevant on return visits to the Swamp long after the Mountains are cleared. Pushing it to Quality 4 alone eats up to 80 bars.
Silver also goes into Frostner, the Draugr Fang, the Fang Spear, the Crystal Battleaxe, the Silver Shield, Silver Knife, Silver Arrows, the Scythe, and, later on, the Wisplight needed in the Mistlands.
Budget before you start crafting. One of each base Mountain-tier item costs 214 Silver, and taking that full set to maximum upgrades pushes the total to 730. Higher quality levels also demand a more developed Forge, so install the anvils, grindstone, and other extensions before you start spending bars on upgrades.
Finding silver without a Wishbone
It is possible, just slow. Veins very rarely poke through the surface, so scanning exposed rock occasionally pays off. For a more systematic hunt, slam patches of ground with a two-handed weapon like the Stagbreaker or Iron Sledge and read the damage message. When “Too Hard” appears with no rocks in range, something solid sits below, and above roughly 125 metres elevation that something is usually silver.
Cutting trenches across a peak can also expose deposits by accident, since frozen ground digs at the same speed as any other terrain. Much later, breaking Ancient pots in Ashlands ruins and Putrid Holes drops silver bars directly, skipping the smelter entirely.
Use the first ascent to scout, not to maximize your haul. Record two or three vein spots, take only a load you can carry at full speed, and set up a shelter with a chest beside the snowline. Later trips will be brief, and the ore will accumulate more quickly than your kilns can consume coal.