Finding a Swamp in Valheim means leaving the Meadows behind and crossing open water, usually with no idea what sits on the other side. A Karve, a full hold, and a plan for where you sleep on the far shore turn that gamble into a repeatable supply run rather than a one-way trip.
Quick answer: Smelt bronze at home, load a Karve with a hammer, bronze pickaxe, bow and food, then sail toward uncharted coastline and repair a ruined village into a forward base before nightfall.
What to pack for a Valheim sea expedition
The cargo list is short because the Karve’s hold is small. Everything you carry should either let you build, let you fight, or keep your stamina bar from bottoming out halfway through a mining session.
| Item | Why it comes along |
|---|---|
| Construction hammer | Repairs ruined huts, places workbenches |
| Bronze pickaxe | Tin deposits along riverbanks and shore |
| Stone axe | Wood and core wood for repairs |
| Finewood bow and arrows | Deer, Greydwarves, skeletons at ruins |
| Hoe | Leveling ground and cutting slopes |
| Food rations and mead | Health, stamina, and emergency healing |
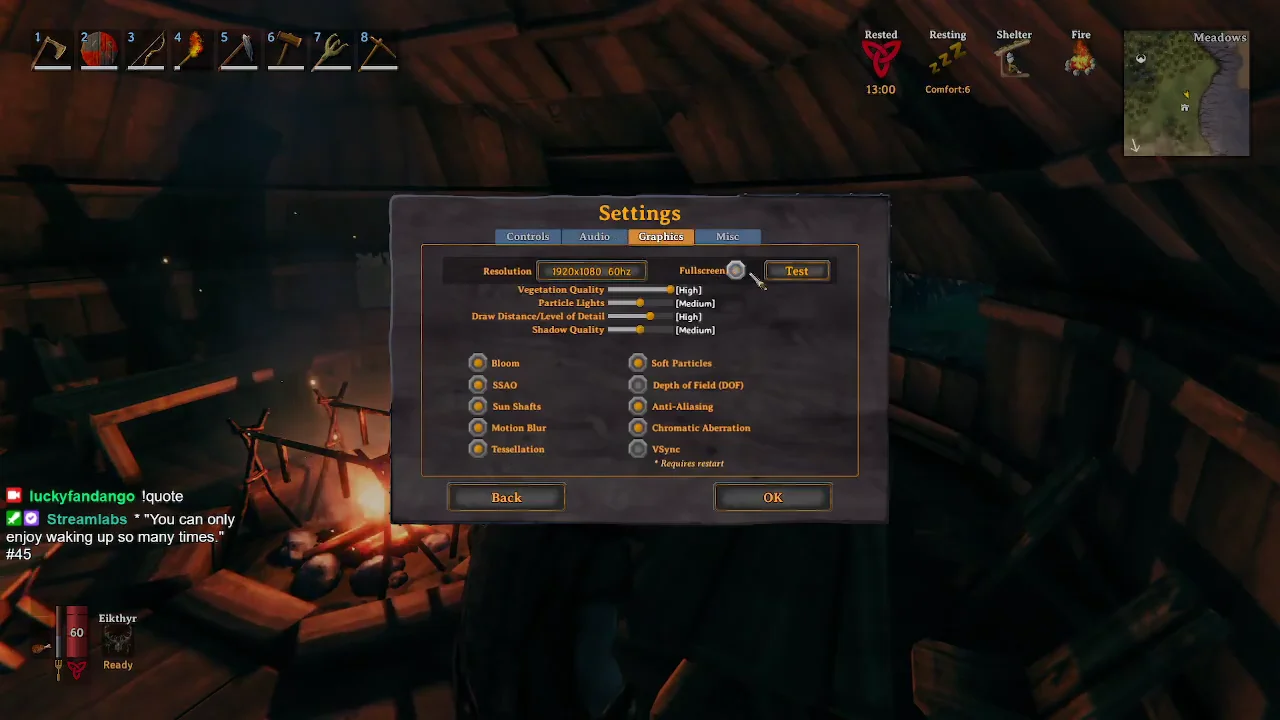
Sailing and map-reading happen a lot at night, so it is worth opening the Settings menu first and sorting out resolution, full-screen mode, and UI visibility before you cast off.
Get bronze gear before you sail
A stone axe and antler pickaxe will get you to the coast, but they will not carry an expedition. Bronze is the gate, and bronze means a copper run into the Black Forest with a cart hooked up behind you.
Trolls patrol the forest edge on the way back. Kite one with a bow and keep moving sideways through its ground slams, because a single hit on a loaded cart run can cost you the whole trip.
Clear the home base before departure
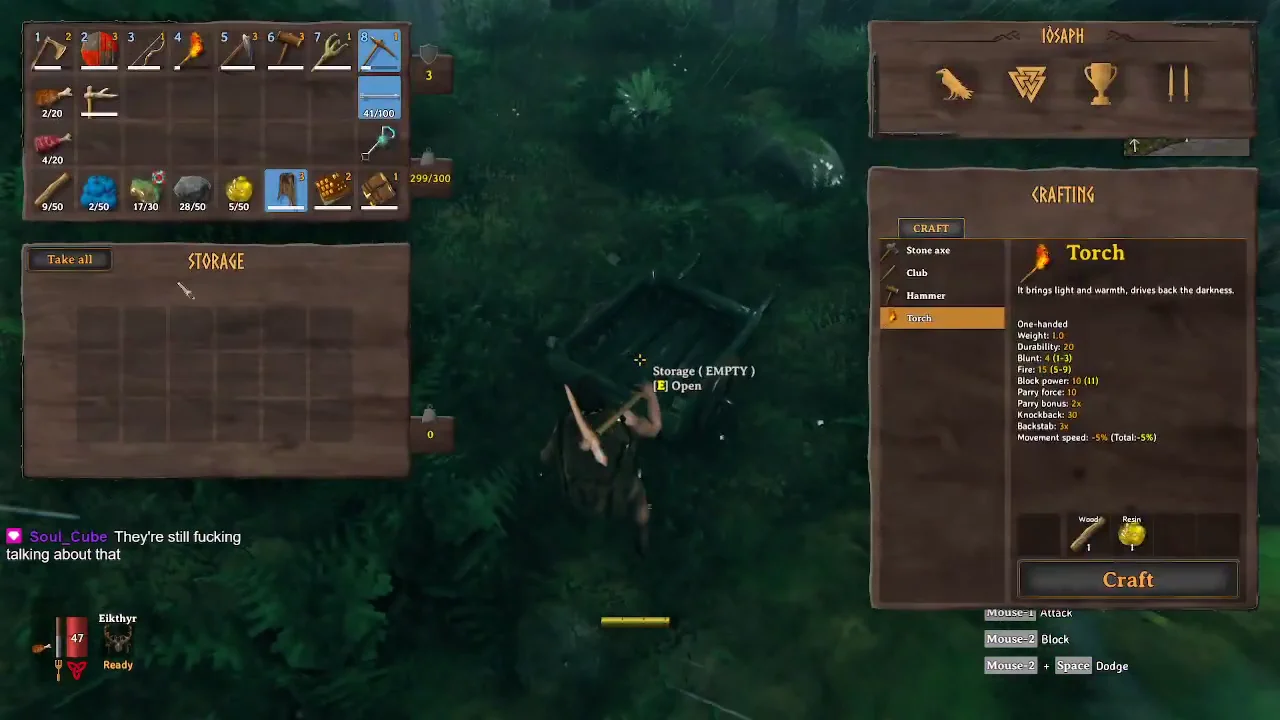
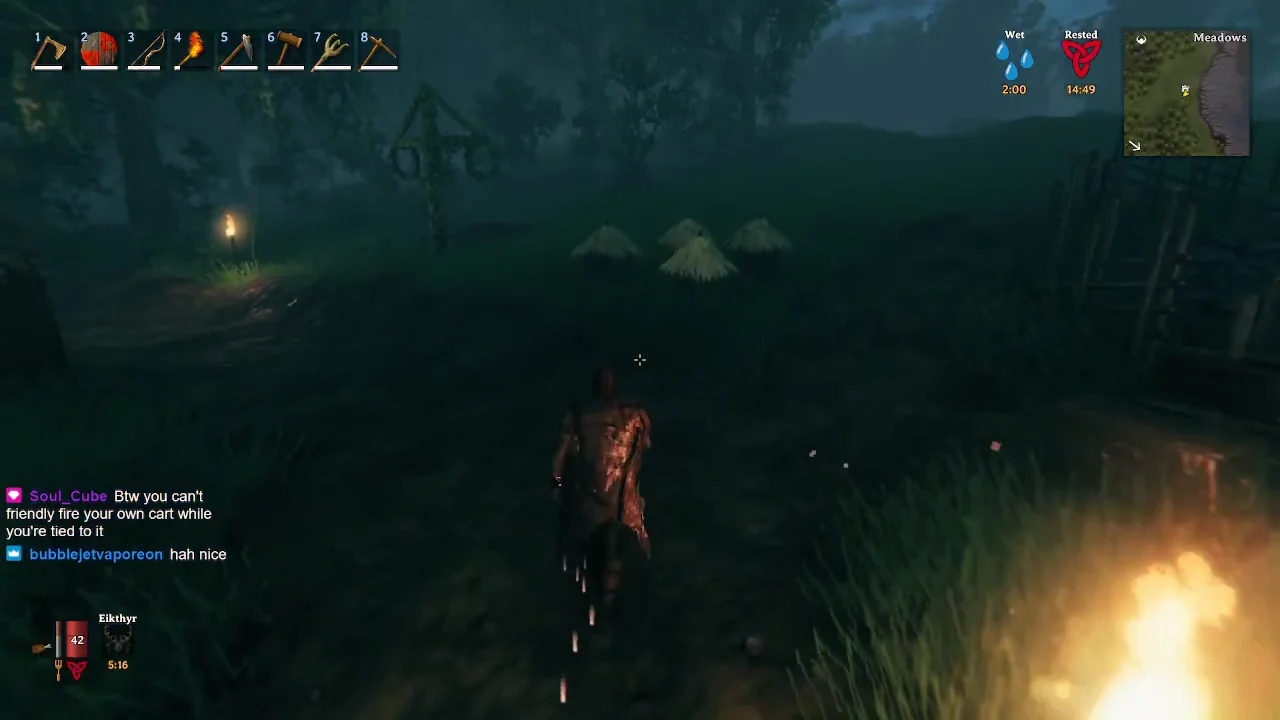
Anything left unattended at home is a problem you come back to. Collect honey from the beehives, patch the perimeter fences around the boar pen, and sort raw materials into chests so the next crafting session does not start with an inventory hunt.
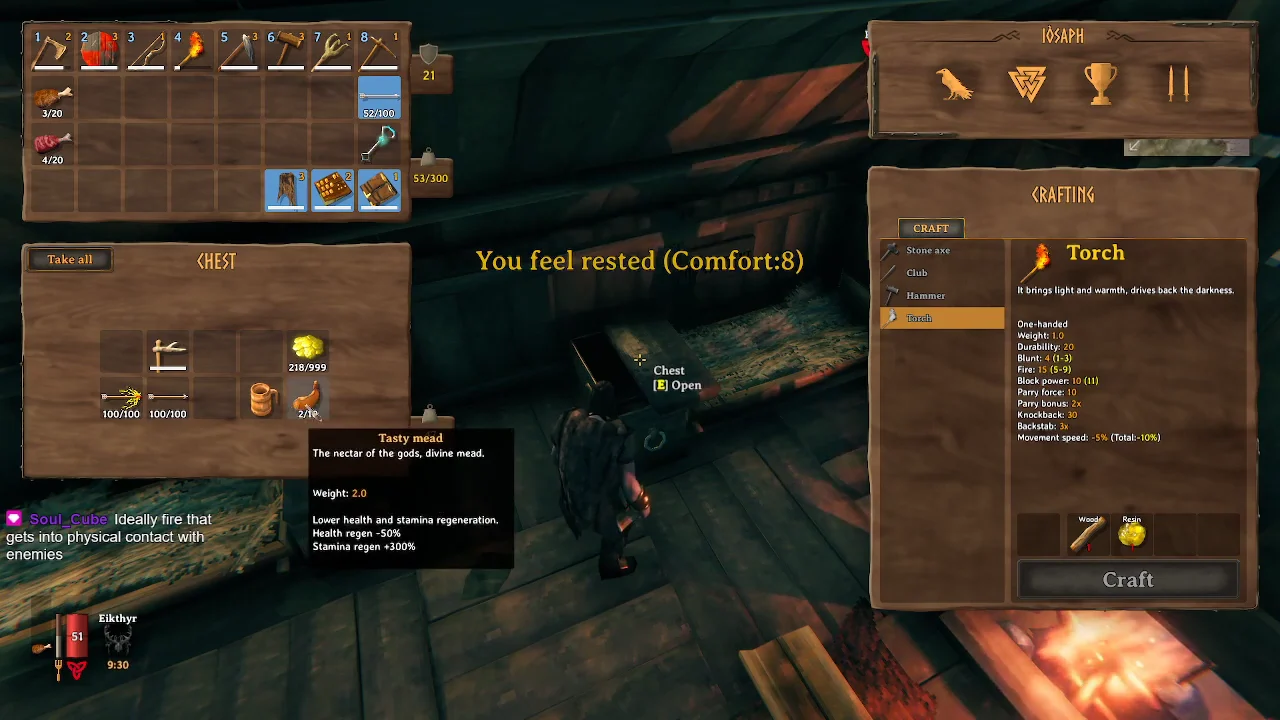
Then raid the storage chests inside the hut for what travels well. Potions, Tasty mead, coins, and food rations are the four things you want on the boat, and the meads matter more than they look once you are fighting skeletons in an unfamiliar ruin.
Load the Karve and mark the map
Head down to the dock and check the Karve before anything goes in. Then pull up the map and review your markers, because the point of the trip is to reach coastline you have never charted, and you want a rough heading rather than a wander.
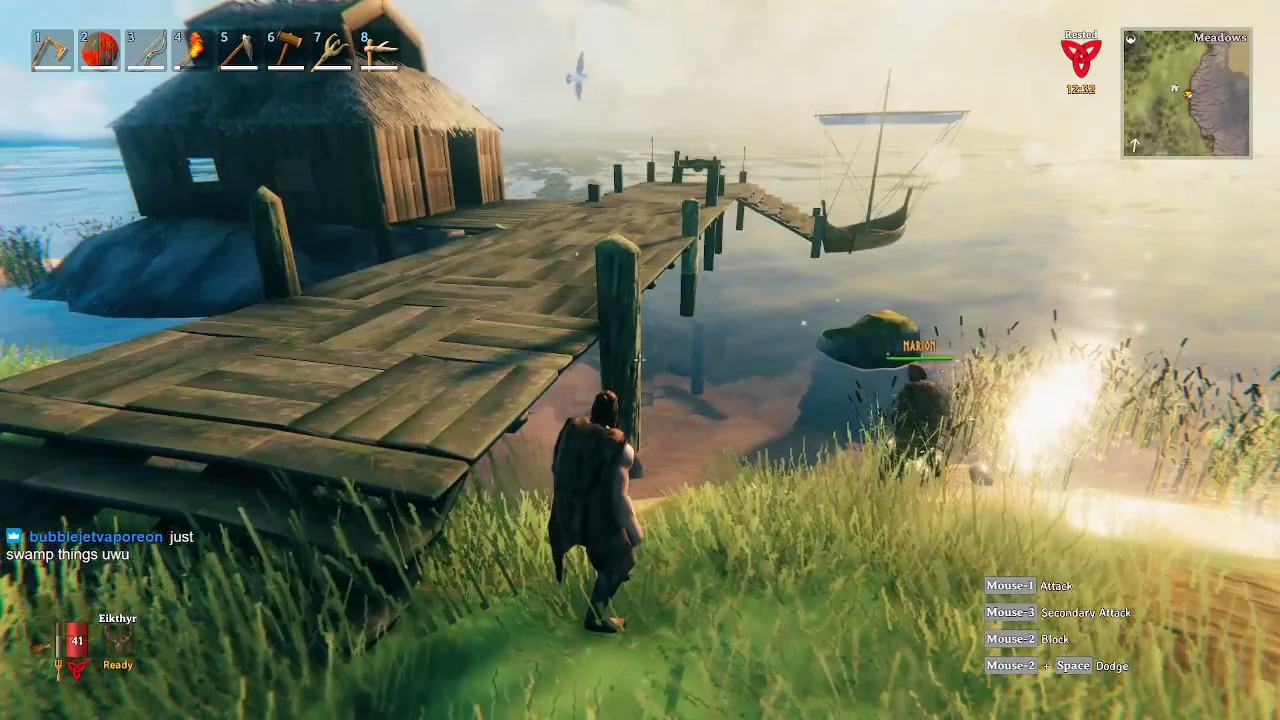
Leave real space in the hold. The return leg is the one carrying tin, and a Karve packed full of building materials on the way out has nowhere to put ore on the way back.
Crossing to an uncharted landmass
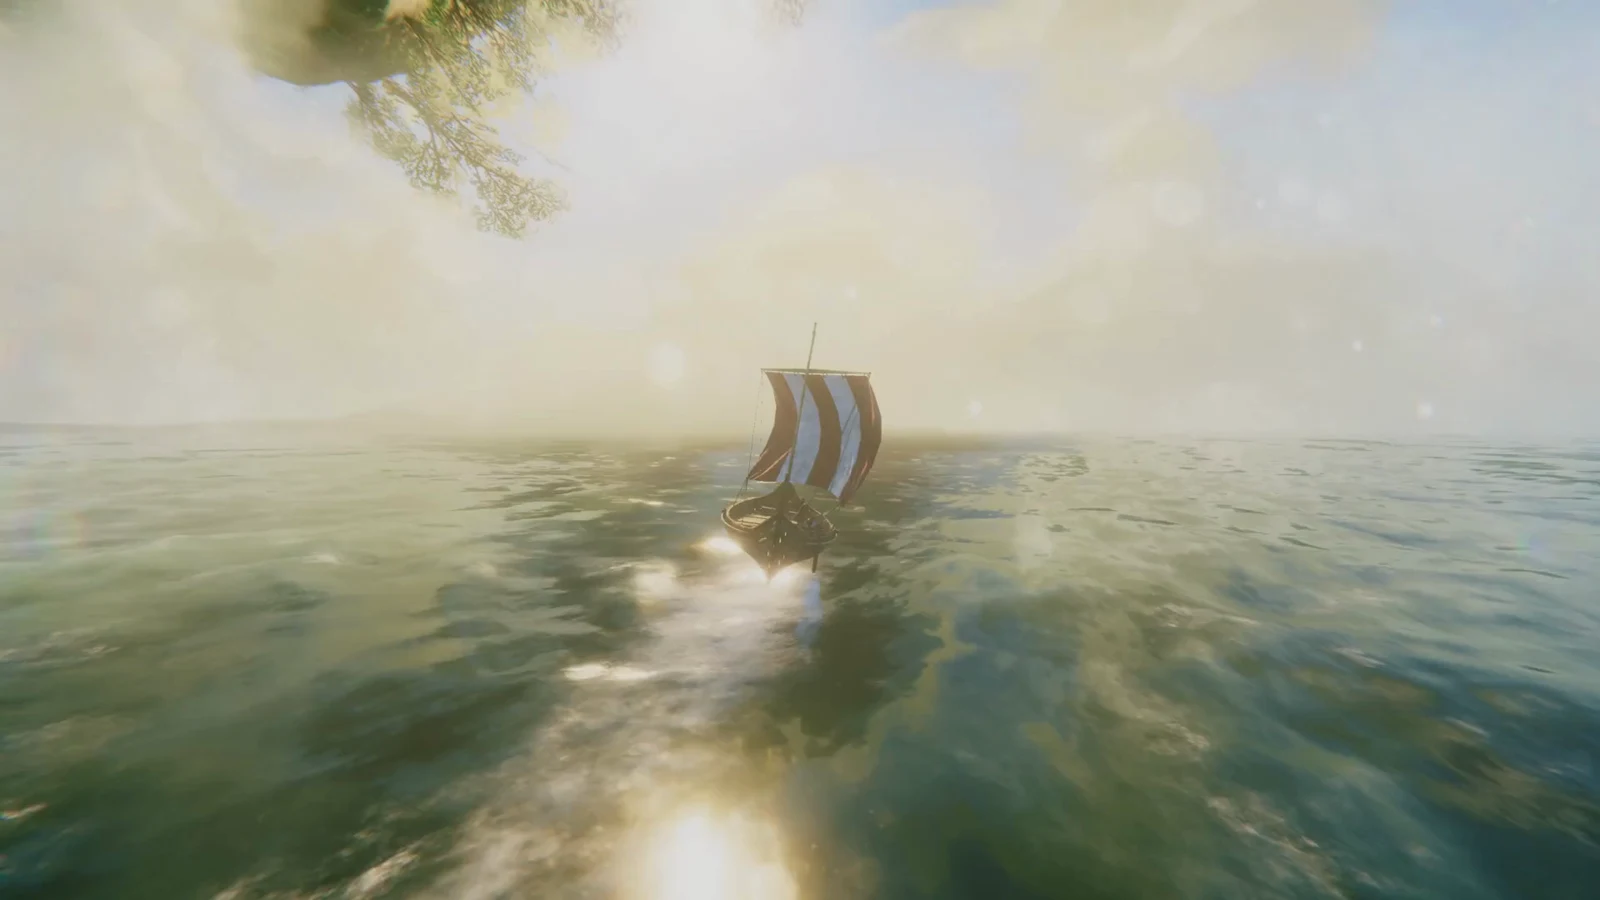
Board the Karve and sail across open ocean toward the unexplored landmass. Two players make the crossing considerably easier, since one can steer while the other watches the horizon and the shoreline for a biome change or a usable landing spot.
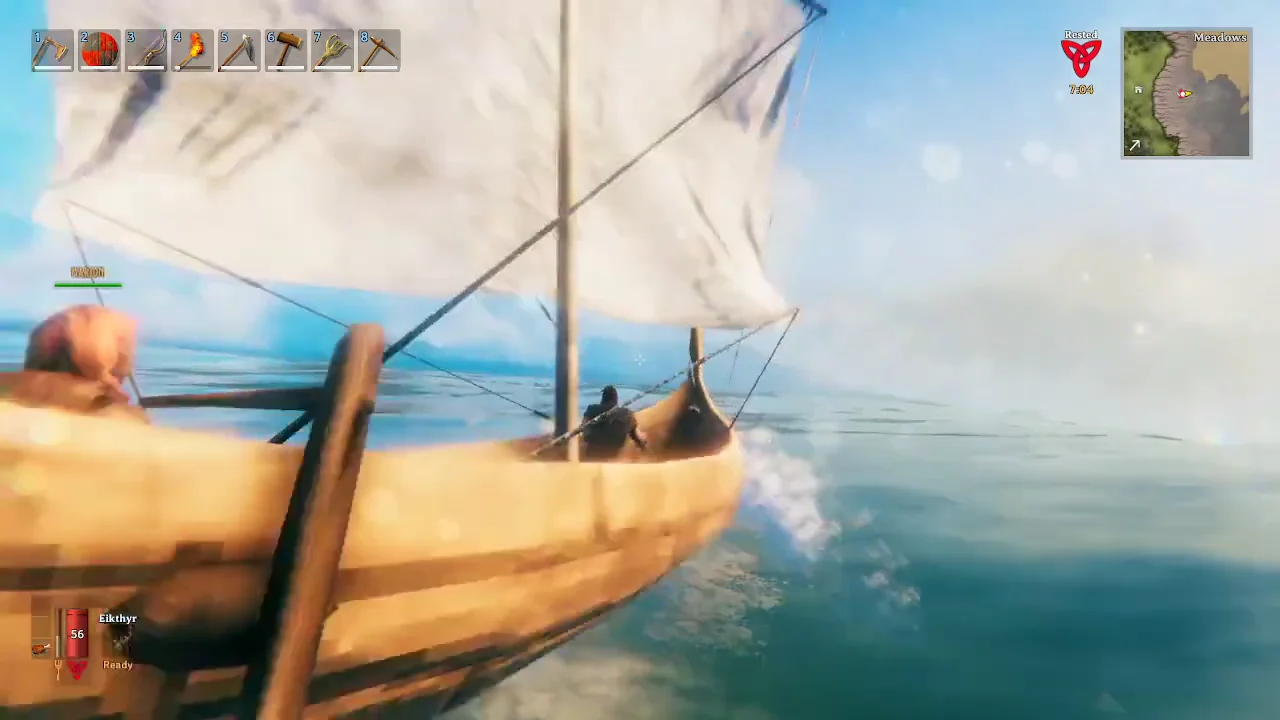
Aim for a beach you can pull the boat onto rather than a cliff face. A coastal ruined village with abandoned thatch houses and a stone tower is the ideal landing, because the structures are already there and you only have to fix them.
Turn a ruined village into a forward base
Ruins come with occupants. Sweep the stone tower and the huts first and clear out the skeletons and Greydwarves lurking in them, otherwise every build attempt gets interrupted.
Work the new coast for tin and food
Tin sits on riverbanks and shorelines, so walk the water’s edge around the island with the bronze pickaxe and clear every deposit you find. Load the ore straight into the Karve’s storage hold rather than carrying it around.
Between mining trips, the surrounding wilderness covers your food. Deer are easy targets with a finewood bow, and blueberries and thistle grow along the same routes you are already walking for ore.
How to confirm the outpost is working
The outpost counts as established once you can do four things on site without returning home.
- Sleep through the night in a bed you placed there and wake up on the new day
- Repair tools and gear at the workbench you set up in the ruins
- Keep a fire and torches burning inside a roof that no longer shows gaps
- Store mined tin in the Karve’s hold, ready for the trip back to the smelters
Hit all four and the crossing stops being an exploration run. The landing site becomes a staging post you can sail back to, push inland from, and use as the jumping-off point the next time you go hunting for the Swamp.