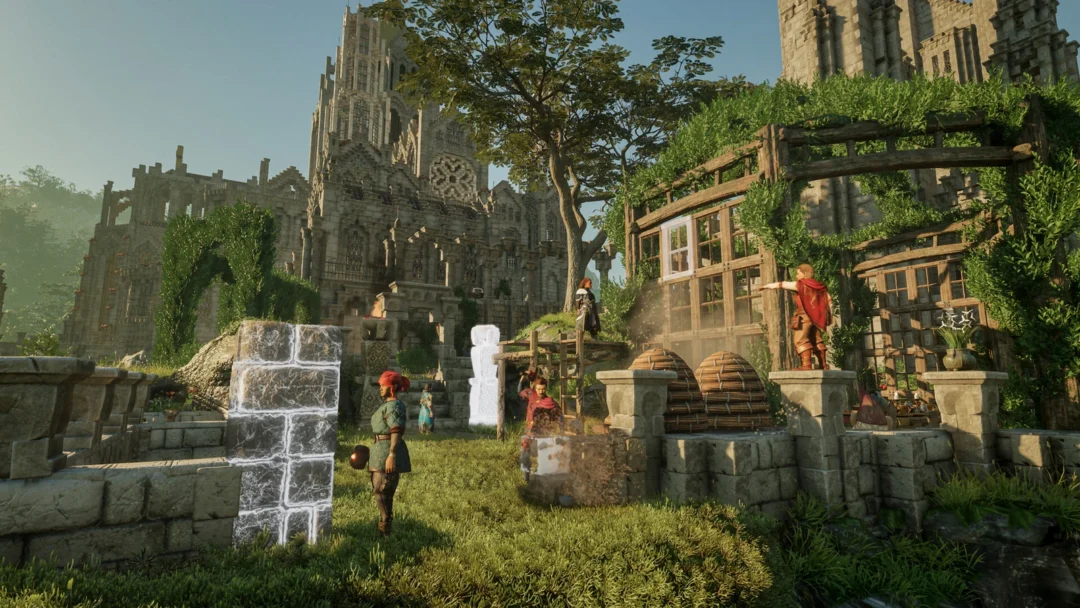
Chapter 8 of Valor Mortis sends William into the University, a maze of libraries, lifts and gas-filled corridors that keeps looping back on itself. Most of the chapter’s loot sits close to the story route. A few pieces sit behind a secret wall, a toxic cloud or an optional miniboss, and several of them stay locked until you pick up the Shield Transmutation partway through.
Quick answer: Chapter 8 has ten pickups split between the University’s Main Hall and Lift Shaft. Get the Shield Transmutation first, because four of them sit past poison gas that only the Shield lets you cross safely.
Chapter 8 collectibles checklist
The list below runs in the order you reach each item if you follow the story path and branch off as soon as each one becomes reachable.
| Collectible | Area | How you get it |
|---|---|---|
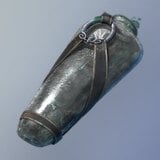 Empty Ferrofluid Flask | Main Hall | Chest in a secret room |
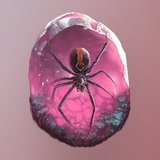 Payback (Amber) | Main Hall | Miniboss drop |
| Shield Transmutation | Main Hall | Story, automatic |
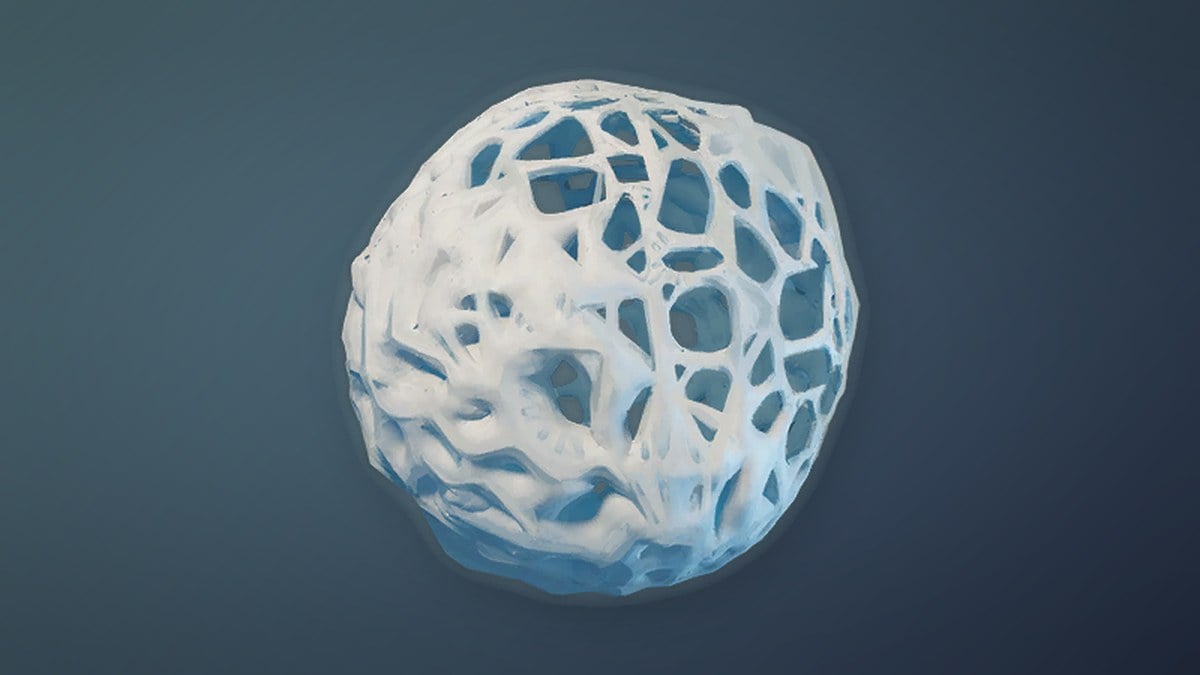
 Quintessential Transmutation Material | Main Hall, side balcony | Chest past toxic gas |
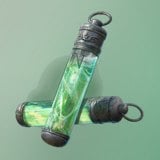 Ferrofluid Flask Power Upgrade | Main Hall, library | Chest behind a statue |
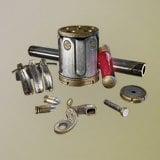 Masterwork Firearm Parts | Main Hall, library | Chest in a collapsed study |
 Warrior’s Fury (Amber) | Lift Shaft | Miniboss drop |
| Ferrofluid Flask Power Upgrade | Lift Shaft | Under a floor hatch |
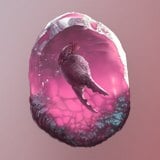 Lunatic’s Grasp (Amber) | Lift Shaft | Trapped chest, left |
| Ferrofluid Flask Power Upgrade | Lift Shaft | Trapped chest, right |
Two keys also turn up along the way. The Lift Shaft Key is required to move forward, and the Library Key opens extra side rooms. Every chest also shows a loot beam once opened, and each pickup flashes its name on screen, so you can confirm each item the moment you grab it.
Main Hall collectibles before the Shield
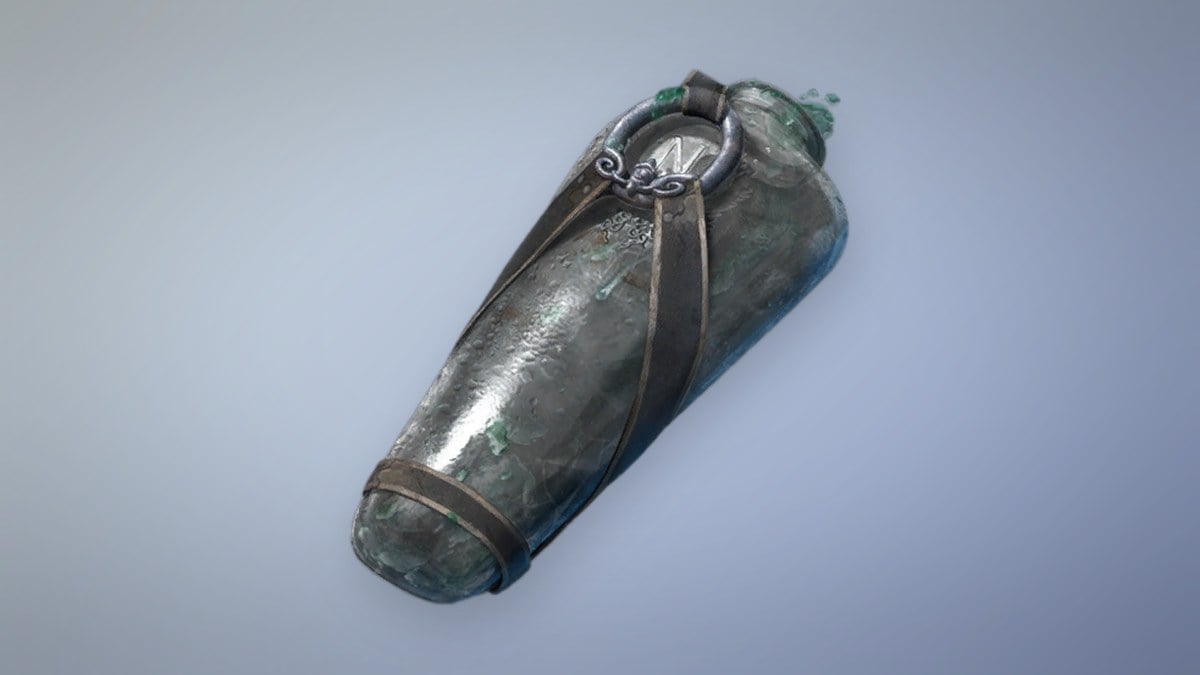
Empty Ferrofluid Flask: secret room off the statue hall
Start at the Main Hall Lantern and follow the only open route into the big room with two staircases and a statue in the middle. Take the story hallway next to the stairs and look for the wood-paneled wall cabinets on the right. Climb them, pull the lever hidden up there, and a section of paneling slides open into a small secret room. The red chest inside holds the Empty Ferrofluid Flask, which gives your healing flask one more charge when you use it at a Lantern.
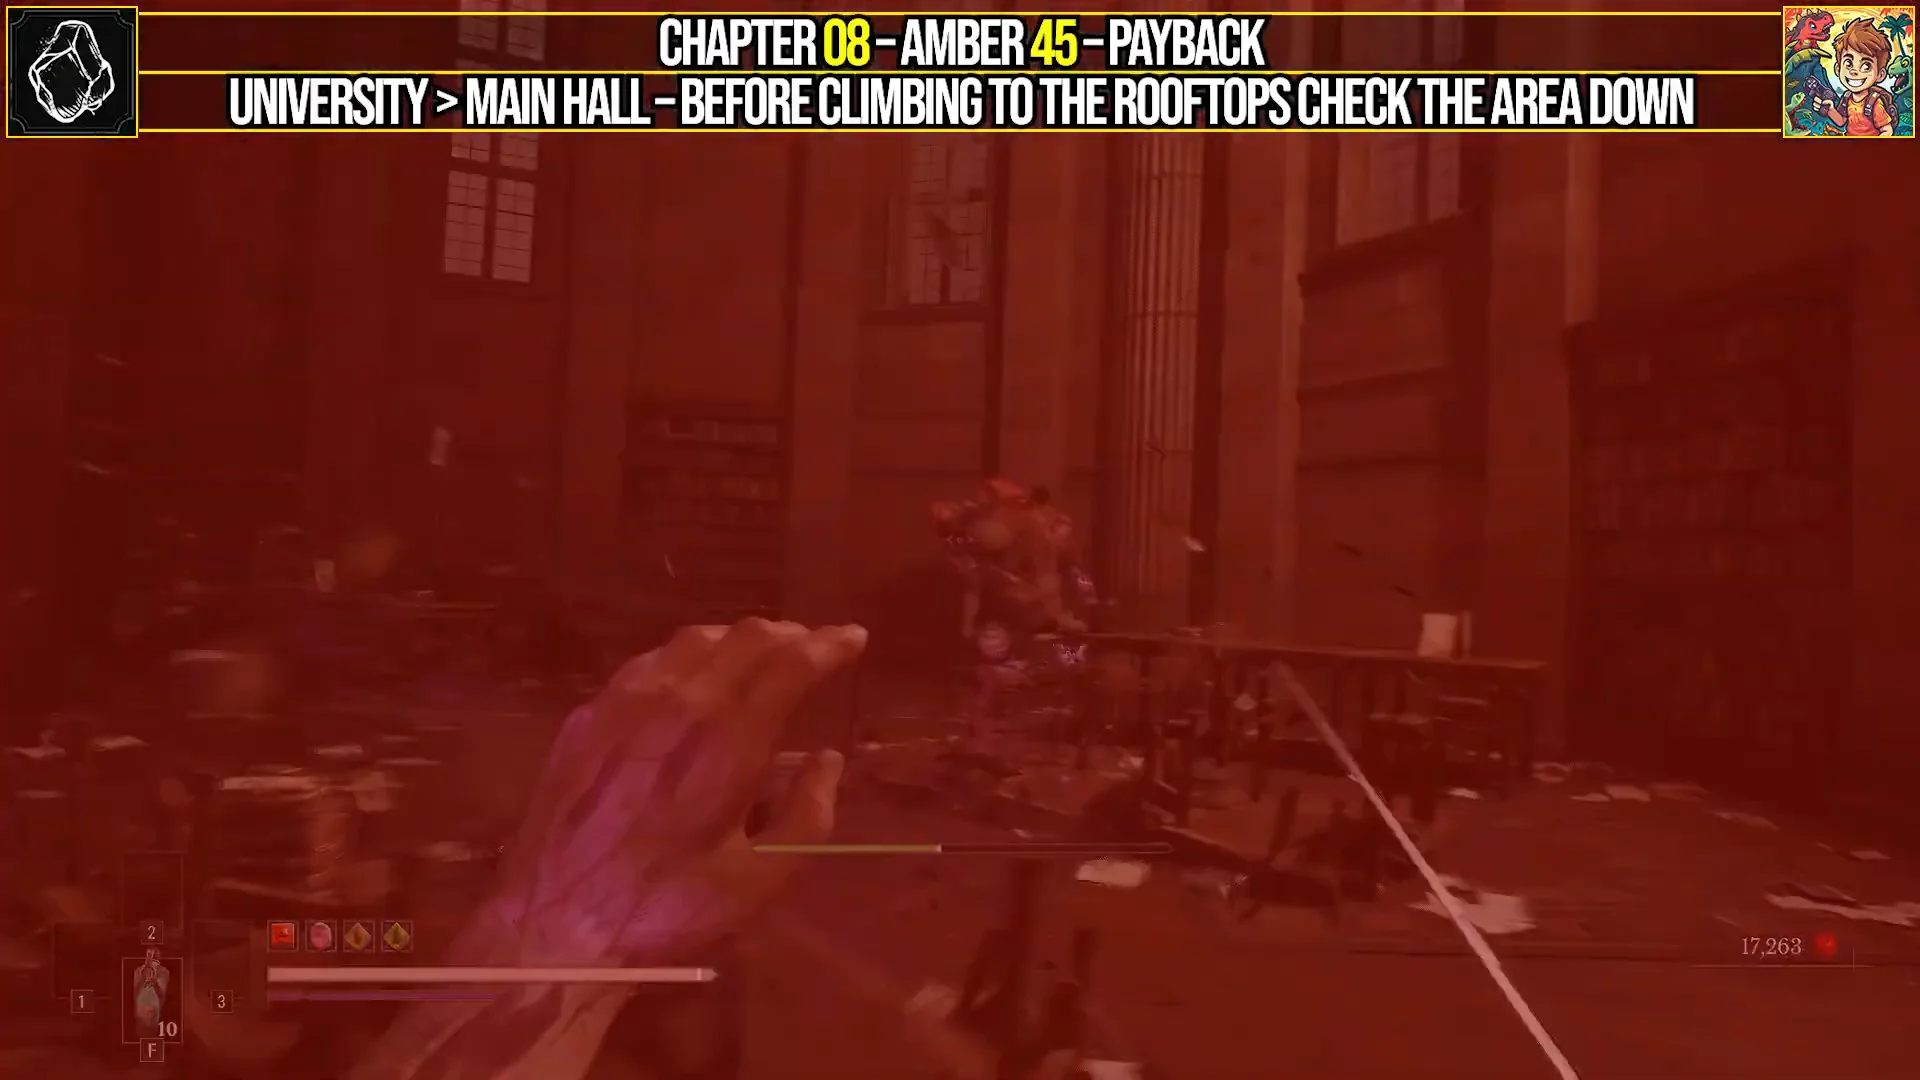
Payback Amber: miniboss in the lower reading room
Leave the secret room and keep to the upper corridors until the route starts climbing toward the rooftops. Before you go up, look for an opening that overlooks a lower study room full of tables and papers. A wooden ladder leads down into it, where a Remnants of the Iron Regiment miniboss is waiting. Kill it and it drops the Payback Amber directly, with no chest involved.
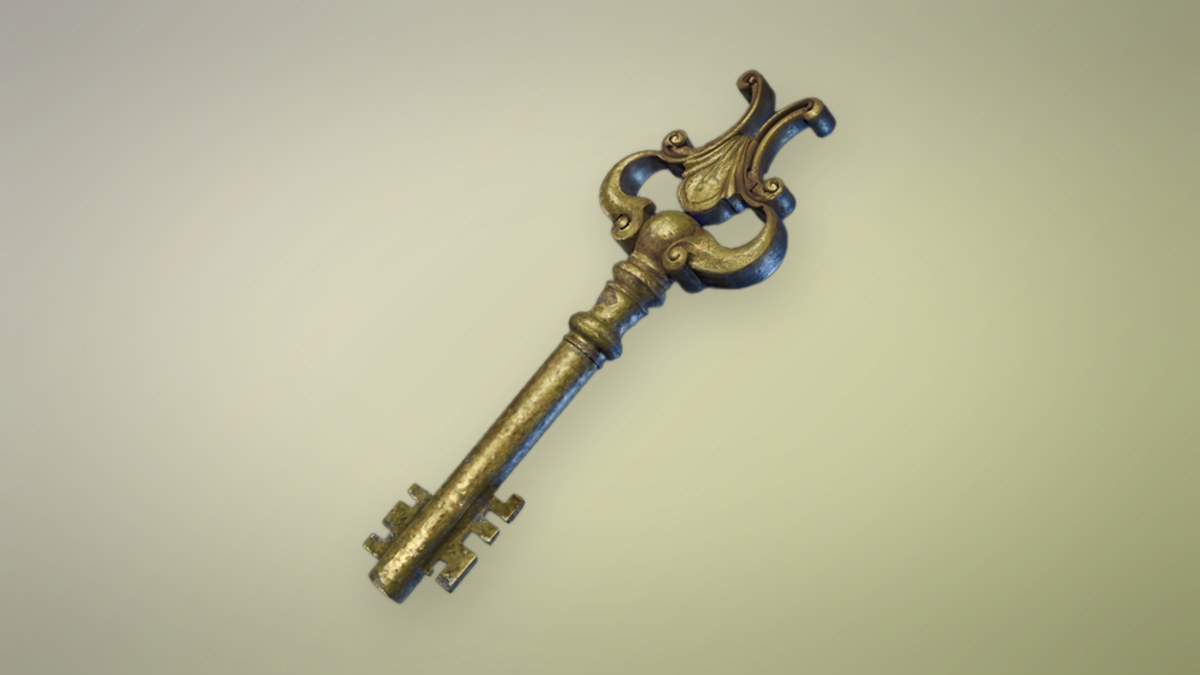
Library Key: behind the movable walls
When the story route reaches an elevator, hold off on riding it. Take the hallway to the left, then turn right into a section where some walls open and close to reshape the path. Keep to the left side as you work through them. The Library Key lies on the floor in a small pocket cut off by one of those walls, and it unlocks several doors elsewhere in the University.
Shield Transmutation: story unlock
Follow the story into the elevator and ride it up to a balcony overgrown with flesh. A mutated body hangs there. Interacting with it starts a cutscene, and William absorbs the Shield Transmutation. This is the third Transmutation, and you can’t miss it.
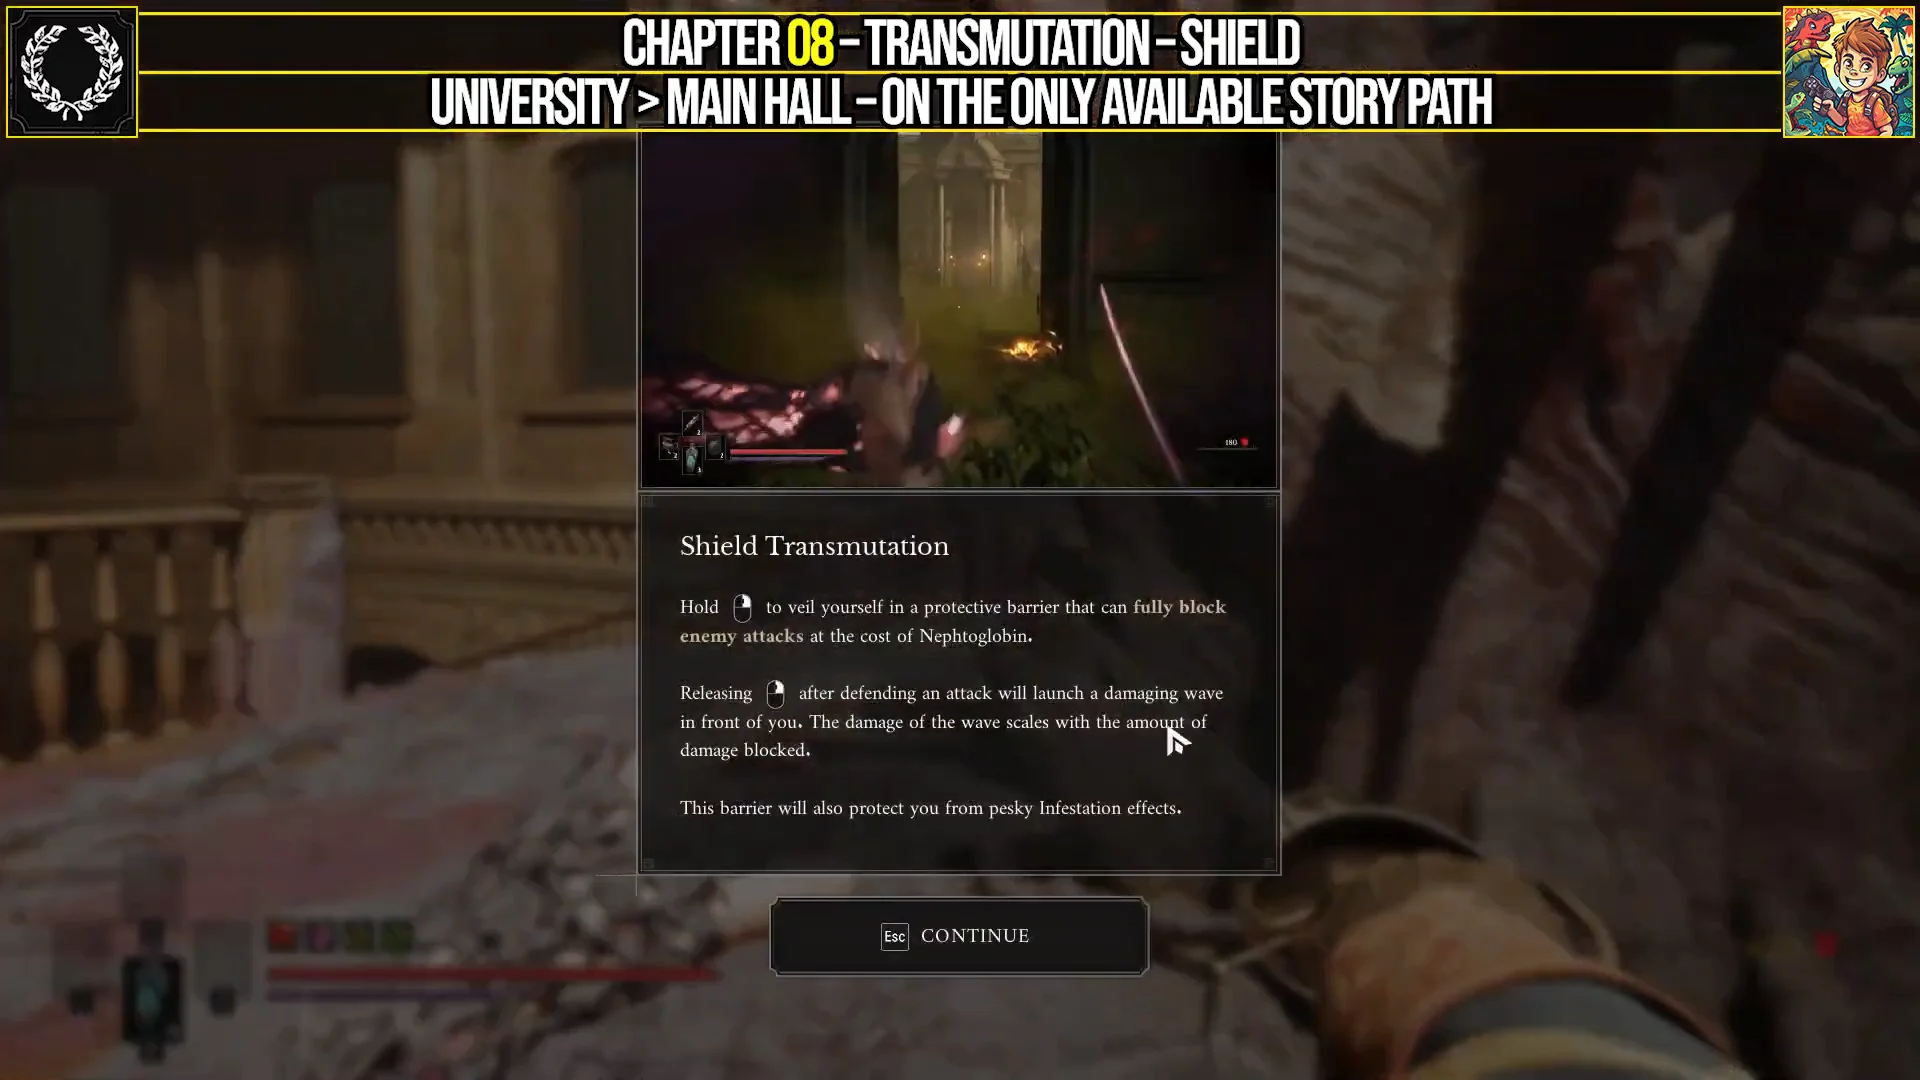
Hold the Transmutation input to wrap William in a barrier that fully blocks enemy attacks. Holding it drains a resource, so you can’t keep it up indefinitely. Let go after blocking a hit and the Shield fires a damaging wave forward, and the more damage you absorbed, the harder the wave hits. The barrier also keeps out Infestation effects, which is why it lets you walk through the University’s green poison clouds.
Main Hall collectibles that need the Shield
Before pushing on with the story, go back through the Main Hall. Three chests sit behind gas you could not cross before.
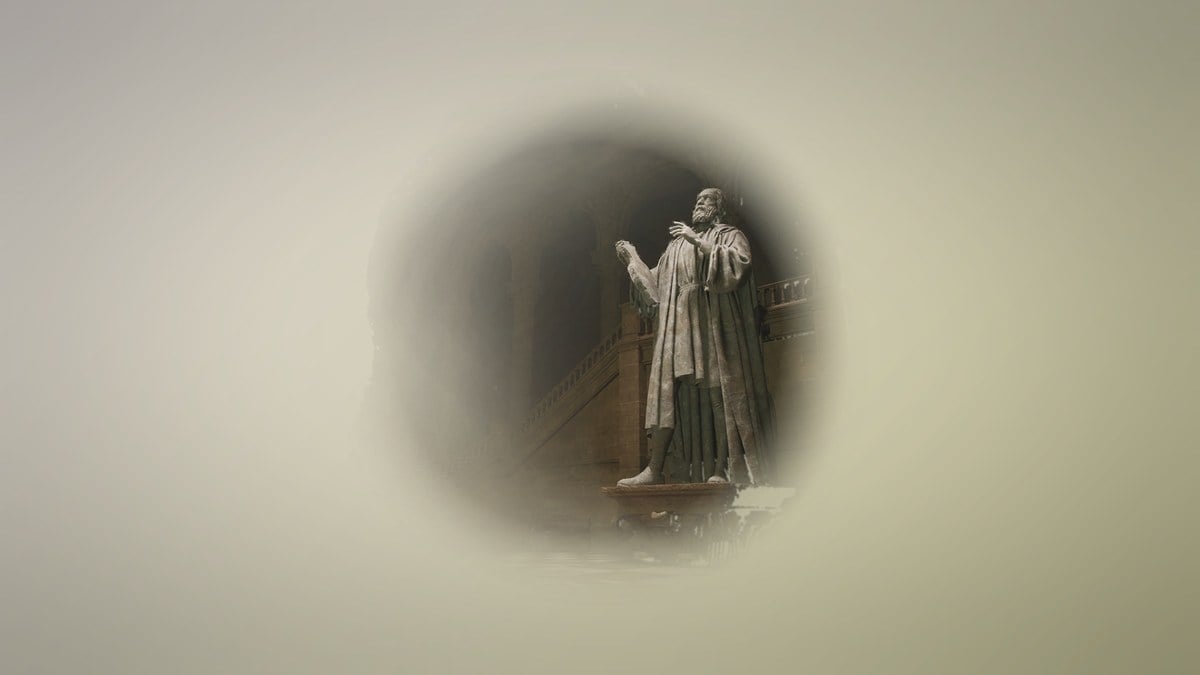
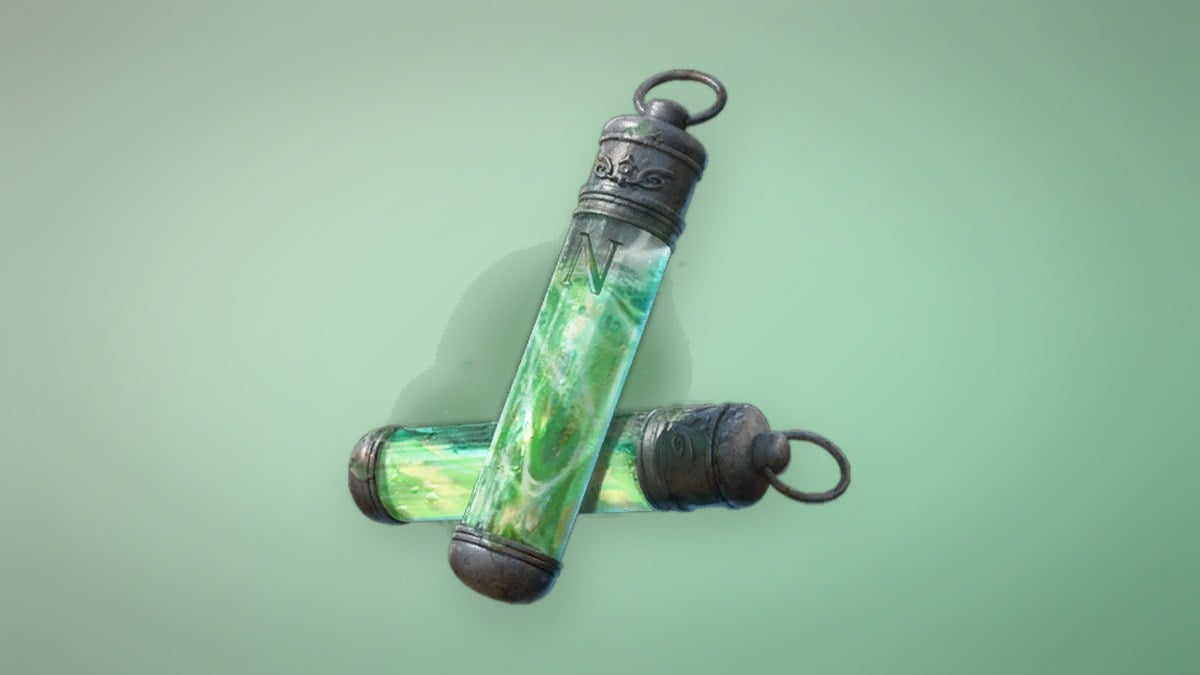
Quintessential Transmutation Material: side balcony lift
Ferrofluid Flask Power Upgrade: behind the library statue
Head back to the library area past the chandelier you crossed earlier. Descend this time, then take the opposite route with Shield in hand as you cross the poisoned corridor at the rear. Continue into the library’s lower level and enter the large statue room. Pick up the object before the statue to remove the vines, then scale the raised platform behind it. Inside the alcove, open the red chest for a Ferrofluid Flask Power Upgrade. You can also find a Remnant’s Return on this path.
Masterwork Firearm Parts: collapsed study at the back of the library
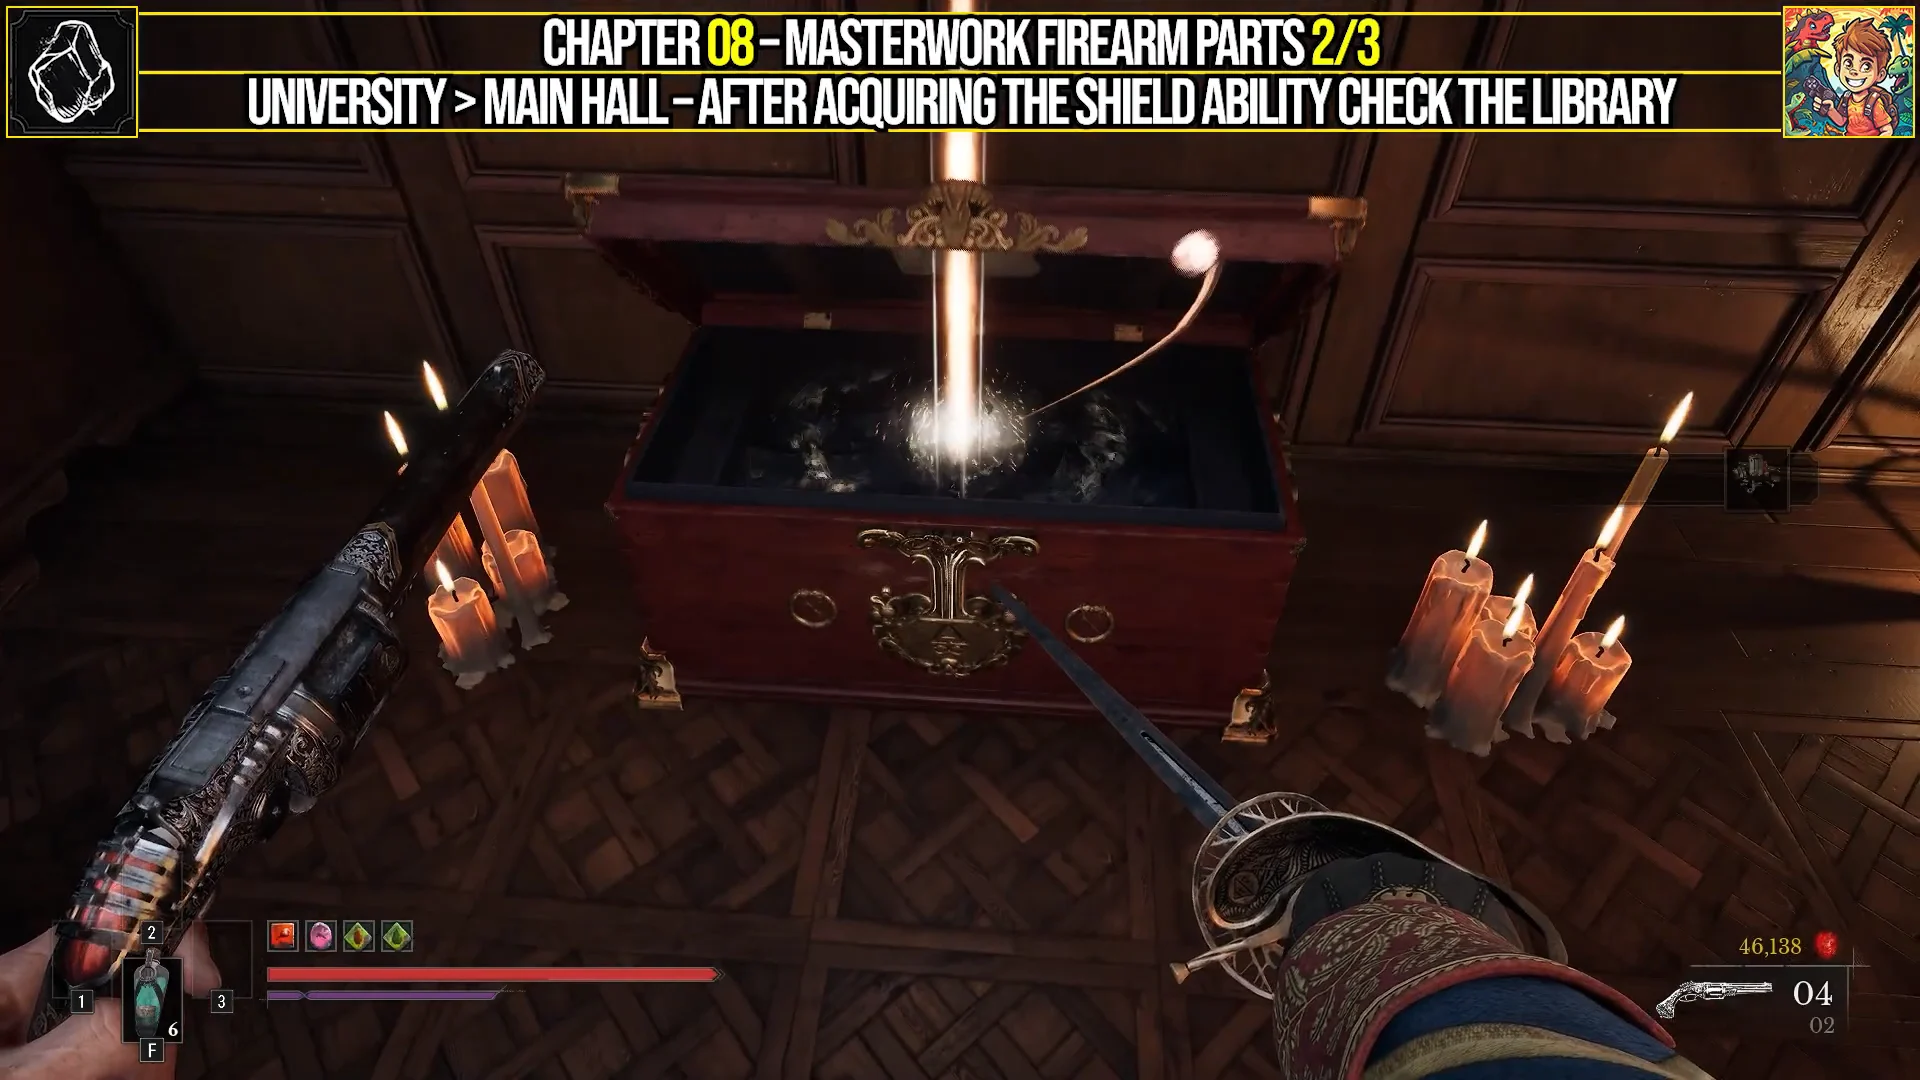
Keep moving through the library past the toxic zones, following the wooden walkways between the bookshelves. At the far end you reach a lecture hall with bodies hanging from the ceiling and a balcony over part of the room. Head to the partly collapsed area beneath that balcony and look for a red chest surrounded by candelabras. Inside are the Masterwork Firearm Parts. Grab them before you go underground, because getting back here from the Lift Shaft is a long trip.
Lift Shaft collectibles
Warrior’s Fury Amber and the Lift Shaft Key
Descend through the lift shaft until a locked gate blocks your way; opening it requires the Lift Shaft Key. Enter the adjoining room, where square cages line the space. A fire-wreathed Howler miniboss crawls around inside. Defeat it to receive Warrior’s Fury. Before leaving, collect the Lift Shaft Key from the floor next to a cage at the room’s far end, then return to unlock the gate.
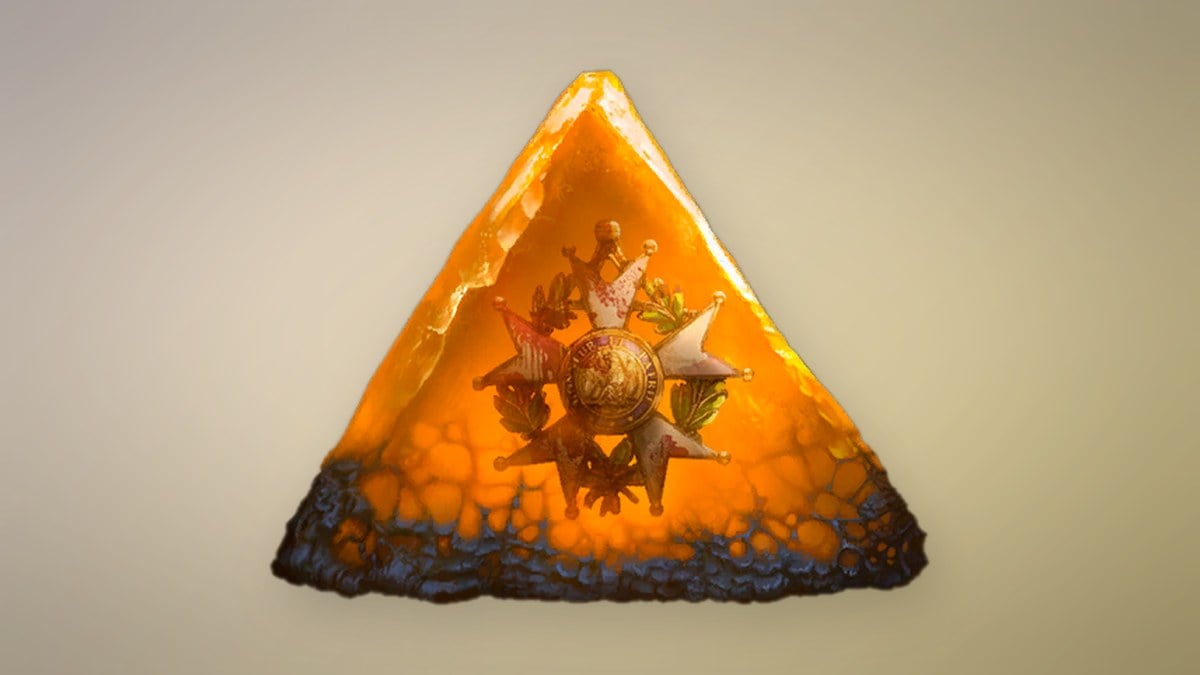
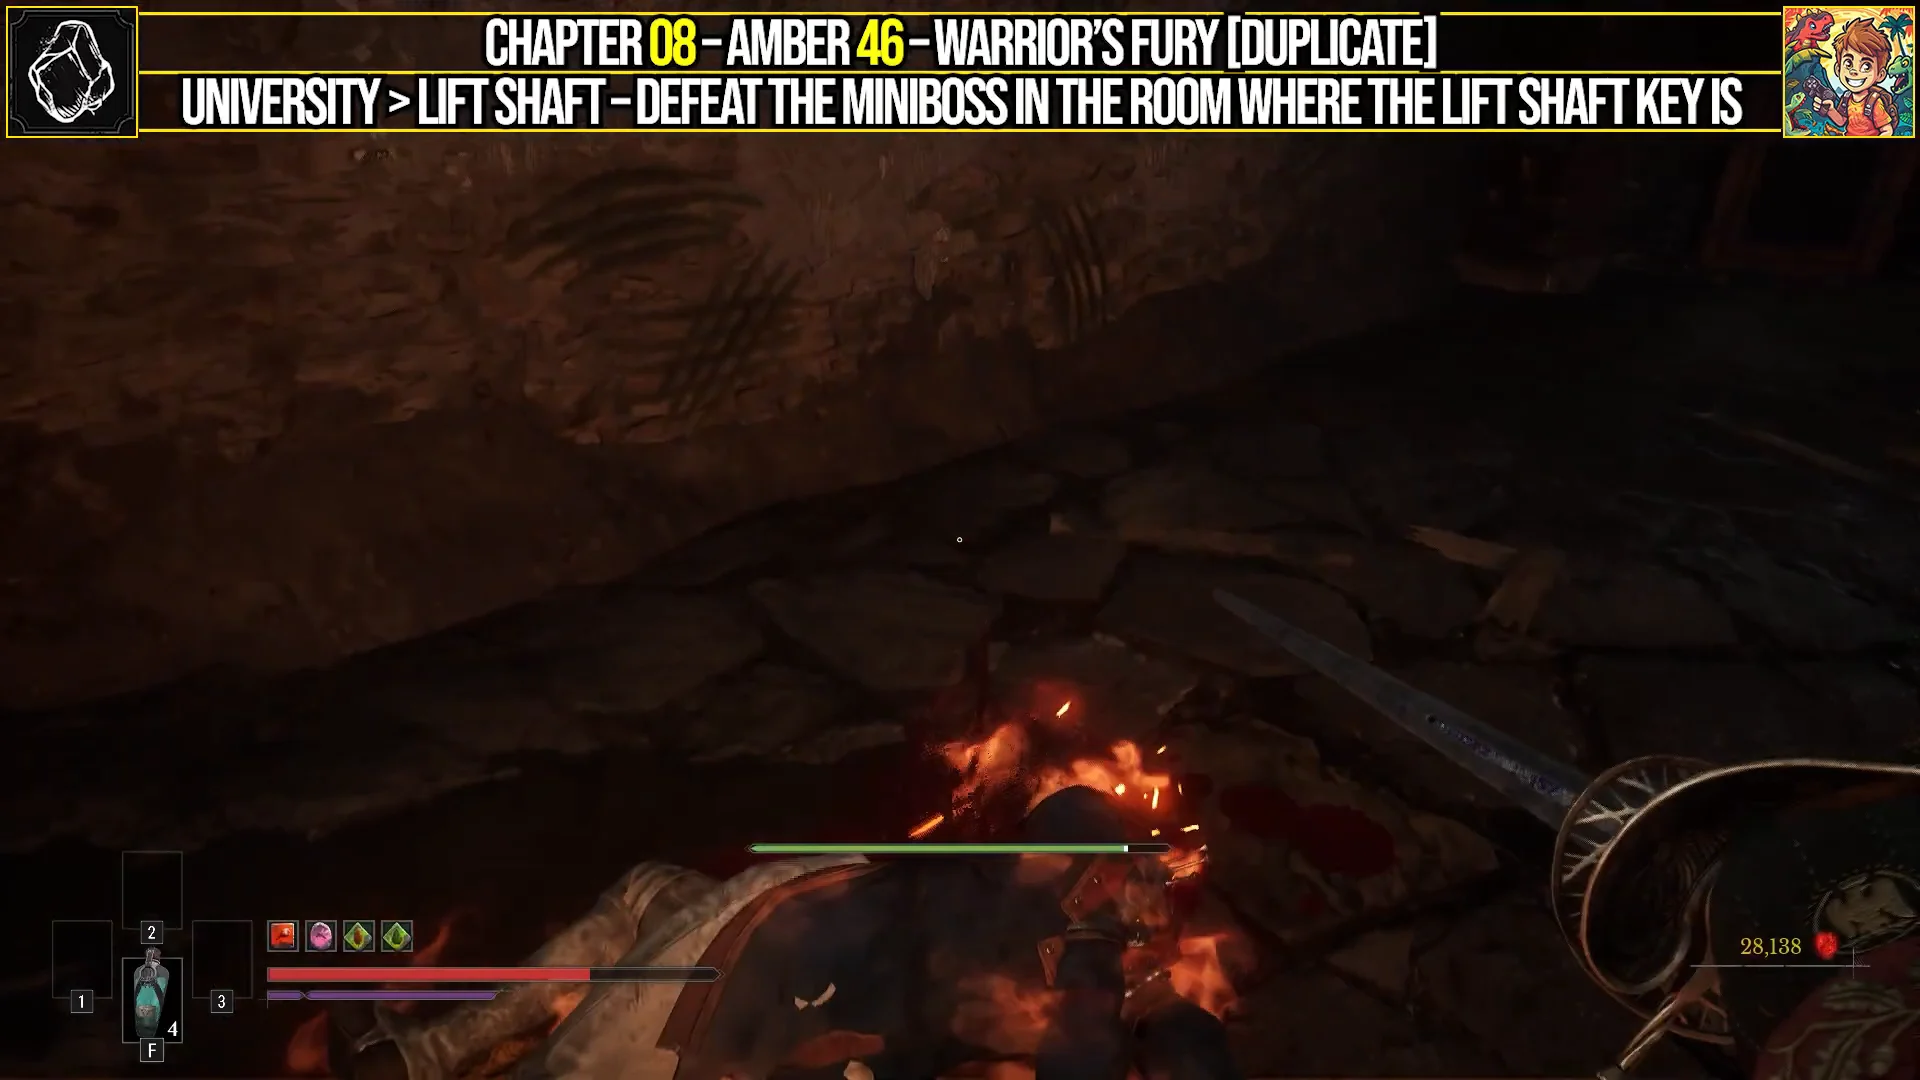
This is the third copy of Warrior’s Fury. The earlier copies come from a Fallen Village chest and a Howler in Cursed Hollow. If you already have both, this drop brings the Amber to rank 3, its maximum.
Ferrofluid Flask Power Upgrade: the floor hatch
Past the gate, take the lift lit by red emergency lights and ride it down. Run to the end of the hallway at the bottom and look down. A wooden hatch is set into the floor. Hit it with a melee attack to break it open and reach the Ferrofluid Flask Power Upgrade beneath.
Lunatic’s Grasp and the last Power Upgrade: twin trapped chests
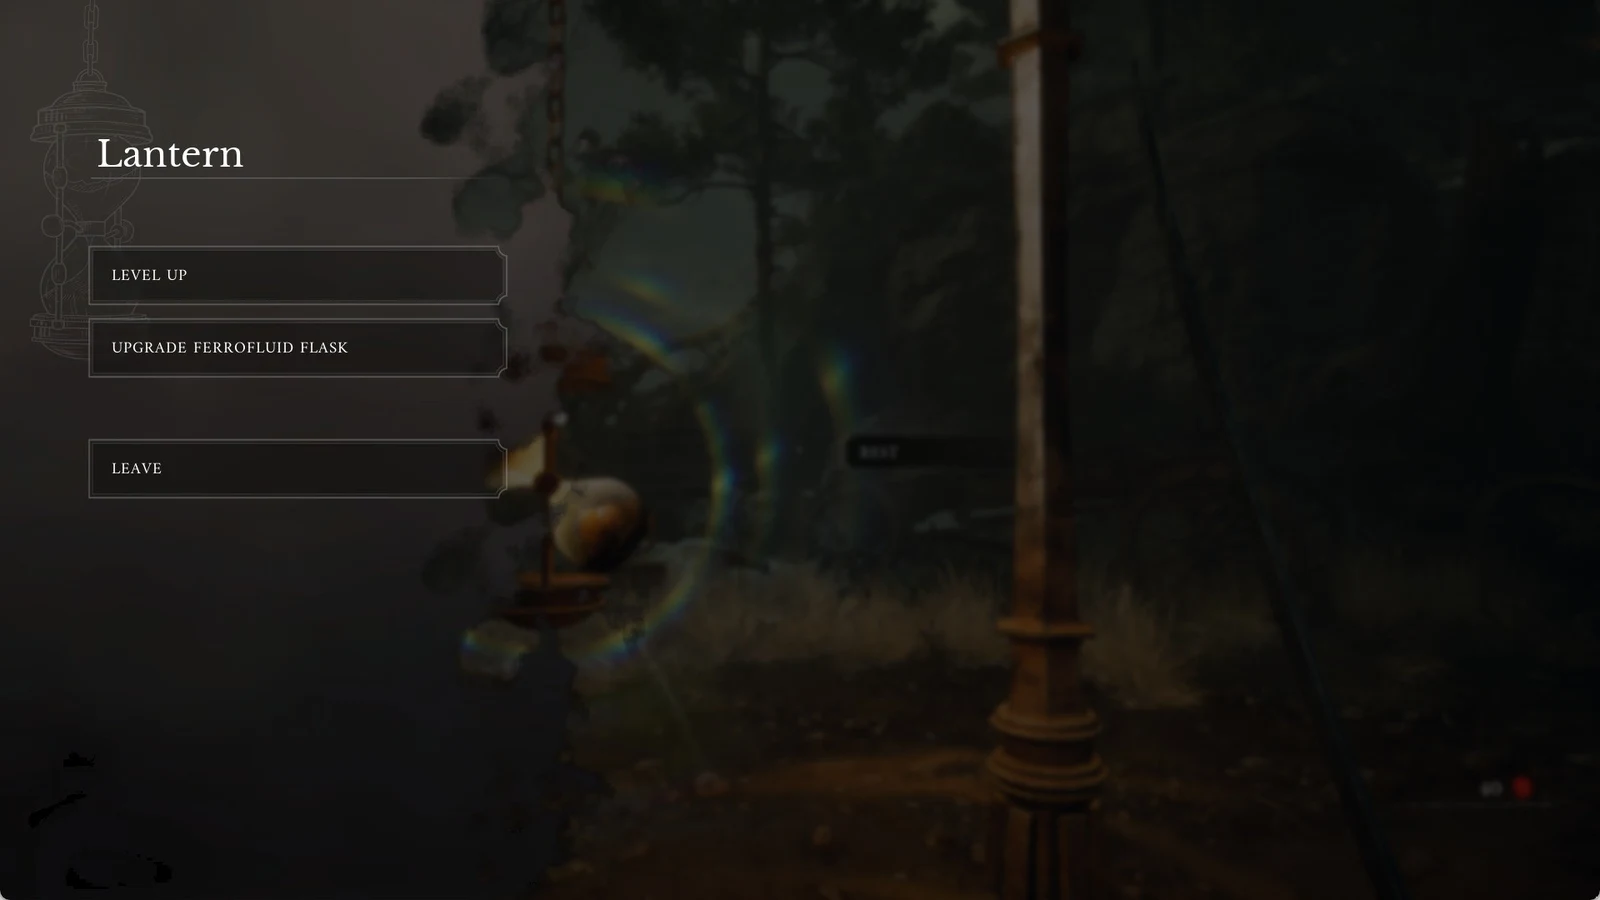
The next corridor is a sewer-like channel with poison covering the lower floor. Jump across the raised stone platforms to the Lantern at the far end and light it. A “LANTERN REKINDLED” message confirms the checkpoint. Then drop into the poisoned area below, where two chests sit side by side. The left chest holds the Lunatic’s Grasp Amber and the right chest holds another Ferrofluid Flask Power Upgrade.
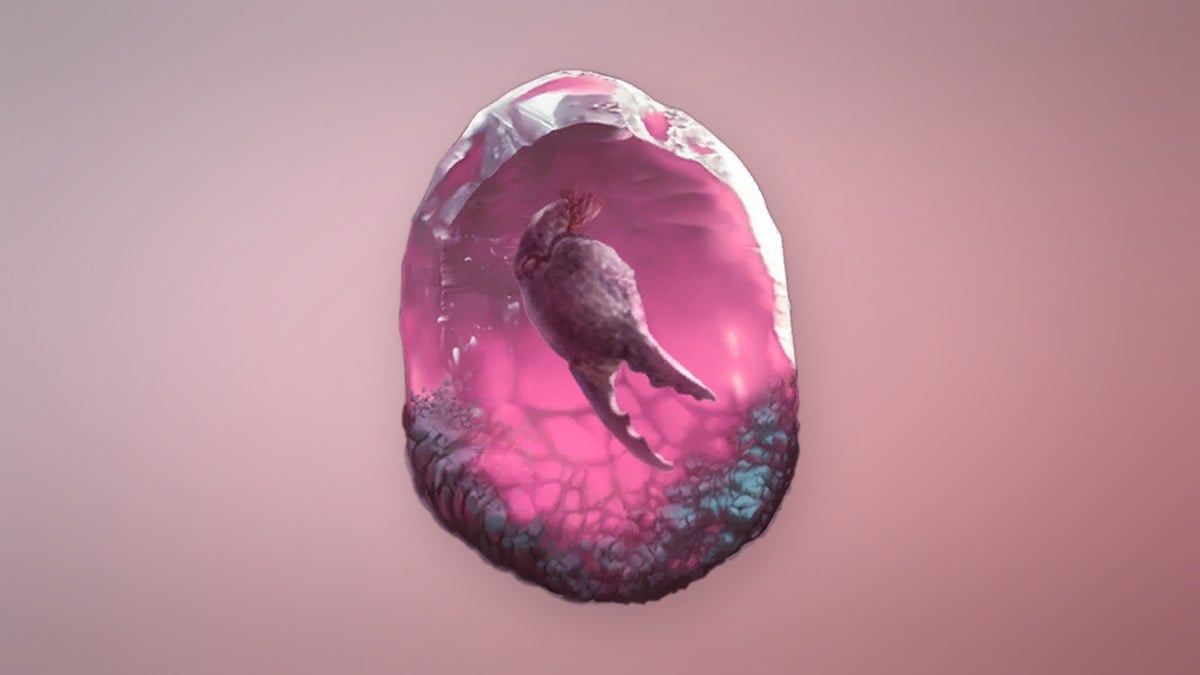
Both chests are trapped and explode when you open them. Heal first and keep the Shield ready while you stand in the poison.
Like Warrior’s Fury, this is the third copy of Lunatic’s Grasp. The other two are in chests in the Caverns and The Outskirts. With all three, the Amber reaches rank 3.
What the Chapter 8 rewards do: Amber and upgrade values
Collecting things is only half the job. Here is what each reward does once it’s slotted or spent.
Ambers
| Amber | Copies / max rank | Effect |
|---|---|---|
| Payback | 1 / 1 | Stasis blast when hit at low Health |
| Warrior’s Fury | 3 / 3 | Speed and damage boost after a kill |
| Lunatic’s Grasp | 3 / 3 | Faster Ignite and Stasis buildup |
Payback sets off a Stasis explosion when you take a hit while your Health is low. The blast deals 20 damage across a 5-metre radius, and since only one copy exists, this is its final form. Warrior’s Fury lasts 8 seconds at every rank. Its movement speed factor rises from 1.05 to 1.1 to 1.2, and its bonus damage climbs from 10% to 20% to 30%. Lunatic’s Grasp makes you apply Ignite and Stasis faster, but in exchange you resist both effects less yourself.
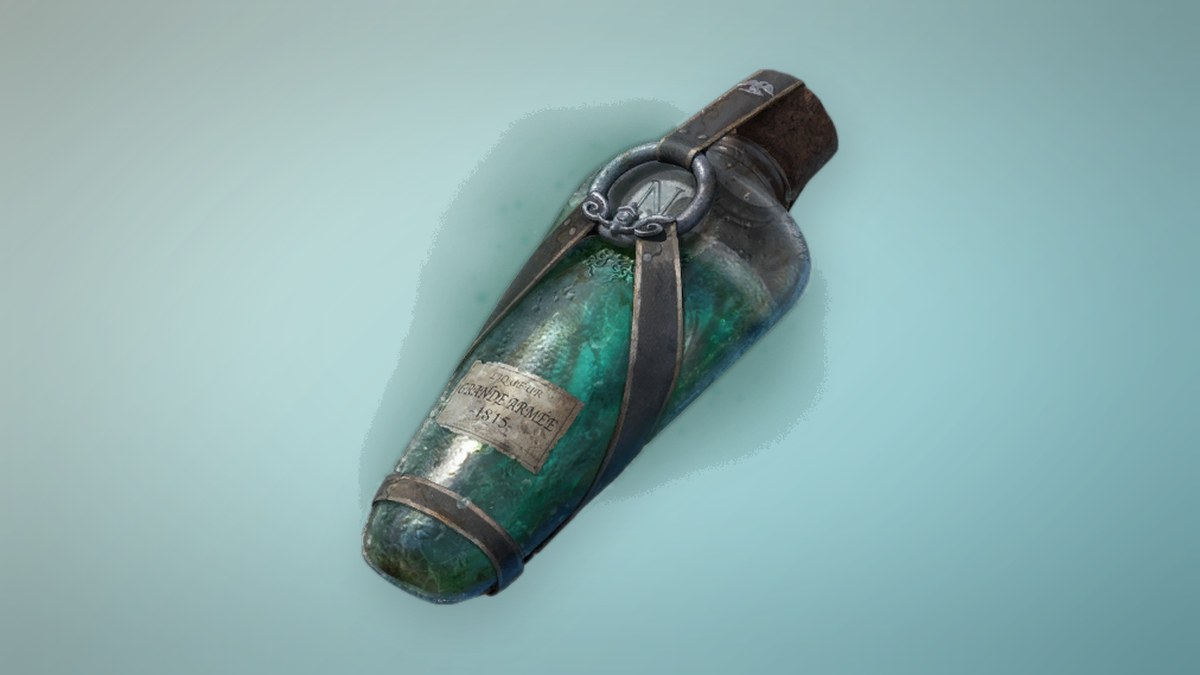
Ferrofluid Flask healing per upgrade
Power Upgrades are spent at a Lantern. The flask starts at 50 healing, and each potency tier costs more upgrades than the last. Going from 50 to 140 healing takes 24 Power Upgrades in total. Empty Ferrofluid Flasks are separate and add charges instead, up to a maximum of 5 flasks carried.
| Potency tier | Healing | Power Upgrades needed |
|---|---|---|
| Base | 50 | — |
| 1 | 60 | 1 |
| 2 | 70 | 2 |
| 3 | 80 | 2 |
| 4 | 90 | 2 |
| 5 | 100 | 3 |
| 6 | 110 | 3 |
| 7 | 120 | 3 |
| 8 | 130 | 4 |
| 9 | 140 | 4 |
Shield Transmutation upgrade path
The Shield has five levels. A perfect parry with it deals 200 posture damage, and its built-in Counter Blast stores the damage you take while it’s up and fires it back when you drop the barrier. The Quintessential Transmutation Material from the side balcony is the final upgrade cost.
| Level | Damage factor | Cost | Unlocks |
|---|---|---|---|
| 1 | 1 | — |  Counter Blast |
| 2 | 1.15 | Crude Transmutation Material x2 | Reach |
| 3 | 1.3 | Pure Transmutation Material x2 | Absorb or Deflect |
| 4 | 1.45 | Distilled Transmutation Material x2 |  Impenetrable Defence |
| 5 | 1.75 | Quintessential Transmutation Material x1 |  Shield Bash |
Reach makes the wave travel farther. At level 3 you pick one of two options. Absorb turns incoming projectiles into Nephtoglobin, while Deflect sends bullets back at whoever fired them. Impenetrable Defence lets the Shield stop Unblockable Attacks, and Shield Bash lets you hit enemies with it using the Attack input. The same Quintessential material can go into Fire or Stasis Transmutation level 5 instead, one per upgrade, so choose which one gets it before you spend it.
Masterwork Firearm Parts
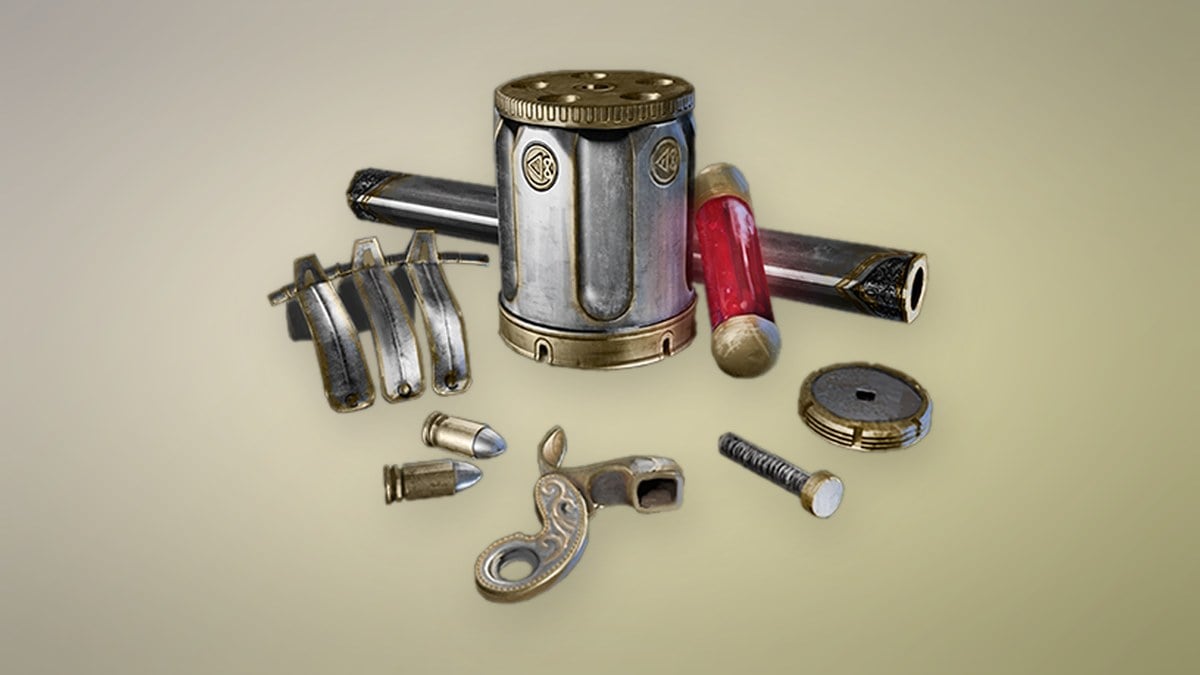
One set of Masterwork Firearm Parts upgrades a Pistol, Blunderbuss, or Musket from level 9 to level 10. On the Blunderbuss, damage per shot increases from 26 to 30 and the damage cap goes from 310 to 350; the upgrade also unlocks Back-Breaker, which boosts posture damage when you hit an enemy from behind. These parts appear only in chests in the City of Orphans and the University, so choose carefully based on which firearm you use.
Nothing in Chapter 8 is permanently missable. If you skip a chest, a key or one of the optional minibosses, you can fast travel back to the Main Hall or Lift Shaft Lanterns later and pick it up.