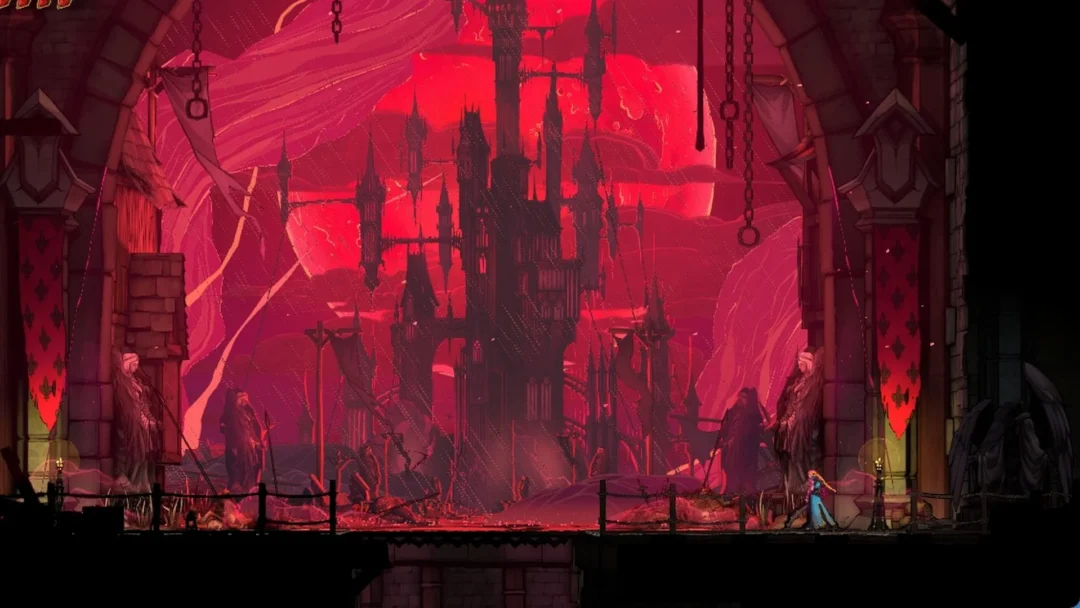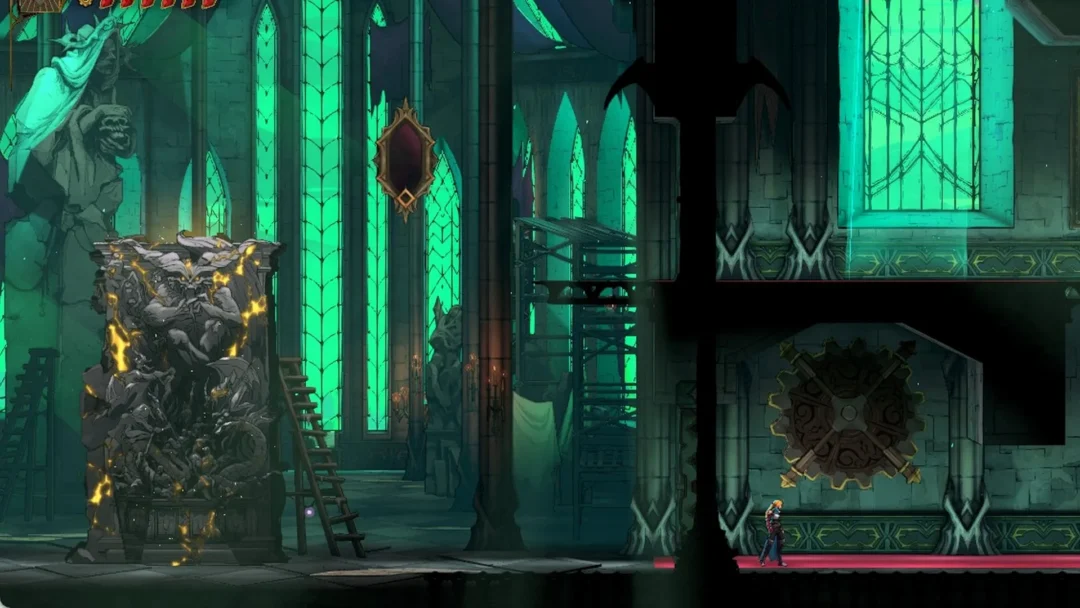
The burning end of the Fallen Village is the hardest part of Chapter 3: Rendezvous in Valor Mortis to navigate. There is no map in the game, the streets are on fire, and the way forward runs across rooftops and attics. You also need a traversal power that the chapter only hands you partway through. Once you have it, the route through the flames to safety is short and fixed. You just have to know which hooks to aim for.
Quick answer: Grapple from the burning street onto the rooftops, cut through an attic, drop past the courtyard enemies, climb the ladder, and hold F to pull the debris down. The Lantern sits just below.
What you need before entering the burning village
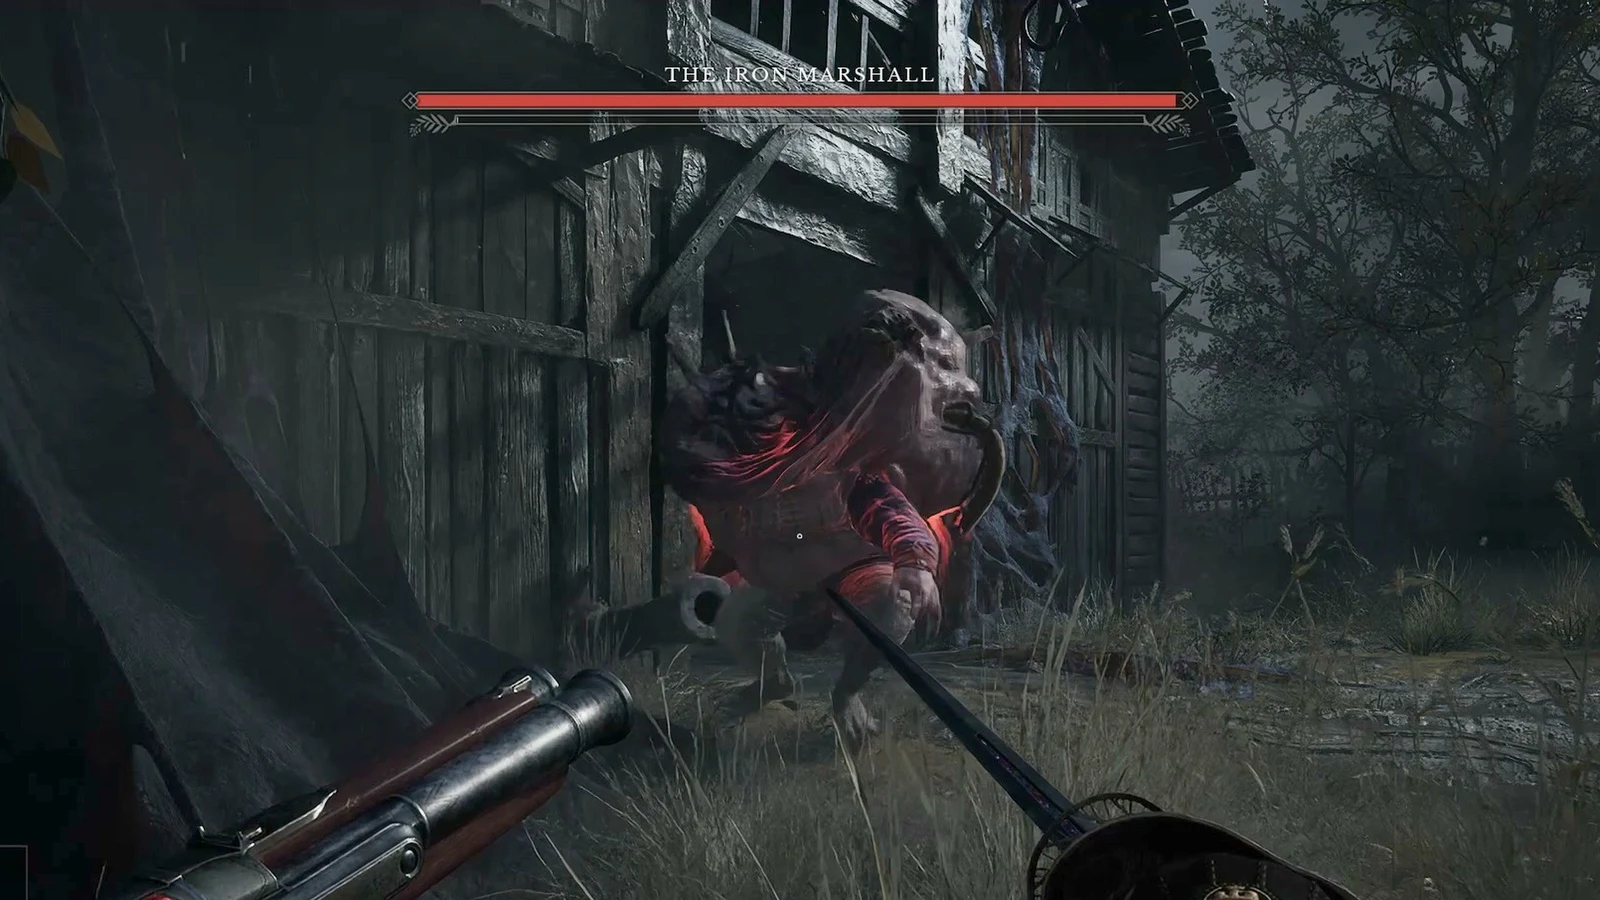
The fire-gutted part of the village sits across the stream, where the smoke rises. You cannot reach it on foot, and the Rendezvous journal says so the first time you try. The fix is the grapple ability. You get it in the hut by the Orchard Lantern after you defeat The Iron Marshall. Once you have it, the faint glowing hooks around the village become usable. The journal then updates to tell you to head back to the stream.
From Orchard, go to the wooden bridge over the river and grapple off the hook there. That puts you at the start of the burning street.
Valor Mortis has no in-game map. You find your way by looking out from each Lantern checkpoint. The grapple points glow blue, so look for those rather than for paths on the ground.
Fallen Village escape route to the Path of Fire Lantern
All of the prompts below are the PC defaults shown on screen. E handles grappling, ladders and resting. F is the pull.
E when the “E GRAPPLE” prompt appears. You’ll be pulled up onto a raised wooden walkway, clear of the fire below.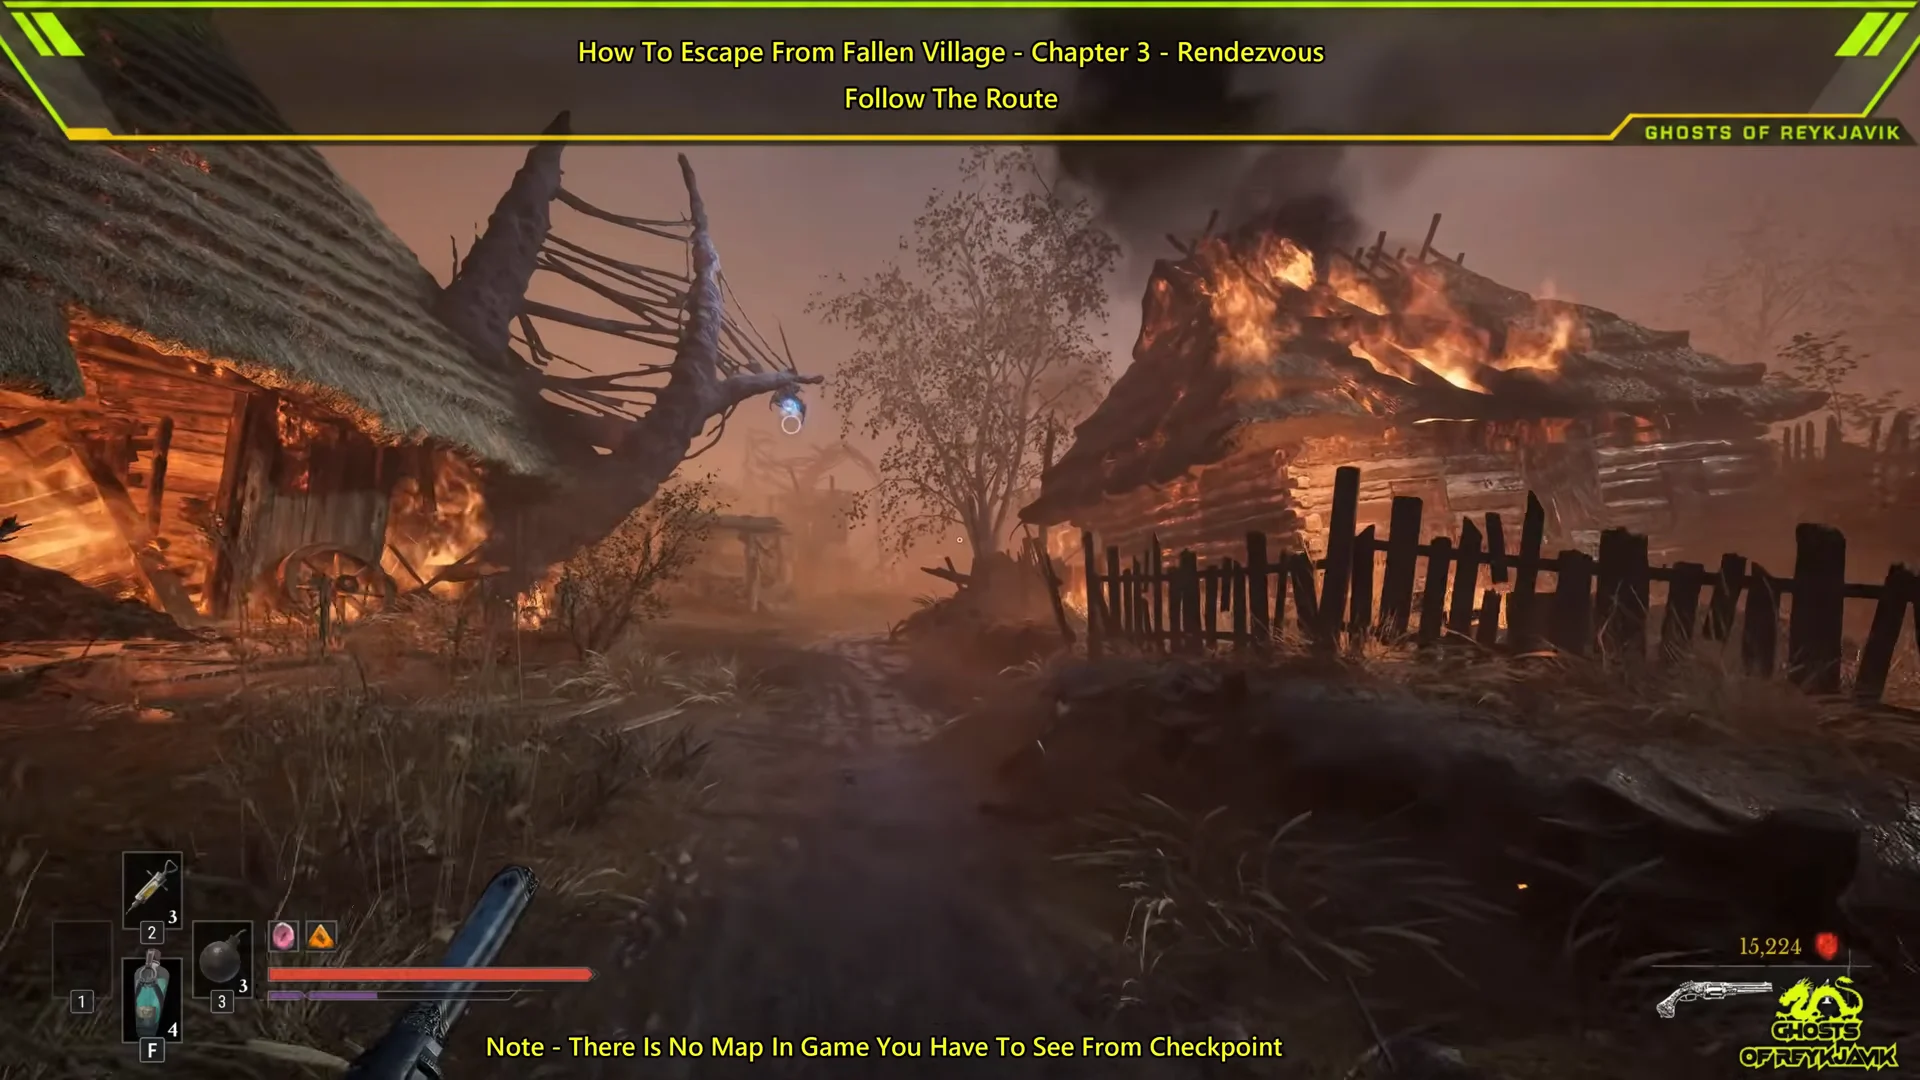
E once more to swing over to the next roof beam.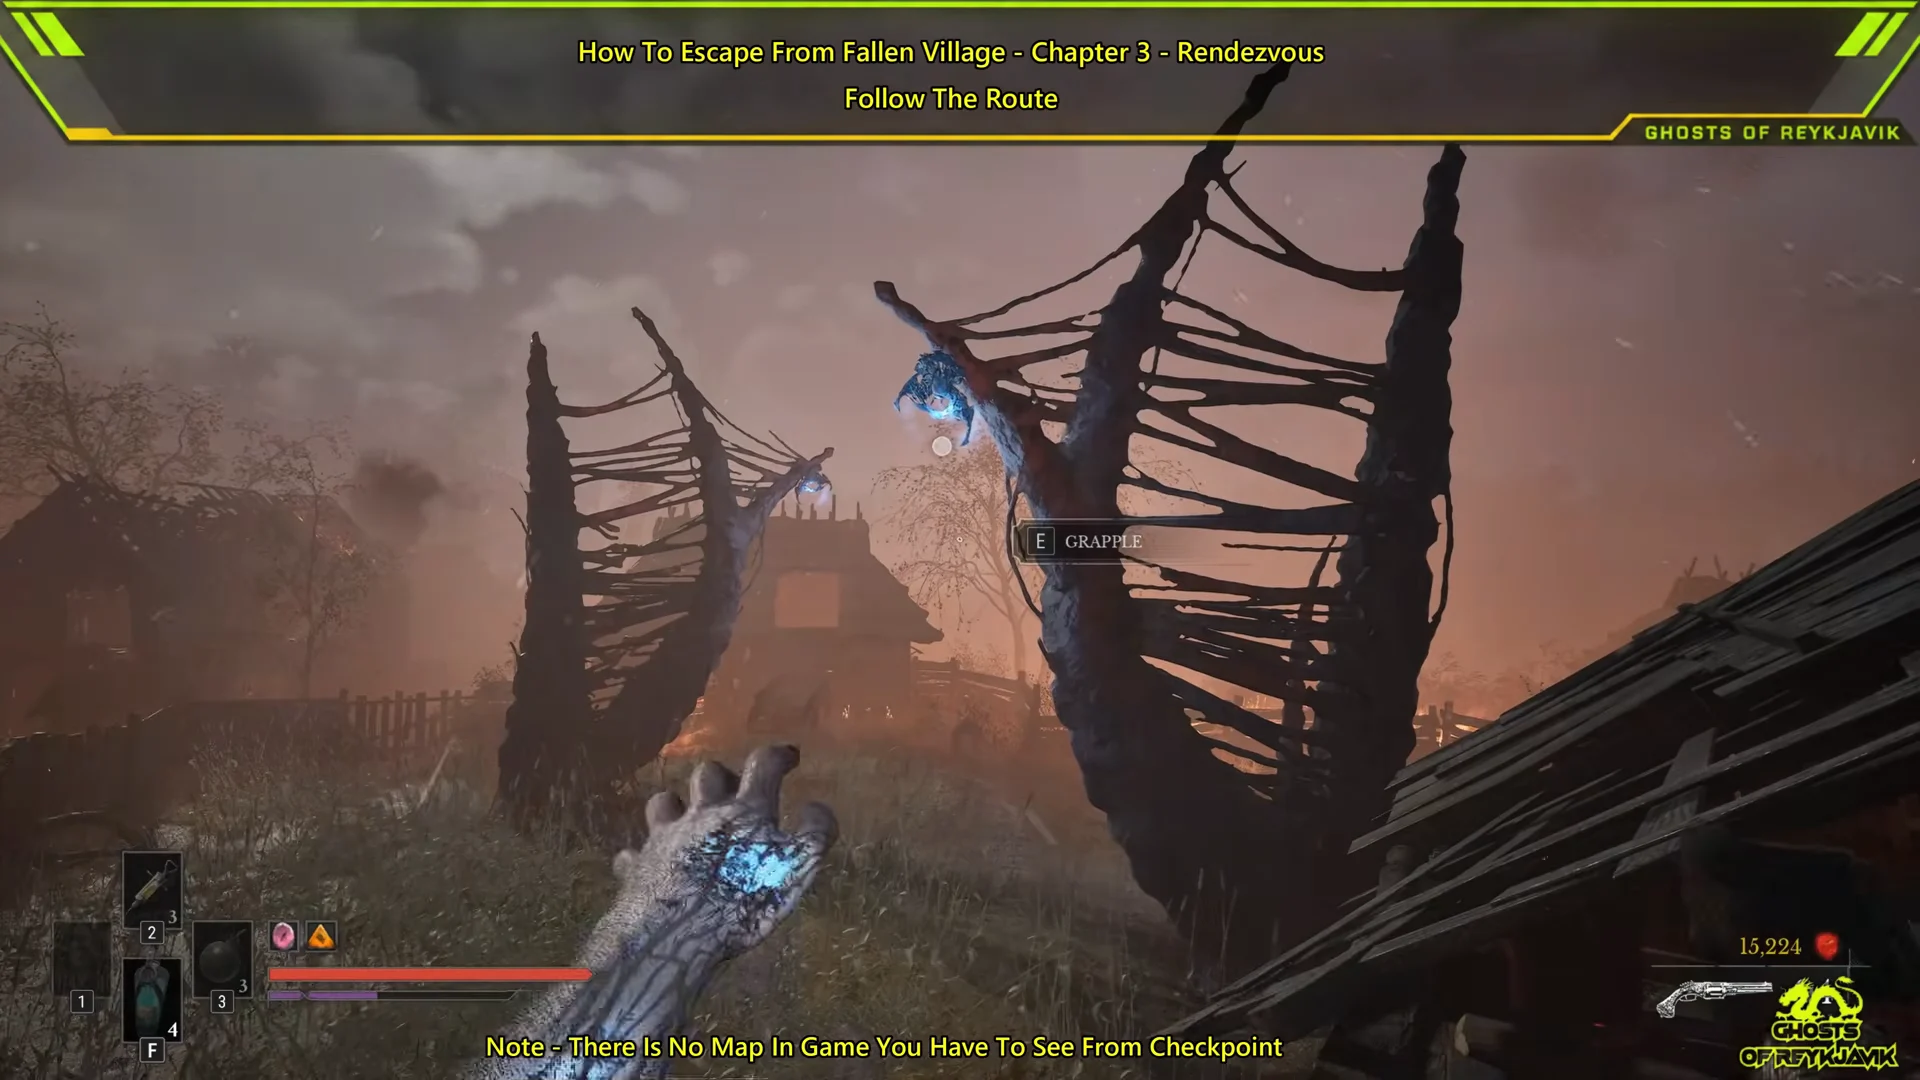
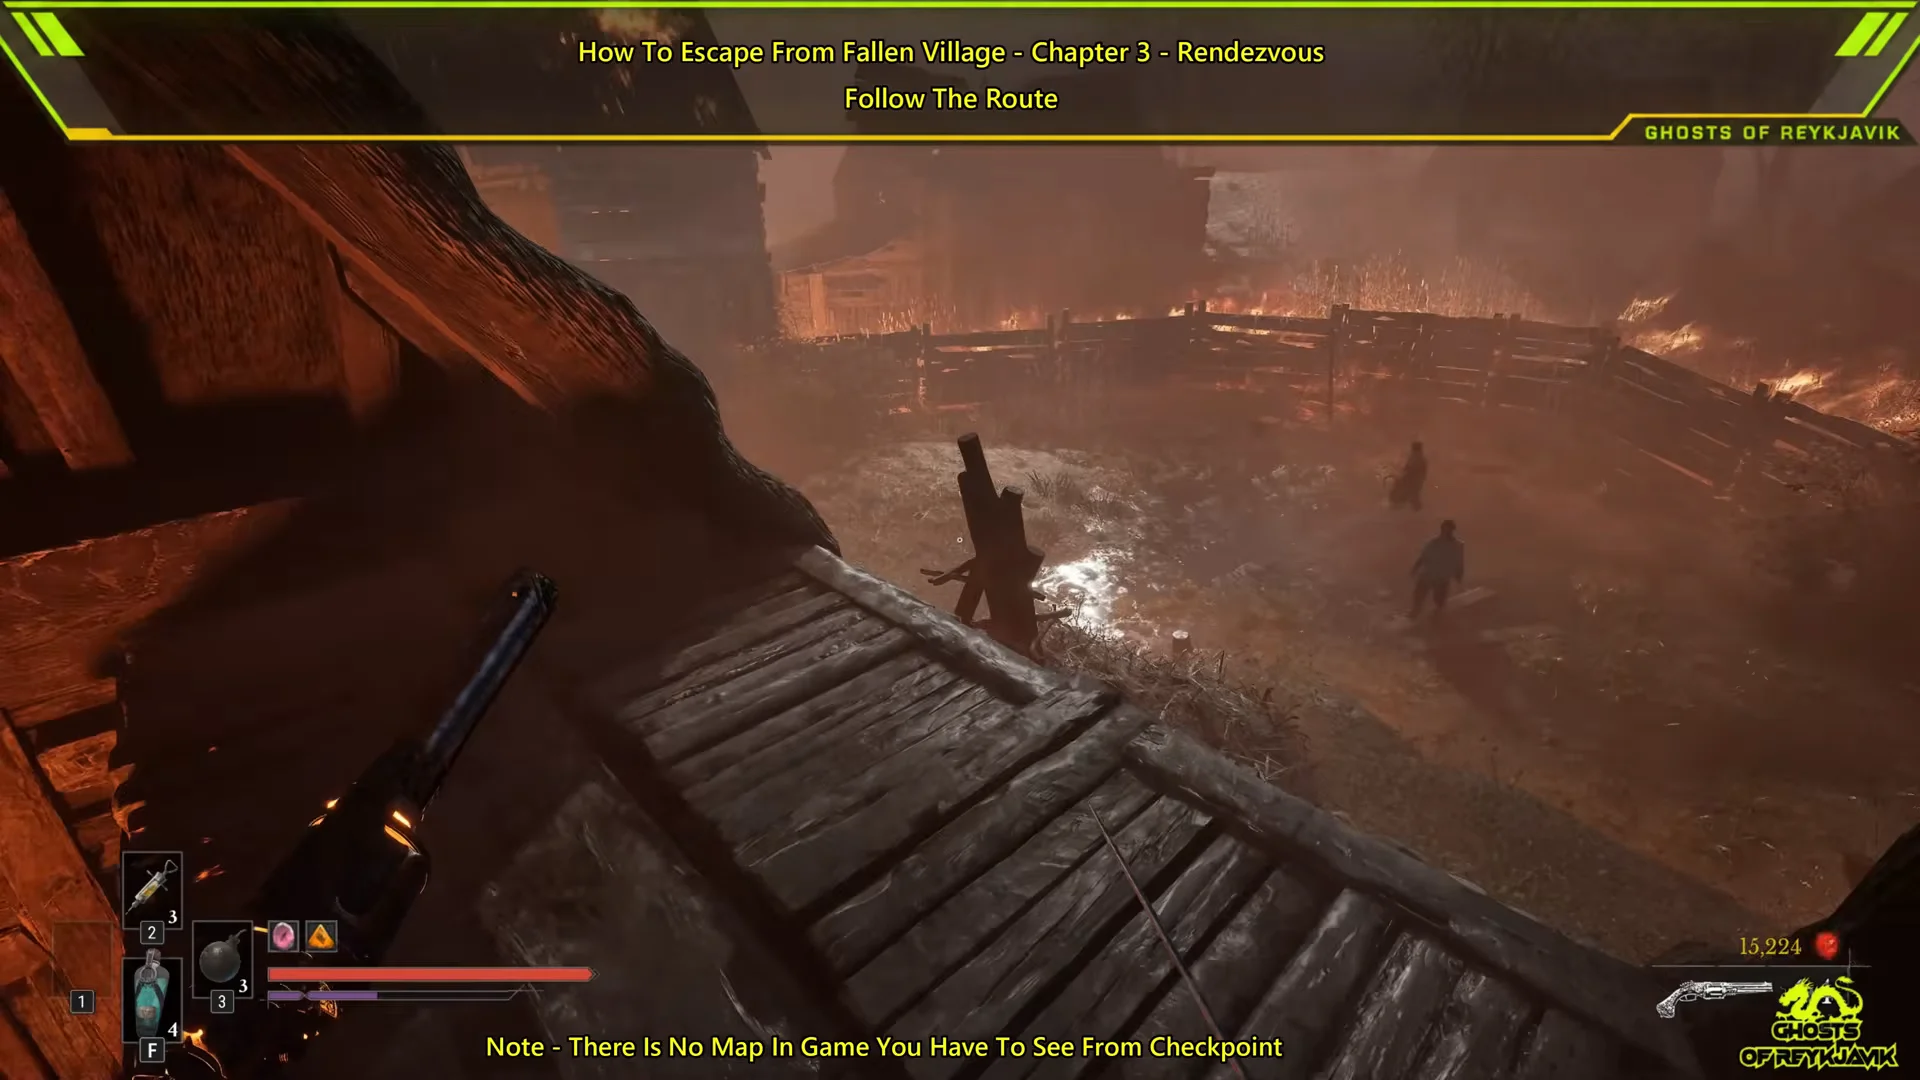
E at the “E USE” prompt to climb the ladder to the top platform.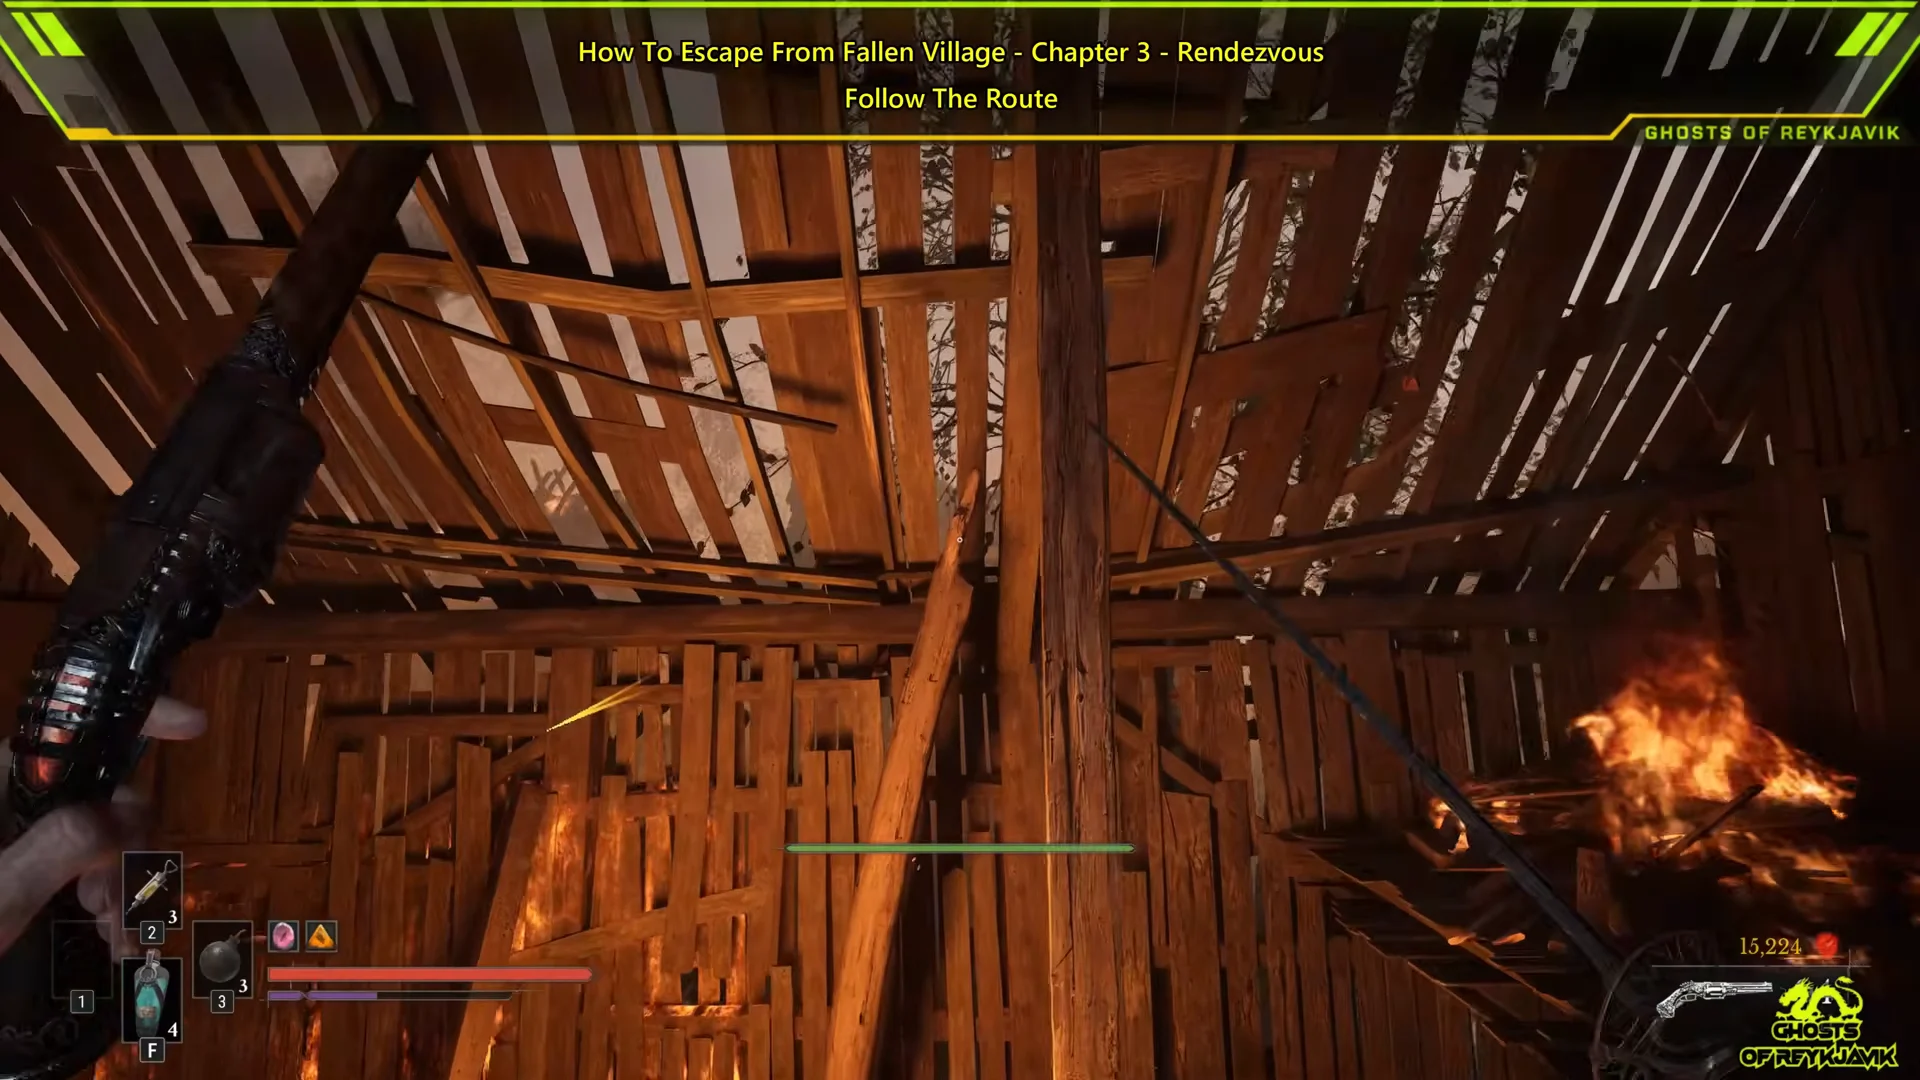
F at the “F PULL (HOLD)” prompt. Keep holding until the barricade tears loose.E at the “E REST” prompt to rest and set your checkpoint.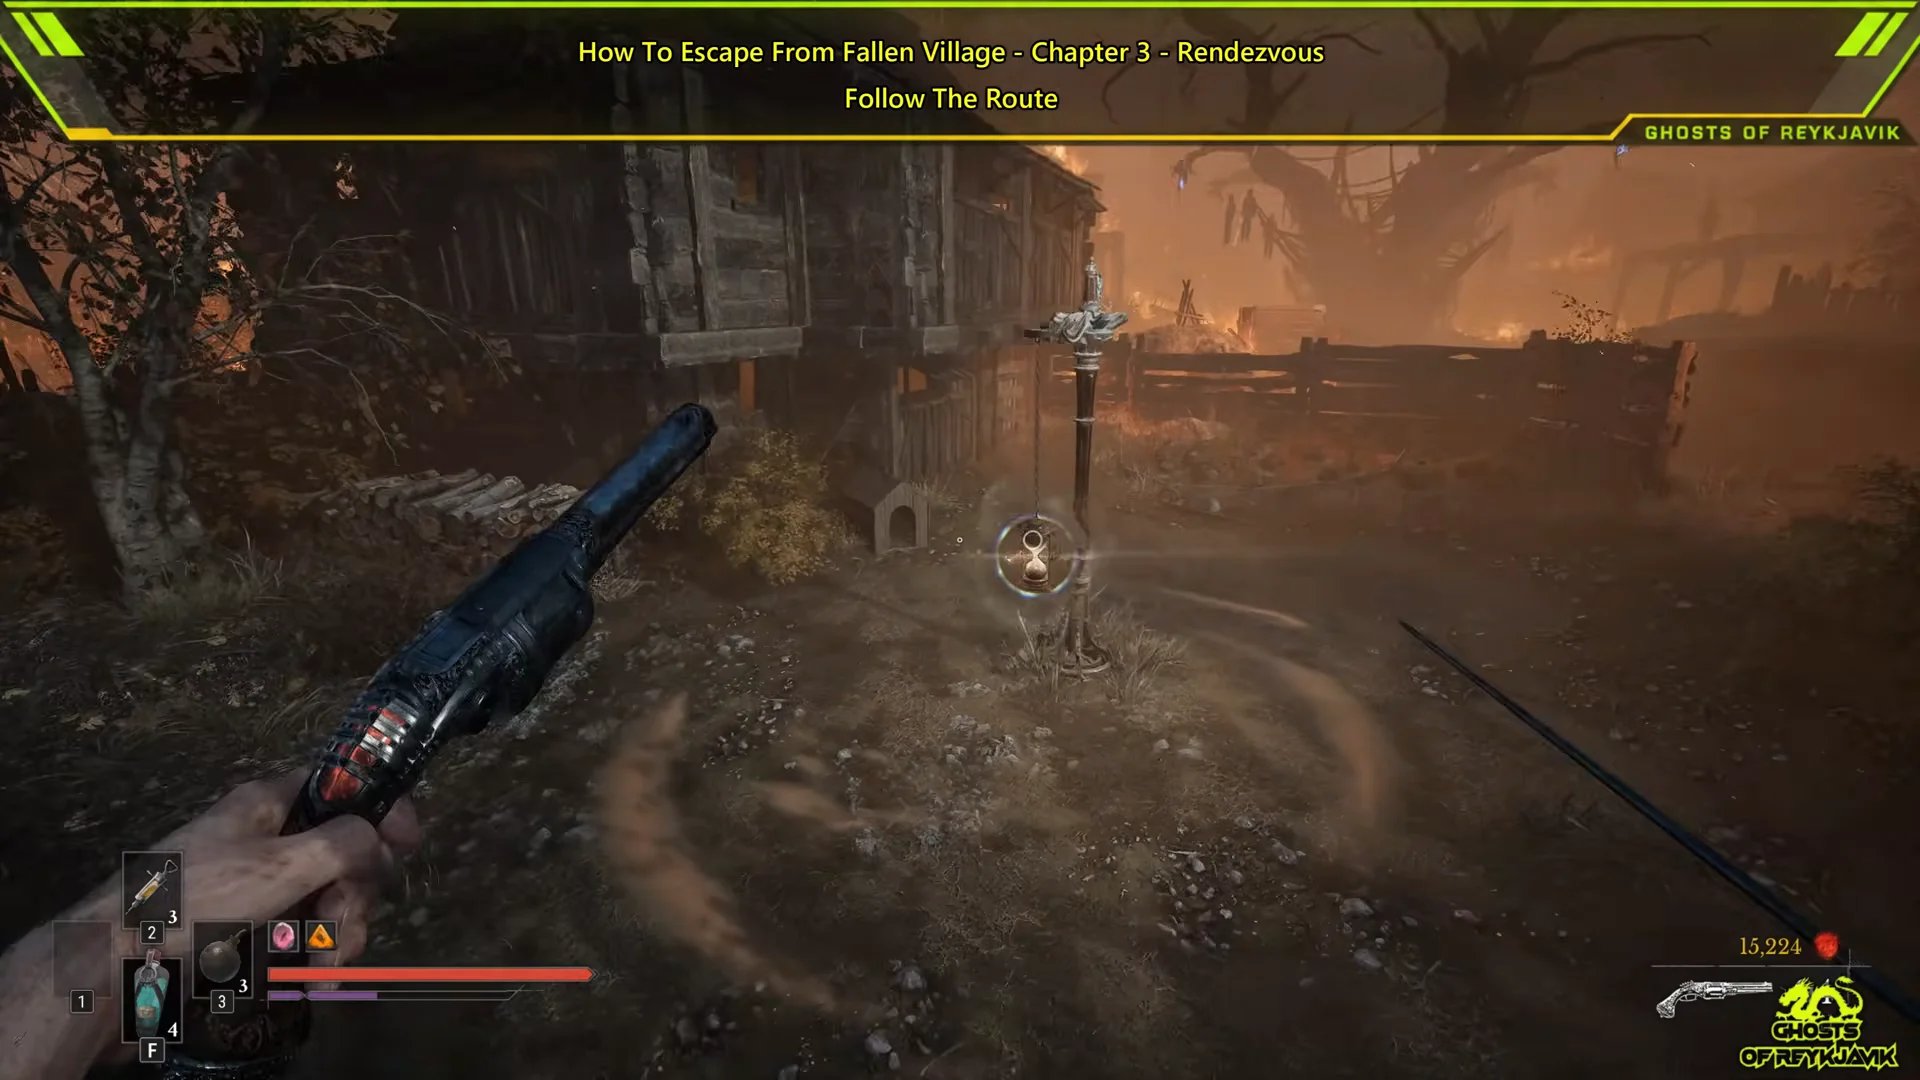
How you know the escape worked
Walking up to the Lantern shows the message “LANTERN REKINDLED”, and the base of the post lights up with a yellow ring. The “E REST” prompt then appears. Once you rest there, this Lantern is your respawn point. If you die after this, you return here instead of back across the stream.
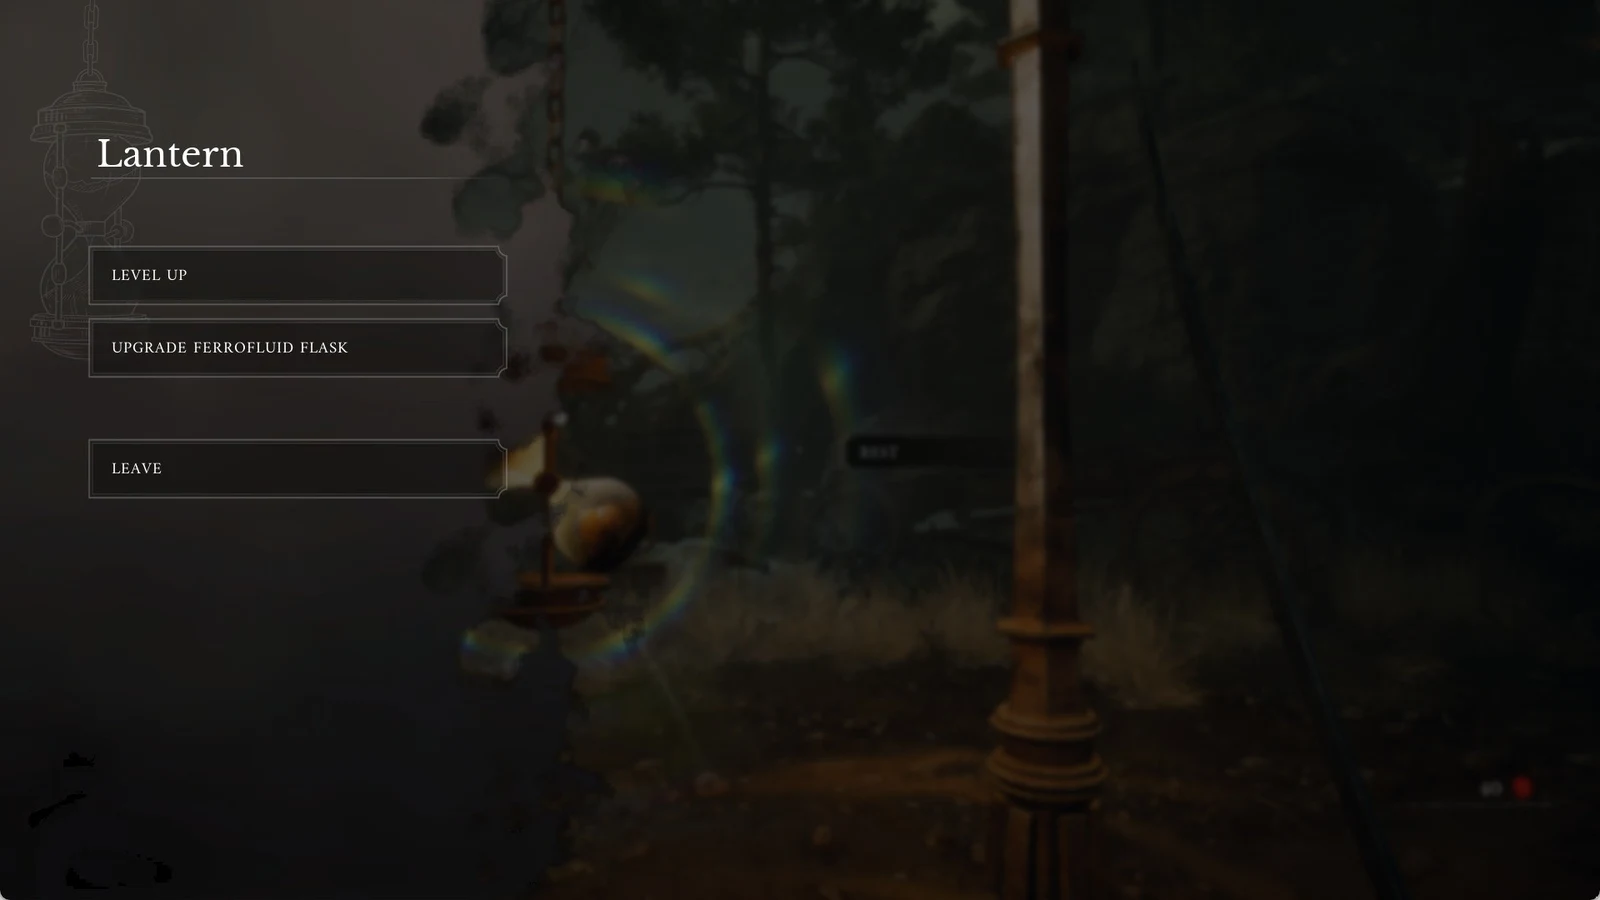
This checkpoint is Path of Fire, the fourth and last Lantern in the Fallen Village. A chest holding an Empty Ferrofluid Flask is close by. Take it to a Lantern to add one more Ferrofluid Flask charge.
From Path of Fire to Louis
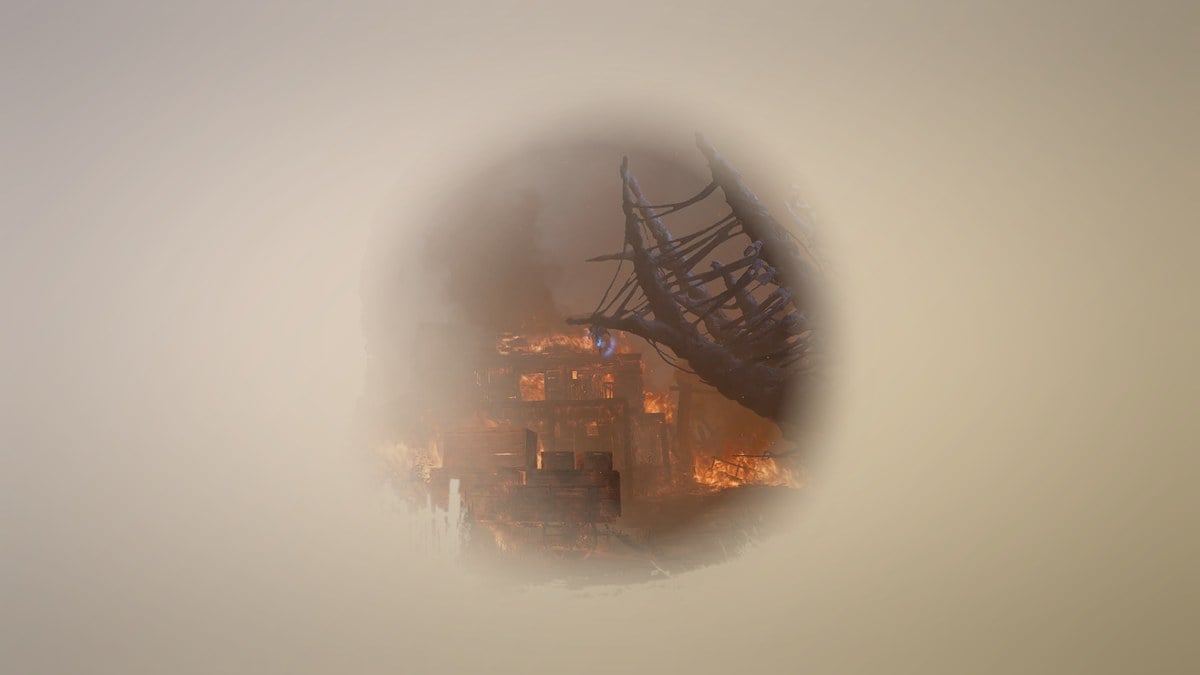
Some flames remain beyond the Lantern. Far away, two grapple hooks are visible on one side of Path of Fire; on the opposite side, a route heads into the village ablaze. Follow that route, fight the patrols, then use the grapple points to reach a tree-like structure covered in them. Enemies are gathered below. Defeat them and open the nearby gate to locate Louis.
Louis presents two choices: “Go together.” or “Stay.” Both bring the chapter to an end. Your selection only determines whether Louis accompanies you to the hideout or remains in the village; there is no reward for either. Locating him also adds the final Rendezvous journal entry.
Fallen Village reference: Lanterns, journal and pickups
The Fallen Village is Region III. It has four Lanterns, nine chests and five notes, and The Iron Marshall is its only boss. The Lanterns are listed below in the game’s own numbering, which is also the order you reach them.
| Lantern | Order | What it marks |
|---|---|---|
 Fields | 1st | Village entrance |
 Marketplace | 2nd | Near the Blunderbuss |
 Orchard | 3rd | Grapple ability, Iron Marshall |
 Path of Fire | 4th | End of the burning route |
The Rendezvous journal has four stages. You can use them to check where you are in the chapter.
| Stage | What it tells you |
|---|---|
| 1 | Find Louis in the nearby village |
| 2 | The stream can’t be crossed yet |
| 3 | New power gained, return to the stream |
| 4 | Louis found, talk more at the hideout |
Fast travel stays available in the Fallen Village and nothing here is missable, so you can come back later for anything you skipped. These pickups are worth knowing about while you’re in the region.
| Pickup | In Fallen Village | What it does |
|---|---|---|
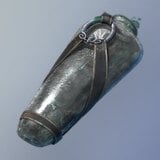 Empty Ferrofluid Flask | 1 chest | +1 Flask charge |
 Ferrofluid Flask Power Upgrade | 2 chests | Raises Flask healing |
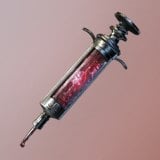 Nephtoglobin Vial | 2 in the world | Refills Nephtoglobin |
 Warrior’s Fury (Amber) | 1 chest | Speed and damage after kills |
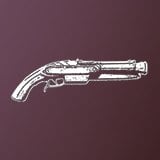 Blunderbuss | Picked up | Firearm, 2 rounds |
Ferrofluid Flasks heal 50 at base, and you can carry up to five of them. The first Power Upgrade raises healing to 60. Warrior’s Fury lasts 8 seconds after a kill. At rank 1 it gives 10% extra damage and a 1.05 movement speed multiplier, and at rank 3 that rises to 30% and 1.2. The Blunderbuss does 15 damage at level 1 and 30 at level 10. It reloads in 3.5 seconds and can hit several enemies with one shot. That makes it useful against the courtyard crowd if you’d rather fight than run.