The Dominatus Amber restores Health every time you land a Critical Attack, which makes a second copy worth chasing. Picking up that copy during Chapter 4 bumps the Amber from rank I to rank II, so each critical hit heals you for more. The drop sits in the Caverns, guarded by a red-eyed enemy at a lit campsite.
Quick answer: From the first lantern in Chapter 4, take the right path into the cave, hug the left wall, and defeat the red-eyed enemy standing at the bonfire camp. It drops Dominatus and one Pure Blade Material.
Where the second Dominatus copy drops
This copy comes from the Caverns, near the Last Sunlight lantern at the start of Chapter 4. It is not in a chest. An elite Shambling Civilian with glowing red eyes carries it, standing beside a bonfire in a camp. Defeating that enemy drops the Amber and one Pure Blade Material at the same time.
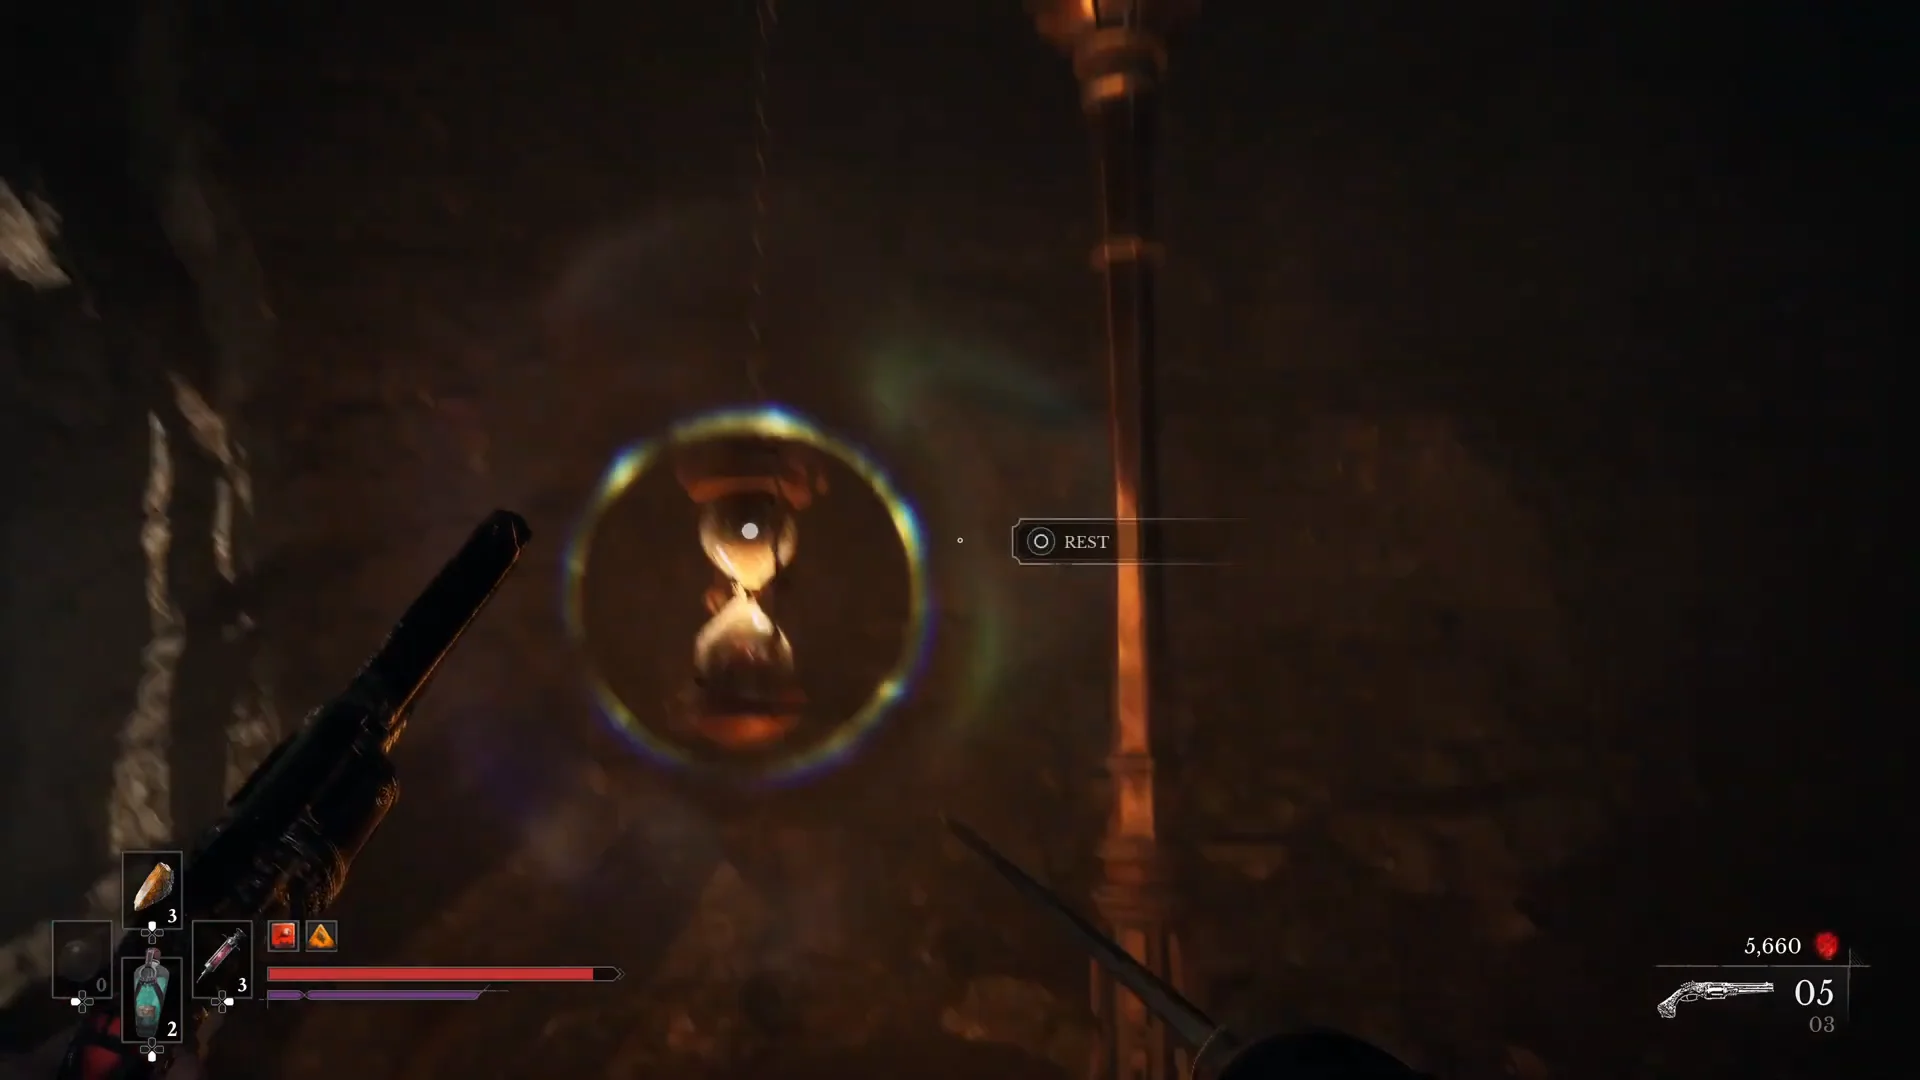
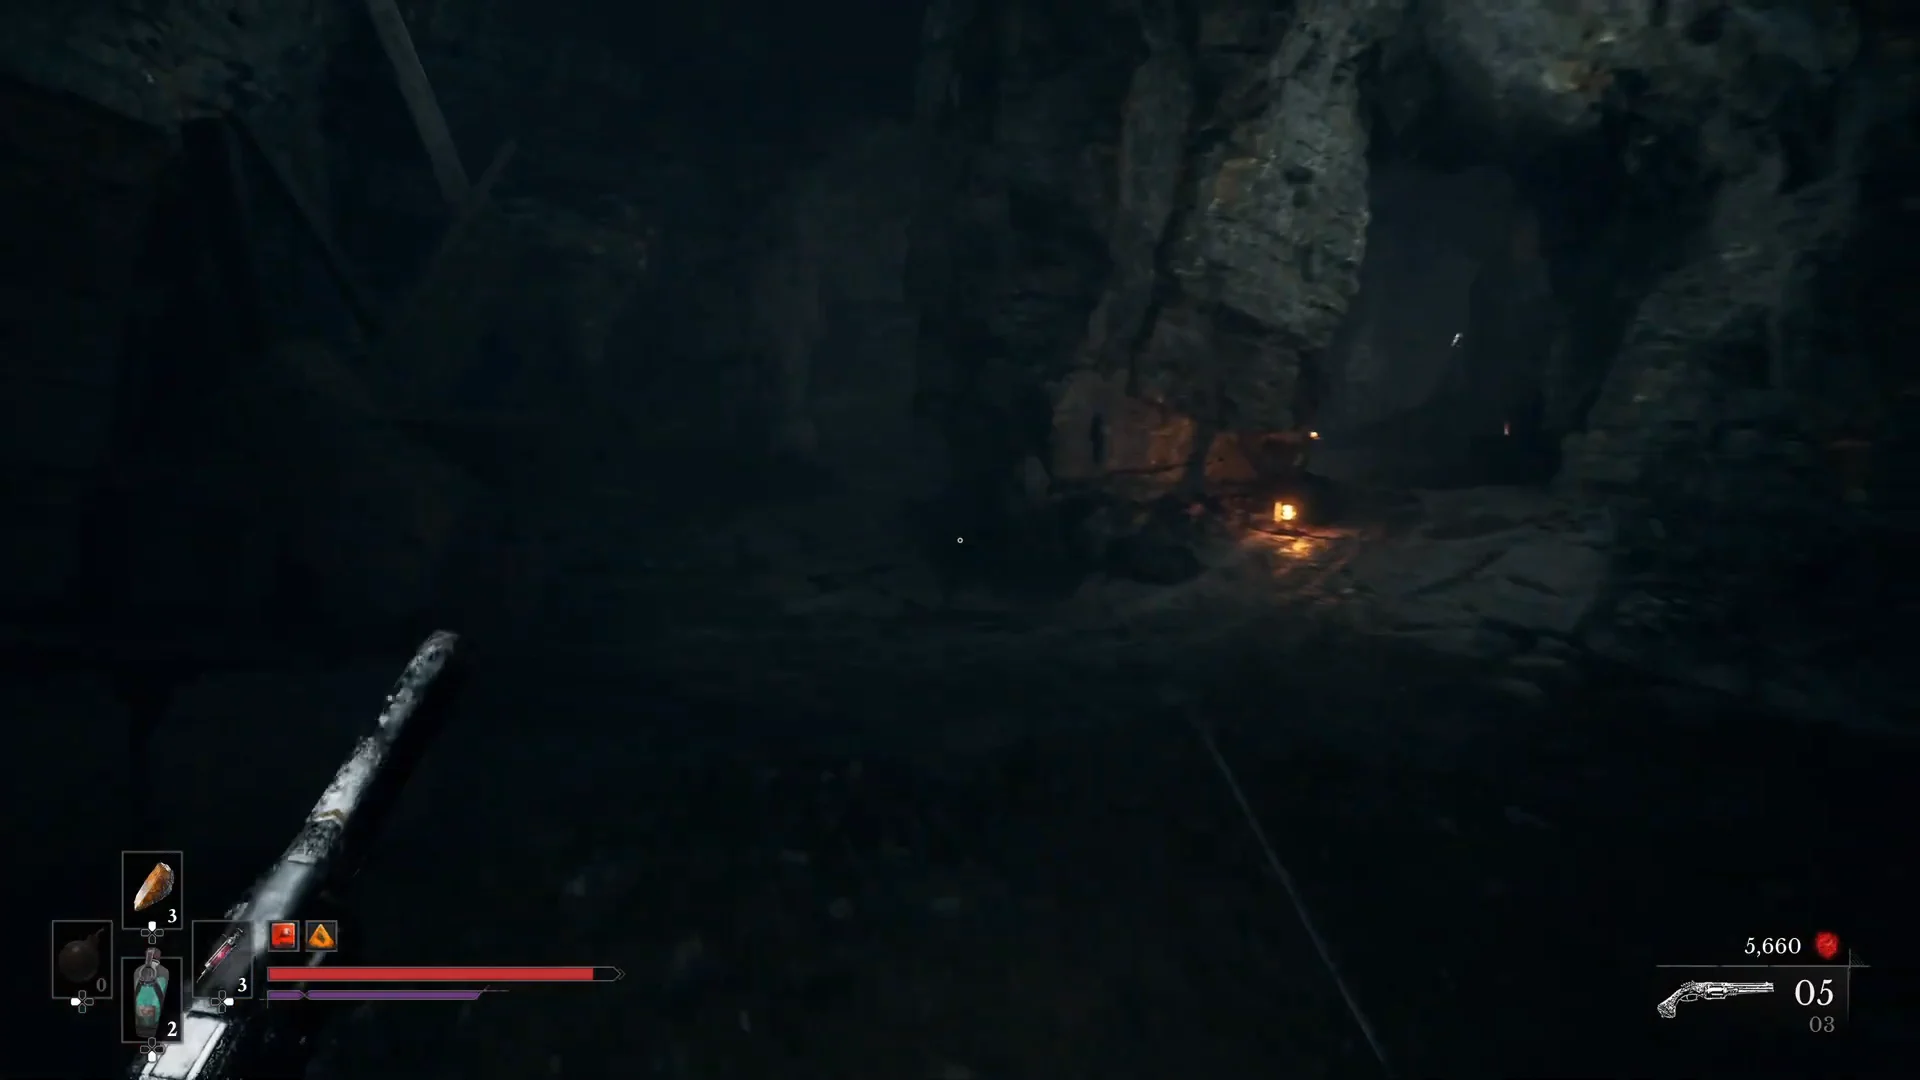
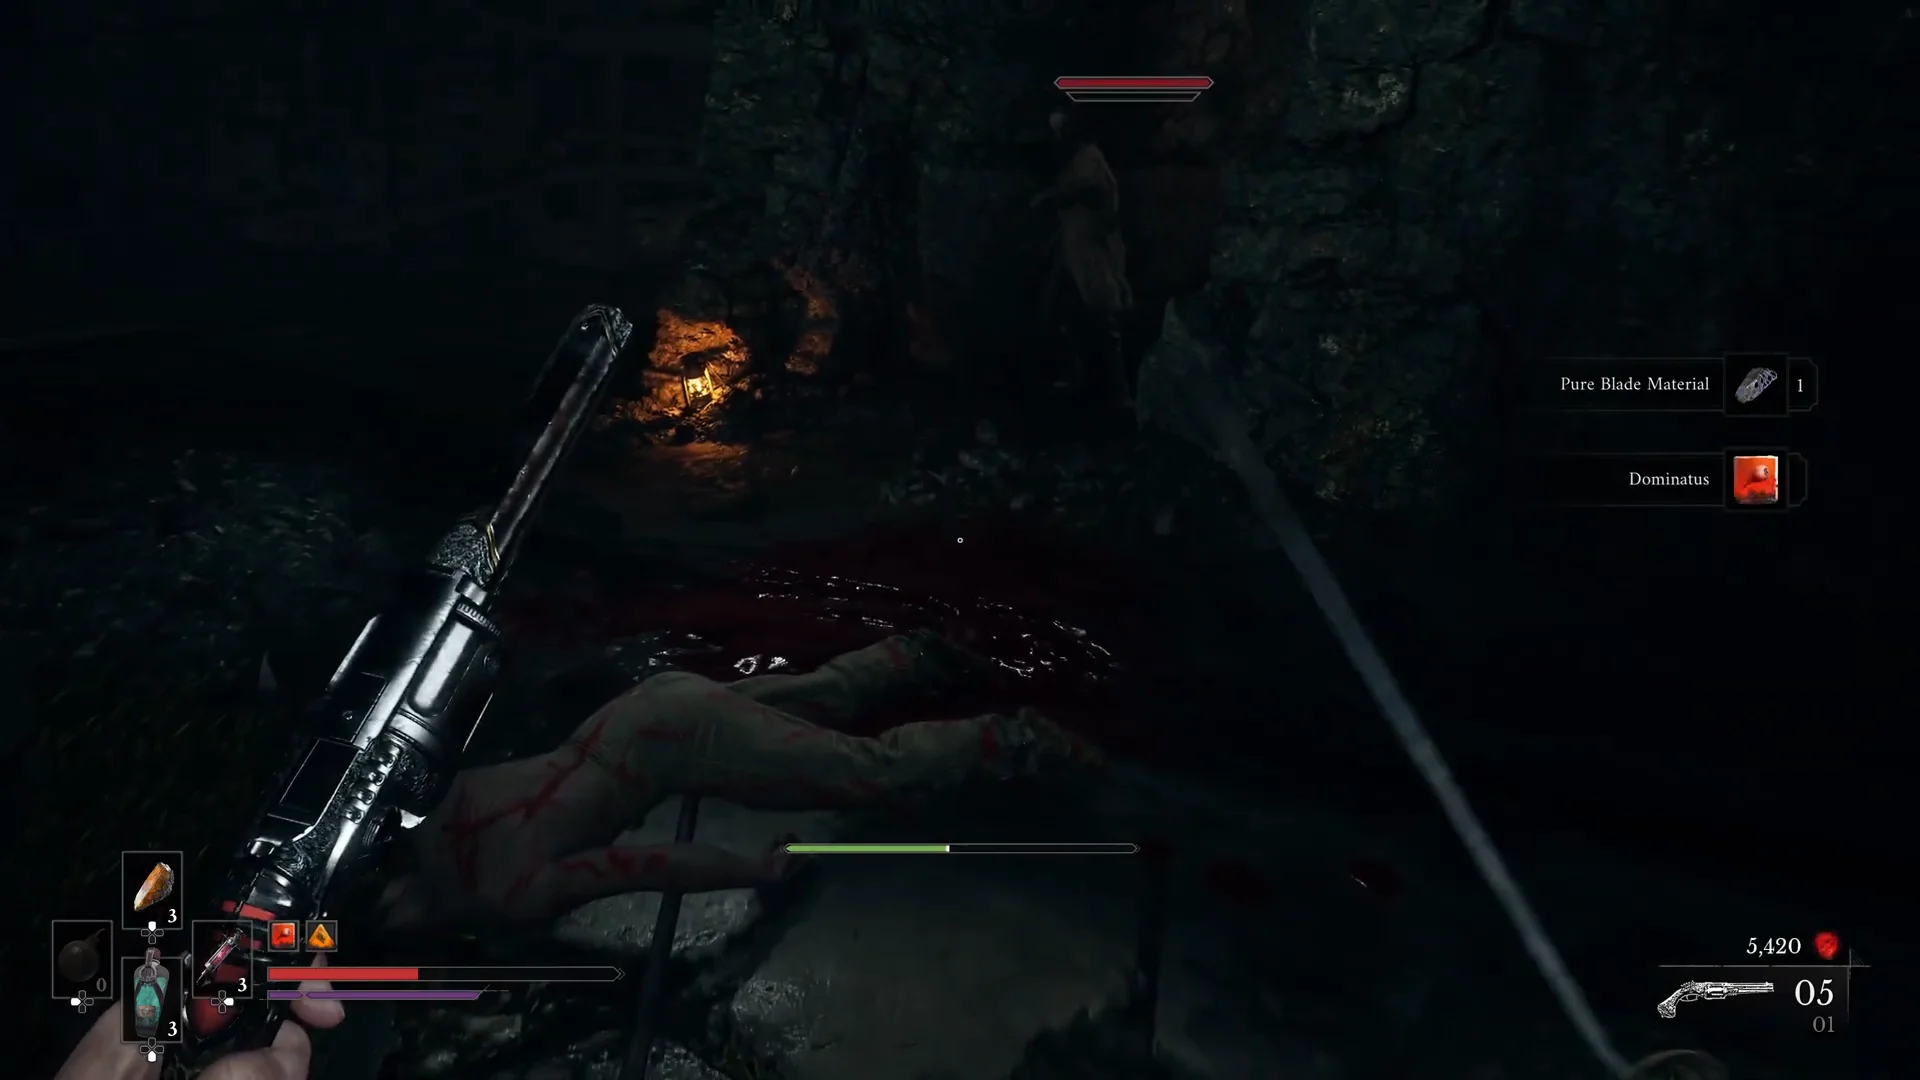
This upgrade only reaches rank II if you already collected the first Dominatus copy in an earlier chapter. Without the first copy, this drop simply gives you rank I.
How to confirm the upgrade worked
Rest at any lantern and open the Ambers tab in your inventory. The entry should read “Dominatus II” with “Upgrade Level: 2 / 3”. Ambers are equipped and managed by interacting with the Lantern, so this is also where you slot it into your build. Once equipped, every Critical Attack restores Health in combat.
Dominatus Amber ranks and effect
Dominatus caps at rank 3, and each copy you pick up raises it one rank. The healing it grants per Critical Attack climbs with every rank.
| Rank | Health restored per Critical Attack |
|---|---|
| I | 50% |
| II | 75% |
| III | 100% |
Four copies of Dominatus exist across the game, so you have a spare beyond the three needed to reach max rank. The other copies are found in two chests in The Outskirts and one chest in Valley of Ashes, alongside this Caverns drop.
What the Pure Blade Material is for
The same enemy hands you a Pure Blade Material, an upgrade material used to level up Blades. It sells and buys for $3,000, and besides this drop it comes from Eternal Guardsman and Volunteers at a 2% rate, chests across several regions, and James’s Iron Bench in chapters 5 and 9.
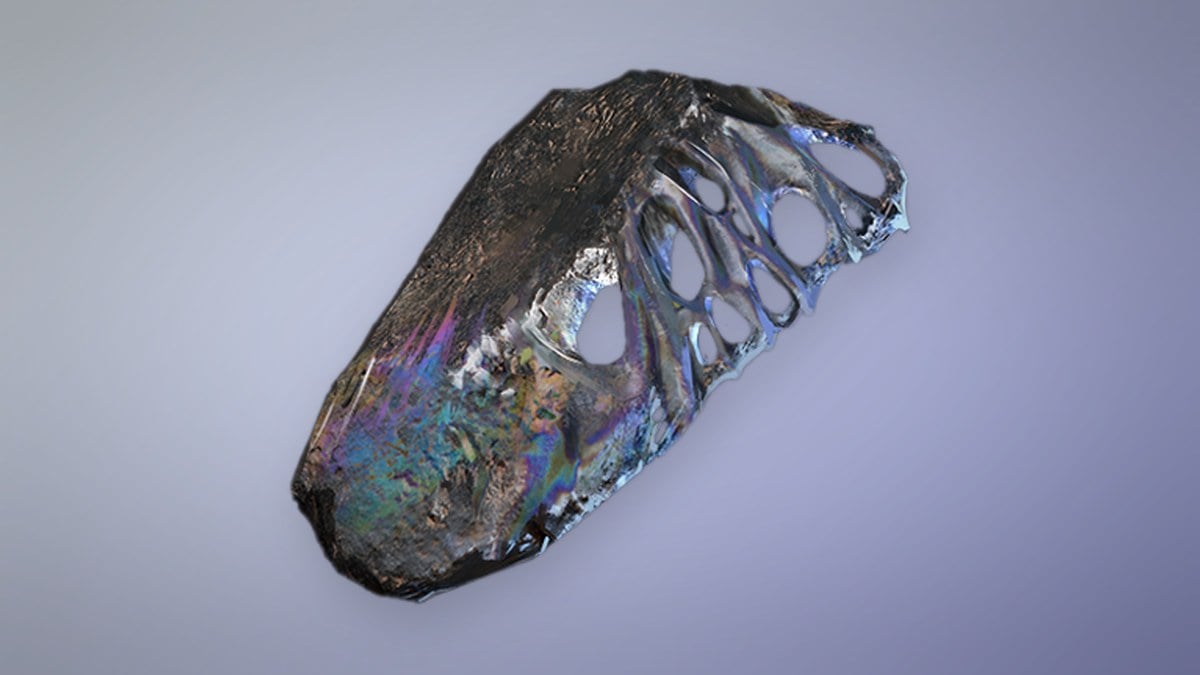
Here is where Pure Blade Material fits into each Blade’s upgrade path.
| Weapon | Level 5 | Level 6 | Level 7 |
|---|---|---|---|
 Saber Saber | x1 | x2 | x3 |
 Rapier Rapier | x1 | x2 | x3 |
 Claymore Claymore | x1 | x2 | x3 |
With the Amber upgraded and the material banked, Dominatus pairs naturally with a parry-focused setup, since Critical Attacks follow a Posture break and the Rapier breaks Posture fastest. That turns each clean critical into steady healing while you push through the rest of Chapter 4.