

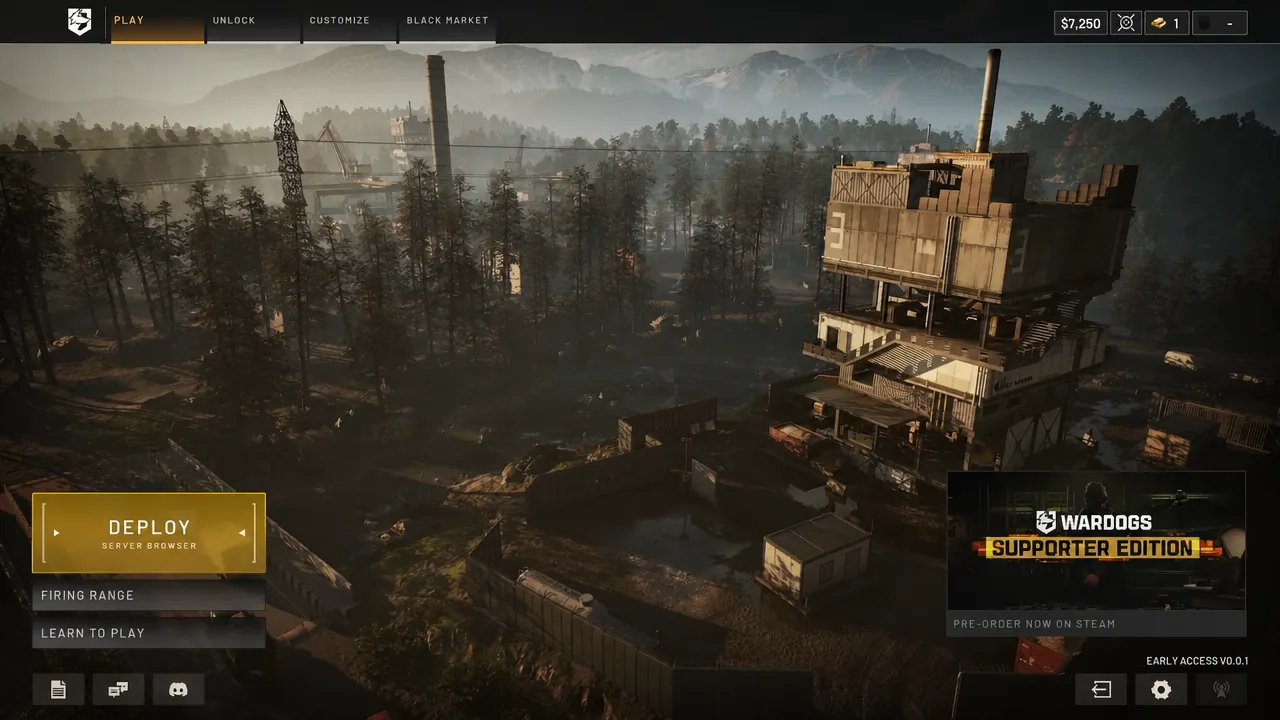
WARDOGS drops up to 100 players into three factions fighting over one moving objective, and the fastest way to sink your balance is to treat it like a normal shooter. Every life is a purchase. Every death without a revive erases what you bought. The good news is that the opening hours are heavily subsidized, and the scoring system rewards standing in the right circle far more than it rewards a kill count.
Quick answer: While you are under Wardog Level 9, buy a cheap loadout at 50% off (T-21 rifle, two or three magazines, loose ammo, Scout Backpack, binoculars, bandages), ride out with your squad, and park inside the Hot Zone — each player there counts as two toward the objective and earns $320 per tick instead of $160.
How a WARDOGS match is won
Three factions — Lonestar (blue), Valkyra (red), and Manticore (green) — contest a randomized 2×2 km Control Zone placed somewhere inside a much larger battlefield. Every 30 seconds the game counts heads. Whichever faction has the most players inside the zone at that moment takes one point. First to 100 wins, which in practice means matches can run for an hour or more.
You can switch factions during a match unless the one you want is full. Factions currently have no gameplay advantages over each other, so pick the one your friends are on.
| Element | What it does |
|---|---|
| Control Zone | Randomized 2×2 km scoring area. Most players inside at the tick wins the point. |
| Scoring tick | One point every 30 seconds to the leading faction. |
| Win condition | 100 points. |
| Hot Zone | Smaller circle that keeps moving inside the Control Zone. Each player counts as two. |
| Towers | 3-5 capture points inside the zone, each holding one digit of a code. |
| Tower code | Entered to drag the Hot Zone toward a tower your faction already holds. |
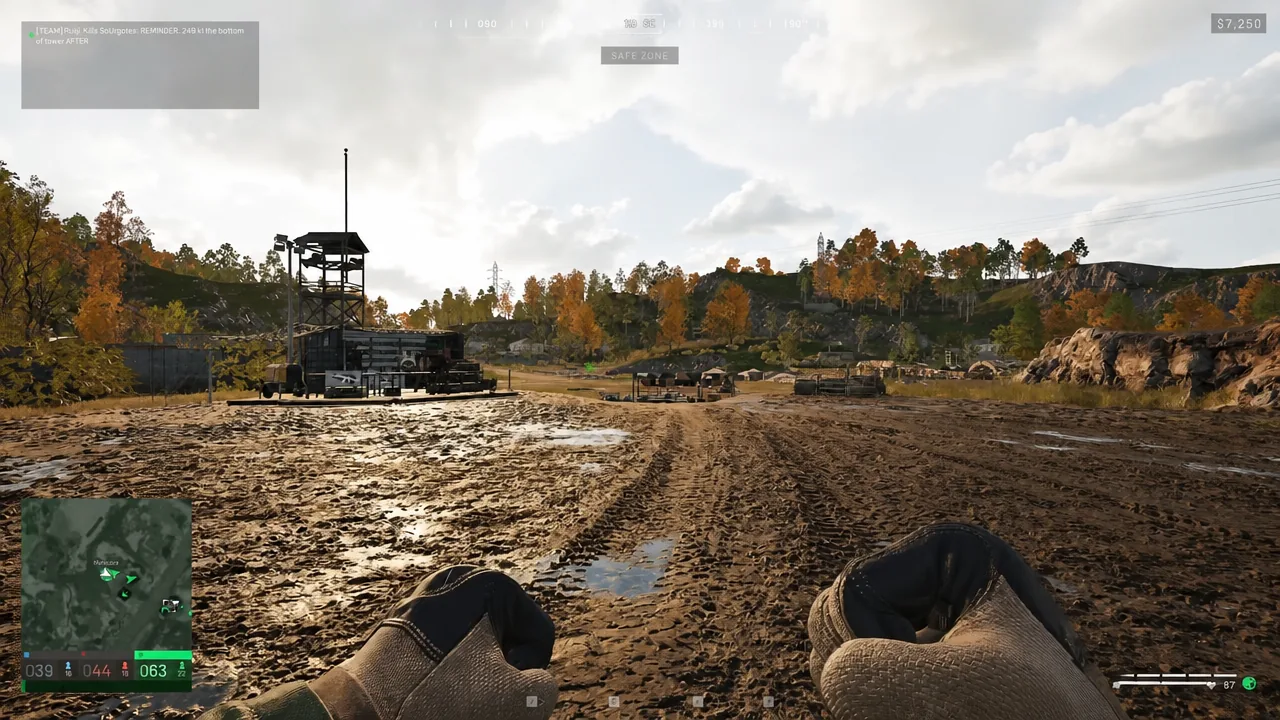
The player counter sits under the minimap in the bottom-left, with the tick bar filling below the scores. Watch that bar. If your team thins out just before it fills, another faction steals the point outright.
Spend the new recruit discount before it expires
You start with $10,000, and cash carries over between matches. Below Wardog Level 9, everything in the shop costs half price under the New Recruit Discount. That window is the cheapest time you will ever have to unlock the gear you plan to use long-term.
One detail catches almost everyone out. Items are bought twice. The first purchase permanently unlocks the item on your account. The second purchase equips an actual copy for the current life, and that copy is gone if you die without being revived. Unlock cheap, replace cheap.
HQ sits a long way from the Control Zone. A death costs you the loadout price plus several minutes of travel, which is why waiting for a revive is almost always the correct call.
Building your first loadout at the Equipment Vendor
There are no locked classes. The gear you buy defines the role you play for that life, and it feeds one of six progression tracks — Assault, Medic, Recon, Support, Driver, and Pilot — which all roll up into your overall Wardog Level.
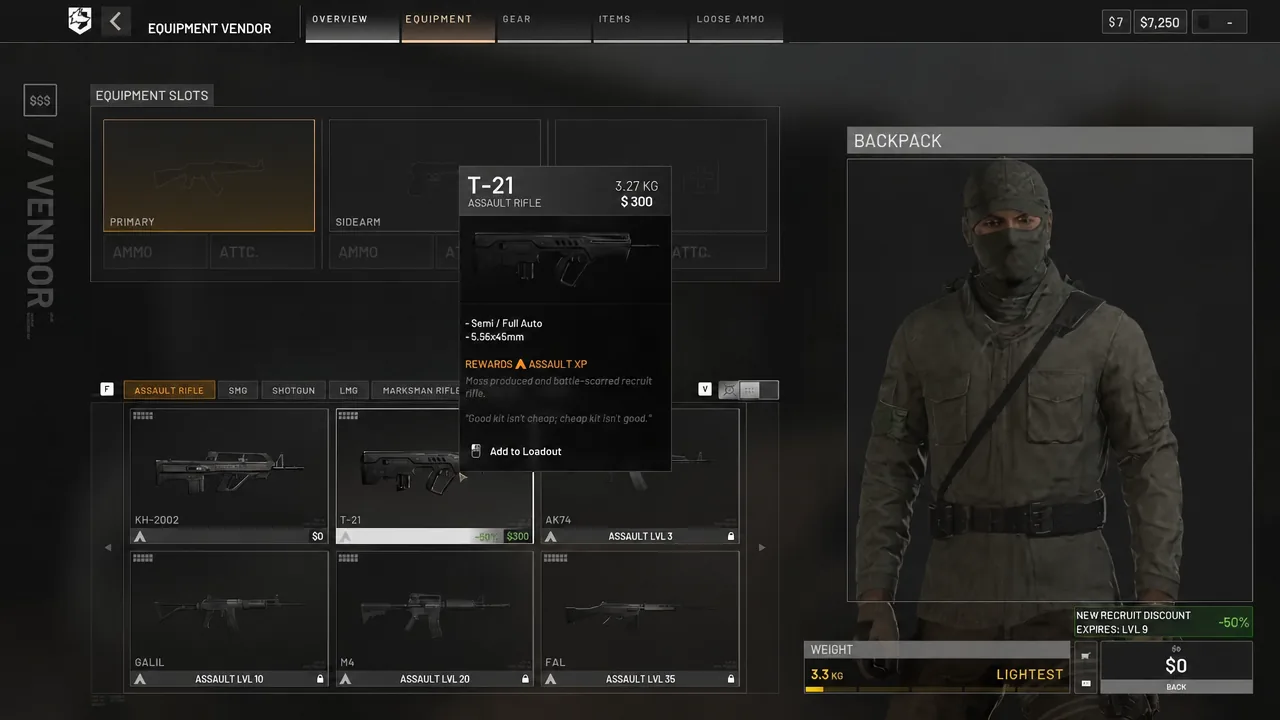
| Slot | Starter pick | Why |
|---|---|---|
| Primary | T-21 | Manageable recoil at a low replacement cost. |
| Ammo | 2-3 magazines + loose 5.56mm FMJ | FMJ is the general-purpose round; loose ammo saves space. |
| Backpack | Scout Backpack | Enough capacity without heavy movement penalties. |
| Armor | Small Tac Vest | Basic protection, minimal weight. |
| Utility | Binoculars | Spotting pays cash and XP for kills you never fired at. |
| Medical | Bandages, Resuscitation Mask | Self-healing plus faster revives on downed teammates. |
Ammo types matter later. FMJ is the all-rounder, HP hits exposed targets harder, and AP is what you want against armor and vehicles.
Getting to the zone: squads, transport, and the Deployment Board
Join a public squad from HQ before you buy anything. Squads give you shared markers, someone to revive you, and a ride. Proximity voice chat is built in and is the single most useful tool for calling tower digits and coordinating a push.
From HQ you either drive or fly out, or spawn directly on a friendly Respawn Vehicle sitting inside the Control Zone, which becomes available roughly every five minutes. Both options run through the Deployment Board.
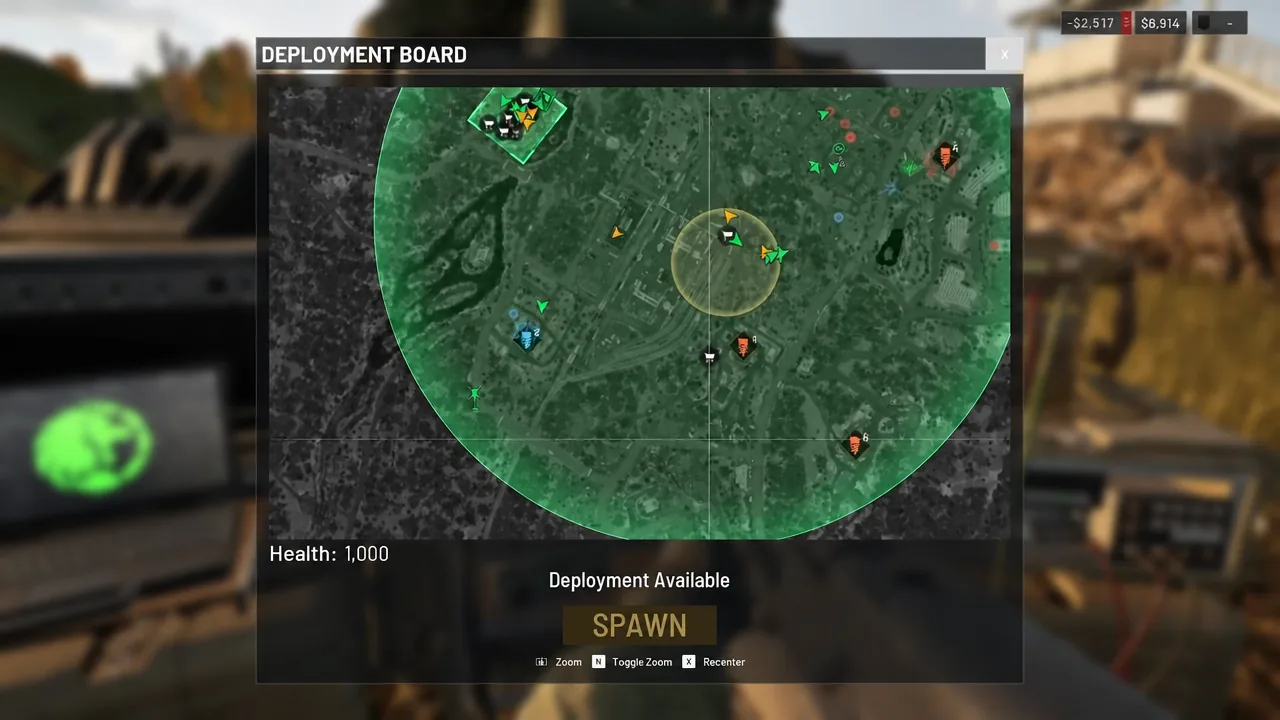
One warning about helicopters: a bad pilot loses your entire loadout in seconds, and you get nothing back for it. Fly with people you know, or take a ground vehicle.
Hot Zone income and tower codes
Standing inside the active Control Zone pays $160 passively every few seconds. Inside the Hot Zone, that doubles to $320, and your body counts as two players for the tick. Ten teammates in the Hot Zone read as 20 under the minimap. It is the most efficient place to stand and, predictably, the most dangerous.
The Hot Zone drifts continuously inside the larger circle, so the cover you were using stops being useful every few minutes. Towers are how you take control of that movement. Each tower holds one digit of a code, found on the second floor of Towers 1 through 5, and you capture it through the tower’s terminal. Collect enough digits, enter the full code, and the Hot Zone is pulled toward a tower your faction has already fortified with a FOB and defenses.
Call partial digits in text chat in an XX1 format as soon as you find one. It saves the rest of the faction from re-clearing towers you have already been inside.
Surviving firefights and staying solvent
Gunplay sits between a milsim and an arcade shooter. Recoil needs managing, aim-down-sights times are slow enough that peeking blind gets you killed, and the default zero is around 100m — dial it up or down for the range you are actually shooting at. Holding an angle beats charging a position almost every time.
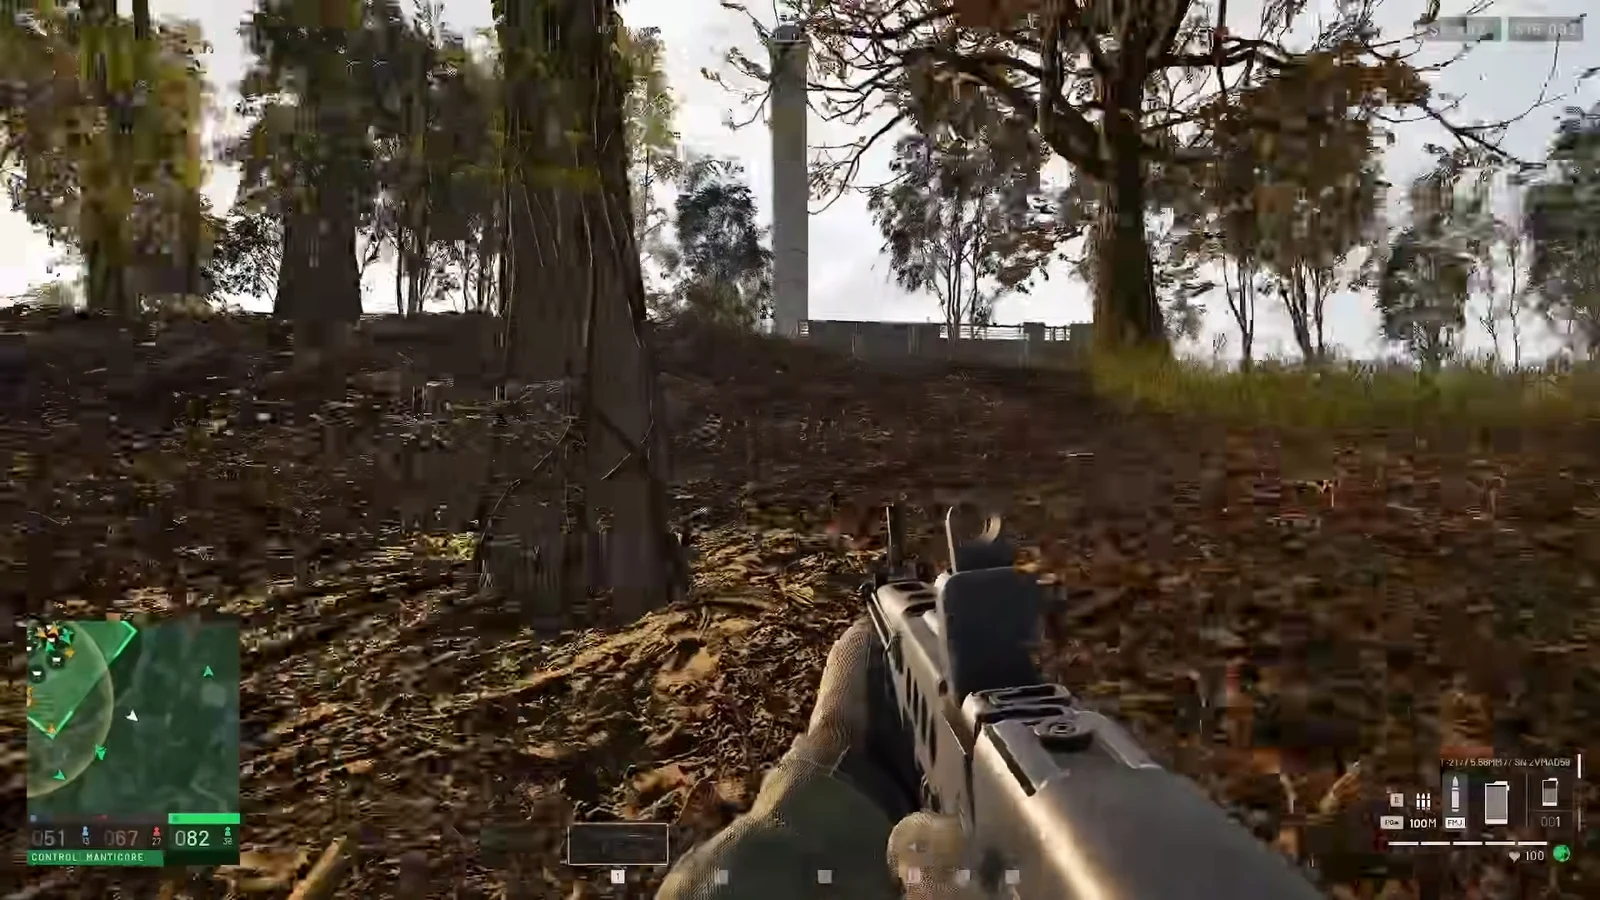
When you go down, you are not dead yet. You can set a cash bribe from the downed state to give nearby teammates a reason to run over, and a revive means you keep your entire loadout. Bleeding out and respawning means buying it all again.
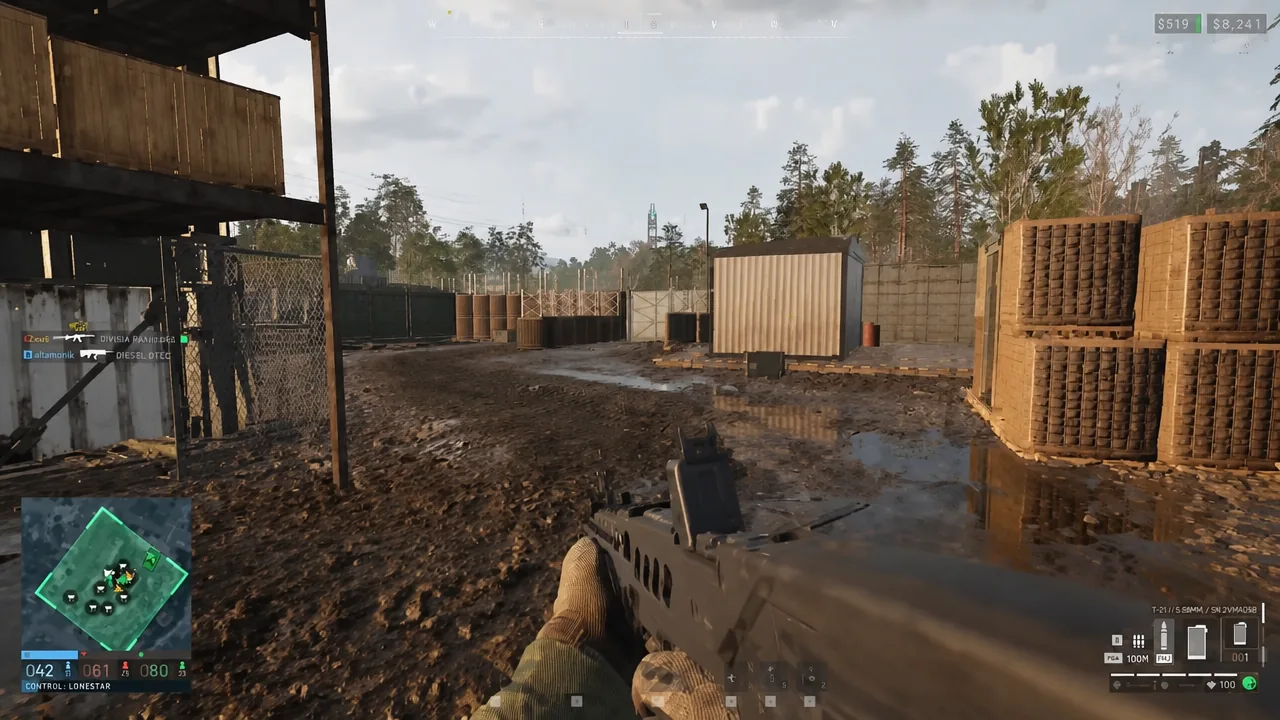
You do not need kills to make money. Spotting enemies, vehicles, or FOBs with binoculars pays you a kickback whenever someone else destroys that target. Revives, transport runs, supply delivery, vehicle repairs, building, and tower captures all pay cash and XP into the matching progression track. Looting an enemy backpack after a fight is worth the few seconds it takes, too.
How to tell it is working
Three signals confirm you are playing the objective correctly. Your faction’s player count under the minimap climbs while the tick bar fills. Your cash balance rises steadily even in quiet stretches, which means you are genuinely inside the zone rather than near it. And at the end of the match, the victory screen tallies your earnings alongside the class levels you pushed forward.
If your balance keeps falling, the cause is almost always one of two things. You are buying more loadout than the match justifies, or you are bleeding out instead of waiting for a revive. Drop to a cheaper kit, stay near your squad, and the economy fixes itself.
WARDOGS is in Early Access on Steam, so weapon prices, tower behavior, and progression pacing are all still moving. Treat any specific number you learn this week as provisional and re-check it after a patch — the underlying loop of cheap loadout, squad transport, Hot Zone pressure has been the stable part throughout.





