Cash is the real progression system in WARDOGS. Weapons, attachments, ammo, armor, deployables, buildables and vehicles all come out of your own wallet, and every death writes some of that off. You start each round with at least $10,000, which sounds generous until you price out a defibrillator or a helicopter. The fastest early income does not come from gunfights at all — it comes from logistics, support work and spotting.
Quick answer: Buy the cheapest transport helicopter you can afford in the first minute, load it with $400 supply pallets, and ferry both teammates and cargo into the Hot Zone. Each passenger drop pays $500–$1,000 and each pallet delivered pays $2,500, so a single full run clears several thousand dollars without firing a shot.
WARDOGS cash payouts by action
Almost every action that helps your team pays you. These are the numbers worth building a match around.
| Action | Payout |
|---|---|
| Drop a passenger into the Hot Zone | $500–$1,000 each |
| That passenger survives | +$500 each |
| That passenger gets a kill | +$750 per kill |
| Ferry a player out of your faction base | $300 each |
| Deliver a pallet to the Hot Zone (costs $400) | $2,500 |
| Another player builds a FOB from your pallet | +$1,800 |
| Drop a pallet at a FOB | About $2,100 profit |
| Park the spawn vehicle in the zone | $3,000 |
| Revive a downed teammate in the Hot Zone | $800 |
| Bandage an injured teammate | $400 |
| Teammate kills an enemy you tagged | $800 |
| Each hammer swing building cover | $50 |
| Standard kill inside the Hot Zone | $1,200 |
Fly transport in the opening minutes
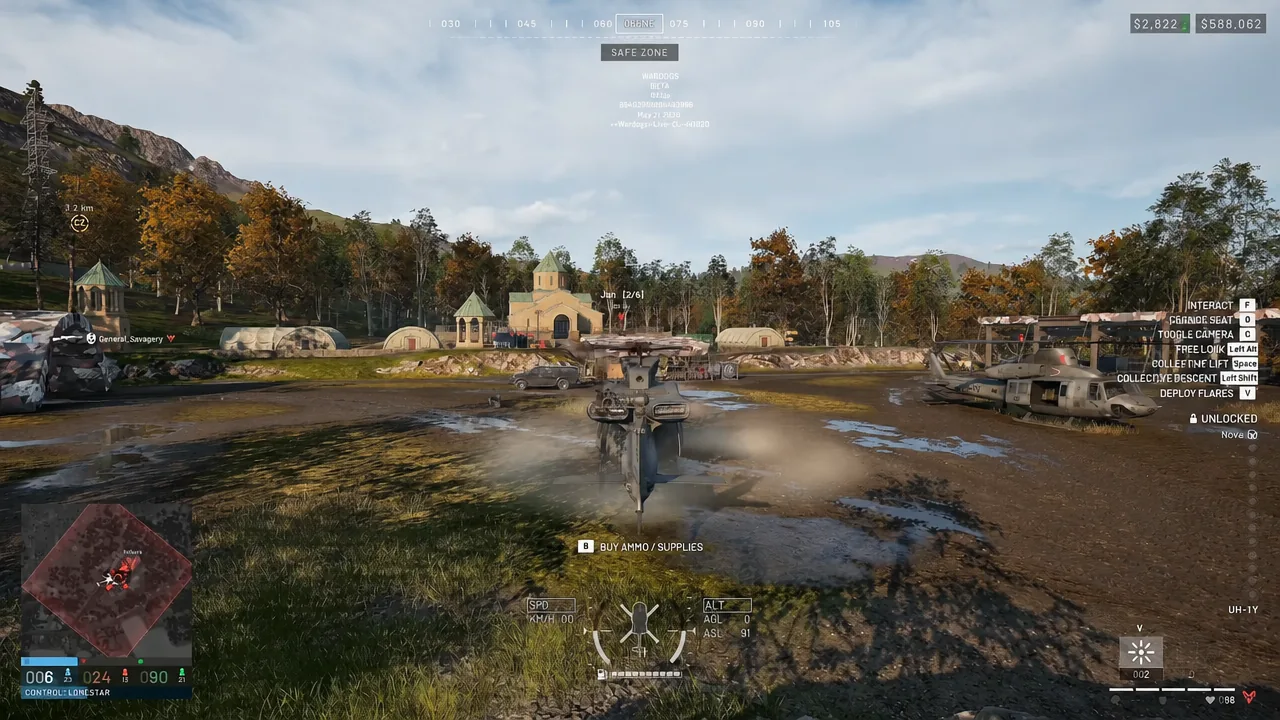
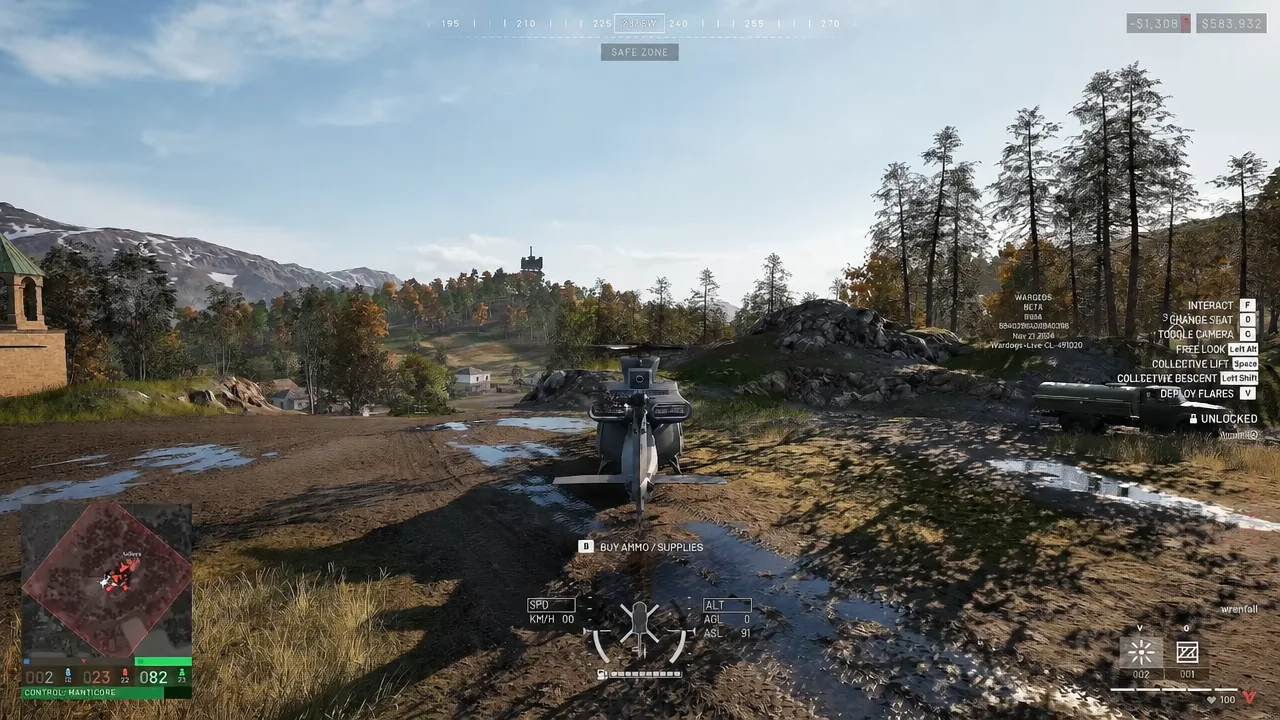
Piloting is the most reliable early earner because it stacks rewards. You get paid for the drop-off, again if the passenger lives, and again every time they kill someone. A high-capacity airframe like the UH-1Y can clear roughly $4,800 in one run with six people aboard.
Pallet and crate runs into the Hot Zone
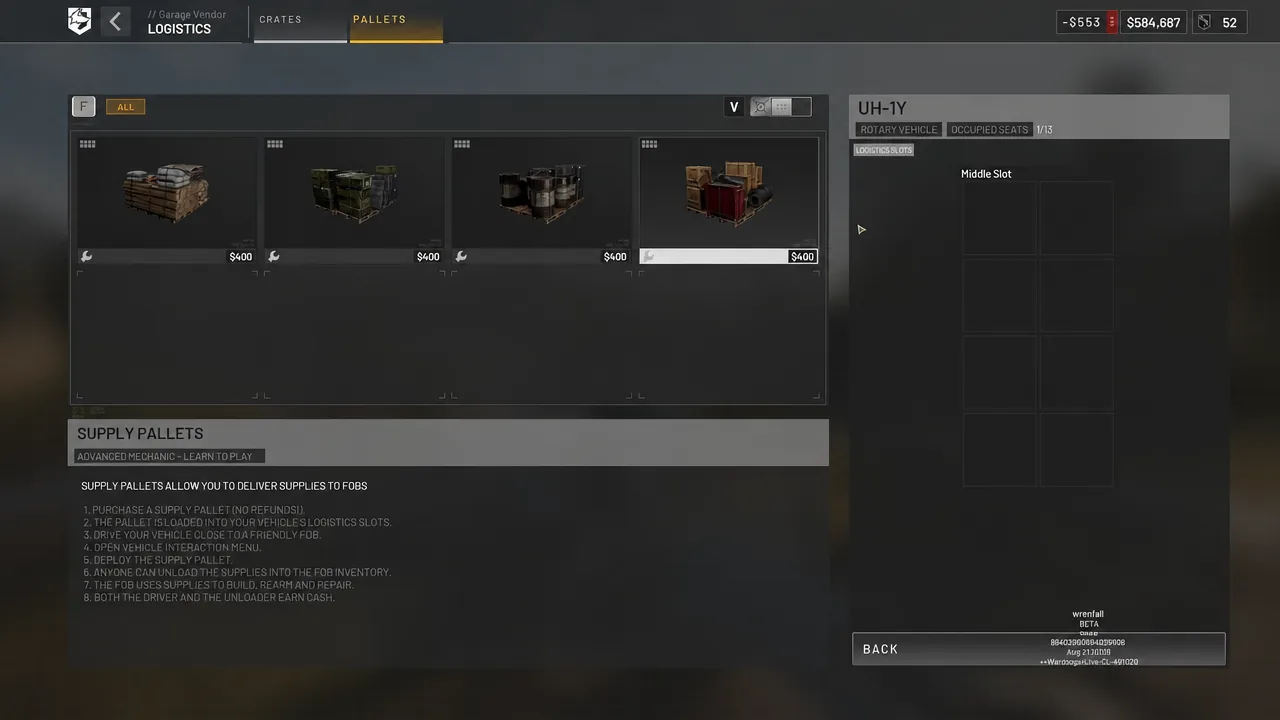
Cargo pays better per dollar than passengers do. A pallet costs $400 and returns $2,500 when it lands in the Hot Zone, and if someone else uses that drop to build a FOB you collect another $1,800 on top.
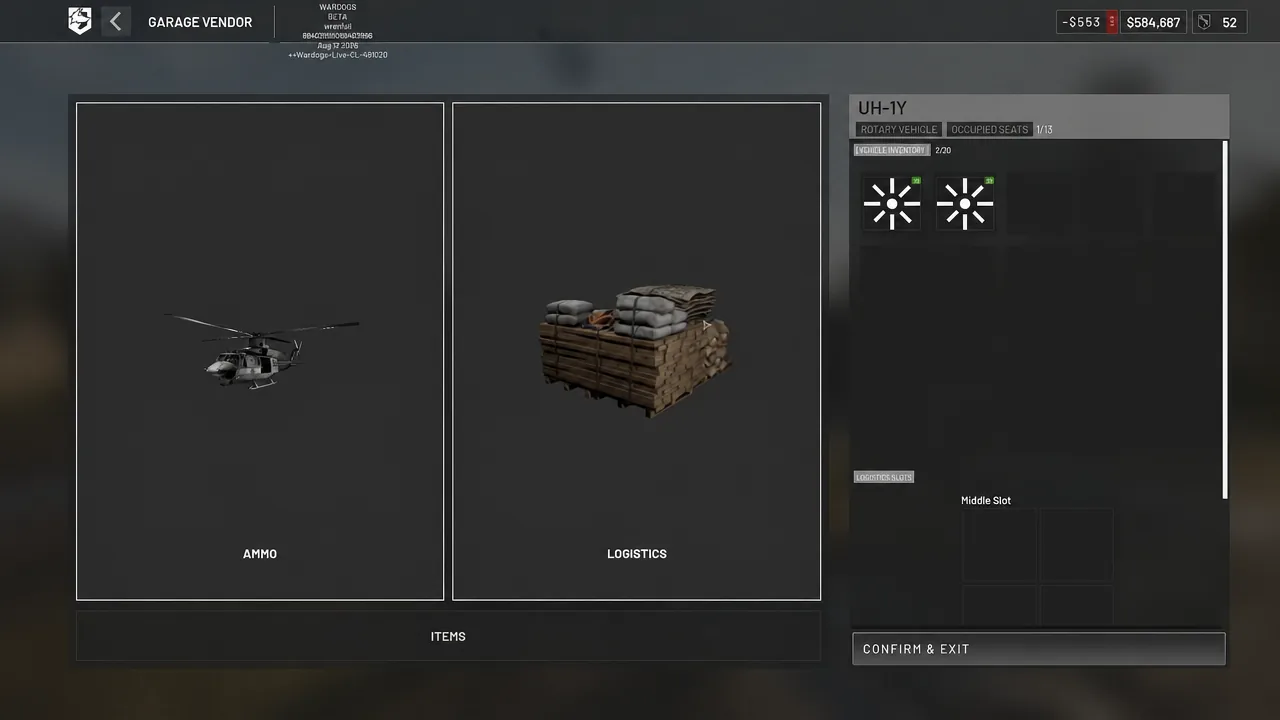
Dropping pallets directly at friendly FOBs is the lower-risk version of the same route, worth roughly $2,100 in profit per pallet without flying into contested airspace.
Drive the spawn vehicle once your team hits 20 points
Ground logistics has one large, repeatable payout. Driving the team spawn vehicle from your main base and parking it inside the zone pays a $3,000 bonus, and you keep earning from every teammate who spawns on it and every kill assist that follows.
Because HQ sits a long way from the hill, that vehicle also removes the long walk back for your whole faction, which is why the spawn income keeps ticking for as long as it survives. Park it behind hard cover rather than in the open.
Play medic for steady Hot Zone income
A frontline medic makes money on other people’s mistakes. Reviving a downed teammate in the Hot Zone pays $800, and bandaging a wounded one pays $400, so patching someone up completely is worth $1,200 — the same as a standard kill inside the Hot Zone.
The defibrillator costs $1,600, which means you are in profit after three revives. Keep bandages and a resuscitation mask in your kit, and stay close enough to an active firefight that bodies are actually reachable. Some players will offer bribes to be picked up first.
Tip: Towers on the map can be looted for defibrillators and other high-tier gear, so you can sometimes skip the purchase entirely.
Spot enemies and snipe from range
Spotting is the cheapest income in the game. Buy binoculars or a rangefinder, tag enemies from a safe angle, and collect $800 whenever anyone on your team kills a target you marked. You never have to enter the fight.
Sniping pays more the further away the target is. Default zeroing sits around 100m, so use the rangefinder to dial in the correct distance before firing. The Mosin-Nagant unlocks at level 10, and the 6-10x scope at Recon level 18 lets you zero out to 1,000 meters for the largest distance bonuses.
On Bakarani, the hill north of the apartment blocks is a workable perch. You can sit outside the control zone in the brush, spot into it and take shots without being counted in the fight for the point.
Build cover and hold the Hot Zone
Engineers earn per swing. Buy a Small Hammer from the shop, move to a tower your team controls, open the build menu and choose sandbags or Hesco blocks. Place the piece inside the marked boundary and hammer it to completion — every swing that raises cover pays $50, and finishing the structure pays out properly.
Fortifying a FOB near the Hot Zone is the most profitable place to do this, and heavier emplacements like the CIWS, mortar and anti-air missiles cost no cash inside a FOB because they only consume building supplies. Simply being inside the Hot Zone also pays, and each player standing there counts double toward your faction’s score.
Destroy enemy structures, helicopters and armor
Breaking enemy kit pays. Ammo boxes, FOB consoles and mines all return cash when destroyed, which makes assaulting an enemy FOB worthwhile even though you lose access to the ammo inside.
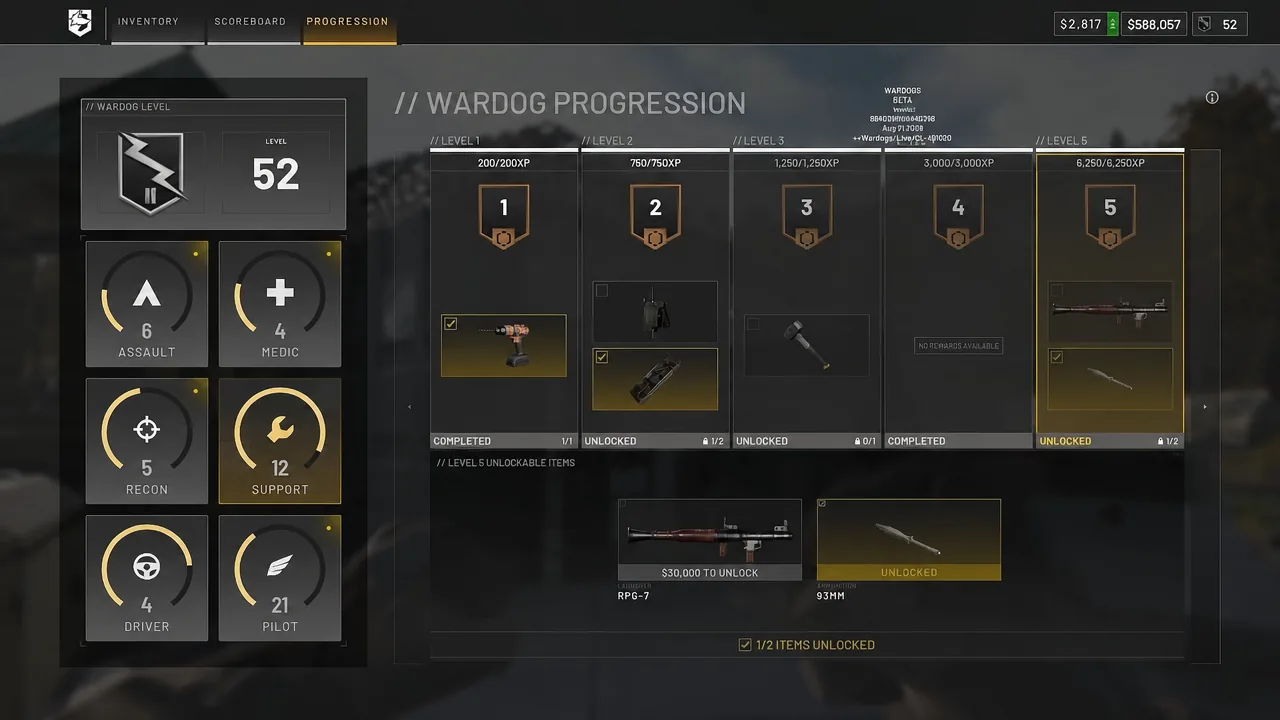
The RPG-7 unlocks under the Support class at level 5 and turns enemy helicopters into large payouts. Tanks are similarly efficient, since the main cannon can clear structures, infantry and aircraft in the same push — the risk is enemy players carrying anti-tank launchers of their own.
Mistakes that wipe out your earnings
The fastest way to go broke is to buy an expensive loadout you cannot protect. Cheap weapons perform well enough in your first several matches, and a cheap player still counts as a full body for scoring, so there is no reason to carry $10,000 of gear into the Hot Zone before you have banked anything.
- Dropping cargo too high or too fast — it detonates and the payout shrinks.
- Riding with a pilot you do not know, since a crash costs you the entire loadout.
- Buying a monocular instead of standard binoculars for spotting duty.
- Carrying full spare magazines instead of loose ammo, which eats backpack space you could fill with sellable supplies.
- Rushing fights on foot instead of holding an angle, which turns every death into a rebuy and a long trip back from HQ.
The pattern behind all of it is simple. WARDOGS pays you for keeping other people alive, supplied and in position, and those jobs carry far less risk than the ones that pay per kill. Run transport and logistics until your balance is comfortable, then decide whether an expensive rifle or a tank is worth the exposure.