

Money runs the game in WARDOGS. You buy a fresh kit before every life, keep whatever cash you carry between matches, and a single expensive death can erase the profit from several good lives. A cheap loadout that still wins most fights is usually the smarter bet than an all-in one, and there is enough flexibility in the vendor to build a solid kit for any role well under the price of a premium rifle.
Quick answer: Build each kit on a Level 1 Helmet plus Level 2 Armor, then add a cheap primary to match the role — the free Bushmaster M17S for recovery runs, the $600 T-21 for assault, an SMG for medic, and a bolt-action for marksman. Keep the whole life under about $4,000.
How cheap loadouts work in WARDOGS
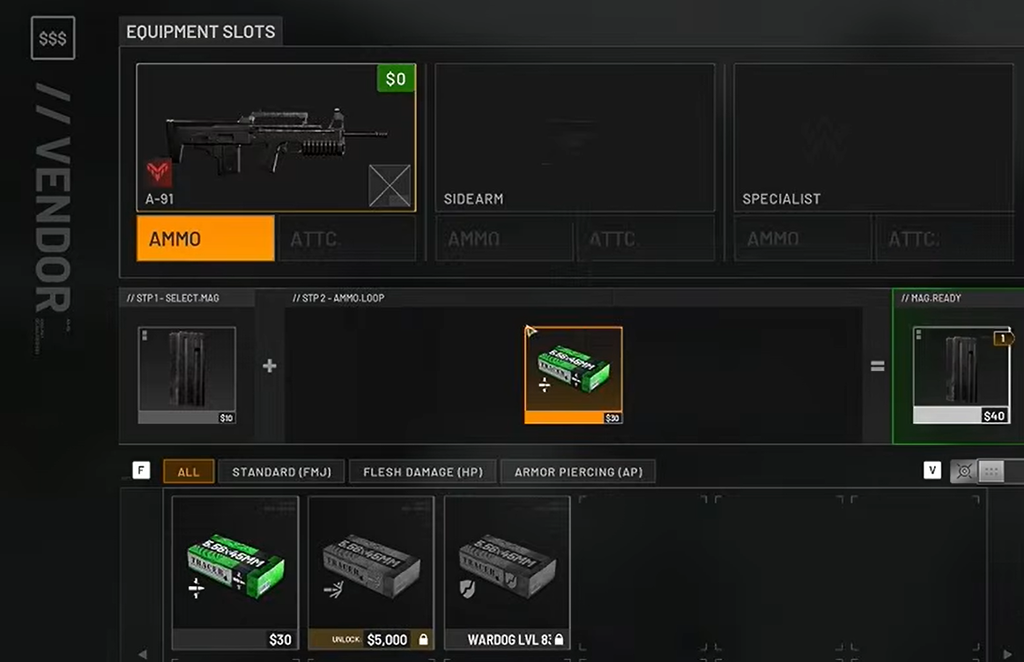
Every player starts with $10,000, buys a custom loadout for each life, earns cash through teamplay, and keeps that balance between matches, as laid out on the official WARDOGS page. Because the balance does not refill when you die, replacement cost matters more than raw weapon power. A $5,000 kit that dies twice nearly empties your opening reserve, while a sub-$4,000 kit gives you several attempts to recover.
The practical rule is to price the life before you spawn. If a kit is meant to rebuild your bank, keep it cheap enough that a couple of deaths do not force a new plan. Spend more only when the extra weapon, armor, storage, or ammunition directly improves the job you intend to do.
One-time unlock fees are separate from per-life cost. Unlocking a weapon or armor tier is a single progression payment, so judge a budget kit by how much cash disappears each time you rebuild it, not by the unlock price.
Cheap primary weapon for each role
WARDOGS has no fixed classes. Your role is whatever you buy before the life, and XP tracks toward six roles depending on how you play. Here is the low-cost primary that covers each job, with the protection tier that pairs best with it.
| Role | Cheap primary | Weapon price | Protection |
|---|---|---|---|
| Recovery / looting |  Bushmaster M17S Bushmaster M17S | $0 | Level 1 Armor |
| Assault | 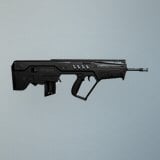 T-21 T-21 | $600 | Level 1 Helmet + Level 2 Armor |
| Medic | AMP-9 or PP-19 Vityaz | $900 / $1,200 | Level 1 Helmet + Level 2 Armor |
| Marksman | Scout Rifle TD or Mosin Nagant | $1,100 / $4,500 | Light or none |
| Support | M249 SAW or free rifle | $3,200 / $0 | Level 1 Helmet + Level 2 Armor |
| Anti-vehicle | T-21 + RPG-7 | $600 + $2,000 | Level 2 Armor |
The zero-cost recovery kit (Bushmaster M17S)
When your balance matters more than winning a fair rifle duel, run the free primary. The Bushmaster M17S costs $0, deals 28 damage per shot at 700 rounds per minute, and matches several paid rifles on base bullet damage. Its only real weakness is the fire selector, which is limited to semi and burst — it cannot go full auto, and it cannot equip attachments.
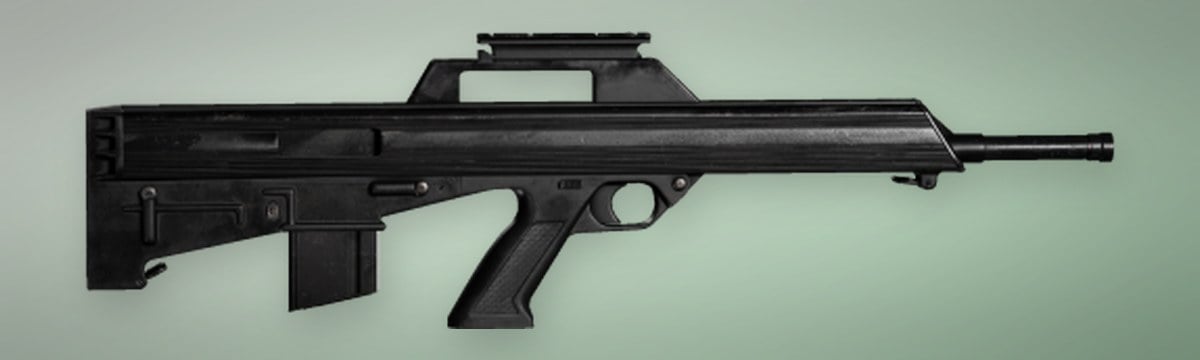
Because the rifle is free, losing it costs nothing. Pair it with Level 1 Armor, a cheap tac vest, a free backpack, a couple of spare magazines, and the free Emergency Resuscitator. Enter light, reach objectives fast, and replace your starter gear with weapons and armor looted from downed enemies. The whole life can come in under $700 at list price.
The Emergency Resuscitator is a one-per-life revive item that brings teammates back faster than default options. It is free, weighs 0.39 kg, and is consumed after a single use, so there is no reason to leave it behind.
The armor and supplies base every kit shares
Once you have cash to spend, most budget kits sit on the same protection and supplies package, then swap the primary and utility to fit the role. A dependable frugal base runs a Level 1 Helmet, Level 2 Armor, a Level 1 vest, a Field Backpack, a Basic Parachute, five bandages, and the free Emergency Resuscitator, for roughly $3,050 at list price.
| Armor | Price | Durability | Protects |
|---|---|---|---|
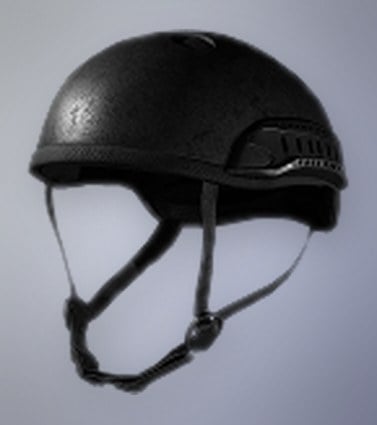
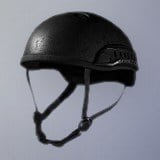 Level 1 Helmet Level 1 Helmet | $200 | 80 | Head |
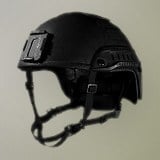 Level 2 Helmet Level 2 Helmet | $500 | 100 | Head |
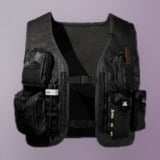 Level 1 Armor Level 1 Armor | $400 | 200 | Torso |
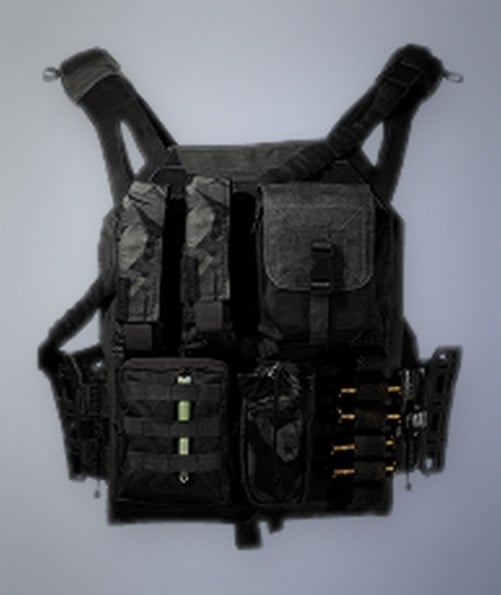
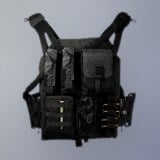 Level 2 Armor Level 2 Armor | $1,000 | 220 | Torso |
The reasoning behind Level 1 Helmet plus Level 2 Armor is value. Level 2 Armor costs more than twice as much as Level 1, but it raises the bullets needed to drop you by one against most calibres. That single extra shot decides plenty of exchanges.
A Level 2 Helmet only helps when an enemy misses shots to your head, and a bolt-action rifle still one-shots the head through it. The Mosin Nagant lands 176 headshot damage, so no helmet tier saves you from a clean sniper hit. If you die to body shots more often than head shots, the cheaper Level 1 Helmet is the sensible pick.
Budget assault loadout (T-21)
The T-21 is the cheap frontline rifle to build around. At $600 it deals 28 damage per shot at 750 rounds per minute, a strong statline for the price. Its recoil is the roughest of the assault rifles, but a basic grip and muzzle brake tame it enough for steady mid-range fights, and a modded T-21 still lands cheaper than a base Galil.
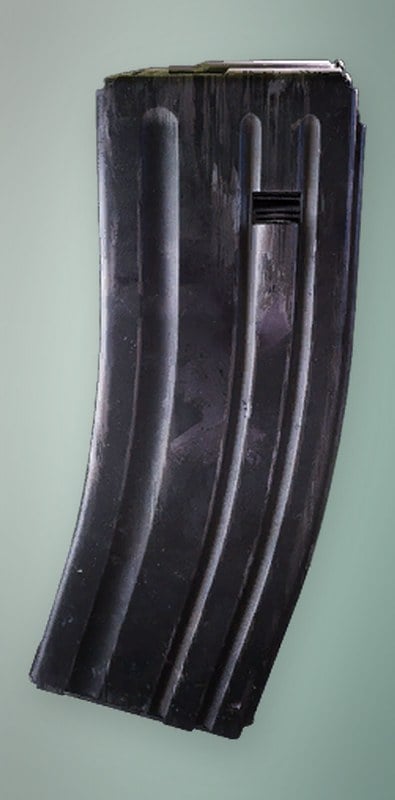
On top of the shared armor base, carry two or three spare 5.56 magazines, a stack of loose FMJ rounds, and utility that fits your plan. If you raid enemy FOBs, bring at least two IEDs so you can blow open dual-gate airlock layouts, and keep white smoke grenades for pushing across open ground. Swap in HE grenades instead if a squadmate already carries smoke.
Budget medic loadout (AMP-9 and PP-19 Vityaz)
Kills and assists with SMGs grant Medic XP, so the cheap way to level the role is to run one. The AMP-9 costs $900 and, like the T-21, controls far better once you fit basic attachments. Its default magazines handle isolated duels but run dry against multiple enemies, so pack spares.
If you want a step up, the PP-19 Vityaz costs $1,200, fires 9x19mm at 800 rounds per minute for 22 damage per shot, and pushes 293.3 damage per second. It unlocks at Medic level 4 with a one-time $25,000 fee. Keep the Level 1 Helmet and Level 2 Armor base, add bandages and a revive tool, and slot in smoke grenades so you can reach teammates who go down in the open.
Budget marksman loadout (Scout Rifle TD, Mosin Nagant, SKS)
Bolt-action power costs money, so a cheap sniper kit trims elsewhere. Drop to a smaller, cheaper backpack such as the Scout Pack, since a Mosin needs almost no magazine space. Skip the helmet if you plan to hold range, and take a Range Finder over a Monocular when shooting across a Control Zone.
| Rifle | Price | Damage | Headshot |
|---|---|---|---|
 Scout Rifle TD Scout Rifle TD | $1,100 | 28 | 89.6 |
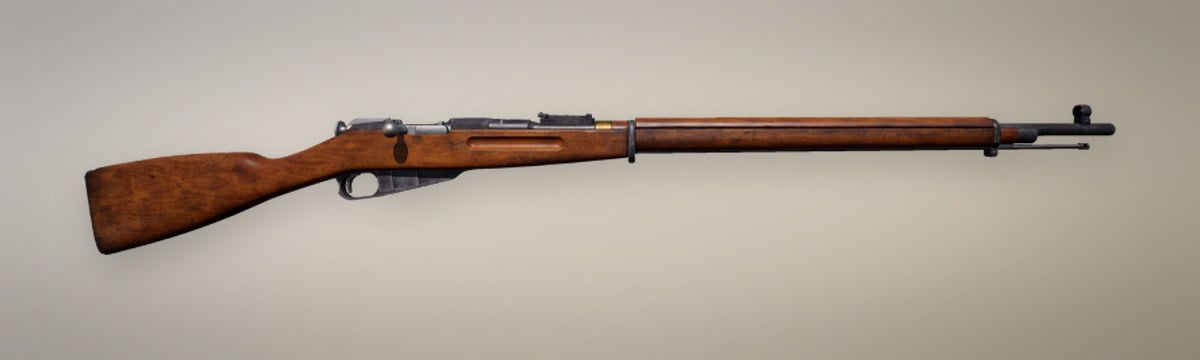
 Mosin Nagant Mosin Nagant | $4,500 | 55 | 176 |
The Mosin Nagant is the payoff pick. It fires 7.62x54mm for 55 damage per shot with a 176 headshot value and an 800 m max zeroing range, and it unlocks at Recon level 10 with a one-time $50,000 fee. A clean head shot ends most targets outright.
The Scout Rifle TD is the budget entry at $1,100, a break-action 5.56 rifle with a good scope but only 28 damage per shot. If you have not unlocked the Mosin, take the SKS instead. At $2,400 it deals 42 damage and hugely outperforms the Scout Rifle inside 100 meters, which makes it excellent for harassing builders and sentries around enemy FOBs — a head shot followed by a body shot drops lightly-armored targets, and it instantly kills anyone without a helmet.
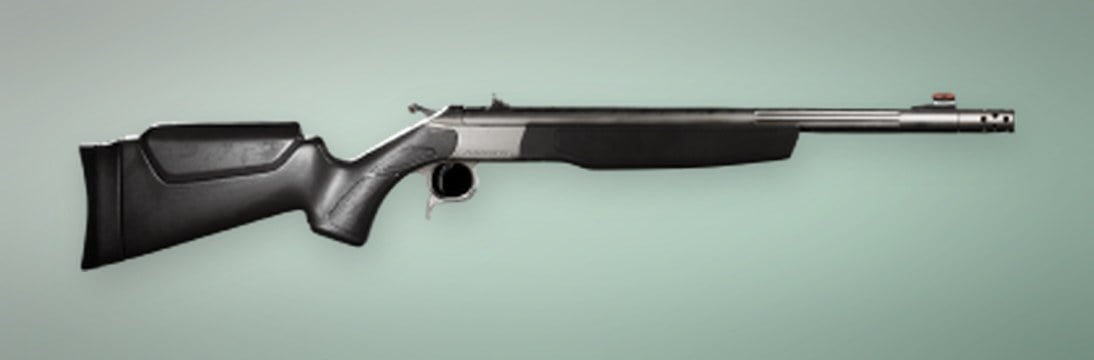
A sidearm is nice insurance for close encounters, but you can skip it if you expect to stay at distance and never switch off the scope.
Budget support and anti-vehicle loadout
Support covers several jobs, and your gear decides which one you play. For a pure builder, all you really need is a hammer, healing items, a free rifle with ammo, and a Level 1 Helmet so an SKS shot to the head does not delete you. For an active support role, add explosives on top of the shared base and bring the weapons you prefer.
If you want to fight, the M249 SAW is a strong LMG at $3,200 that avoids the price of top rifles. For anti-vehicle work, pair the cheap T-21 with an RPG-7 at $2,000. The launcher does not lose damage against infantry, so it doubles as a heavy long-range answer as well as a tool for armor. Aim for side or rear shots, then relocate before reloading.
Disrupting enemy logistics becomes valuable once teams start building drills. A cheap way to do it is to buy a Kodiak, fill it with RPGs and anti-air missiles, and hunt transport and supply vehicles around the Control Zone.
The MP43 shotgun at $400 is a strong budget close-quarters weapon in the first week of a season. It can two-shot a Level 2 Armor target from a surprising distance and instantly downs unarmored or Level 1 targets up close.
Vest and backpack prices
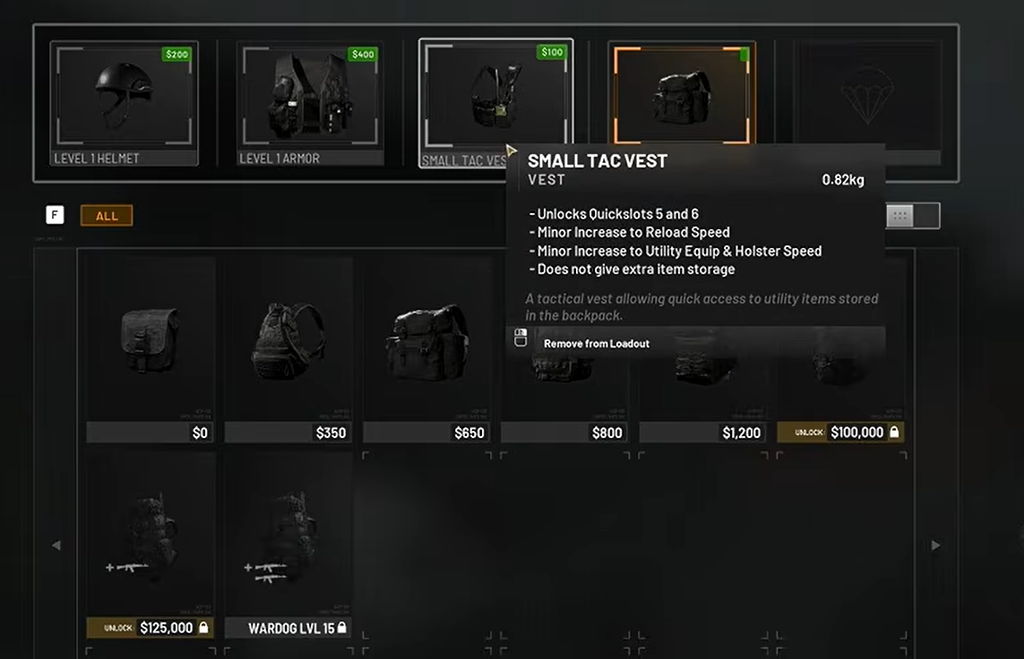
Vests unlock quick slots and backpacks decide how much you can carry, so match them to the role rather than always buying the biggest option. The Small Tac Vest is fine for cheap kits, the Medium is a good everyday choice, and the Operator Backpack is the best value for storage-heavy roles.
| Item | Price | Capacity / note |
|---|---|---|
| Small Tac Vest | $100 | Cheap quick-slot access |
| Medium Tac Vest | $250 | Four extra quick slots |
| Large Tac Vest | $400 | Most quick slots |
| Scout Backpack | $350 | 8 slots |
| Field Backpack | $650 | 12 cells |
| Operator Backpack | $800 | 15 slots |
| Ruck Backpack | $2,400 | 24 slots |
Whatever you take, price the life before you spawn and pack the bag out. An empty cell is a reload you chose not to carry, and swapping your ammunition to match the lobby moves the numbers further than the gun does. Keep the whole kit cheap enough that losing it twice does not end your night, and let looted gear upgrade you mid-match instead of your wallet.





