

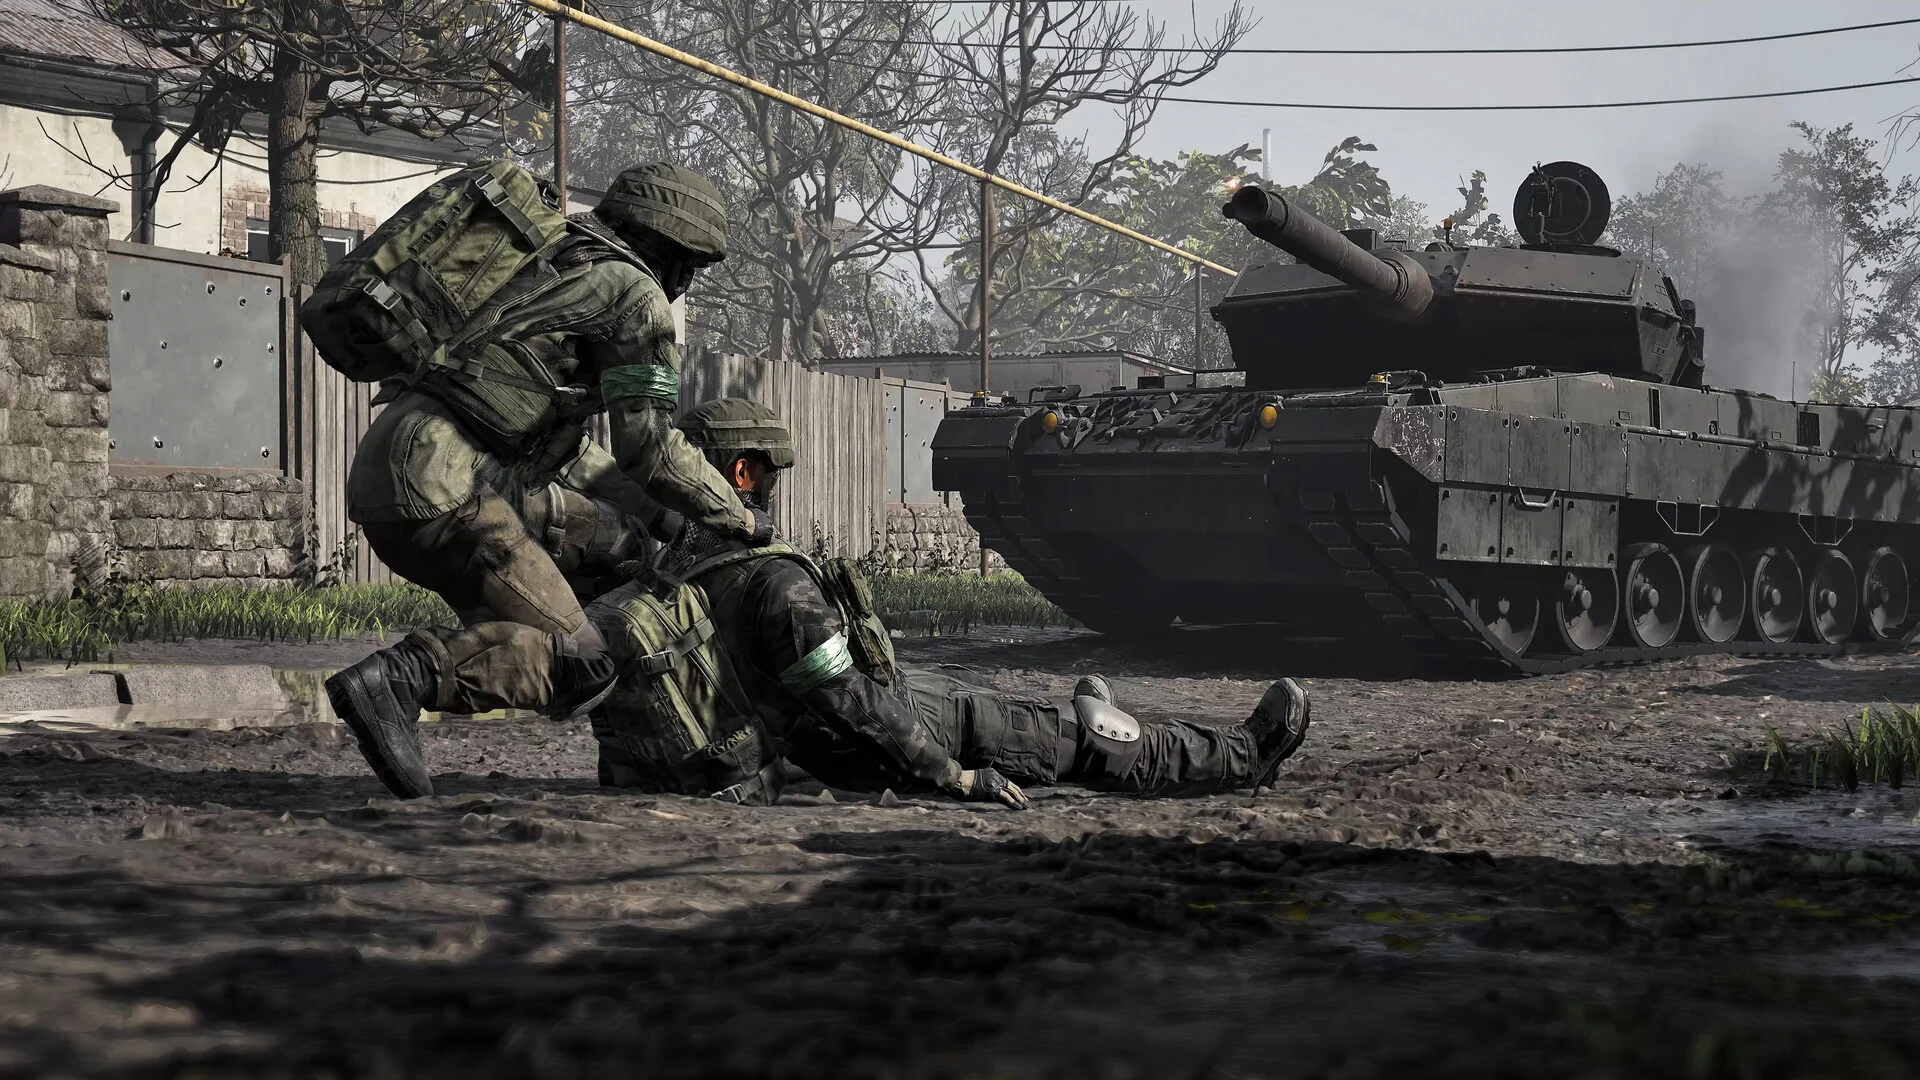
Cash in WARDOGS carries between matches, but everything you die with does not. That single rule decides which farming methods are worth your time. The most profitable players are rarely the ones with the biggest kill counts — they are the ones running a $75 pair of binoculars while somebody else burns a $15,000 loadout on the frontline.
Quick answer: Spot with binoculars while broke, then move into Medic revives, logistics pallets, or helicopter transport. Judge every run by net profit after loadout costs, not gross earnings.
How WARDOGS pays you
Almost every helpful action generates money alongside XP. Kills pay. Revives pay. Marking an enemy pays, and pays again when someone kills that target. Dropping a supply pallet pays, and pays a second time when another player unpacks it. Even parking a spawn vehicle in the right spot keeps paying while you walk away from it.
Payouts double inside the Hot Zone. Any action that helps your team is worth twice as much while you are in it, which is why a medic working just behind an assault push in the Hot Zone earns far more than the same medic doing the same job on a quiet flank.
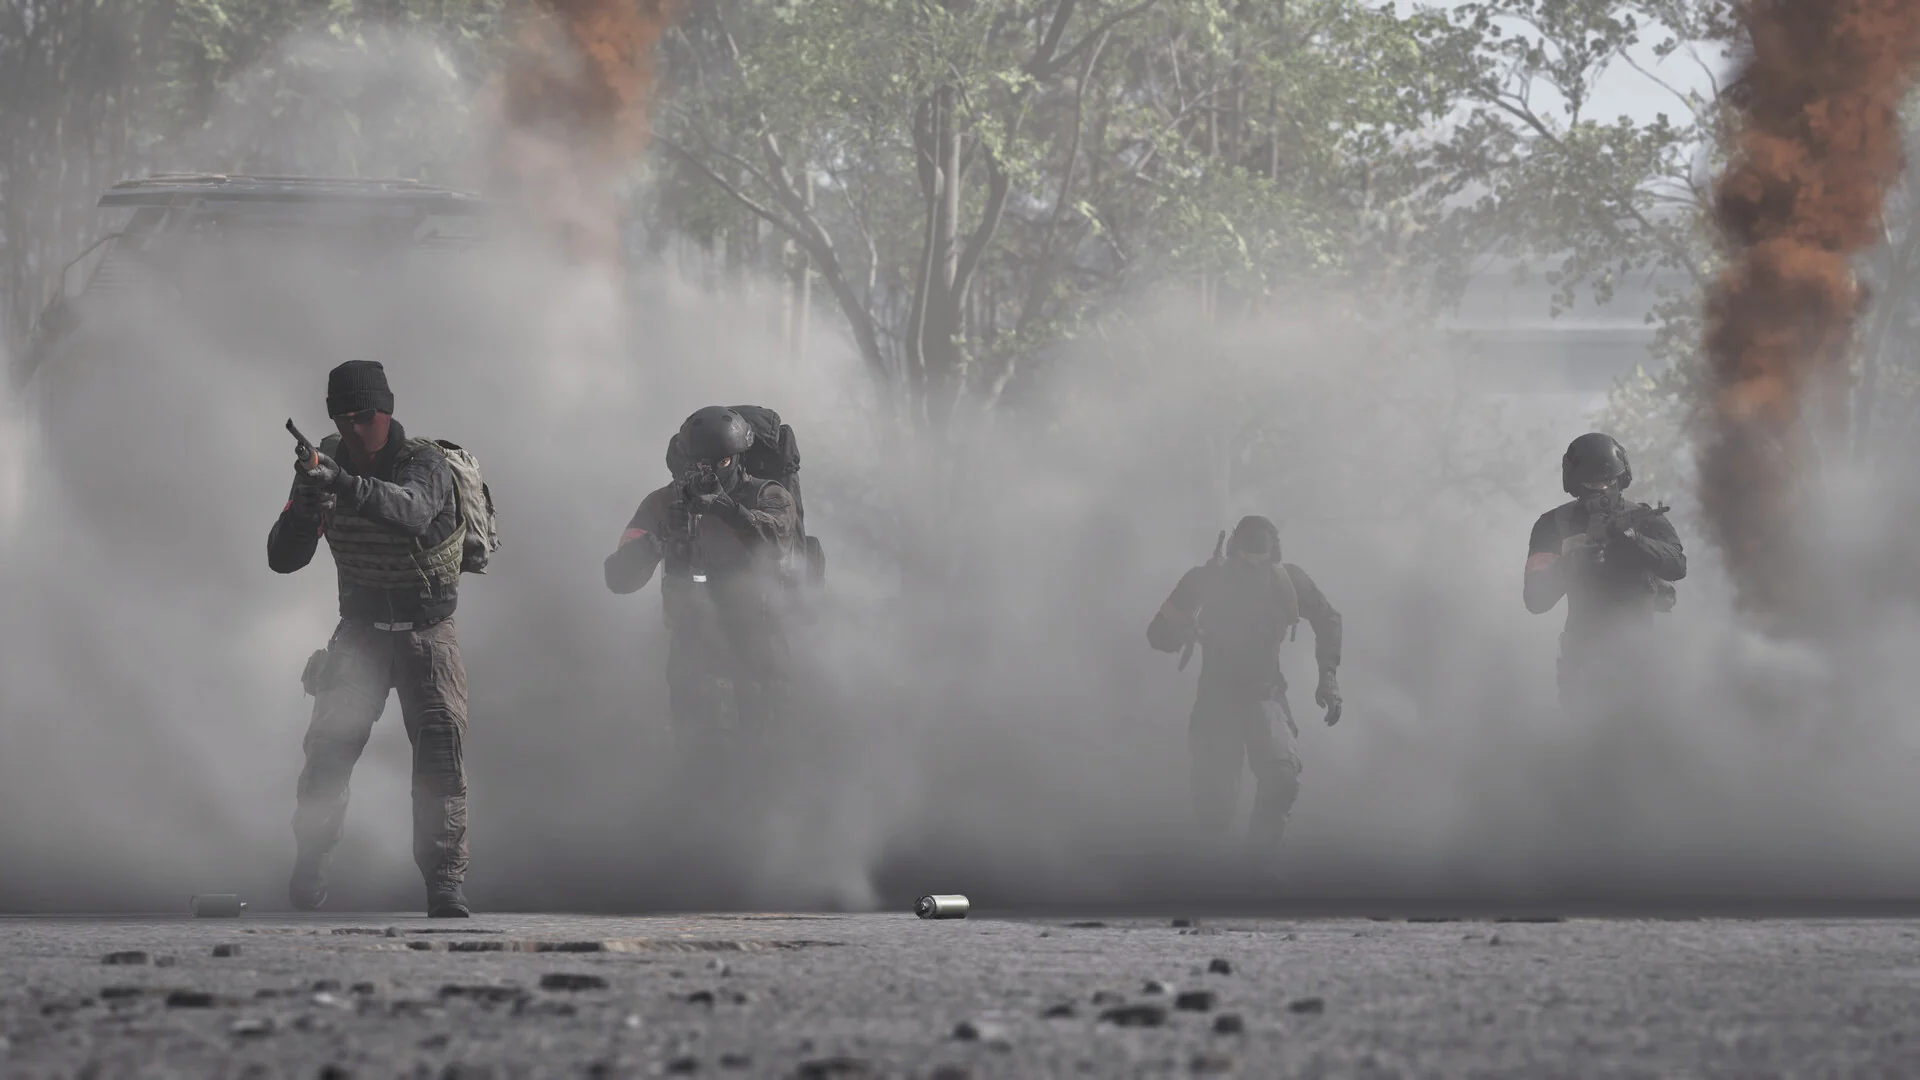
Expenses are the real enemy. A $20,000 life is not a good life if you replaced a $15,000 kit to get it. Buy only what you will use, and loot corpses for upgrades instead of buying them.
Known payouts and entry costs
| Action | Pays | Cost to start |
|---|---|---|
| Spotting an enemy | Small, plus assist on kill | $75 binoculars |
| Reviving a teammate | $900 | Free resuscitator |
| Healing a teammate | $200 | Bandages |
| Delivering a logistics pallet | $2,500 | $400 pallet |
| Pallet unpacked at a FOB | $1,800 | Included above |
| Driving the spawn APC into the zone | $3,000 | Free |
| Each teammate spawning on that APC | $250 | Free |
| Finishing certain structures | $1,200–$1,500 | Hammer plus FOB module |
Helicopter transport pays per passenger rather than per trip. A successful Hot Zone drop is worth roughly $500 to $1,000 per passenger, another $500 if that passenger survives, and around $750 whenever someone you delivered scores a kill. Those figures are why a full transport helicopter can clear its own purchase price in two runs.
Spotting with binoculars: The zero-risk starter job
Binoculars cost $75 and weigh 0.3 kg. They spot enemy infantry and vehicles at low magnification, and that is all you need. Every successful mark pays, and when the marked target dies you collect an assist reward regardless of who pulled the trigger — friendly or otherwise.
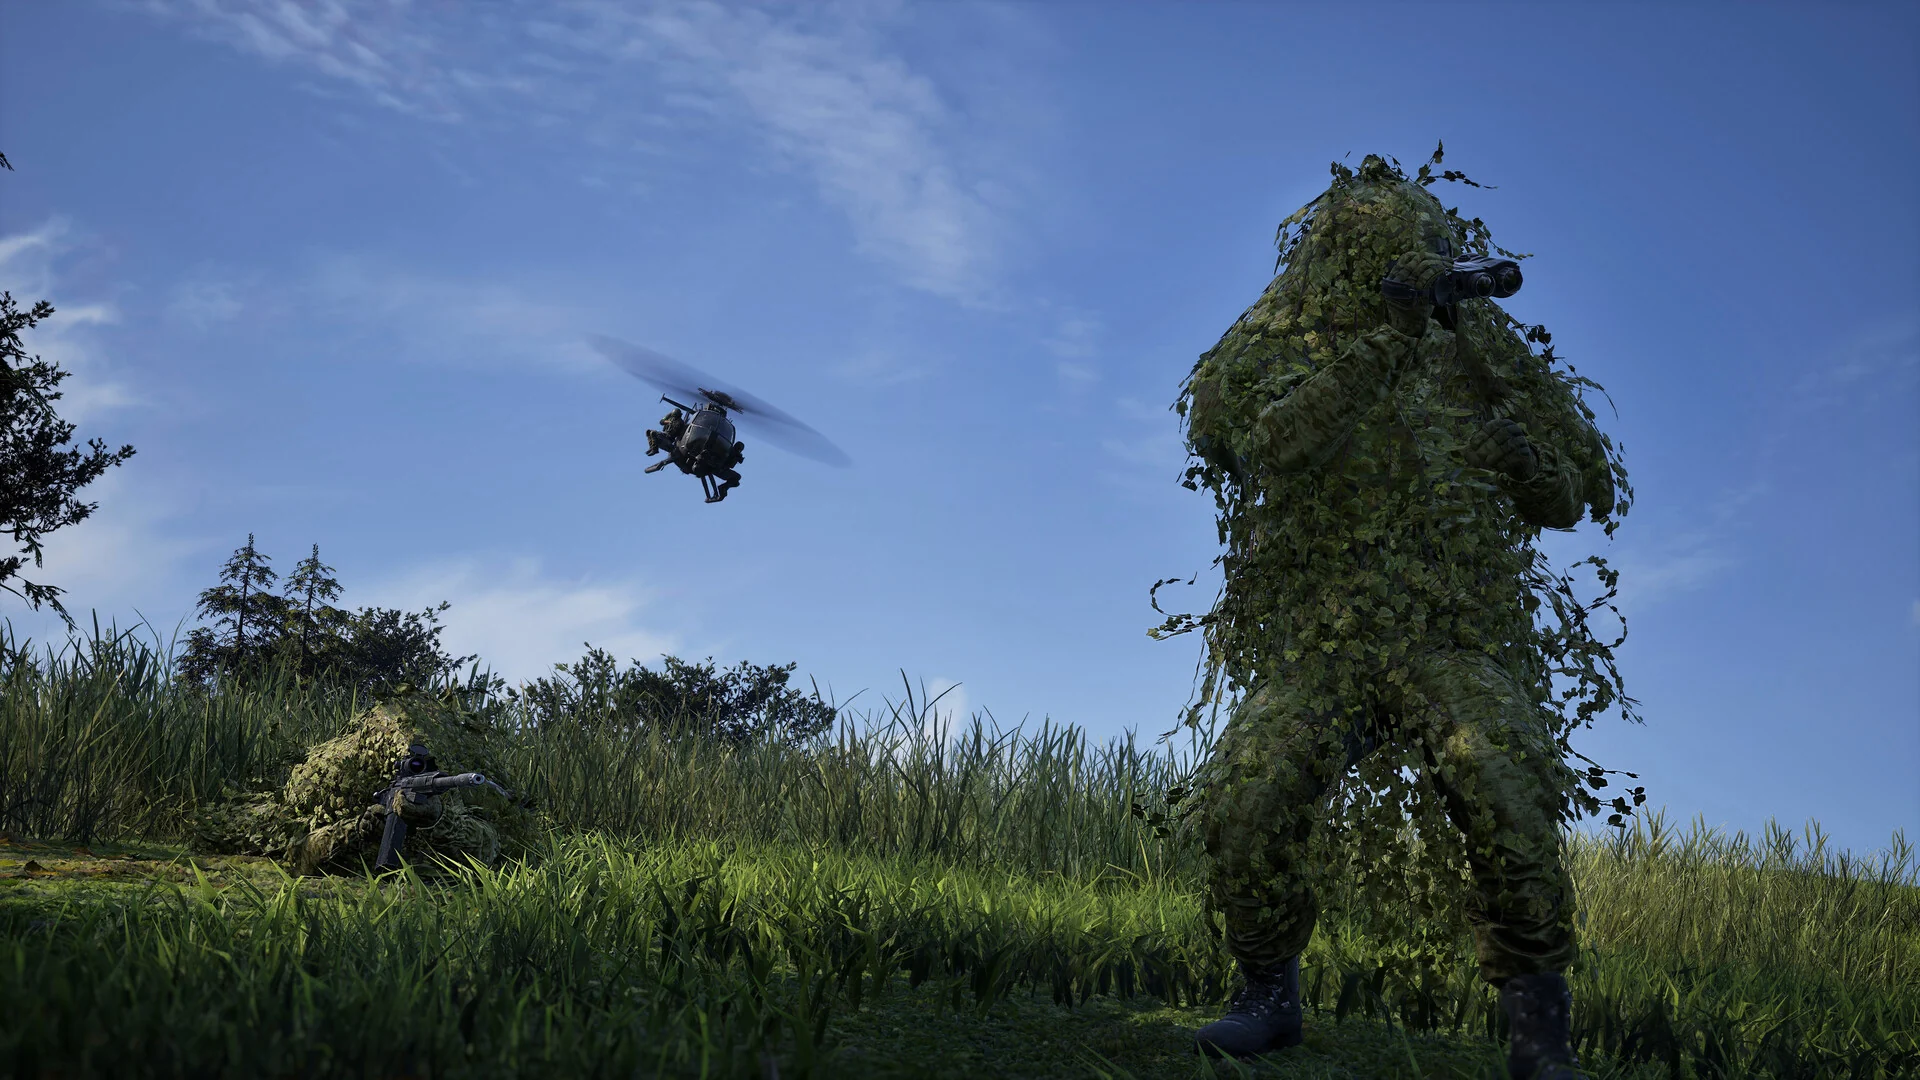
Spotting also happens to be the fastest Recon XP in the game — faster than grinding kills with the starter sniper. Once Recon progression opens up the SKS at level 5 and better glass higher up the ladder, the same position starts producing long-range kills on top of the spotting income.
Medic: The best income while staying in the fight
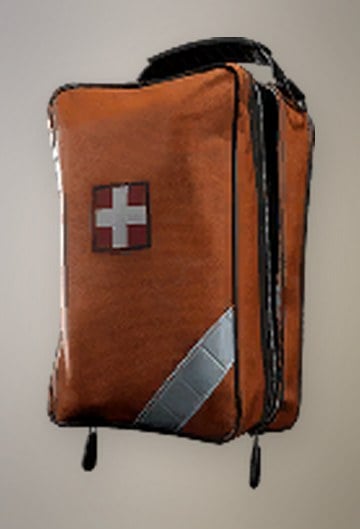
A revive is worth $900 and a heal is worth $200, both doubled in the Hot Zone. On top of that, every teammate you put back on their feet feeds you assists when they get kills. Active medic work in a contested zone lands in the $100,000 to $200,000 per hour range.
Medic progression tops out at level 50 with 36 levels that grant an unlock. The Field Resuscitator arrives at level 2, the Individual First Aid Kit at 9, the Defibrillator at 11, and the Adrenaline Pen at 14. The defibrillator costs around $1,600 with batteries at roughly $150, and since one battery covers several revives, it pays for itself quickly. Weapons come along the same track, with the PP-19 Vityaz at level 4 for anyone building a medic-assault hybrid.
Logistics runs: $3,900 profit per pallet
A logistics pallet costs $400. Delivering it to the objective area pays $2,500, and when another player breaks it down and spends the supplies at a FOB you collect a further $1,800. That is $4,300 gross and roughly $3,900 net on a single pallet, with no requirement to shoot anyone.
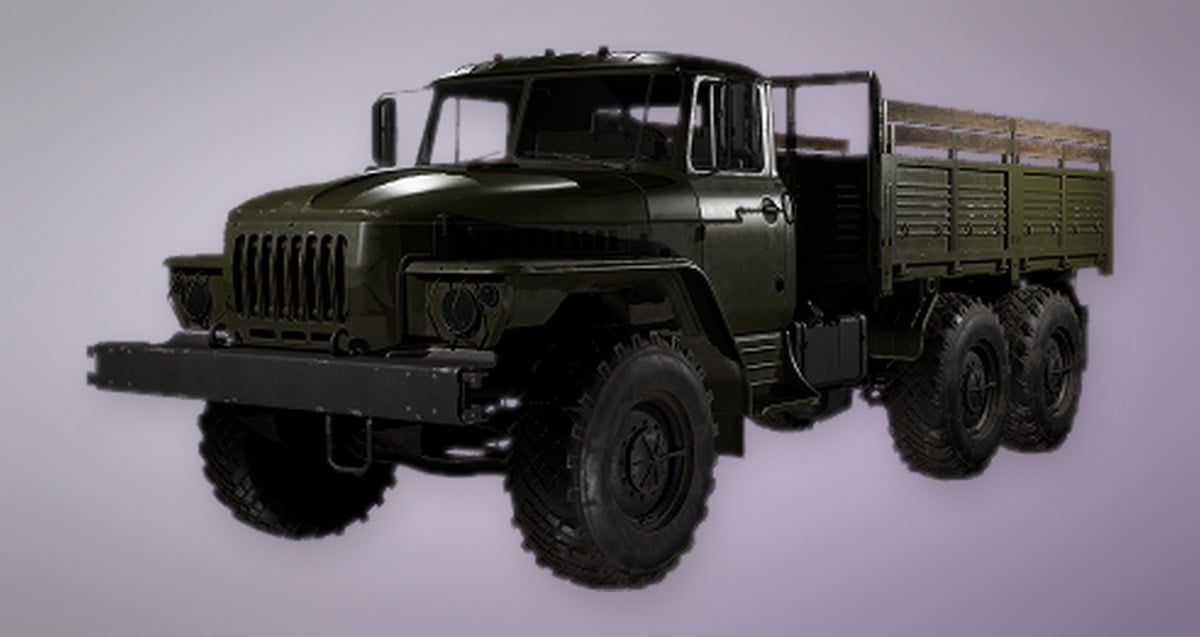
Ground delivery works with the Kodiak, Humvee, or the Ural, which is the best of the trucks for the job. Air delivery is faster — a transport helicopter can drop pallets with G, even while flying, and reach active FOBs directly.
Drop pallets low and slow. A pallet released from too high or at speed can explode. You still appear to receive the $2,500 delivery payment, but the $1,800 unpack bonus is gone because the FOB has nothing left to use.
Target FOBs your team is actively fighting from. That second payment depends entirely on someone unpacking the crate, so a perfectly delivered pallet at an abandoned base is worth barely half of one at a busy one. Supply runs also feed Support XP, and Support unlocks are where the heavier money-makers live: the RPG-7 at level 5, the M249 SAW at 15, and the 9K333 Verba at 16. Support runs to level 50 with 31 levels carrying an unlock.
The M113 spawn APC: Park it once, get paid all match
The APC with the satellite dish appears at HQ once either team reaches 20 points. Only one player can claim it, so being at the base when the counter ticks over matters more than anything else about this method.
Driving it into the combat area pays roughly $3,000 on arrival. After that, every teammate who spawns on it pays you $250, so ten spawns adds another $2,500. You also pick up income when those deployed players survive or score kills. Park it near the tower or tucked between buildings inside the control zone, then leave — it keeps earning without you.
Staying inside the APC instead generates heavy Driver XP alongside the cash, which matters if you are working toward the vehicle unlocks. Driver caps at level 35 with 15 levels granting an unlock: the Ural at 3, the Dune Buggy at 8, the Humvee at 15, and the Humvee [Minigun] at 30.
Helicopter transport: Highest ceiling, highest skill floor
Piloting produces the largest single-match numbers in the game. One pilot cleared around $160,000 in a match by combining passengers with supply runs, and a first-time player finished their debut match roughly $95,000 up while still learning to fly. Helicopter logistics runs can exceed $200,000 in a strong match.
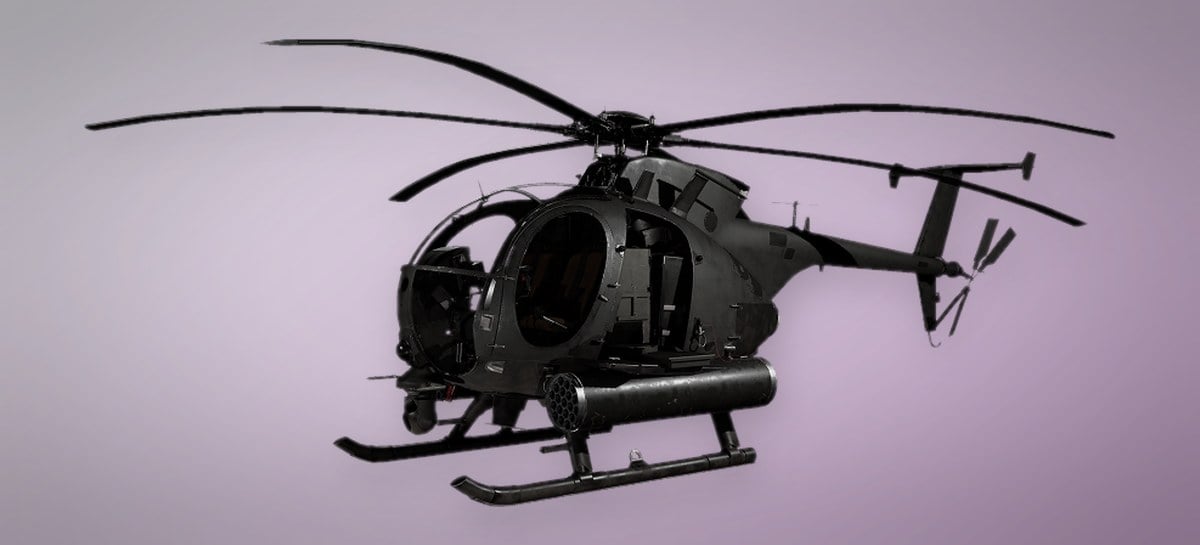
At Pilot level 10 the Z20 Lakota becomes available for about $7,400. It seats up to 11 passengers and carries logistics at the same time, which is where transport income really compounds — a full load could theoretically produce $5,500–$11,000 from drops, rising toward $11,000–$16,500 with survival bonuses, with kill kickbacks stacked on top.
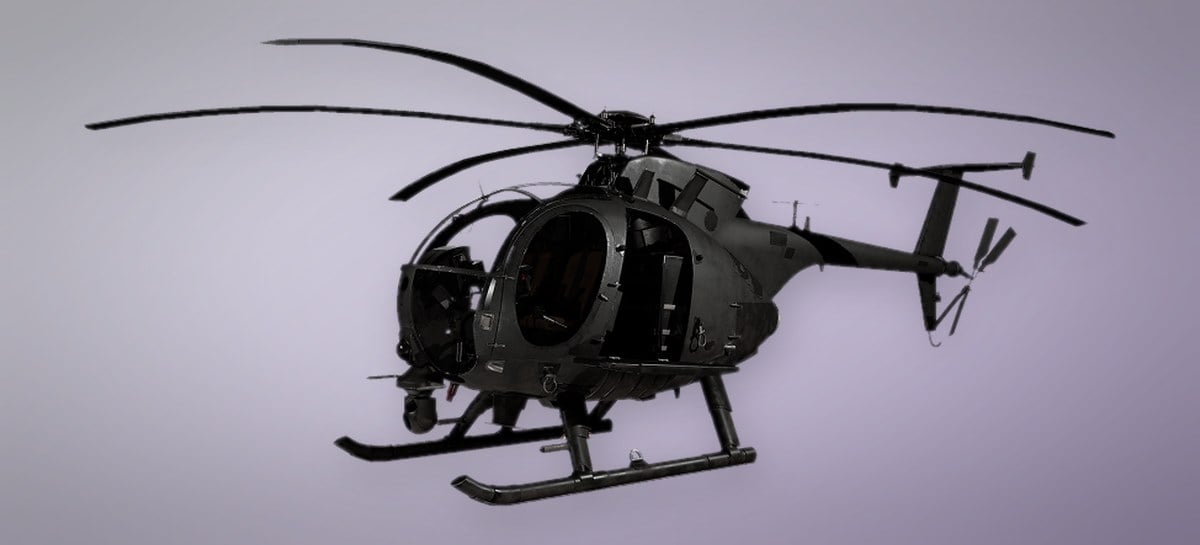
Passenger demand collapses once a team hits 20 points and the spawn APC becomes available. Run your busiest transport rotations before that threshold, then shift toward logistics.
FOB construction and the Hot Zone multiplier
A Forward Operating Base module costs $7,500 and weighs 6.5 kg. It is required for larger structures, holds items and resources other players can draw from, and defines the radius inside which your team can build. Early in a match, the tower nearest your starting area is a reliable first placement.
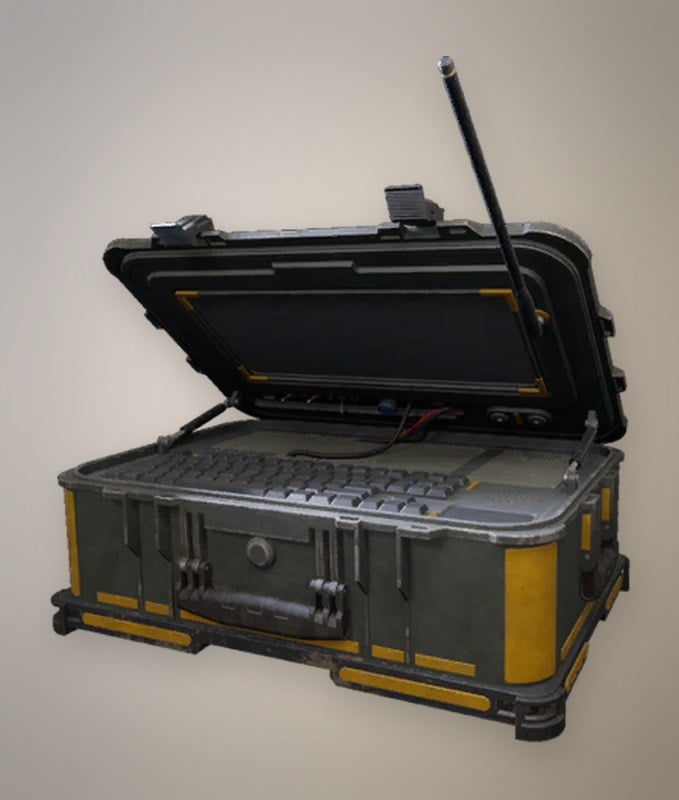
Place the module, build it with a hammer, then spend the FOB’s supplies on walls, gates, Hesco barriers, and other defences. Aim your swings at the yellow markers when they appear to build faster. Productive swings pay small amounts, while completing certain structures pays $1,200 to $1,500.
Support unlocks better tools as you go — the Light Drill at level 1, the Medium Hammer at 3, and the Large Hammer at 8. With a tier 3 hammer you can build a Drill Rig, which drags the Hot Zone toward its position when activated. That is powerful and expensive: it consumes a great deal of fuel supplies and requires a well-defended FOB, because the enemy will immediately try to take it. While the zone sits on you, every team-positive action pays double, so build, heal, and shoot from inside it.
Cutting costs: Cheap kits, looting, and the Halligan Bar
Profit is income minus replacement cost, and the second half is the part most players ignore. Run a cheap rifle, cheap ammunition, and only the equipment the job actually requires. When you kill someone, loot the body and upgrade for free — the extraction-shooter logic applies exactly, with almost nothing at risk and a great deal to gain.
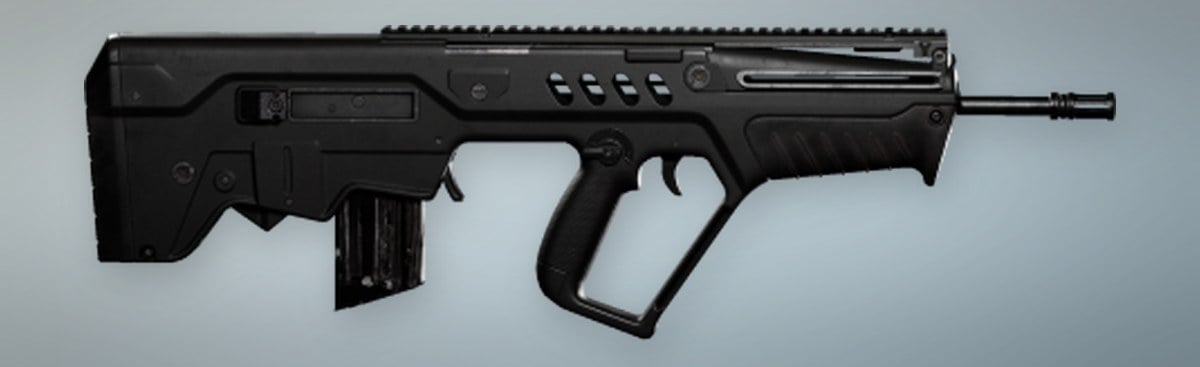
The T-21 is a sensible cheap workhorse at $600. It fires 5.56x45mm in semi or full auto at 750 rounds per minute, deals 28.0 damage per shot and 65.8 on a headshot, and drops to 11.2 through body armour. It weighs 3.27 kg, pushes 910 m/s muzzle velocity, and zeroes out to 300 m. It also accepts a wide spread of 30-round magazines, including STANAG, M4, and TAR21 mags.
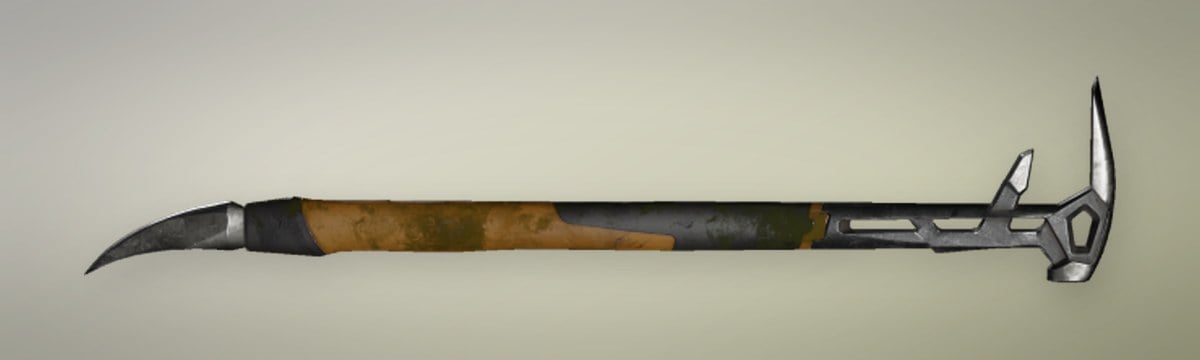
The Halligan Bar costs $1,100 and weighs 2.8 kg. It pries open doors, has limited durability, and does nothing against gates. Carry it when you intend to breach enemy FOBs and leave it at home when you do not.
Armour as an endgame money sink
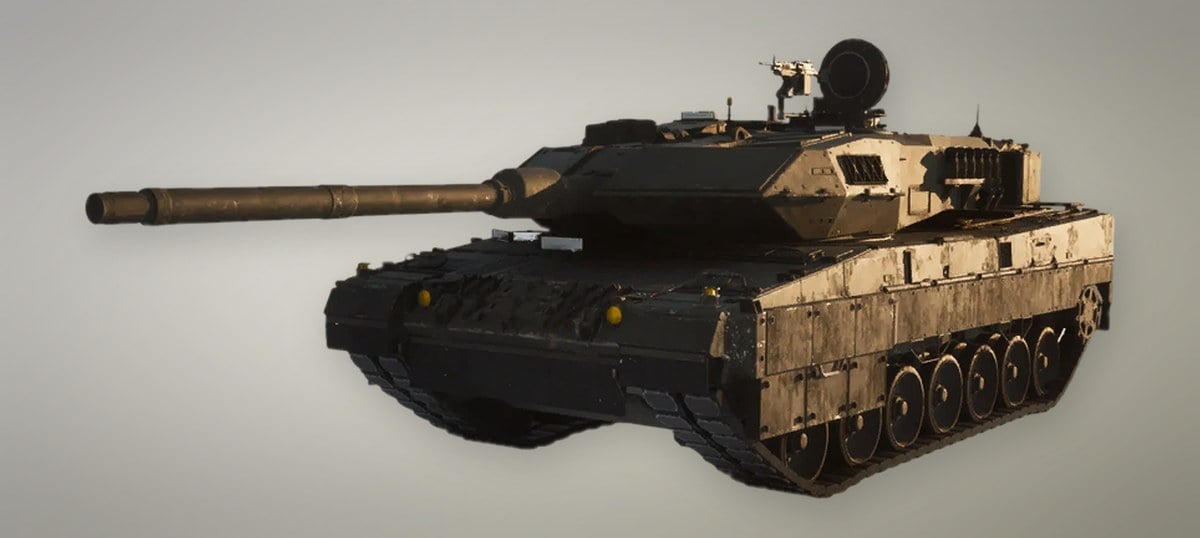
Tanks can produce enormous lives, but they are a spending decision before they are an earning one. The L2A6 costs $14,000 per purchase and is unlocked at Driver level 35 behind a one-time fee of $500,000. It is a heavy tank with three seats, a top speed of 65.0 km/h, a 110.0 litre fuel tank, and a burn rate of 8.0 litres per kilometre.
You buy one from the vehicle vendor in your faction’s safe zone — it is never spawned into the world mid-match. Destroying an enemy L2A6 pays $5,000, which is also the number to keep in mind when you are the one driving it.
Anti-vehicle work sits on the other side of that equation and is genuinely lucrative for Support players, though ammunition is expensive — a stingray rocket runs $5,000. Hitting expensive targets pays well, but missing them is a real loss.
Recovering when you are broke
Do not try to buy your way out of a bad balance. Take the cheapest possible kit plus binoculars, find a safe vantage point, and spot until you have a cushion. Then move into medic work or FOB building, both of which keep you useful without exposing much capital. Vehicles and logistics come last, once you can absorb losing one.
The Large Backpack is worth planning for as a medium-term goal — it unlocks at Wardog level 55 behind a one-time $100,000 fee before you can buy it for $2,400. Everything else on this list works long before that.
Measure every session by what stayed in your account at the end, not by the number that flashed up during the match. Earning $10,000 while risking a $1,000 kit beats earning $15,000 and rebuying expensive gear three times over, and that arithmetic holds true at every level of the game.





