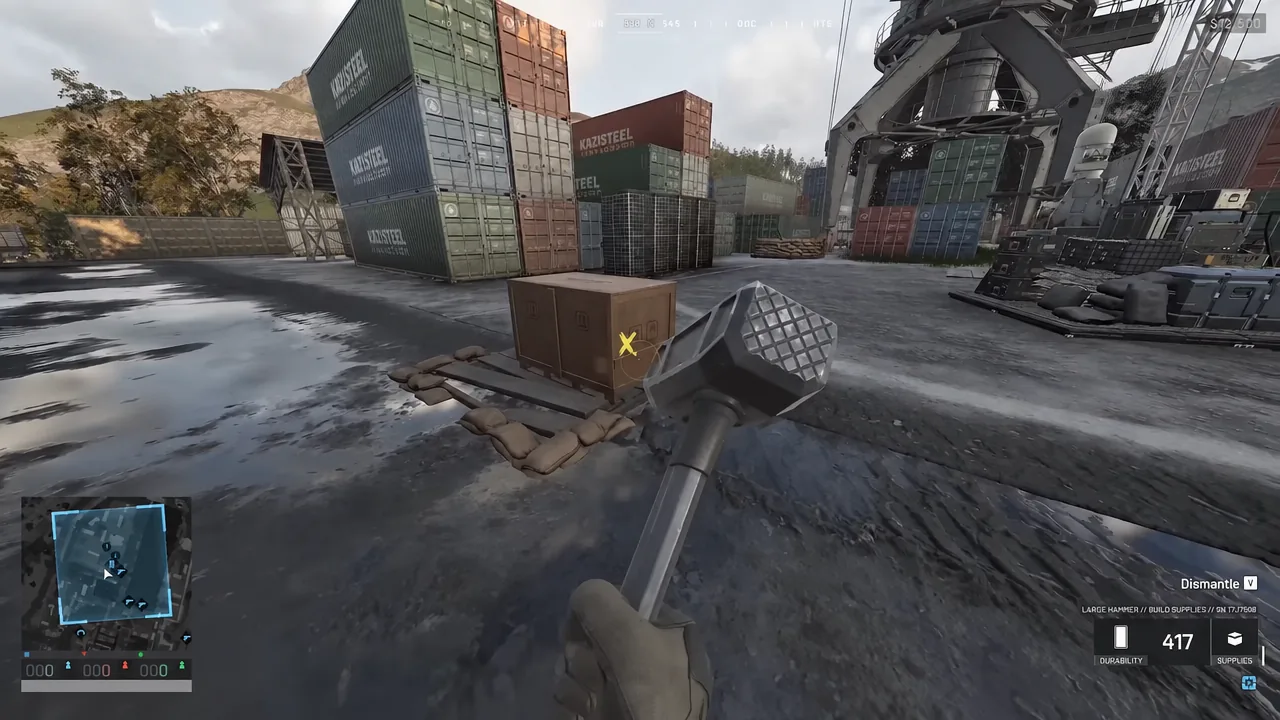
Building is the part of WARDOGS that separates a team that holds the Control Zone from a team that keeps skydiving into it and dying. A Forward Operating Base gives your faction a supply hub, cover for a spawn vehicle, and a platform for mortars, anti-air, and a drill rig that drags the Hot Zone toward you. The mechanics behind it are simple, but the timing tricks and stacking rules are not obvious from the tutorial.
Quick answer: Equip a hammer, place a structure from the right-click build menu, then swing at the yellow X markers instead of the walls. Release left-click the instant you connect and press it again immediately to cancel the recovery animation, which roughly doubles your build speed.
What you need before you can build in WARDOGS
Two things gate every structure. The first is a hammer, which determines what tiers you can build and how fast you finish them. The second is build supplies, which are stored in an FOB and consumed by each placement.
| Hammer | Requirement | Price | Access and speed |
|---|---|---|---|
| Small | Available to everyone | $100 | Basic field defenses only, slow |
| Medium | Support Level 3 | $800 | Basic and large buildables, medium |
| Large | Support Level 7 | $1,600 | Everything, fastest |
Sandbags, barbed wire, hedgehogs, and recon tents can be dropped anywhere without an FOB, so a Small Hammer is enough to improve cover during a fight. Everything heavier — Hescos, doors, gates, bunkers, towers, refuel and repair stations, mortars, CIWS, Talon, Stingray, and the drill rig — needs an FOB nearby and pulls from its stored supplies.
You do not have to buy a Medium Hammer to use one. Every FOB you deploy ships with a Medium and a Small Hammer sitting in its inventory under FOB Supplies, along with two repair wrenches, signal grenades, and bandages. Pull the hammer out before you start hitting anything.
Hammer techniques that cut build time
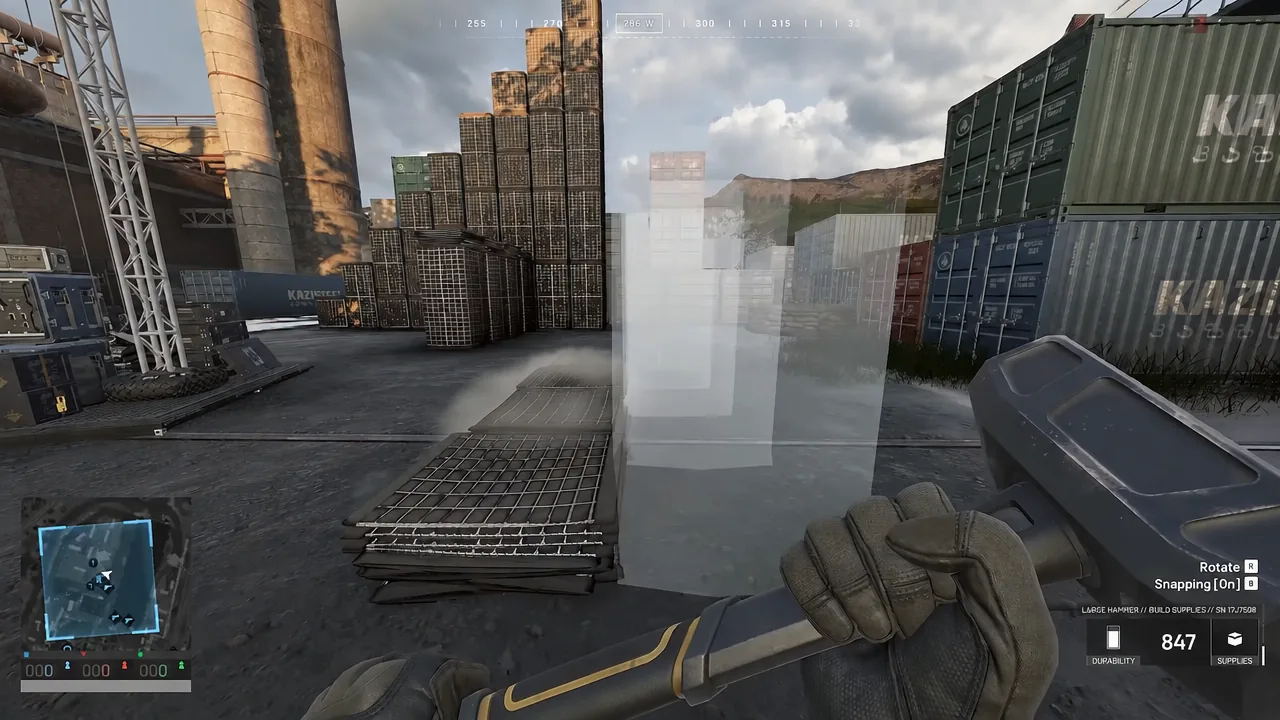
Hitting a blueprint anywhere adds progress. Hitting the yellow X adds much more. The X moves around the structure as it builds, and chasing it is where most players lose time.
The same hammer breaks structures down. Dismantling is how you carve interior space out of a finished build, and it also works on crates, so a Large Hammer doubles as your cleanup tool around the base.
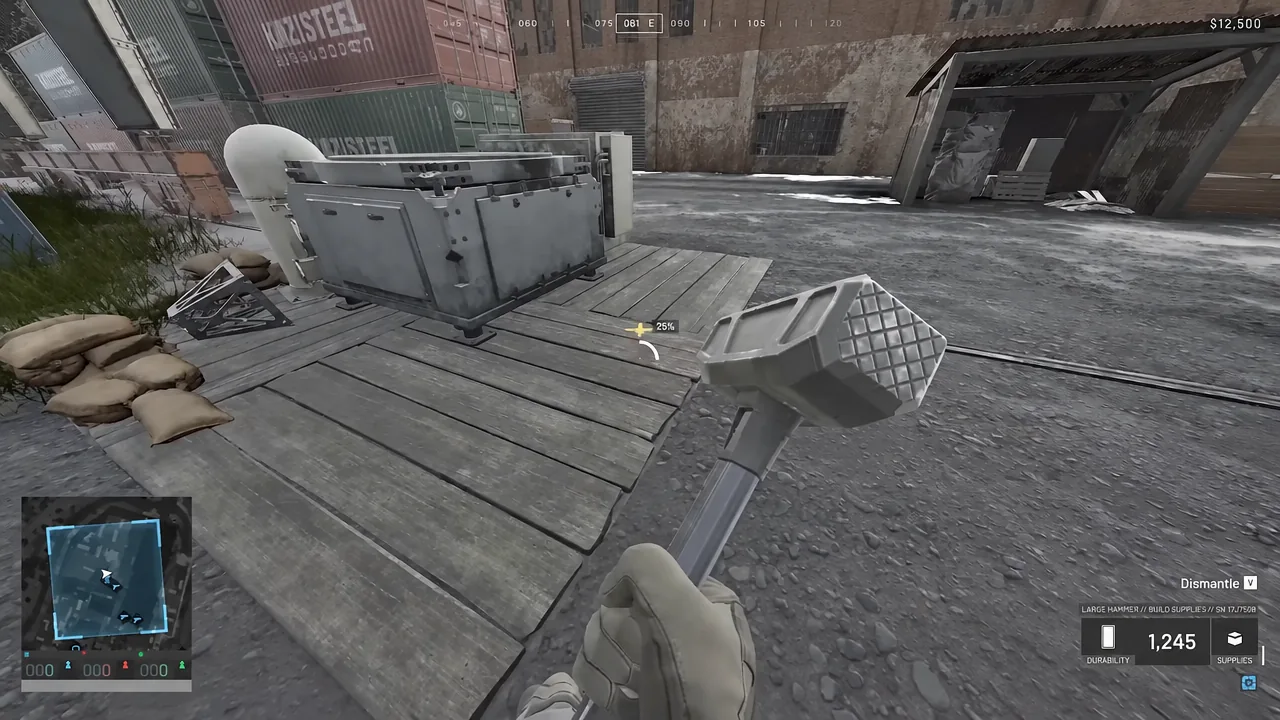
CIWS and Talon are the exceptions worth knowing about. Both take an extremely long time and only make meaningful progress when you land hits on the X markers, so bring a second builder if you want either one online before the fight reaches you.
FOB placement, supplies, and fast transfers
An FOB kit costs around $2,500 from the vendor’s Equipment tab under Building. Equip it from your inventory and deploy it where you want the base to sit. Once it lands, it creates the construction area and holds build, ammo, fuel, and mechanical supplies for everything around it.
An FOB is not a respawn point. It stores and enables, nothing else, so do not drop one purely because you want a closer spawn. Keep it off obvious sightlines but still reachable by trucks and helicopters, and leave room around it for walls, emplacements, and unloading.
Restocking is a logistics job. The FOB does not refill itself. Buy pallets to move supplies in bulk, and if you are flying, drop them from above rather than landing. Inside the FOB inventory, right-clicking build supplies and ammo supplies transfers the whole stack instantly instead of dragging item by item.
The M18 Signal Grenade: Supply Request in the FOB kit throws green smoke and drops a map marker. It is the fastest way to tell pilots and drivers exactly where to dump a load.
Free FOB kits also sit on the top platforms of the crane towers scattered around the map, which saves you the $2,500 if you are already in the area.
Build supply cost for every WARDOGS structure
The build menu shows the supply cost under each option, but planning ahead matters more than checking at the last second. Spending your entire stockpile on walls leaves nothing for turrets or repairs when the base is under pressure.
| Structure | Supplies | FOB required |
|---|---|---|
| Recon Tent | 5 | No |
| Barbed Wire | 5 | No |
| Sandbags | 10 | No |
| Hedgehog | 14 | No |
| HESCO Block (Small) | 10 | Yes |
| Bremer Wall | 10 | Yes |
| Builder’s Radio | 13 | Yes |
| HESCO Block (Large) | 14 | Yes |
| Door | 14 | Yes |
| HESCO Wall | 46 | Yes |
| Gate | 52 | Yes |
| Bunker | 61 | Yes |
| Recon Tower | 61 | Yes |
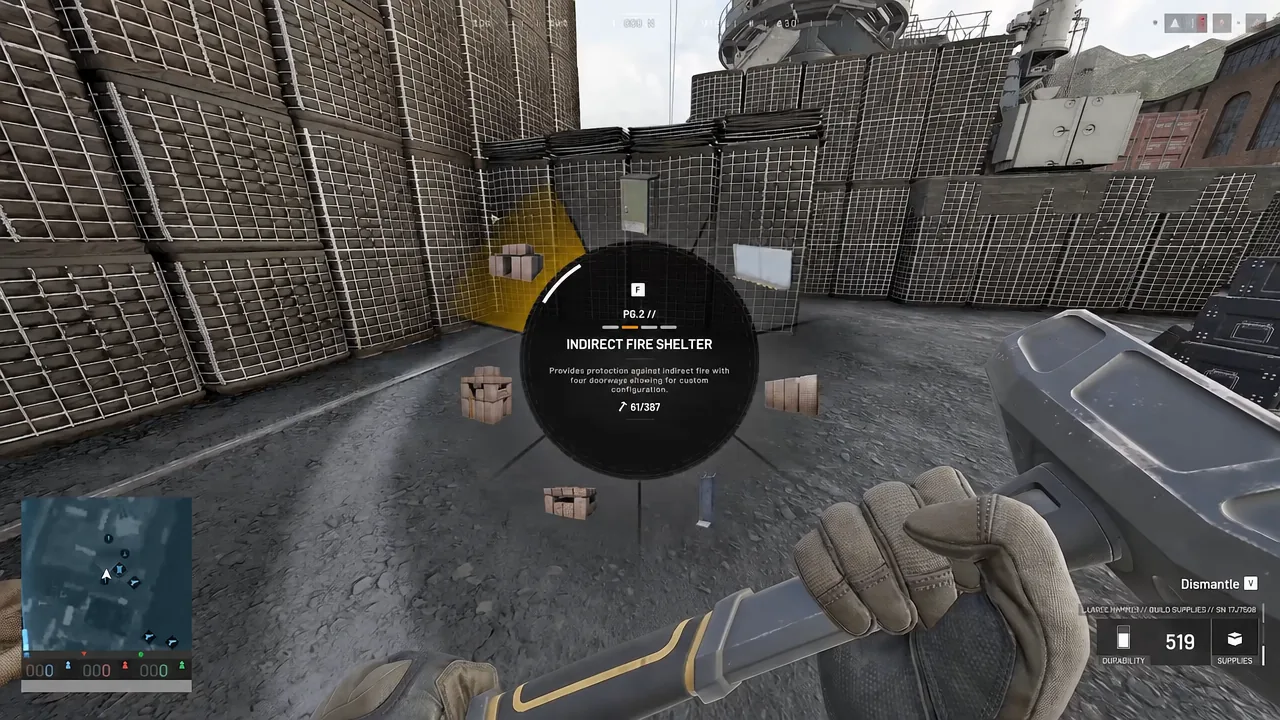
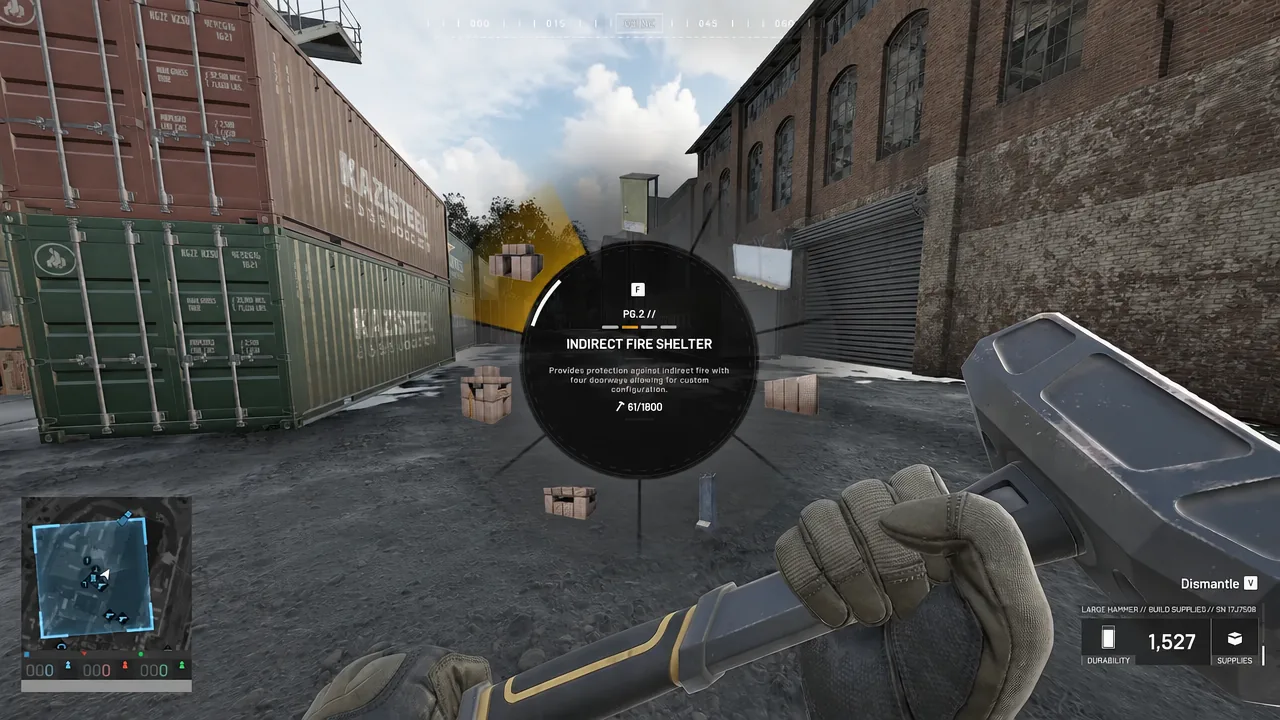
| Indirect Fire Shelter | 61 | Yes |
| Loudspeaker | 61 | Yes |
| Mortar | 91 | Yes |
| Stingray | 91 | Yes |
| Refuel Station | 121 | Yes |
| Repair Station | 121 | Yes |
| Talon | 601 | Yes |
| CIWS | 901 | Yes |
| Drill Rig | 1351 | Yes |
One thing worth noting from that table: a HESCO Wall is four tall Hesco blocks for 46 supplies, which is cheaper per unit of wall than placing large blocks individually.
Hesco stacking limits, Bremer walls, and firing slits
Vertical stacking has a ceiling. The maximum is three tall Hesco blocks stacked on top of each other, capped by three single Hesco blocks. Plan tower height around that limit rather than discovering it halfway through a build.
Bremer Walls and Hescos behave differently under fire. A Bremer Wall soaks around double the damage from a tank cannon, which makes it the better outer skin against armor. The trade-off is that you cannot stack objects directly on top of one without Hesco support underneath, so mixing the two is usually the right call.
For a firing slit, place a small Hesco block, put sandbags on the ground in front of it, then place another set of sandbags elevated on top of the Hesco. The gap between them gives you a horizontal peek hole that is far harder to shoot back through than an open wall top.
The big hammer structures already come with ports built in. Recon Towers, Bunkers, and Indirect Fire Shelters have window slits and camouflage netting you can shoot through, so use those instead of cutting gaps in your own walls.
Building on uneven ground and raising wall height
Rocks, props, and sloped terrain will refuse a blueprint while snapping is on. Turn snapping off and the placement preview will accept those spots, automatically generating sandbag foundation layers underneath to fill the gap.
The same idea gets you extra height. Snap an unbuilt Hesco blueprint on top of an already-built Hesco to lift the placement point, then build a sandbag barricade at that raised level. It is the cheapest way to get a tall elevated barrier without burning supplies on more Hesco blocks.
Protecting your spawn vehicle and controlling entrances
A parked spawn vehicle inside the Control Zone is worth more than any wall you can build, because it lets teammates redeploy straight into the fight instead of waiting on a helicopter from HQ. Sheltering it is one of the highest-value jobs a builder has.
Doors are the weak point of most bases. Instead of one, build stepped Hesco walls into a staircase so your team climbs in over the wall. For the entrances you do keep, a corridor built from a door, a low Recon Tent, barbed wire, and Hescos on both sides forces attackers to crawl prone through it, which is an easy angle to hold.
Mortar pits, Stingray, CIWS, and SAM emplacements
Emplaced weapons are where badly planned bases fall apart. Tall Bremer Walls will block your own mortar rounds, and gate-and-Hesco combinations around a mortar tend to leave it unusable.
The reliable mortar pit is built in the opposite order. Place the mortar first, then ring it with large Hesco blocks one space away with snapping enabled. Test fire before you walk away. Between shots, press C to drop out of the optic camera view so you can fire three shells quickly, then reload all three from inside optic mode.
The Stingray covers armor rather than infantry, and it holds one active UAV at a time. Wrap it in tall Hescos with a single door, and add sandbags inside so you can peek down and vault out over the walls. Because vaulting works both ways, block the corners with barbed wire or raised blocks so enemies cannot hop in the same way.
For anti-air, the CIWS wants a raised platform and a closed operator position. A 4×4 tall Hesco foundation with the turret on top, Hescos flanking it, and a door corridor keeps the operator fully enclosed while the gun still has sky. The Talon 9K-SAM works from a more compact footprint — four large Hesco blocks as the base, Bremer walls around it, an internal doorway, and sandbags inside as a step-up to reach the turret.
Both turrets pull from the FOB’s ammo supplies when they reload, and the Stingray needs mechanical components or cash for its ammo. If the stockpile is empty, the emplacement is decoration.
Pulling the Hot Zone toward your base with drill rigs
The Hot Zone doubles both your player count for scoring and the cash you earn, and it constantly moves inside the Control Zone. A drill rig lets you influence where it goes. It costs 1,351 build supplies, needs a Large Hammer, and burns fuel from the FOB the whole time it runs.
You can place up to four drill rigs across your base’s zone and chain their cooldowns, so one is always active and the Hot Zone keeps drifting toward your fortified position instead of open ground. Capturing towers and entering the completed code does the same thing from the other direction, forcing the Hot Zone to move to the tower you activated.
That combination is the payoff for a well-built FOB. You spend the match fighting on terrain you shaped instead of whatever the zone happened to land on.
Leveling Support to unlock the Medium and Large hammers
The Large Hammer sits behind Support Level 7, and building itself feeds Support XP, so the role funds its own progression. If you want to speed that up early, the MP43 double barrel shotgun with 12G 70MM Buckshot is a cheap Support-track weapon at the vendor that racks up XP fast at close range.
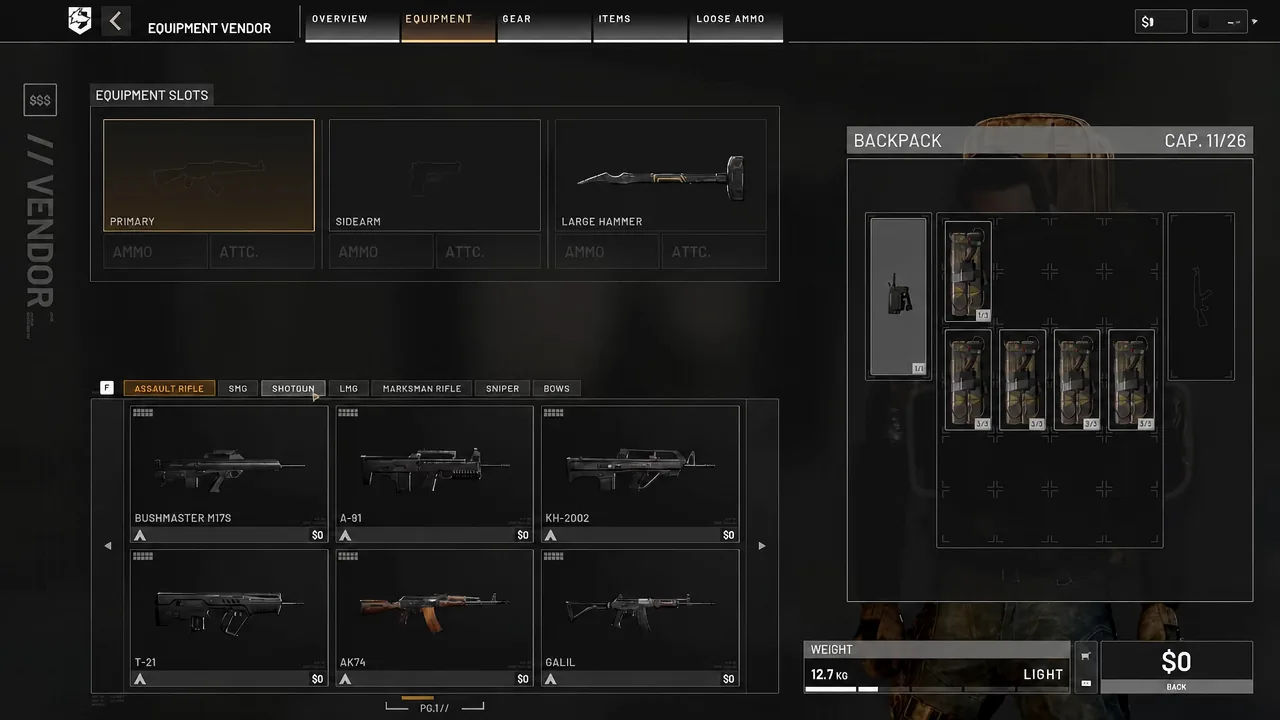
Until then, a Medium Hammer covers nearly everything a squad needs, and every FOB hands you one for free. Deploy the base, pull the hammer out of FOB Supplies, get walls up before the enemy arrives, and let someone with the Large Hammer handle the drill rig and the turrets.