

Roofs in WARDOGS are not a buildable piece on their own. Builders get them by stacking temporary bunkers, capping them with Hesco, and then knocking the bunkers back out, leaving the ceiling hanging in place. It sounds like an exploit, and for a while players treated it like one, but the technique survives in live matches and gives artillery and anti-air emplacements overhead cover without blocking their line of fire.
Quick answer: Build a bunker scaffold, cap it with Hesco pieces, then hammer the bunkers out from underneath. The Hesco ceiling stays suspended, and the space below is left completely open.
Is the floating ceiling technique allowed?
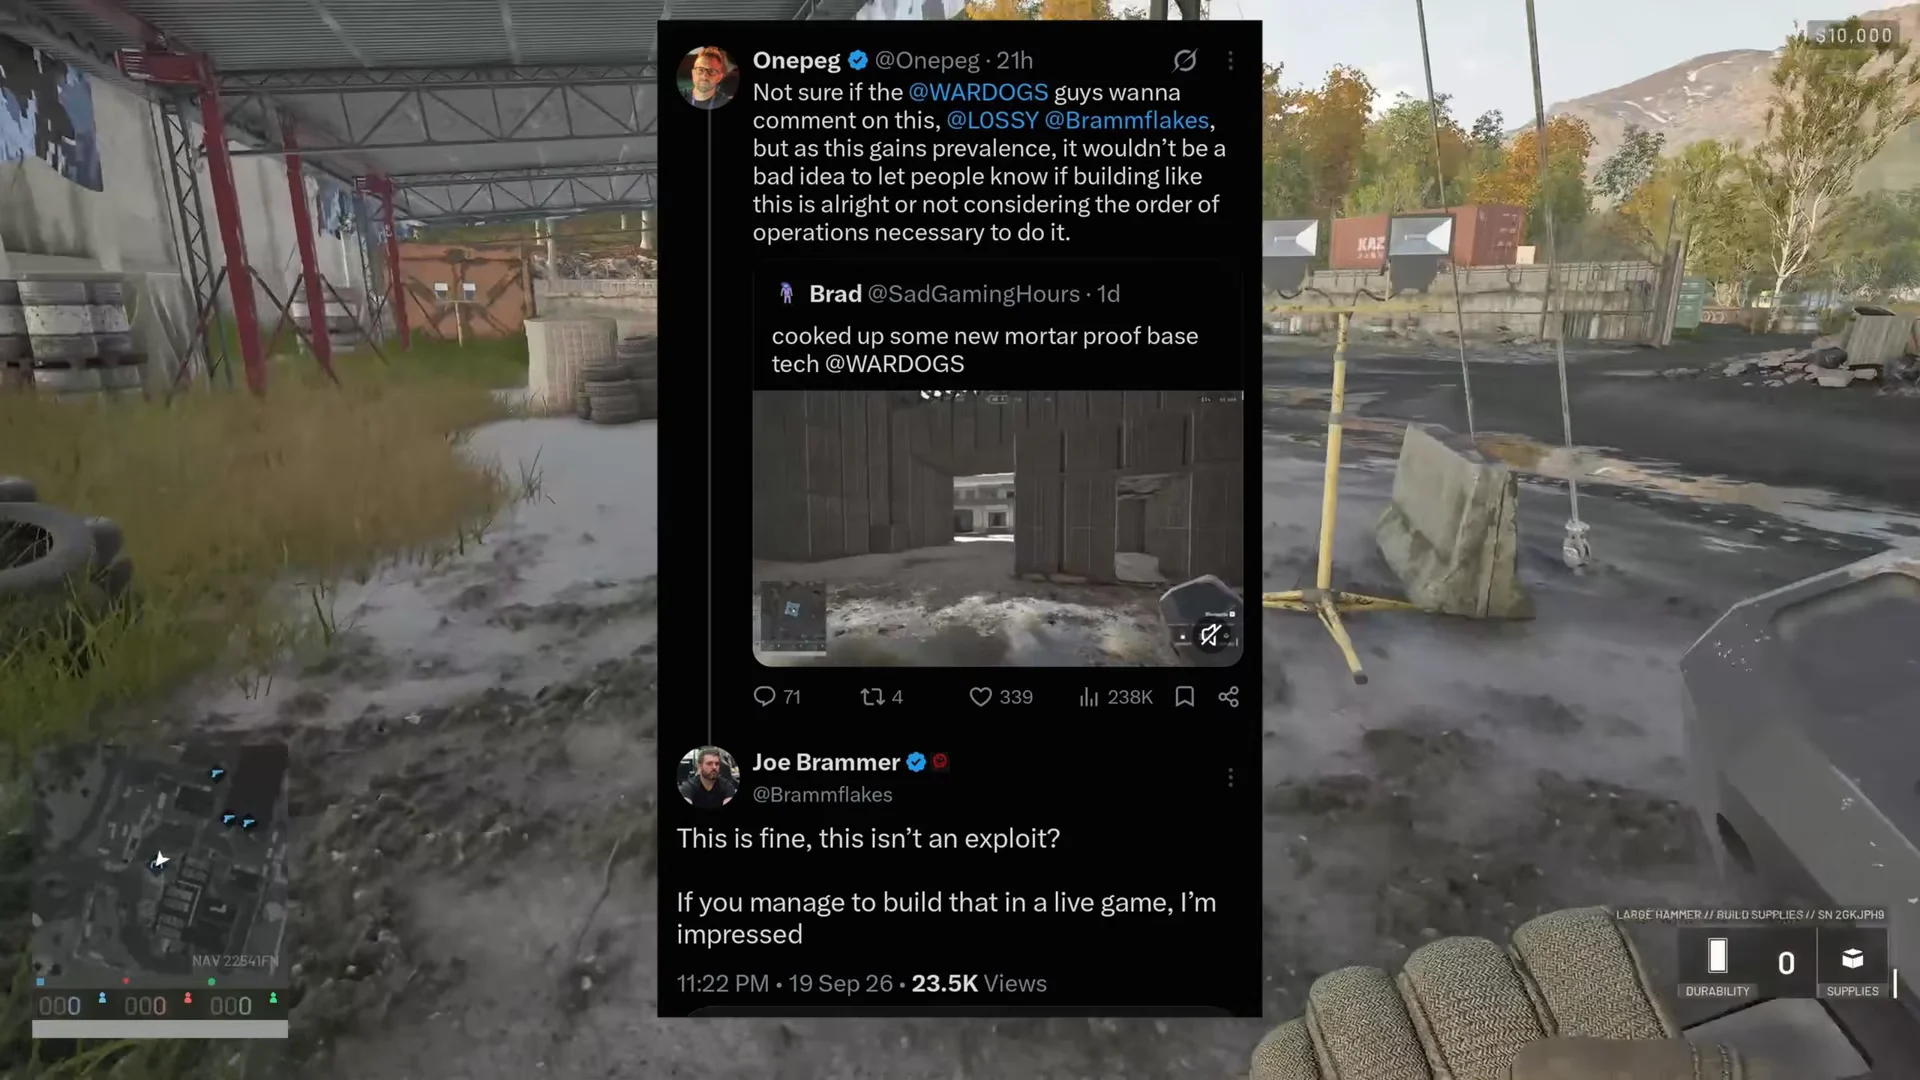
Yes. The question was put directly to developer Joe Brammer, who confirmed that stacking bunkers as temporary scaffolding and removing them afterwards is permitted in live games. Nothing about the process requires a glitch, a clipped placement, or an out-of-bounds trick. You are using ordinary snapping rules, then dismantling your own structures with a hammer.
What you need before you start building
Everything here is built inside a Forward Operating Base, which means the FOB goes down first and the rest of the work happens inside its build radius. The scaffolding method burns through supplies quickly, because you pay full price for bunkers you intend to destroy a few minutes later.
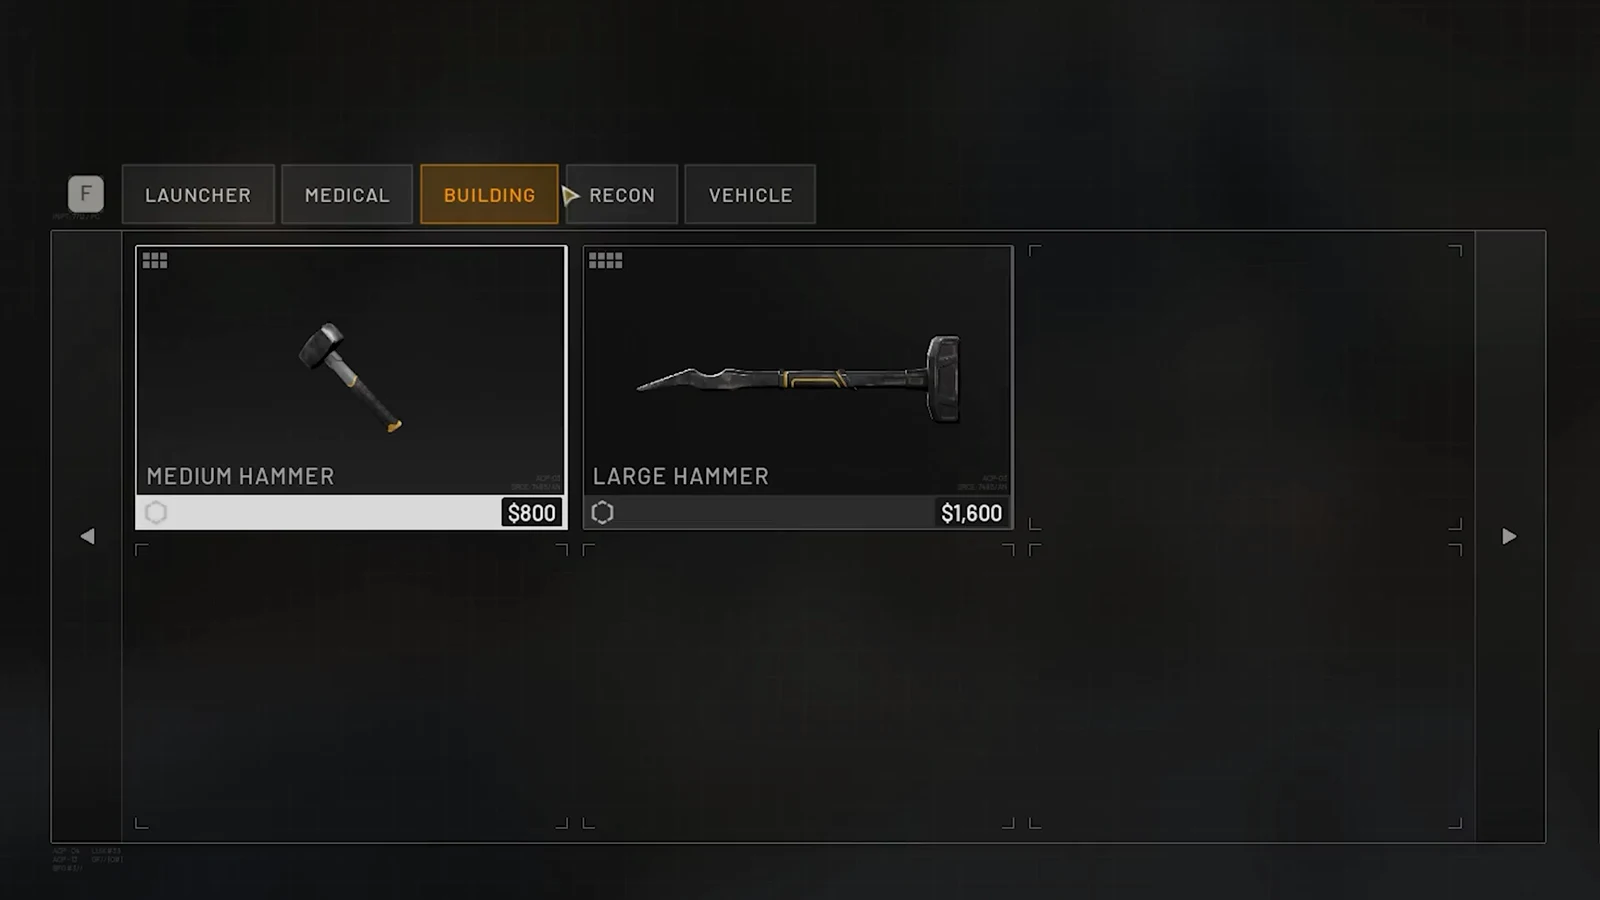
- A Large Hammer, which unlocks every structure tier and builds the fastest. It requires Support Level 7 and costs $1,600.
- A deployed FOB, placed away from obvious sightlines but still reachable by supply trucks.
- A large stock of Build Supplies in the FOB, since bunkers cost 81 supplies each and get thrown away.
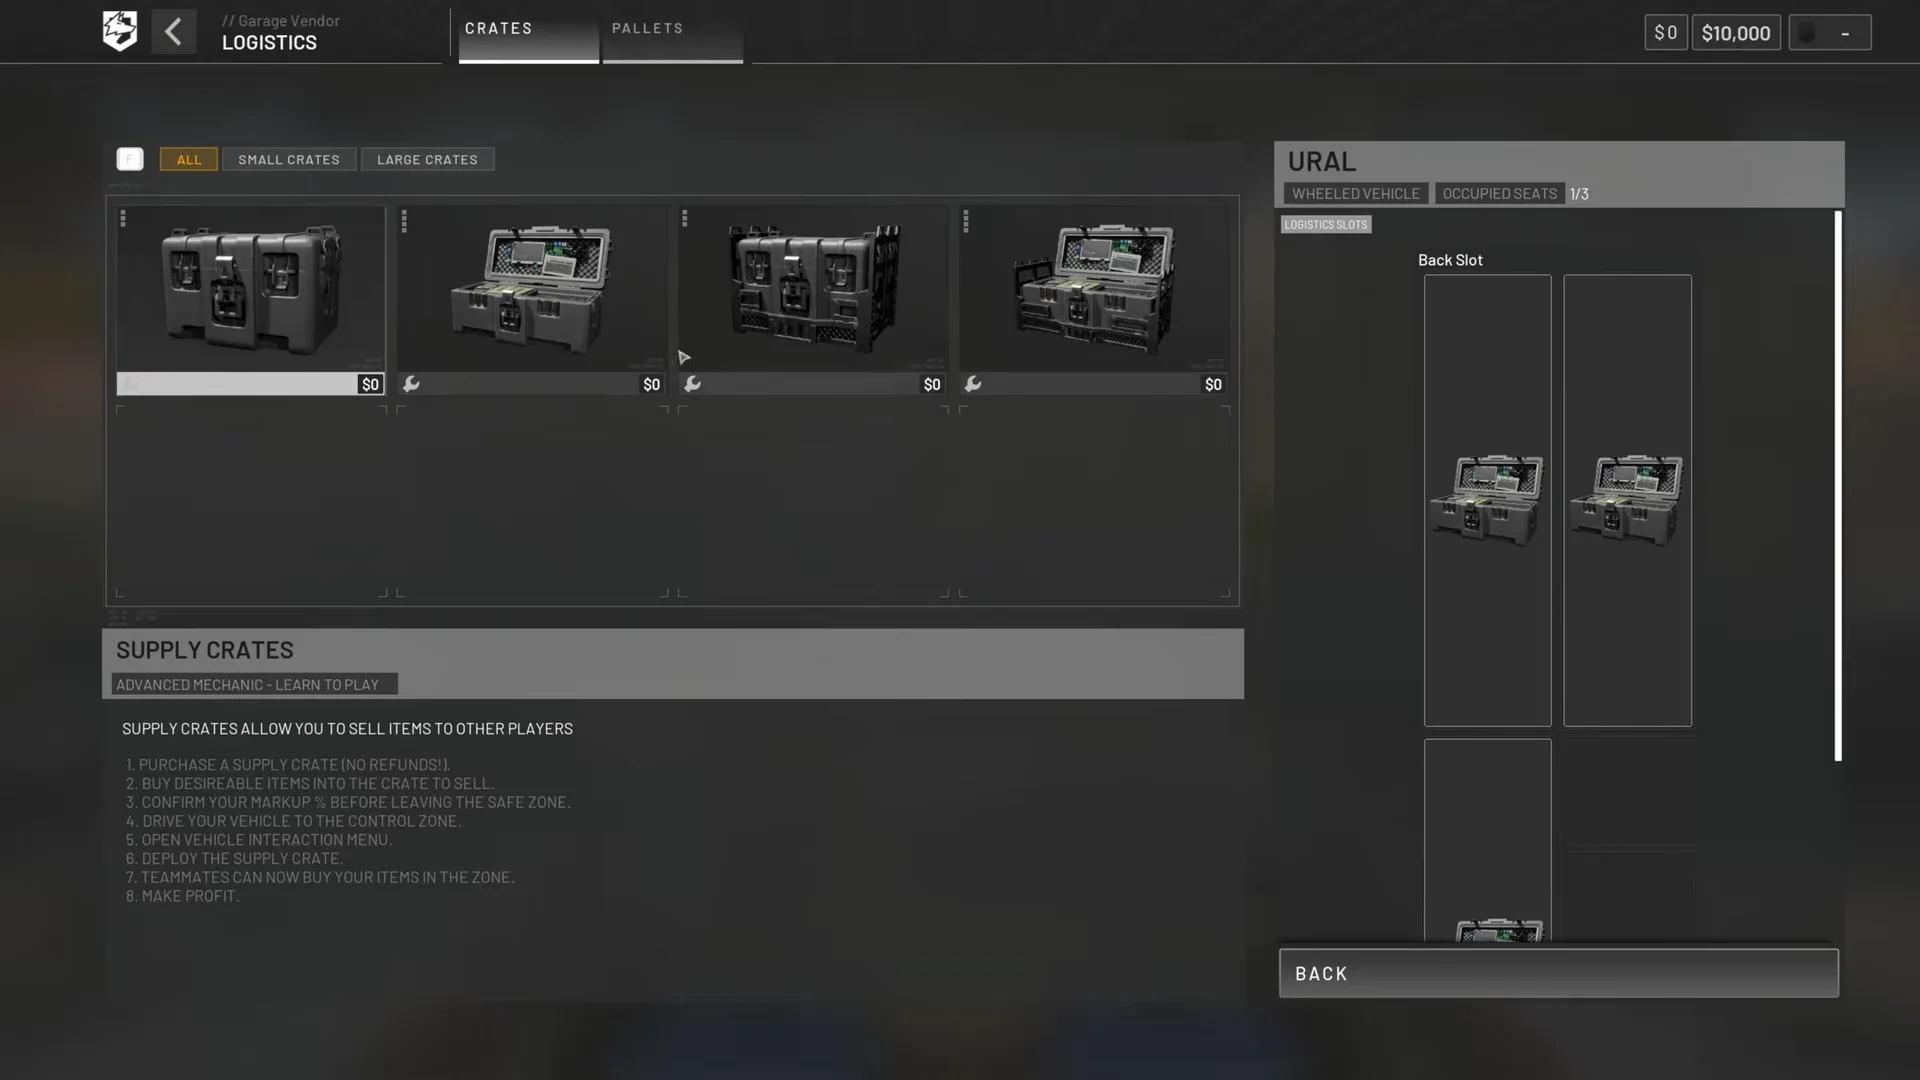
- A transport vehicle. Large Crates moved by truck carry supplies more efficiently than pallets.
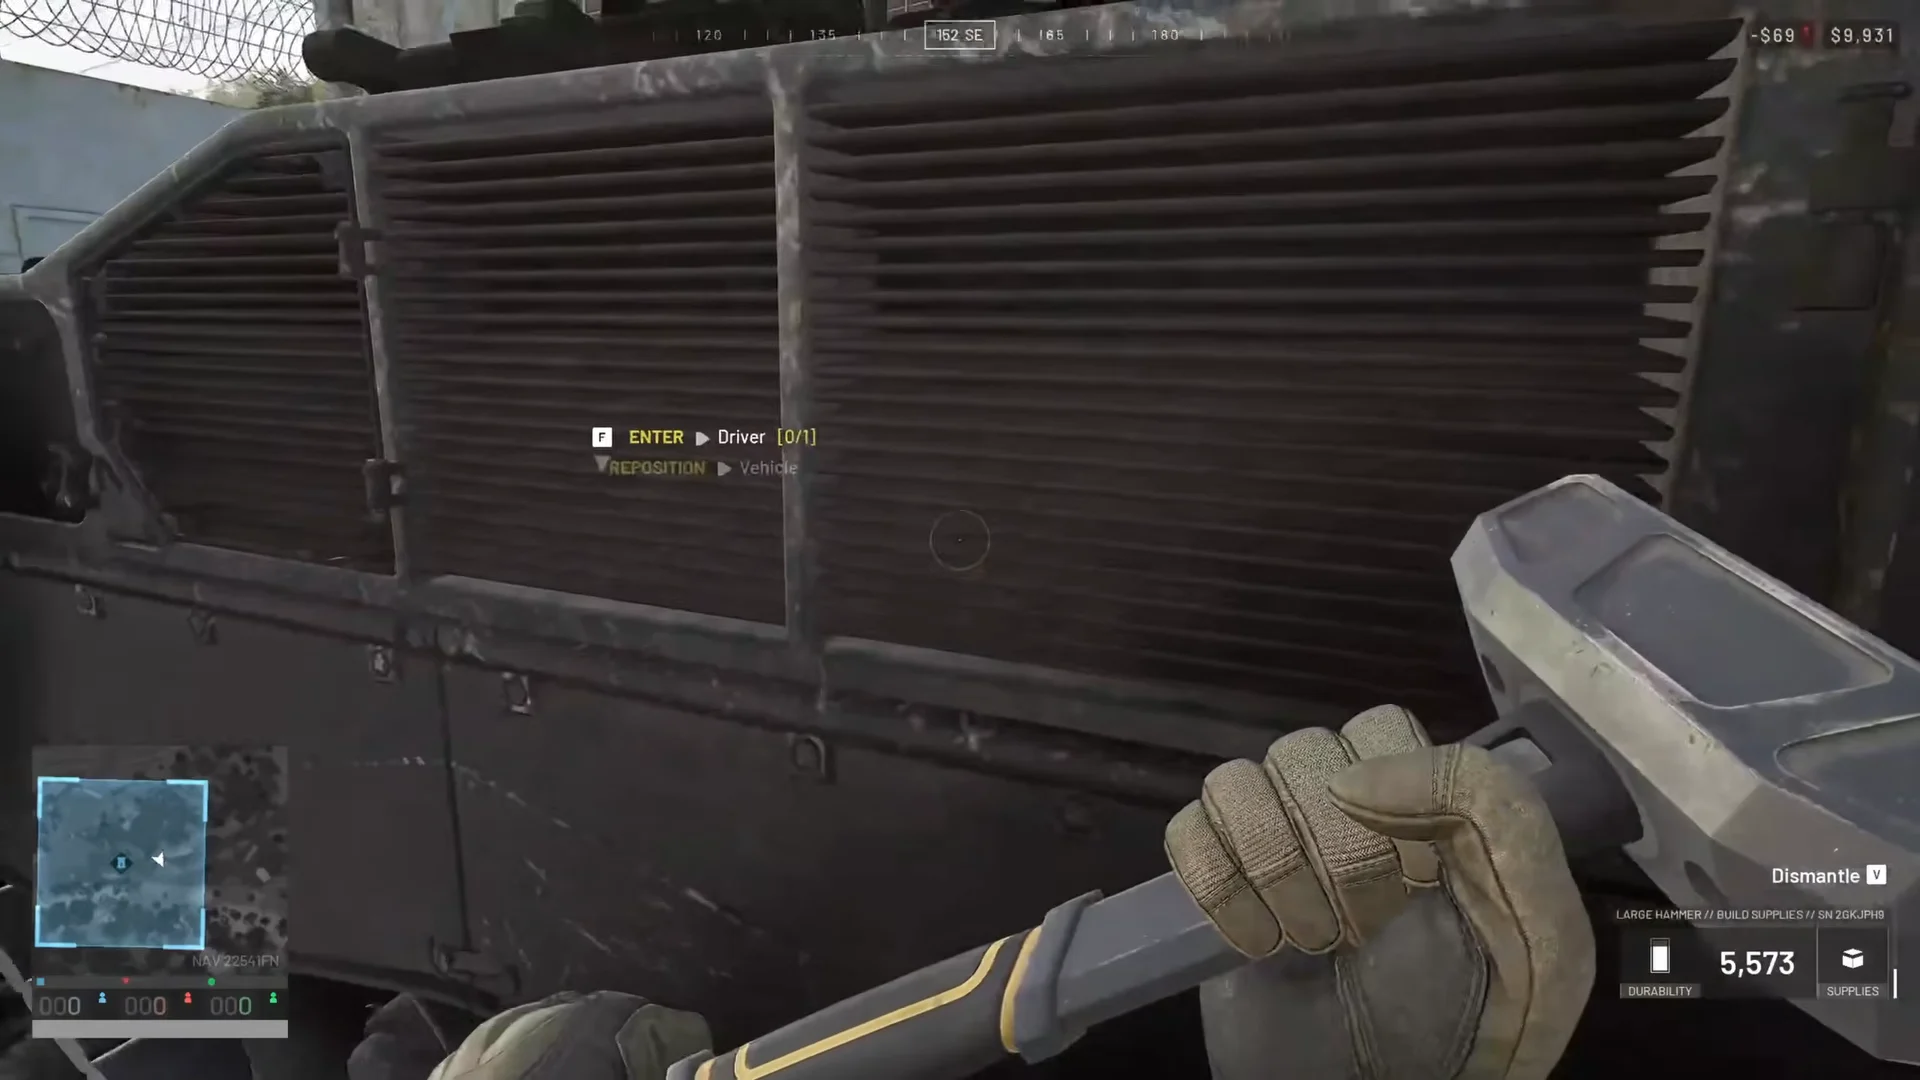
A Ural handles the resupply run well. Load Large Crates and Build Supplies into the bed at the vendor, drive them to the site, and unload straight into the FOB rather than dropping them loose on the ground.
Stacking Bremer walls on top of Hesco walls
A Bremer Wall placed on top of a Hesco Wall, with sandbags filling the join, produces a far taller barrier than either piece alone. The sandbags are integrated into the stack rather than sitting beside it, so you are not paying for a second full row of Hesco to gain the same height. That saving matters when the same supplies could go toward a mortar or a turret instead.
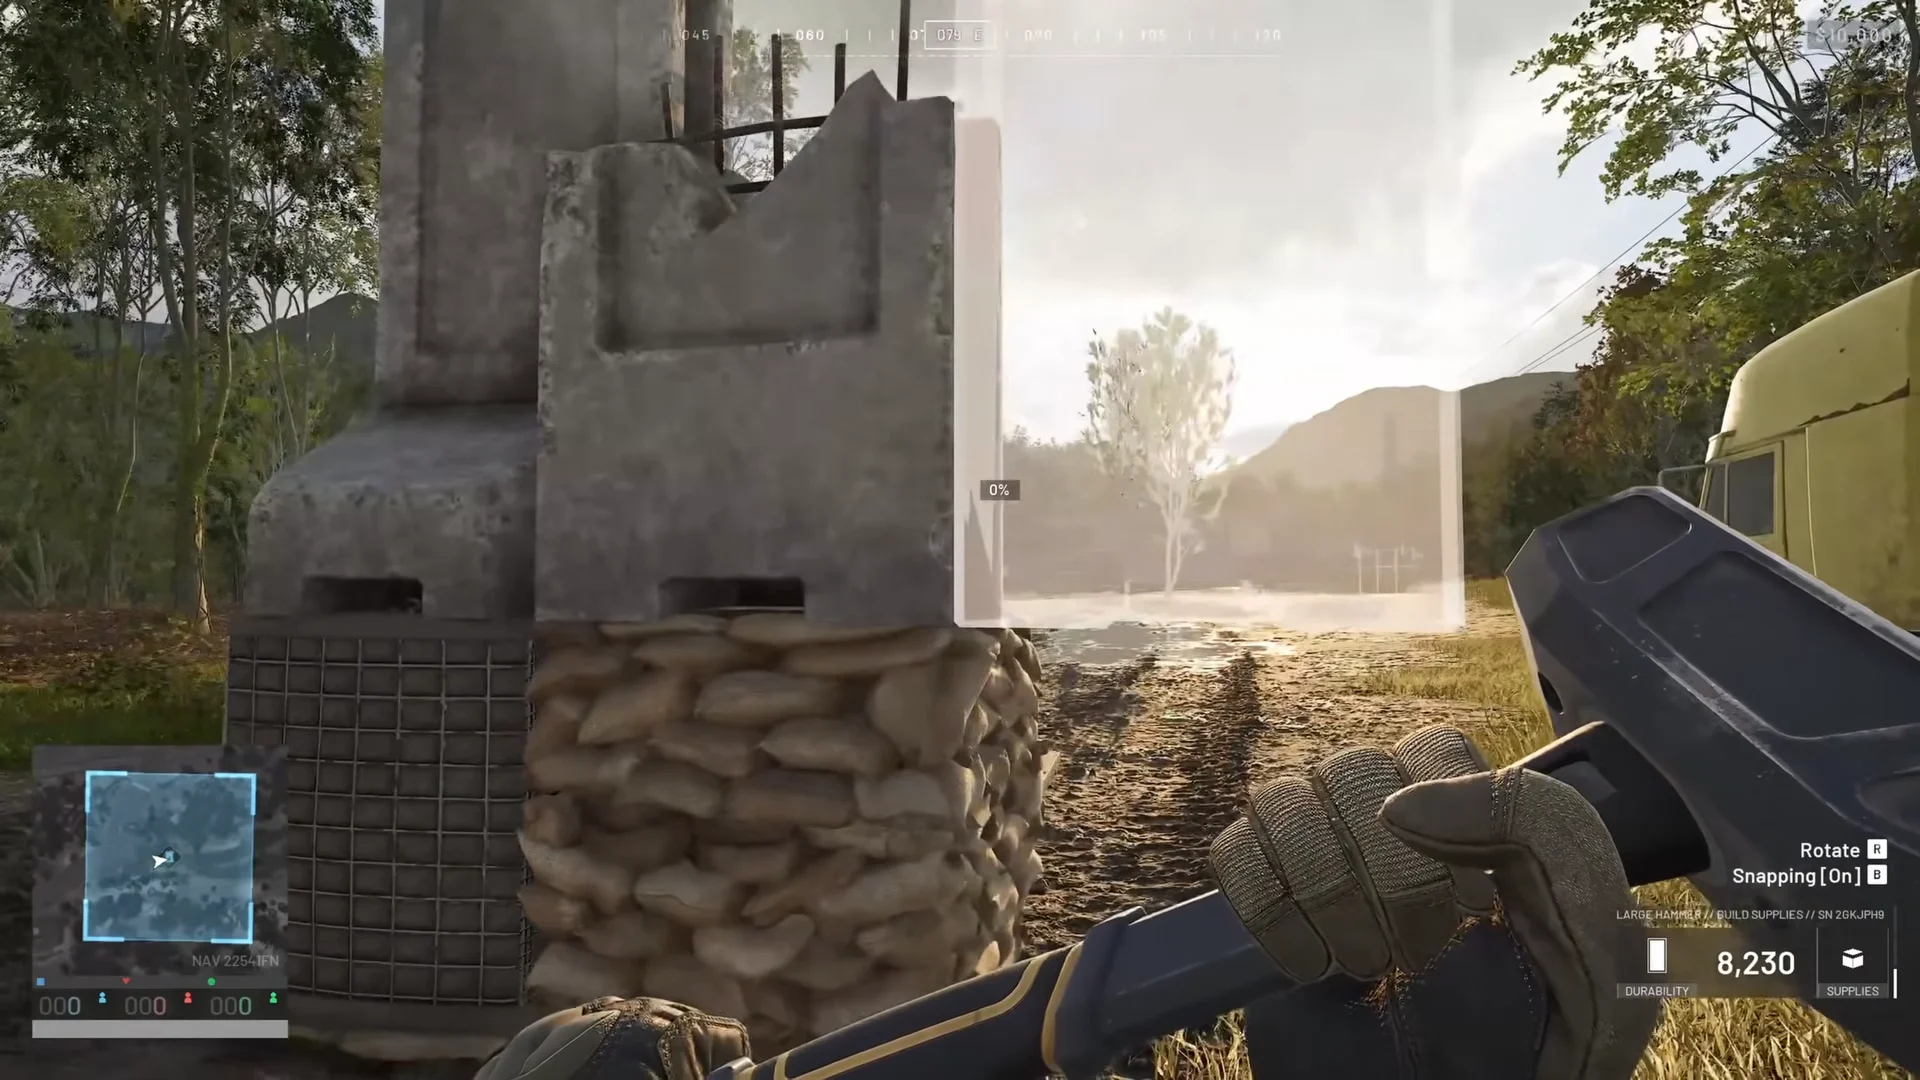
The Bremer Wall is the strongest single barrier piece in the build menu, and it comes with barbed wire along the top already included in its cost. The trade-off is width. It is a narrow slab, so you need several of them to cover the frontage a single Hesco Wall handles.
| Piece | Supplies | Health | C4 to destroy |
|---|---|---|---|
| Bremer Wall | 13 | 6,500 | 7 |
| Hesco Wall | 61 | 4,600 | 8 |
| Hesco Block (Large) | 19 | 2,250 | 4 |
| Hesco Block (Small) | 13 | 1,600 | 2 |
| Bunker | 81 | 5,000 | 14 |
| Bunker Roof | 10 | 2,250 | 6 |
| Gate | 69 | 5,320 | 2 |
| Sandbag Wall | 13 | 735 | 1 |
Charge testing on a finished Bremer wall with sandbags backs the numbers up. It takes seven C4 charges to bring one down, which is more than most attacking squads are carrying, and far more than the two charges needed to blow a gate off its hinges.
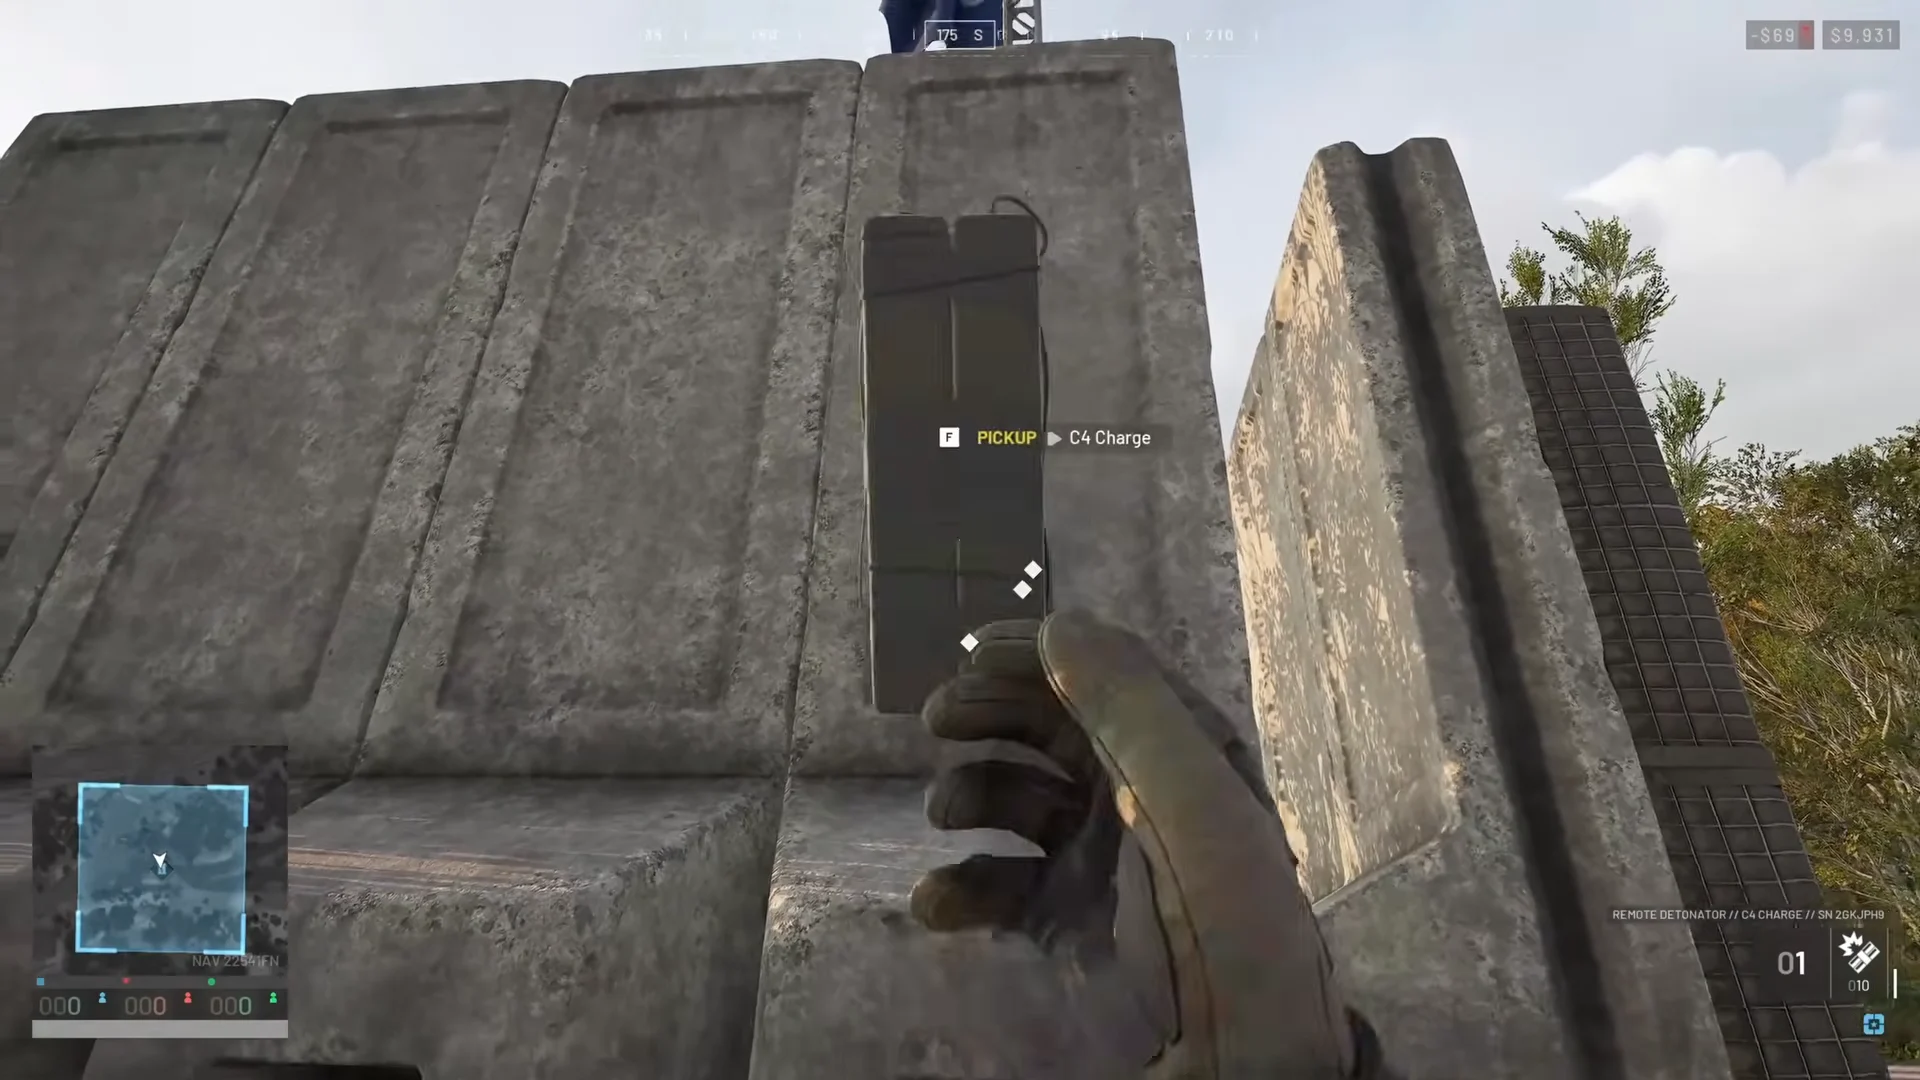
Height is only half the defence. Infantry can still get over a wall by parking a vehicle against it and jumping from the roof, so keep the outside of your perimeter clear and deny enemy trucks a place to stop.
Build an elevated artillery garage with a floating roof
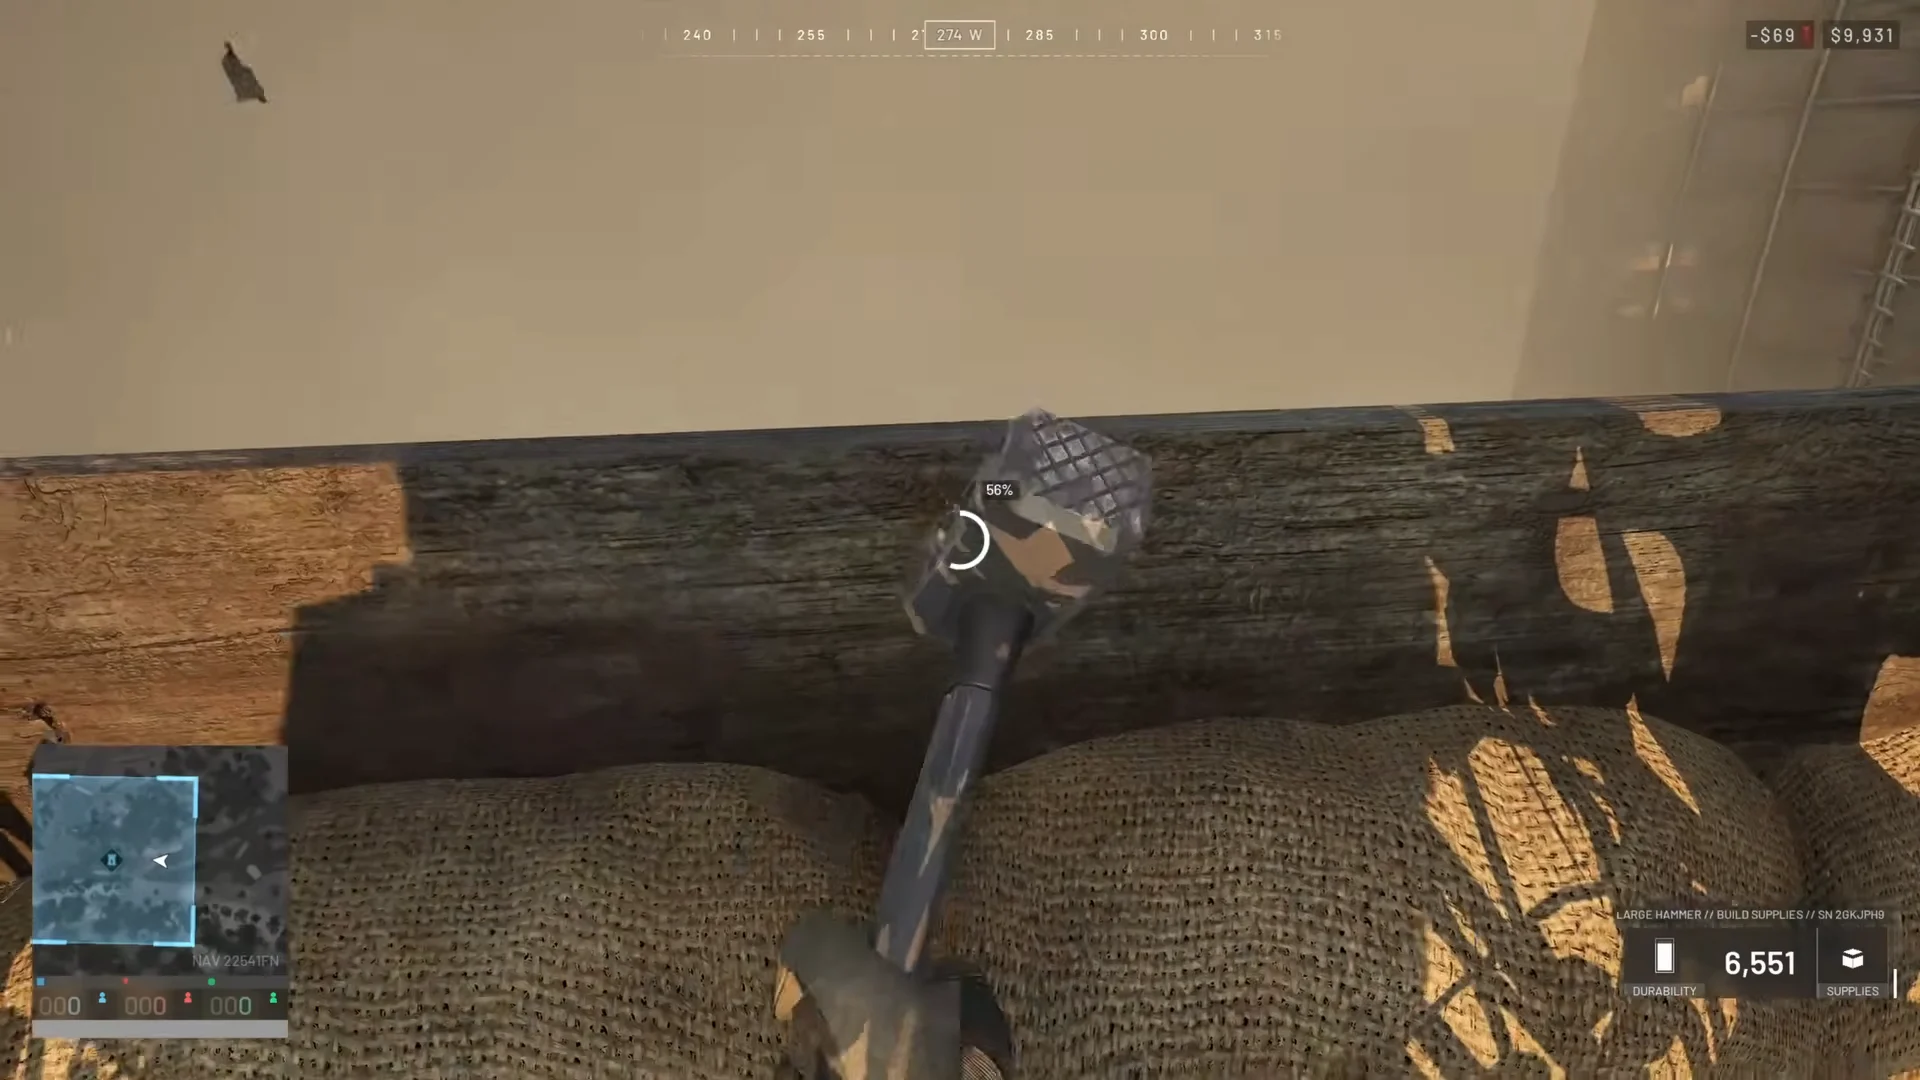
The goal here is a covered bay that a self-propelled gun can drive into, with enough headroom that the barrel never collides with your own structure at high elevation. The roof has to be higher than anything you could reach with normal placement, which is exactly what the scaffolding method provides.
Build a CIWS shelter with 360-degree coverage
The Vanguard CIWS is the most expensive thing a builder can place, at 1,201 supplies, and it is useless if the walls around it eat half its traverse. The same scaffolding trick produces a roof with completely open sides, so the gun keeps a full circle of fire while still being protected from above.
Do not fire the CIWS into your own ceiling. The roof is a normal structure and takes damage from your rounds, which will collapse the cover you just spent hundreds of supplies building.
Hammering technique that speeds up construction
Every structure progresses faster when you hit the yellow X markers instead of swinging at random. Distance matters as much as aim. Stand slightly back from the piece rather than pressed against it, so the markers stay inside your view and you are not forced to move your whole body between swings.
Time your clicks to the visual and audio cue of each swing landing rather than clicking as fast as possible. On expensive structures like the CIWS and the Talon, progress only advances when you connect with the markers, so sloppy hammering can stall a build entirely.
Blueprints can also be laid down and left for teammates to finish. If two or more builders are working the same FOB, placing the full set of pieces first and hammering them out together is much faster than building each one to completion alone.
How to confirm the build worked
The check is visual and immediate. After the last support bunker breaks, the Hesco ceiling should remain in place overhead with nothing holding it up. If a roof section disappears along with the bunker beneath it, that section was never finished, and you will need to rebuild and complete it before removing the support again.
For the artillery bay, board the vehicle and raise the gun to full elevation. No barrel collision at maximum elevation and a clean firing solution out to long range means the ceiling is high enough. For the CIWS, spin the turret through a complete rotation from the console. A full circle with no blocked arc means the opening is clear and the position is ready to defend the FOB.





