

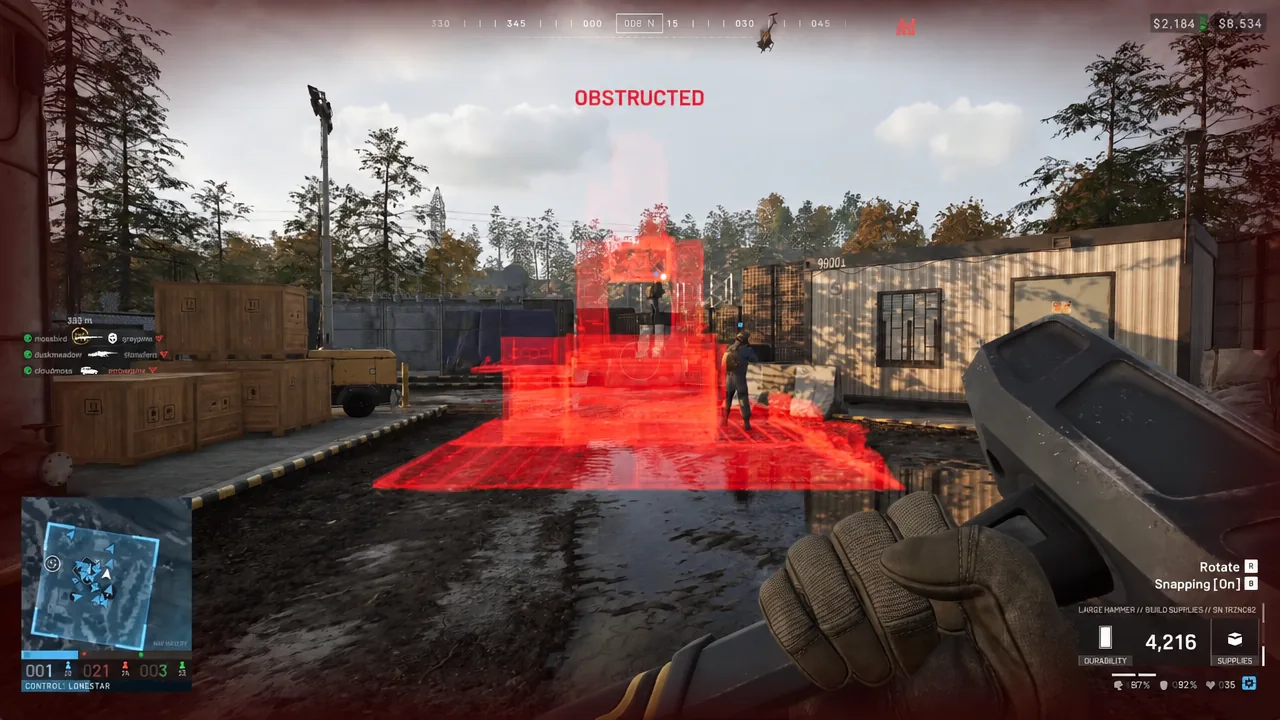
The Vanguard CIWS is the manually operated close-in weapon system you can raise inside a friendly Forward Operating Base in WARDOGS. It is a gatling emplacement aimed at aircraft, and it sits at the top tier of the building system, which means it is gated behind the best hammer in the game and a serious pile of resources.
Quick answer: Bring a Large Hammer (Support level 8) inside a FOB radius with Build Supplies stocked, right-click, press F to pick Vanguard CIWS, place it, then hammer the yellow X marks until progress hits 100 percent.
Hammer requirement for the Vanguard CIWS
Only the Large Hammer can raise weapon emplacements. The Medium Hammer is limited to large and basic buildables, so walking up to a CIWS blueprint with it will not work no matter how many supplies sit in the FOB.
| Hammer | Availability | Can build |
|---|---|---|
| Small Hammer | Open to everyone | Basic field defenses only |
| Medium Hammer | Support level 3, $800 per life | Basic and large buildables |
| Large Hammer | Support level 8 | Everything, including the CIWS |
If your Support track has not reached level 8 yet, you are not locked out. A teammate who already owns a Large Hammer can drop theirs on the ground for you to pick up, and it will build exactly the same structures in your hands.
Every structure you raise feeds the Support track, so grinding toward the Large Hammer happens naturally while you build lower-tier walls and cover.
FOB radius and Build Supplies
The CIWS cannot be placed in open ground. It needs to sit inside the blue construction radius drawn by a deployed Forward Operating Base, which costs $7,500 and weighs 6.5 kg in your inventory. Buy it from the vendor, carry it to your chosen spot, and deploy it before you think about heavy weapons.
Build Supplies are the currency of construction. They cost $10 a crate, weigh 0.02 kg each, and are consumed by every buildable in the game. The CIWS sits at the expensive end of that list, well past walls, bunkers and towers, so a handful of crates will not get you there. Plan on hauling supplies in bulk rather than carrying them by hand.
That is where a logistics vehicle earns its keep. The Ural is a three-seat transport sold at your faction’s safe zone for $5,000, unlocked at Driver level 3 for a one-time $35,000 fee. It tops out at 79 km/h, holds 85 litres of fuel, and burns 4 litres per kilometre, which is enough range to run crates and pallets from the vendor to a forward position.
Drop the supplies next to where the gun will stand, not in a back corner of the base. Build Supplies, Ammo Supplies, Fuel Supplies and Mechanical Supplies all need the FOB radius to function, and each one does a different job: building, reloading emplacements, refuelling vehicles and repairing them respectively.
How to place and build the Vanguard CIWS
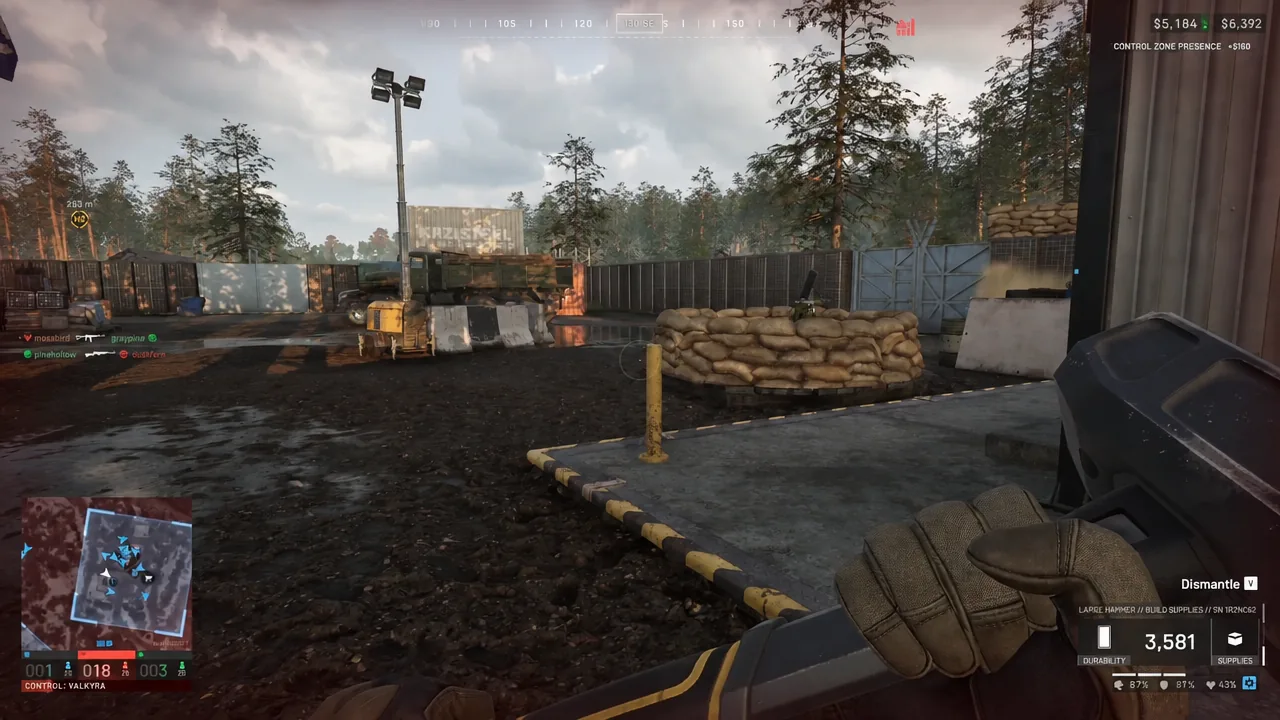
F to cycle through the categories until Vanguard CIWS is highlighted. Its description confirms what you are picking, a manually operated anti-air close-in weapon system that is resupplied by the relevant crate from the FOB or HQ vehicle.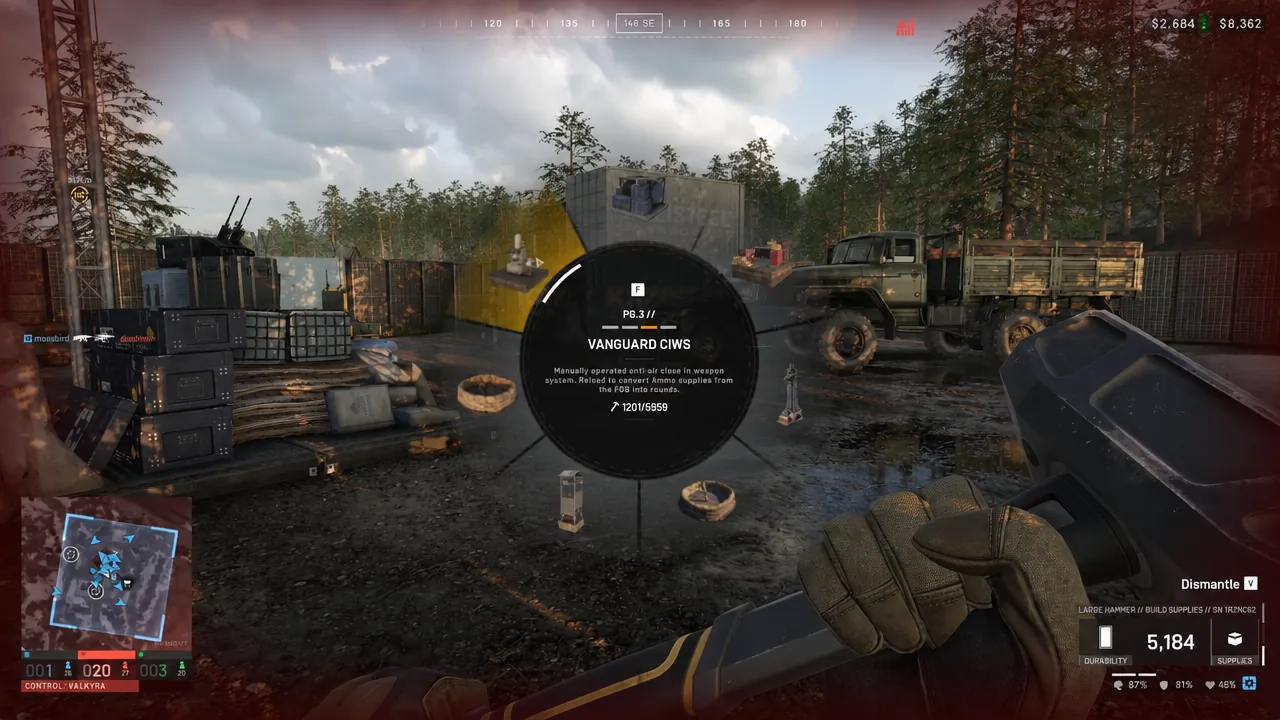
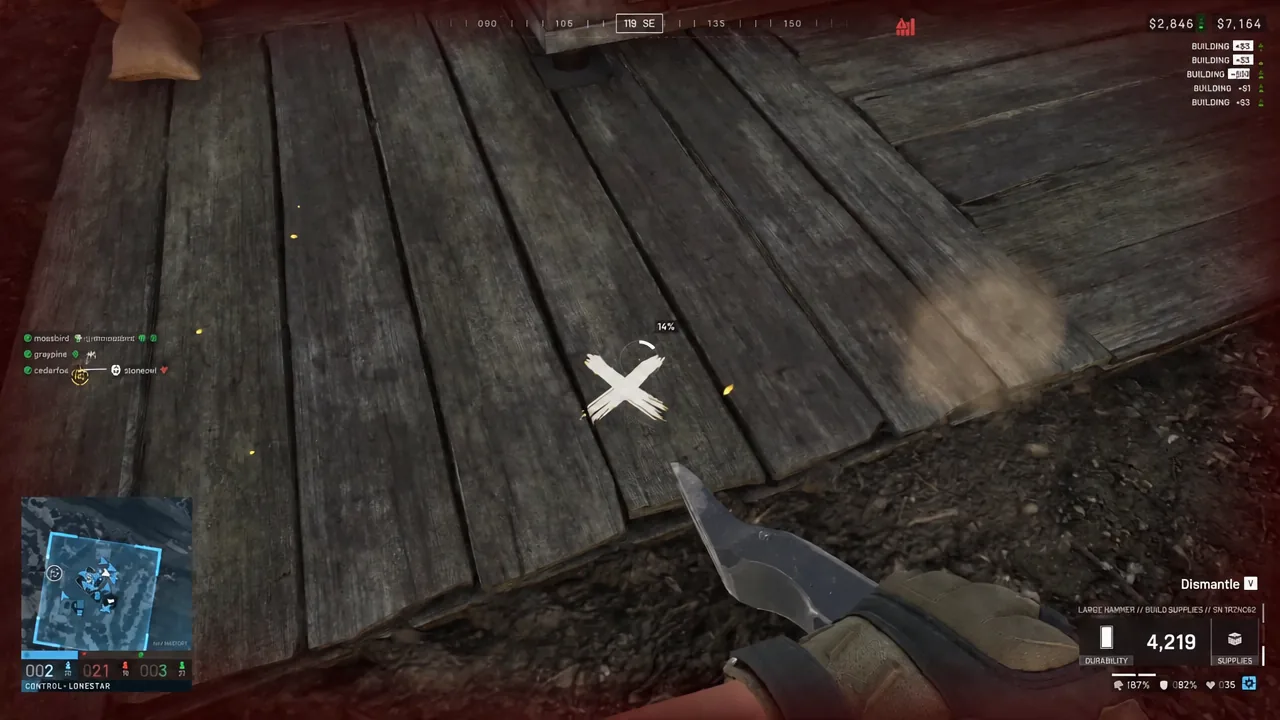
The CIWS is one of the slowest builds in the game. Progress effectively only moves when you are connecting with the X marks, so a second builder with a hammer roughly halves the time.
Confirming the gun is finished
A build percentage tracks the structure the whole way through. When it reaches completion the blueprint frame is replaced by the finished emplacement and the X markers stop appearing, which is your signal that the gun is done and can be manned. If the percentage stops climbing while you swing, you have either run out of Build Supplies in the FOB or stepped outside its radius.
Getting downed while building
Base sites are busy with friendly vehicle traffic, and being flattened by your own team’s truck mid-swing is a normal hazard. Trucks reversing toward a supply drop will not always see a builder crouched over a blueprint.
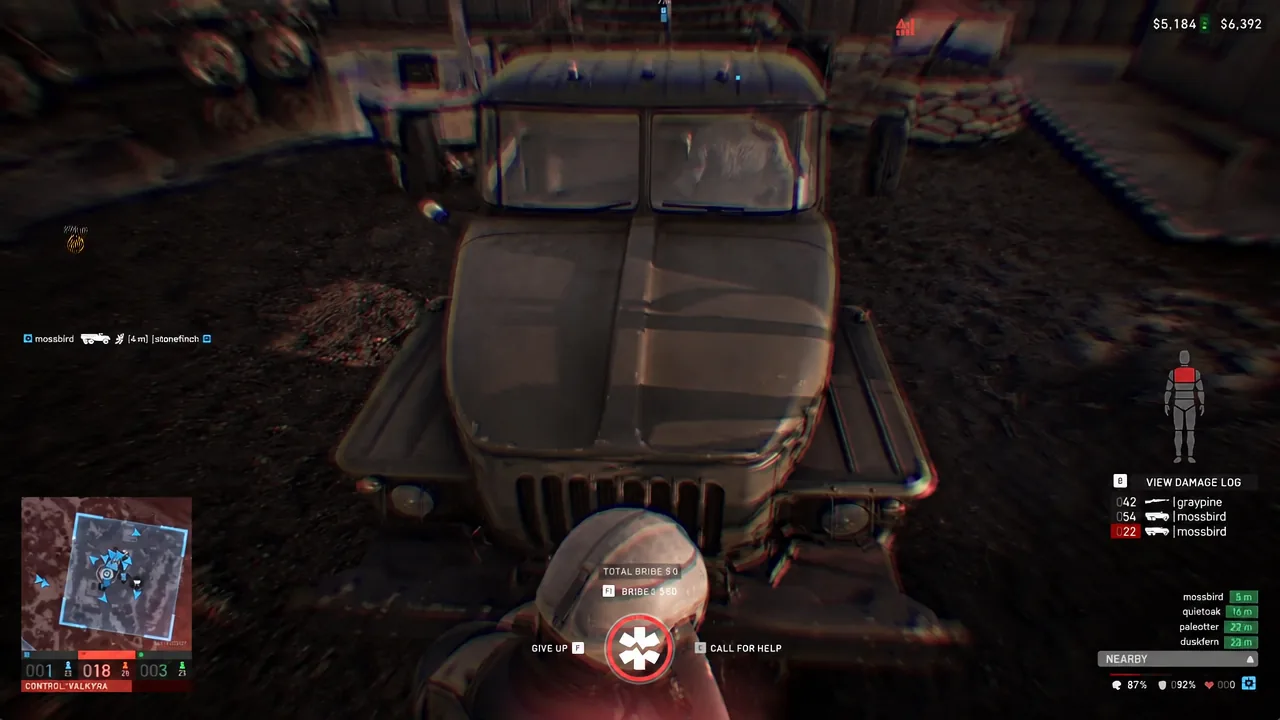
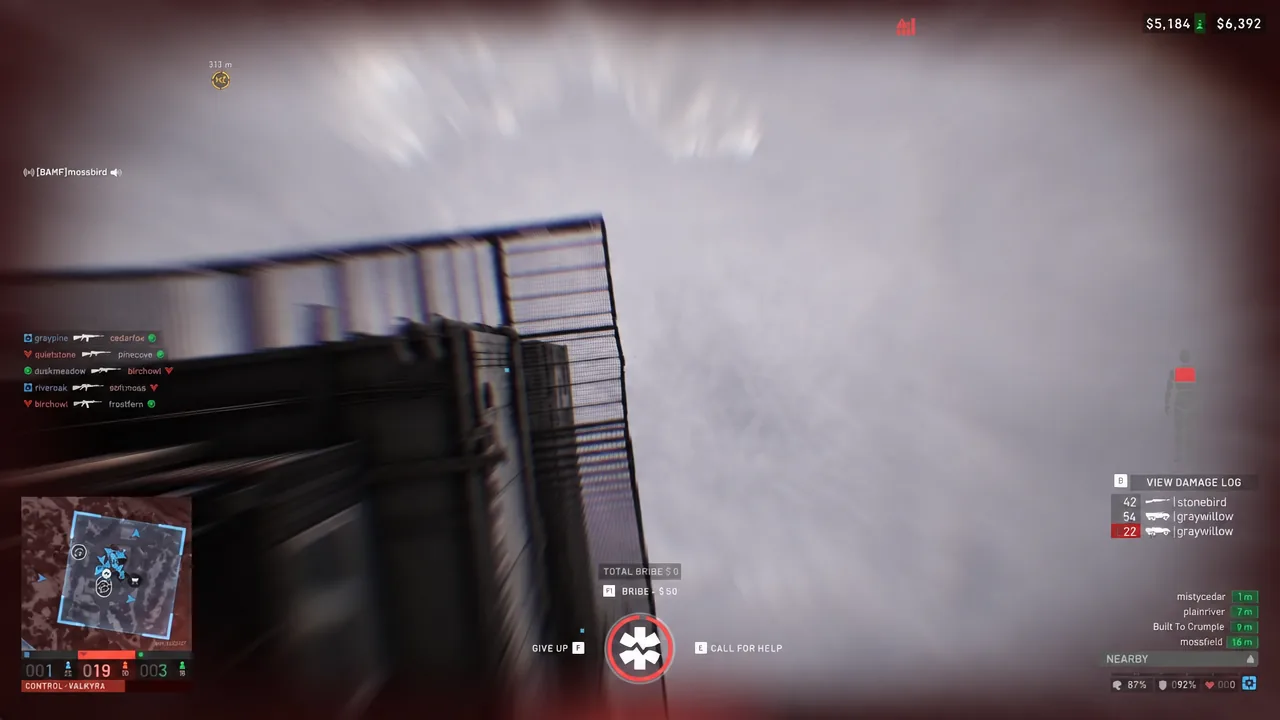
Once you are down, the revive icon and the call for help prompt appear on screen. Use it, wait for a nearby teammate to pick you up, then get straight back on the blueprint. Progress already banked on the structure stays there while you are out of action.
Keeping the CIWS loaded
A finished emplacement is not a finished job. The CIWS draws its reloads from Ammo Supplies stored in the FOB, and once that stock is empty the gun stays silent until someone delivers more. Ammo Supplies cost $10 a crate, weigh 0.03 kg, and only work inside a FOB radius, so they do nothing for the rifle on your back.
Bulk deliveries make the difference between an emplacement that fires once and one that holds a sector. Pallets hauled in on a logistics truck, or crates flown in and opened at the base, both feed the same pool. Hovering over the FOB icon on the map shows what each base currently has in storage, which is the fastest way to check whether your gun is dry before an aircraft shows up.
One last point on placement. The CIWS is expensive in both supplies and build time, so it belongs at a base your team can actually hold, positioned with clear sky in front of it and hard cover behind. Built next to an indestructible structure and backed by a steady supply run, it is the single strongest answer a player-made base has to enemy aircraft.





