

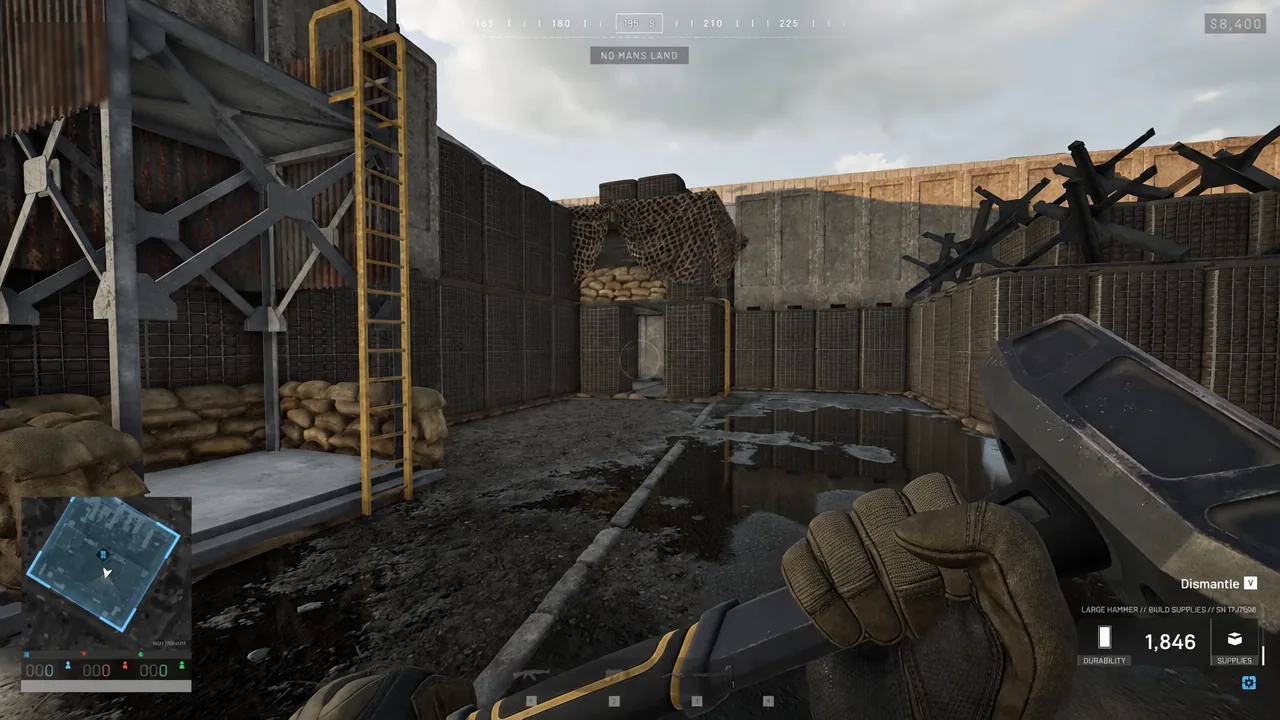
A Forward Operating Base is the only way to unlock the heavy end of the WARDOGS building list, and an advanced one is built to survive C4, mortars, and infantry boosting over walls. The difference between a box of Hescos and a base that holds a zone comes down to corner geometry, entrance design, and whether your Drill Rigs ever stop turning.
Quick answer: Place a $7,500 FOB, build bunkers or recon towers at the corners instead of plain Hescos, seal the entrance with a Bremer wall tunnel, and chain four Drill Rigs to hold the zone without cooldown gaps.
FOB cost, weight, and what it unlocks
The Forward Operating Base is bought from a vendor as a deployable item. It costs $7,500 and weighs 6.5 kg in your inventory. Once it is up, it does three things: it creates the radius inside which larger structures can be built, it stores Build, Ammo, Fuel, and Mechanical Supplies for the team, and it anchors everything else you construct.
Two numbers matter before you commit. Placing the FOB pays you $1,000, and destroying an enemy FOB pays the attacker $5,000. Your base is the single largest cash bounty on the map, which is exactly why the fortification work below is not optional.
A FOB is not a respawn point. Respawning runs through separate systems and vehicles, so do not drop one purely to get your squad back into a fight.
Hammer tiers and Build Supplies cost per structure
Your hammer decides what you can place and how fast it goes up. Nothing in an advanced base is buildable with the Small Hammer alone.
| Hammer | Requirement | Access | Price |
|---|---|---|---|
| Small | Basic | Small structures | $100 |
| Medium | Support Level 3 | Basic and large | $800 |
| Large | Support Level 7 | Everything | $1,600 |
Build Supplies are the other half of the equation. Budget them before you start, because walling in a large perimeter can eat the entire stockpile and leave nothing for weapons or a Drill Rig.
| Structure | Build Supplies | FOB needed |
|---|---|---|
| Barbed Wire | 5 | No |
| Recon Tent | 5 | No |
| Sandbag Wall | 10 | No |
| Hedgehog | 14 | No |
| Hesco Block (Small) | 10 | Yes |
| Bremer Wall | 10 | Yes |
| Hesco Block (Large) | 14 | Yes |
| Door | 14 | Yes |
| Hesco Wall | 46 | Yes |
| Gate | 52 | Yes |
| Bunker | 61 | Yes |
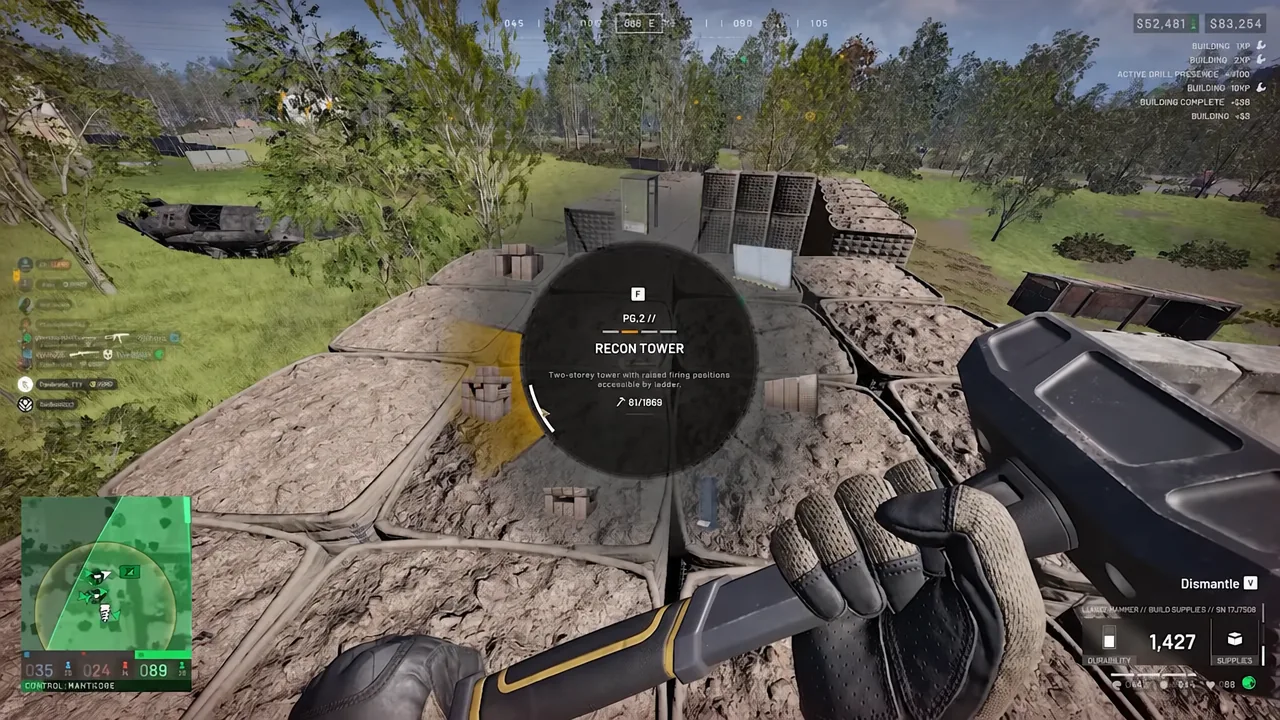
| Recon Tower | 61 | Yes |
| Indirect Fire Shelter | 61 | Yes |
| Loudspeaker | 61 | Yes |
| L81 Mortar | 91 | Yes |
| Stingray | 91 | Yes |
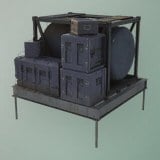 Refuel Station Refuel Station | 121 | Yes |
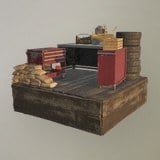 Repair Station Repair Station | 121 | Yes |
| Talon 9K-SAM | 601 | Yes |
| Vanguard CIWS | 901 | Yes |
| Drill Rig | 1351 | Yes |
A Hesco Wall is four tall Hesco Blocks in one piece and costs less than buying those blocks individually, so use it for long straight runs and save the single blocks for patching gaps. Mechanical Supplies, needed to repair vehicles inside the radius, cost $10 each and weigh 0.03 kg.
Hauling supplies: pallets versus crates
Everything you build is limited by how fast resources reach the site. A Ural loaded with four Large Armored Crates carries 7,000 resources at 1,750 per crate, while two Supply Pallets carry 3,600 at 1,800 each. Crates win on raw volume, but pallets unload far faster, which matters when you are topping up a Drill Rig mid-match.
| Vehicle | Price | Seats | Top speed |
|---|---|---|---|
 Kodiak Kodiak | $2,500 | 4 | 154 km/h |
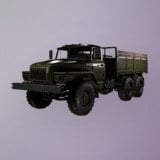 Ural Ural | $5,000 | 3 | 79 km/h |
The Kodiak is the fast four-seat wheeled transport, holding 50 litres of fuel and burning 2.9 litres per kilometre. It is bought from the vehicle vendor at your faction’s safe zone and never appears in the world during a match. Destroying one pays the enemy $500.
The Ural is the three-seat logistics workhorse, with an 85 litre tank and a 4.0 litre per kilometre burn rate. It requires Driver level 3 and a one-time unlock fee of $35,000 before you can buy it, and like the Kodiak it only comes from the vendor.
Build twice as fast with hammer animation canceling
Two techniques cut build time dramatically. The first is aiming at the yellow X markers that appear on a structure while it is under construction, which adds far more progress than a random swing. The second is animation canceling.
To animation cancel, release and re-engage left-click rhythmically at the moment the hammer lands instead of holding the button down. Done consistently, it roughly doubles your build speed, and it can be macroed at around two seconds per cycle. Backing up to the edge of your interaction range also helps, since the build point stays stationary rather than drifting as you swing.
The Vanguard CIWS and Talon 9K-SAM are extremely slow to build and only progress when you hit the X markers, so save those for when you have a second builder helping.
Placing the FOB and framing the corners
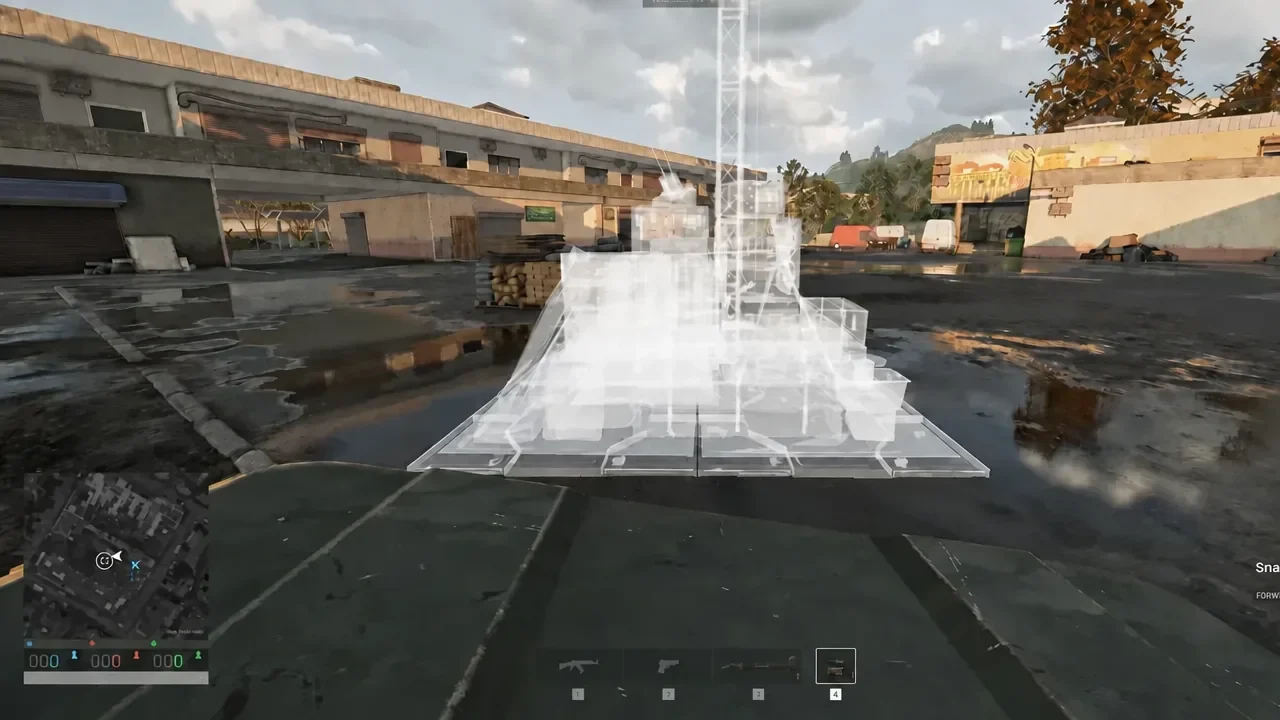
Ladder tech: turning a recon tower into a kill box
Ladder tech converts the recon tower’s exposed climb into a sealed, defended entry point. The result is a small enclosed space that attackers have to fight through one at a time.
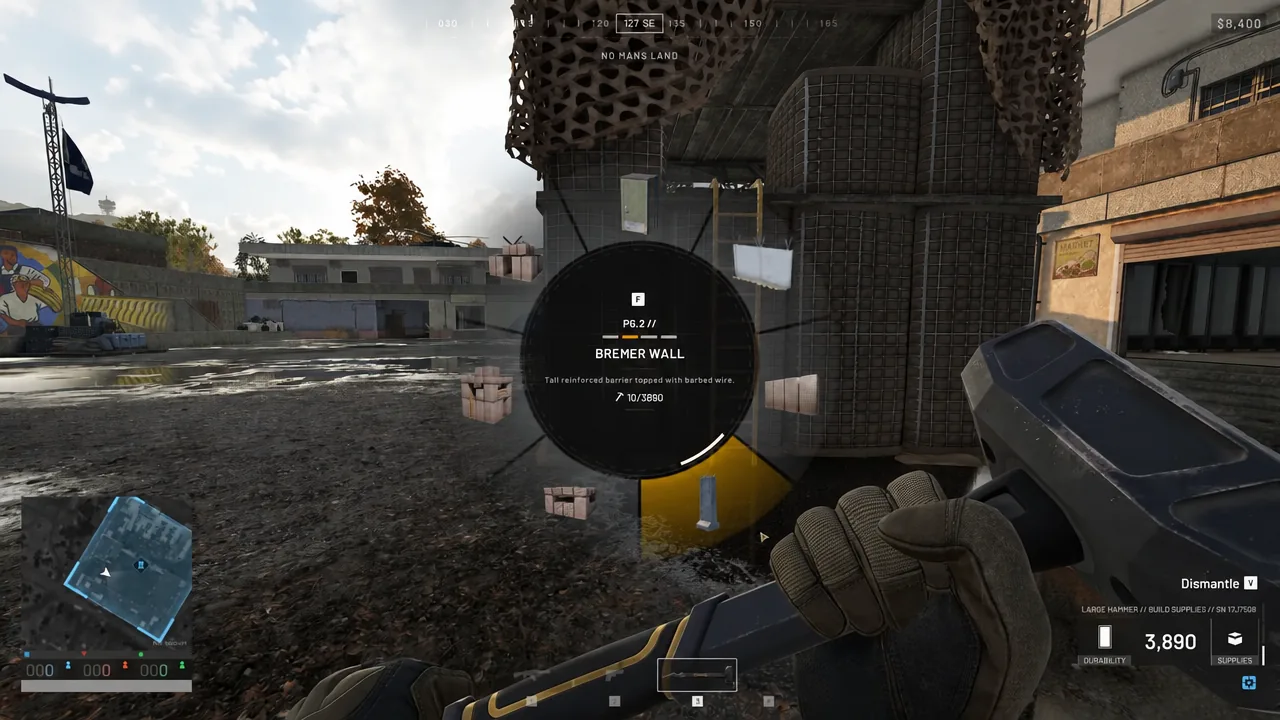
For vehicle access, build a double-gate airlock with a bunker facing the gap from the side. Defenders inside can throw C4 at armour that breaches the outer gate while sitting outside the arc of a tank turret.
Hiding and shielding the spawn vehicle
A parked vehicle inside the FOB is how your squad gets back into the fight, so it is the first thing a raiding team looks for. Two indirect fire shelters placed together give complete coverage and hide the vehicle entirely.
Then place hedgehogs on the roof of those shelters. They absorb impact damage from mortars, RPGs, and artillery before it reaches the structure below. Expect some placement previews to turn red on uneven or occupied surfaces; reposition until the preview validates rather than forcing an angle that leaves a gap.
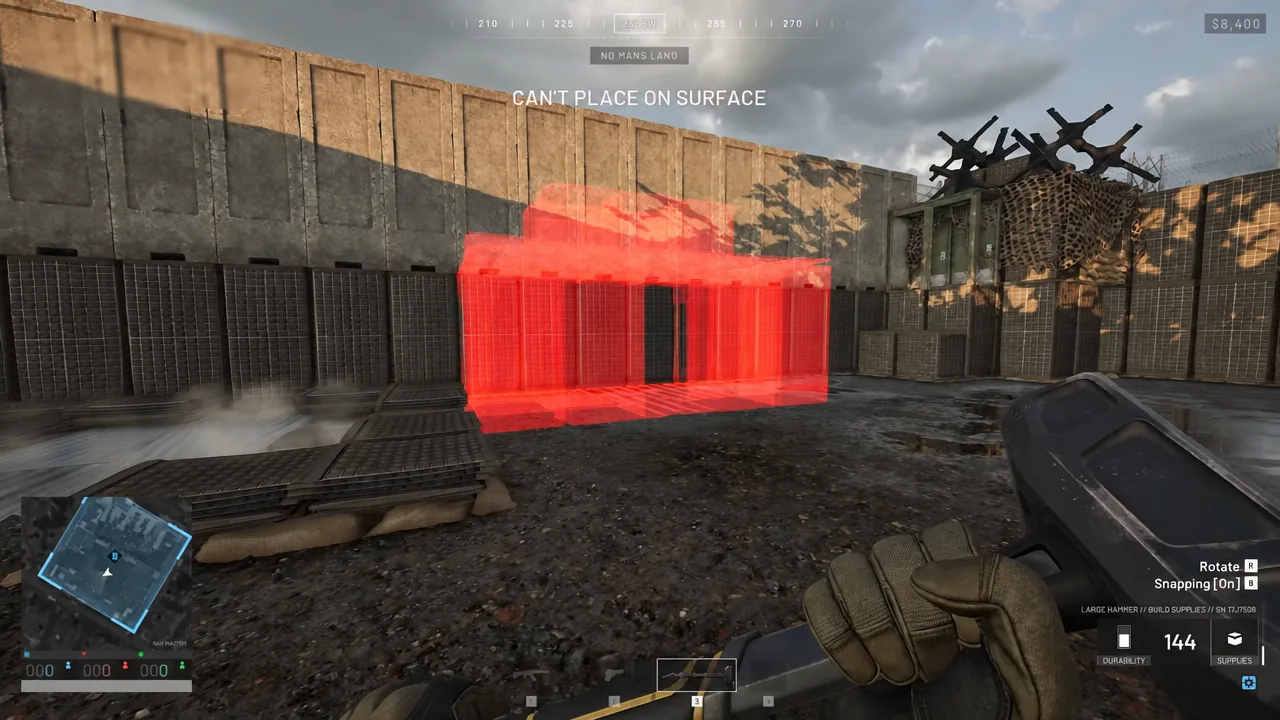
Perimeter defense: hedgehogs, barbed wire, and wall height
The most common way a base falls is not a breach at all. Attackers drive a vehicle flush against the wall, jump onto its roof, and climb over three-block-high Hesco or stone walls that have no barbed wire on top.
- Ring the outside of the base with hedgehogs so vehicles cannot back up to the walls.
- Run barbed wire outside the hedgehog line to deflate tires and slow infantry.
- Go four blocks high on the main walls where the ground allows it.
- Use barbed wire under bridges and along building walls to close off rotation routes, with doors for your own team.
Barbed wire pays $10 when you place it and $75 to whoever destroys it; a Sandbag Wall pays $100 to destroy. Barbed wire is not permanent cover either, since a player can punch it down by pressing X twelve to thirteen times.
Build against pre-existing indestructible map structures wherever possible. Churches, factories, and stadiums cannot be destroyed, so anchoring a wall to one removes an entire face from mortar fire. Keeping an active mortar ring covering out to 600 metres also lets you answer enemy artillery before it ranges in on you.
Compartmentalize the interior against C4
A single open courtyard means one successful breach ends the fight. Divide the interior into separate walled sections instead, so an attacker who blows the outer wall lands in a closed pocket and has to spend more C4 and more time on the next one.
Seal internal passthrough corridors as you go. The gap beside a sniper turret ladder is a common one; a large Hesco block dropped into it stops infiltrators from walking straight into the core of the base.
Drill Rig: fuel requirements, cooldowns, and chaining four rigs
The Drill Rig is the most expensive structure in the game at 1351 Build Supplies, and it takes a long time to construct. When activated it pulls the Hot Zone to your FOB, which is how a well-built base converts fortification work into map control.
It runs on Fuel Supplies stored in the FOB. The minimum to start a run is 1,200 fuel supplies, roughly one pallet, and the maximum it will take is 6,000 for the longest possible runtime. Pallets are the better delivery method here purely on unload speed.
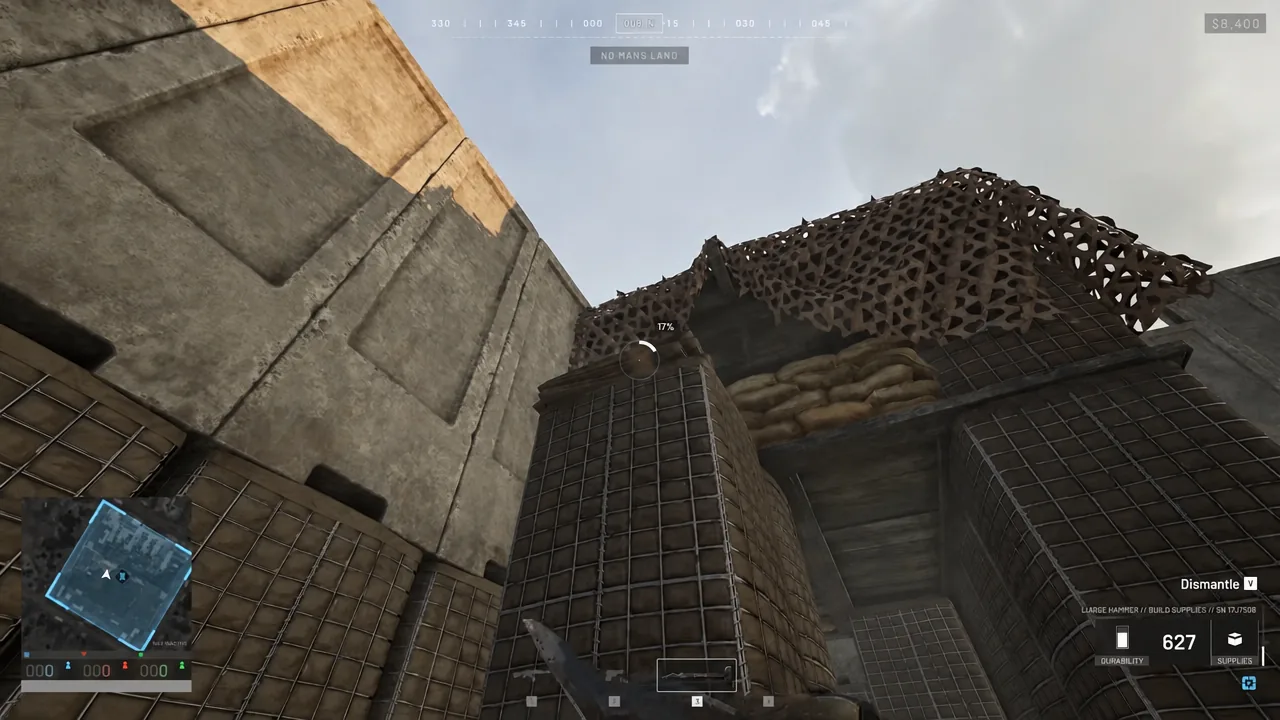
Each rig goes on a 5 to 10 minute cooldown after it finishes a round. That gap is enough for another team to take the zone, which is why serious bases build four rigs and stagger their activations. As one finishes, the next starts, and the zone never leaves your position.
The payout is the other reason to run them. Pulling the zone with a Drill Rig awards $2,500, and while a rig is active the cash you earn from placing other structures goes up. Multiple rigs can run without stepping on each other’s cooldowns.
Confirm the base works by raiding it yourself
The check that matters is practical. Walk outside your own perimeter and try to get in the way an attacker would. Drive a vehicle at every wall face and see whether you can boost onto the roof, throw yourself at the gate airlock, and look for any angle where a mortar has line of sight onto the spawn vehicle.
You know the fortification worked when there is no wall segment a vehicle can park against, every entry funnels into a covered tunnel or kill box, the spawn vehicle is invisible from outside, and a Drill Rig is always turning. Anything you can exploit in a self-test is a weak point you still have time to patch with a handful of Hescos.





