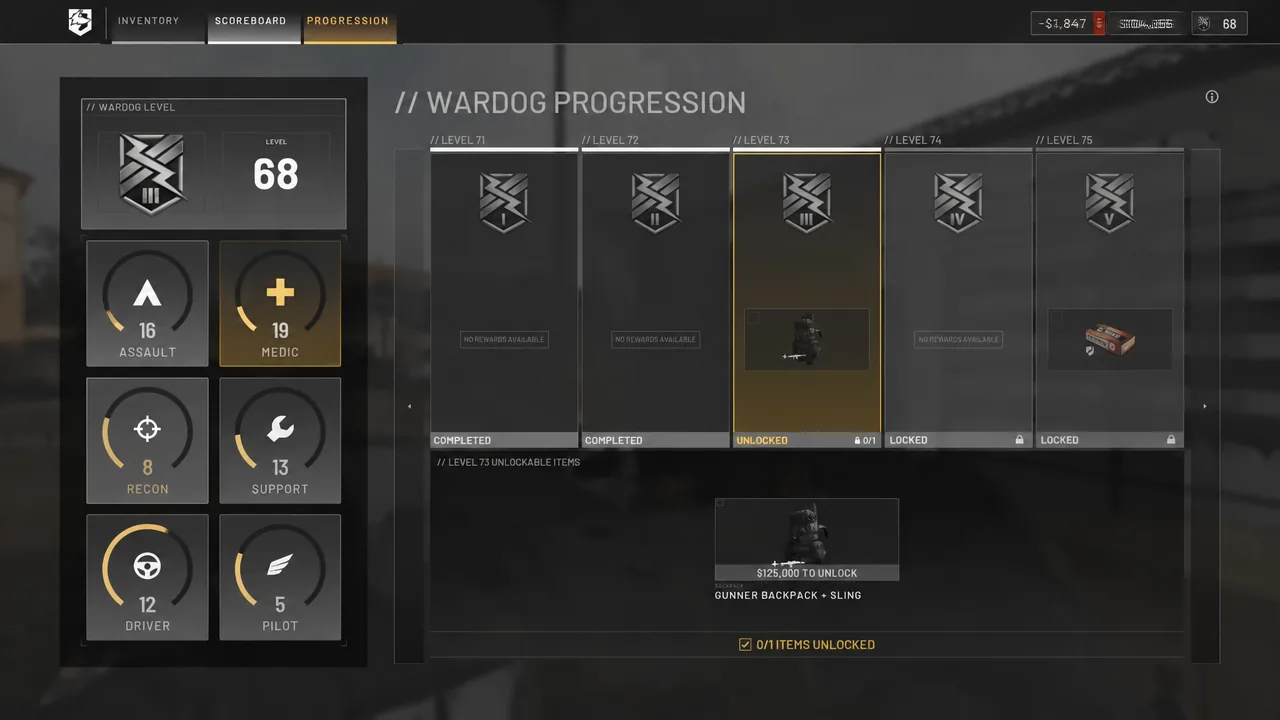
WARDOGS never asks you to pick a class. You walk up to the vendor, buy a kit, and the game quietly decides which of six progression tracks you just fed based on what you carried. That single design choice is why so many players stall out around the mid-levels with a bank account full of gear they never use and a locked tile they cannot reach.
Quick answer: Every tile in the vendor states which track it levels. Pick the unlock you want, buy and use the gear tagged to that track until the level opens, then pay the one-time cash unlock — the level alone never hands you the item.
Three gates stand between you and any item
Progression runs on three layers at once, and mixing them up is the single most common reason a player grinds for hours and unlocks nothing they wanted. Six role tracks each cap at level 100. Those six levels add together into your overall Wardog level, which gates the account-wide stuff no single role owns — pistols, backpacks, armor tiers, vests. Cash is the third gate, and it never stops mattering.
| Gate | What it does | What unblocks it |
|---|---|---|
| Role level | Opens the tile for purchase | Use gear and perform actions tagged to that track |
| Wardog level | Opens account-wide gear (armor, helmets, vests, pistols, backpacks) | Any play at all — all six tracks feed it |
| One-time unlock cost | Converts access into ownership | Cash only; more XP does nothing here |
| Per-life price | Puts the item in this life’s kit | Cash, every single spawn, and you lose it on death |
The Dune Buggy is the cleanest example of the last two working together: a one-off unlock payment, then $1,500 every time you spawn one. Reaching the level is often the easy part. Being solvent enough to unlock and then repeatedly field the thing is the real ceiling.
Note: unlock levels shifted between beta builds, and the early ladder was deliberately condensed for testing. Treat the low levels of each track as the reliable ones and expect the higher gates to move.
Which gear feeds which XP track
Hovering a vendor tile tells you the track it pays into, but knowing the pattern up front saves you a lot of menu time. The tagging is consistent, and actions pay as reliably as kills do.
| Track | Weapons tagged to it | Actions that pay without a kill |
|---|---|---|
| Assault | Assault rifles, pistols, frag grenades | Breaching locked doors with the Halligan Bar |
| Medic | SMGs | Reviving, bandaging and healing teammates |
| Recon | Sniper rifles, marksman rifles, compound bow | Spotting players and vehicles with recon optics |
| Support | LMGs, shotguns, launchers, C4 and mines | Building, repairing, refueling, delivering supplies |
| Driver | Ground vehicle mounted weapons | Transporting teammates, hauling pallets, spawn vehicles |
| Pilot | Helicopter weapons | Flying teammates and supplies to the fight |
Two of these are worth abusing. Reviving pays Medic XP and cash, and a revived teammate keeps earning you Medic XP with their next kills. Spotting pays Recon XP for the mark and again when a teammate kills what you marked, which means binoculars in a spare slot earn money on fights you never joined.
Attachments: vertical recoil is the only stat that matters early
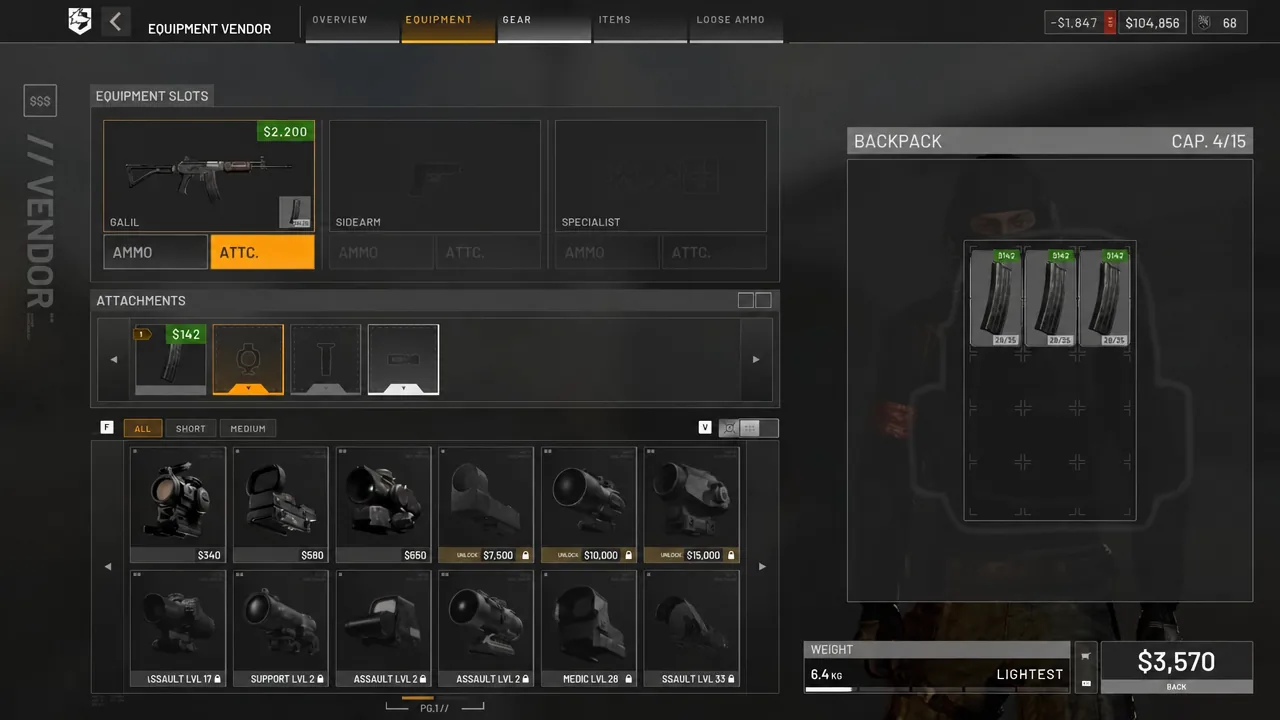
Recoil in WARDOGS climbs almost straight up. Horizontal recoil and sway reduction exist as attachment stats, but they solve a problem you do not have yet. Vertical foregrips and muzzle devices with vertical recoil reduction are the ones that visibly change your hit rate.
Attachments are also cross-class. A foregrip bought on the Support track bolts onto an assault rifle just fine. Muzzle devices are the exception — those stay locked to their own class lines, so a Hexagon Brake ($350, 0.15kg) sits on the Assault ladder.
| Attachment | Cost / weight | Why it earns its slot |
|---|---|---|
| TDG Vertical Foregrip | $1,000 / 0.13kg | The strongest vertical recoil cut available |
| Mini Angled Foregrip | $720 / 0.08kg | Cheaper vertical option, almost no weight |
| Hexagon Brake | $350 / 0.15kg | Early Assault-line muzzle with vertical reduction |
| Bipod (e.g. SKS Bipod) | $800 / 0.47kg | Removes recoil entirely while prone or rested |
| Spectr 4X | $800 / 0.86kg | Usable magnification bought off the Support line |
| 6X Precision Rifle Scope | $860 / 0.7kg | Sniper glass for the Mosin or SKS |
Bipods are the sleeper pick. They zero out recoil completely, with the catch that you must be prone or resting the weapon on a ledge to get the benefit. On a marksman or sniper rifle held on a lane, that is not much of a limitation.
Weapon picks that actually hold up
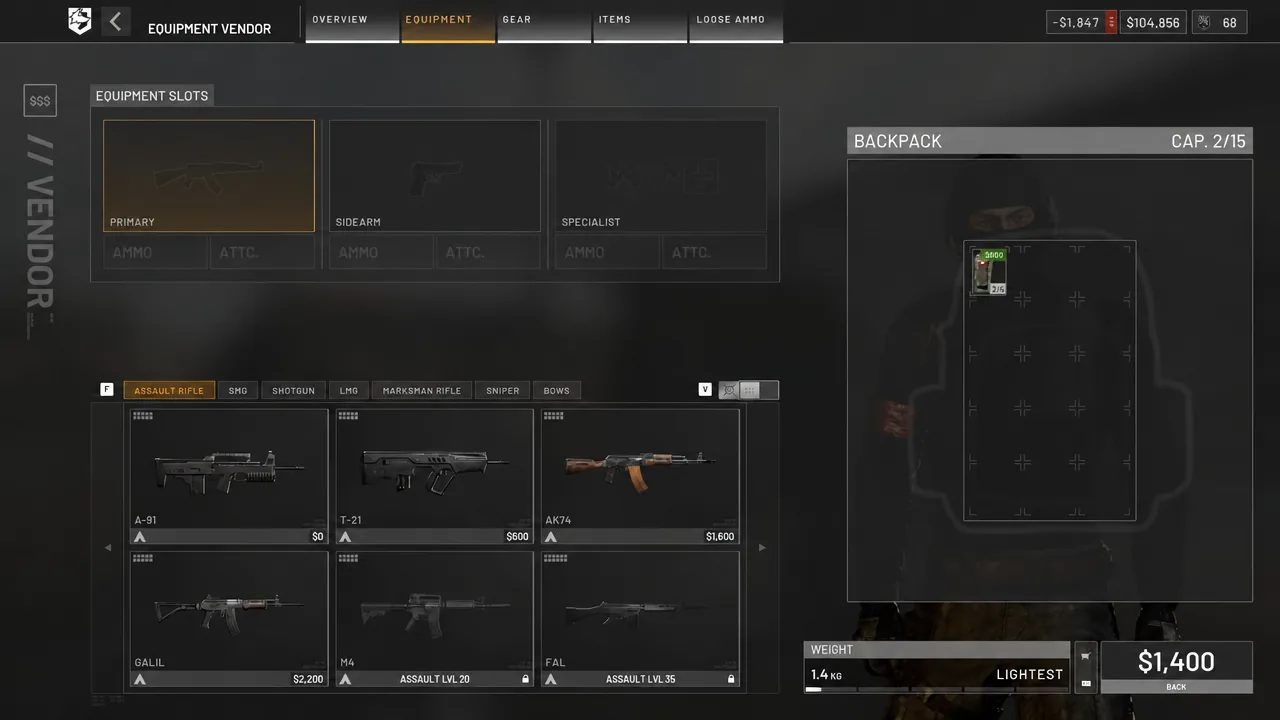
SMGs beat early assault rifles. The recoil difference is large enough that a PP-19 Vityaz ($1,200, 2.9kg) will out-shoot a starter rifle at most of the ranges you actually fight at, and it pays Medic XP while it does. Your faction’s free recruit rifle still has a job — it costs nothing and levels Assault by itself — but it is not the gun to spend money upgrading.
On the Recon side, the default Scout Rifle TD ($1,100) is a trap. It is break-action and cannot one-shot a headshot through a Level 1 helmet, which every opponent will be wearing. Get off it as fast as you can — the SKS ($2,400, semi-auto) or the Mosin Nagant ($4,500) are both real rifles.
LMGs like the M249 SAW ($3,200, 7.5kg) and PKM ($4,500, 7.6kg) only do their suppression job with a bipod deployed, which means committing to a position. Shotguns are the one category worth skipping outright.
Armor, vests and the weight class trap
The helmet is the most important thing you buy. Body armor only covers your upper body, but a helmet is what stops a sniper deleting you in one shot, and it is cheap relative to what it saves you in rebuy costs.
Vests do something different — they add quick slots, so you can reach medical items and grenades without digging through a backpack. The Small Tac Vest is $100 and 0.82kg. The Medium ($250, 1.85kg) and Large ($400, 3.6kg) both sit behind one-time unlock payments and cost you real weight.
Weight is the mechanic most players ignore until their movement feels wrong. Everything you carry pushes you up a ladder from Lightest through Light, Medium, Heavy and Super Heavy. Each step slows your movement speed, cuts your jump height and lengthens your ADS time. Heavier armor is a tradeoff, not an upgrade — stay at Medium or below unless you have a specific reason to sit still.
Medical and tactical items worth the slot
The Emergency Resuscitator is free, weighs 0.2kg, revives teammates quickly and pays you cash for doing it. There is no argument for leaving it at home on any life. Carrying one also means the medic who finds your body can get you up fast instead of slowly.
| Item | Cost / weight | What it does |
|---|---|---|
| Emergency Resuscitator | $0 / 0.2kg | Fast revive that pays cash; carry it every life |
| Bandage | $200 / 0.08kg | Takes three to reach full health; carry at least three |
| Individual First Aid Kit | $800 / 0.9kg | Full heal in a single use |
| Adrenaline Pen | $250 / 0.08kg | Roughly two minutes of unlimited tactical sprint |
| Defibrillator | $1,600 / 2.8kg | Heavy and expensive; skip until the cheaper kit is covered |
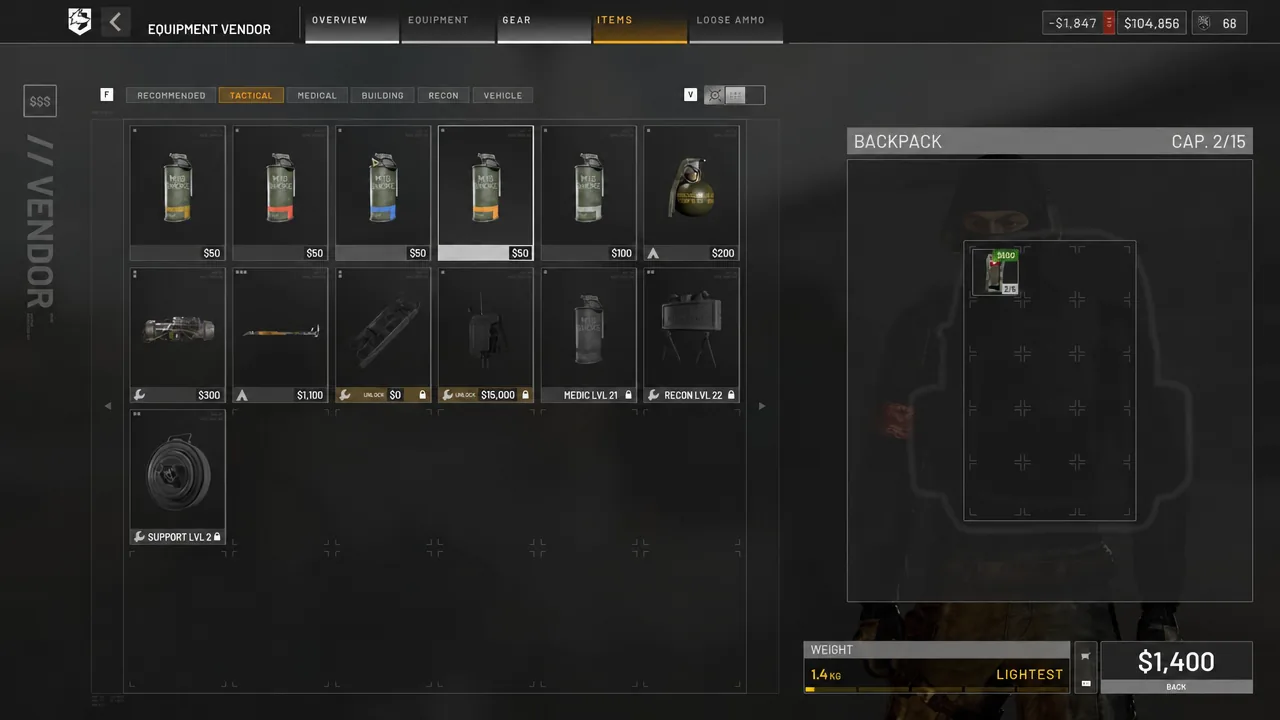
| M18 Smoke Grenade | $100 / 0.54kg | White smoke that actually blocks line of sight |
| M18 Signal Grenade | $50 / 0.54kg | Colored marker only — gives no cover |
The smoke distinction catches people out constantly. Colored signal smokes are beacons, not concealment. If you throw one expecting to cross open ground behind it, you have just told three teams where you are. The white M18 Smoke Grenade is the one that hides you.
One habit worth copying: bandage teammates rather than yourself. Buddy aid pays Medic XP and cash. Patching your own knee pays nothing.
Building a cheap starter loadout
Support, Driver and Pilot tools most players never buy
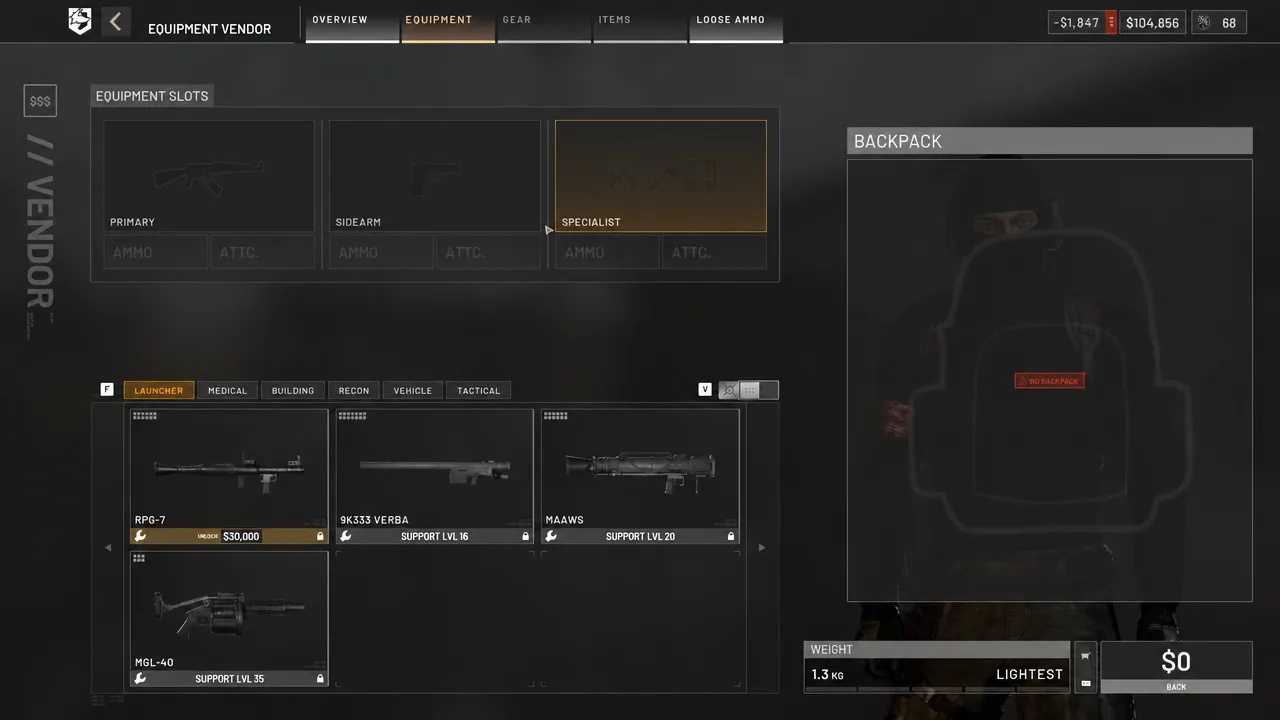
Support is the track that answers vehicles, and someone in your group needs it early. The RPG-7 ($2,000, 6.3kg) sits behind a $30,000 one-time unlock and is the cheapest reliable way to remove an armored car or collapse a defended building. The 9K335 Verba is cheaper at $800 but weighs a punishing 17.25kg.
Building is the quietest fast route in the game. A Forward Operating Base costs $2,500 and every hammer swing on an unfinished structure pays Support XP and cash, with a bigger payout when the build completes. The Large Hammer at Support level 7 is the gate that matters, because advanced structures like anti-air emplacements need it. The Medium Hammer ($800) covers everything before that.
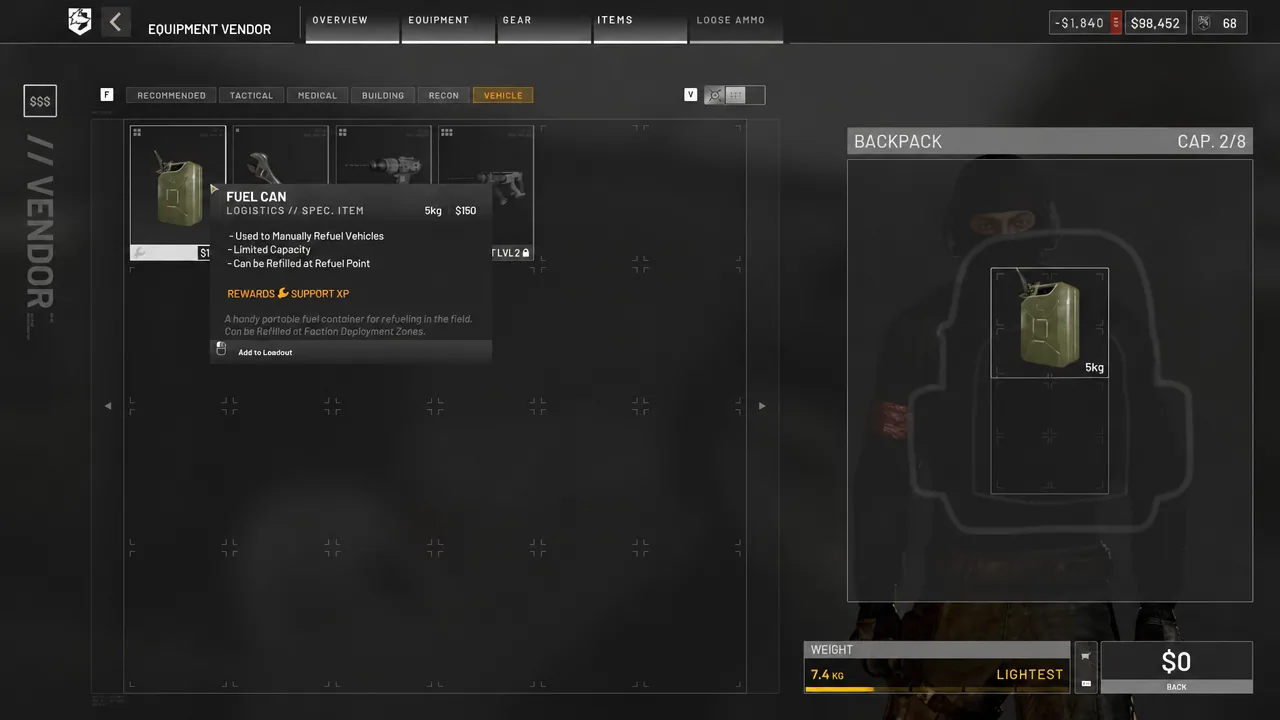
Vehicle maintenance also pays Support. Wrenches and drills repair damaged friendly vehicles, and manually refueling with a Fuel Can counts the same way. If you are hanging around a FOB anyway, these are free XP on top of keeping your team’s transport running.
Driver and Pilot only move when you are the one at the controls. Both pay for delivering teammates into the Control Zone, and you keep earning assists from what those passengers do after they get out. Ground transport is the safe money — buggies and pickups are cheap, and the armed Humvee variants are bulletproof and genuinely dominant once the Driver track gets there. Helicopters pay well and punish hard: a crash or a team kill charges the pilot a fee per player on board, so learn to land somewhere empty first.
Resets, gold bars, and why hoarding cash is a mistake
At the end of a major update cycle, level progression and cash both reset to zero. Reset dates are announced in advance, so it is not a surprise wipe, and whatever cash you are still sitting on is automatically converted into gold bars.
That changes how you should treat a large balance. Money you never spend does not carry forward as money. Spend into kits you will actually field during the cycle rather than saving toward something like the SPH-2 artillery vehicle at $400,000 that you will unlock the week before everything zeroes out. After a reset, rebuild the cheap ladders first — an attachable rifle, basic medic tools, one transport option.
The other thing to plan around is the curve itself. Early levels arrive quickly and then slow down hard, which makes your first few dozen hours disproportionately valuable. Pick one track to main and a light secondary, keep binoculars and a free resuscitator on every kit so two other tracks tick over passively, and stay inside the Control Zone where team actions pay more. A cheap Lightest loadout parked on the objective outperforms an expensive Super Heavy kit wandering the desert, and it costs far less to replace when it goes wrong.