

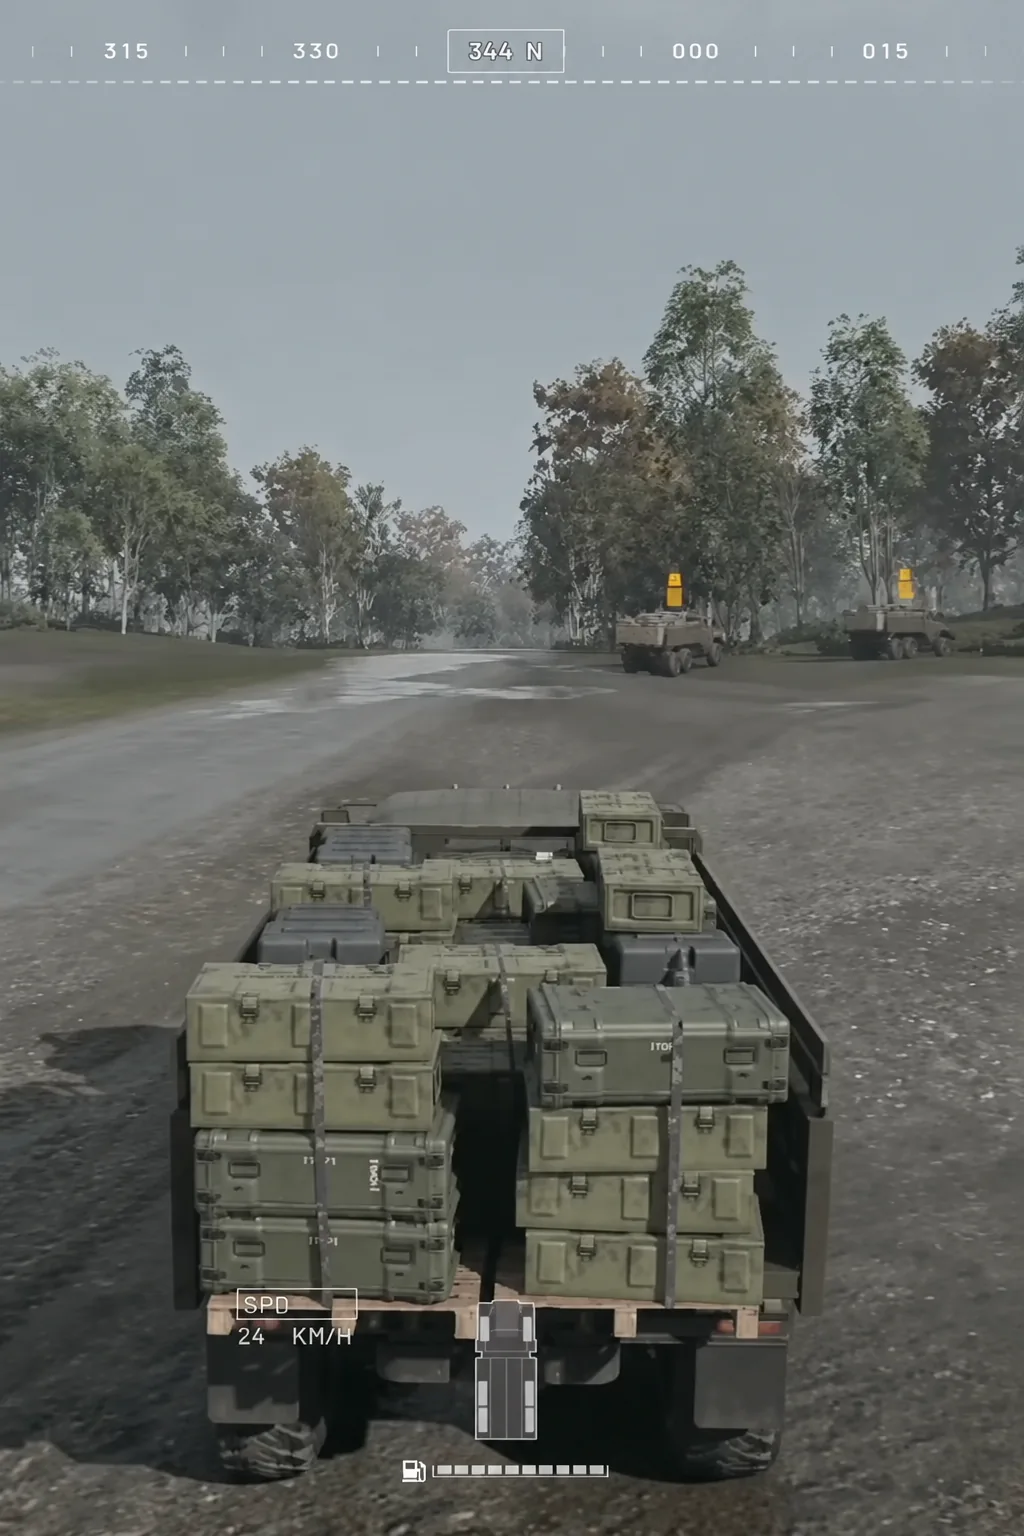
Driving a truck full of supplies is the least glamorous job on the Lonestar roster, and it is one of the few things that reliably keeps a squad fighting. WARDOGS runs a persistent cash economy across a 256 km² map with one randomized 2×2 km Control Zone, and forward bases only stay useful while someone keeps feeding them build, ammo, fuel, and mechanical resources. The game entered Early Access on September 10, 2026 on Steam.
Quick answer: Buy a Ural from the vehicle vendor in your safe zone, load a supply pallet into its bed, drive to a friendly FOB that needs that resource, then hold F to unload it.
Which transport vehicle to buy for a supply run
Every transport is bought from the vehicle vendor at your faction’s safe zone. None of them spawn out in the world during a match, so the cash decision happens before you leave base.
| Vehicle | Price | Seats | Top speed |
|---|---|---|---|
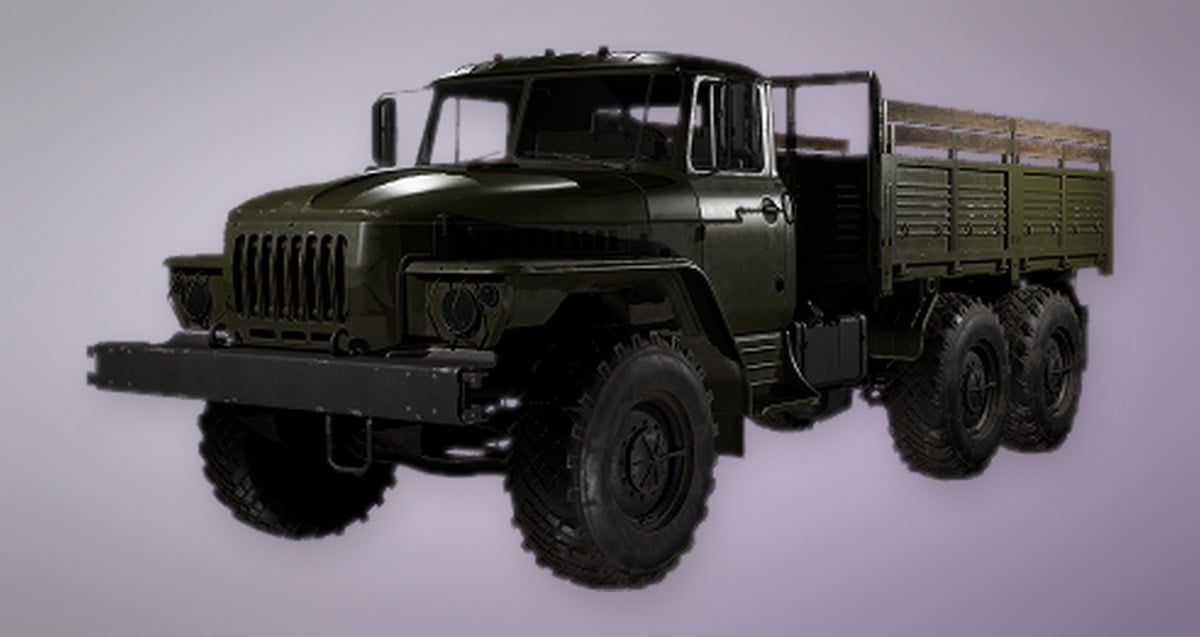
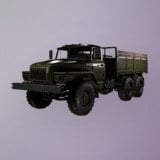 Ural Ural | $5,000 | 3 | 79.0 km/h |
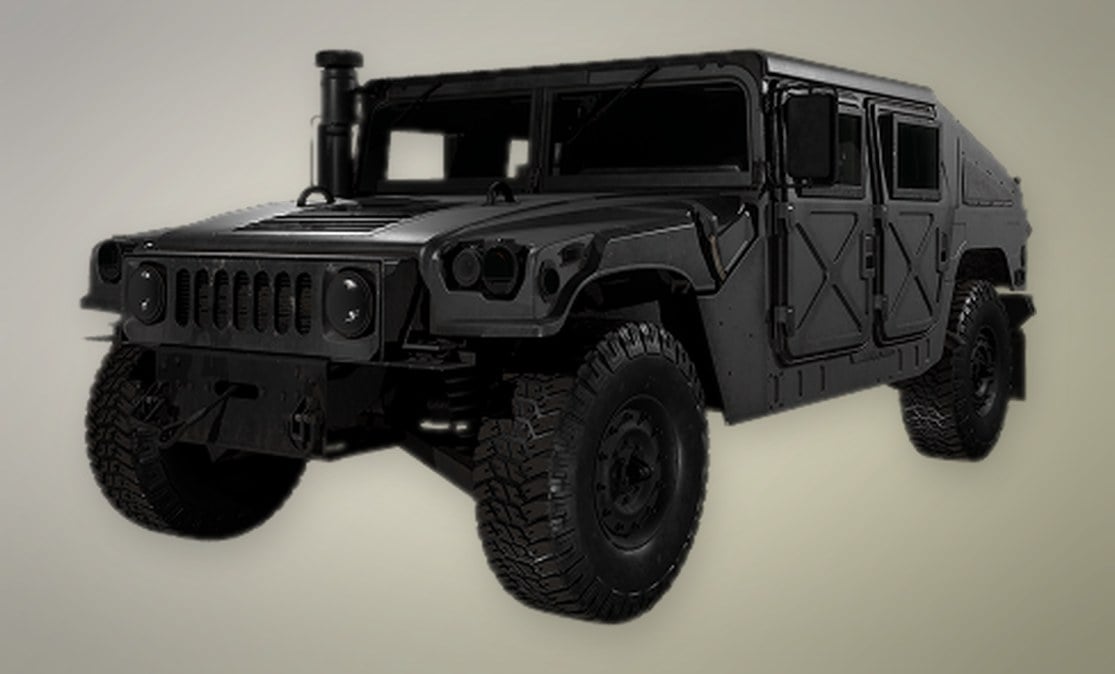
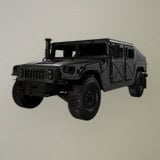 Humvee Humvee | $3,000 | 4 | 113.2 km/h |
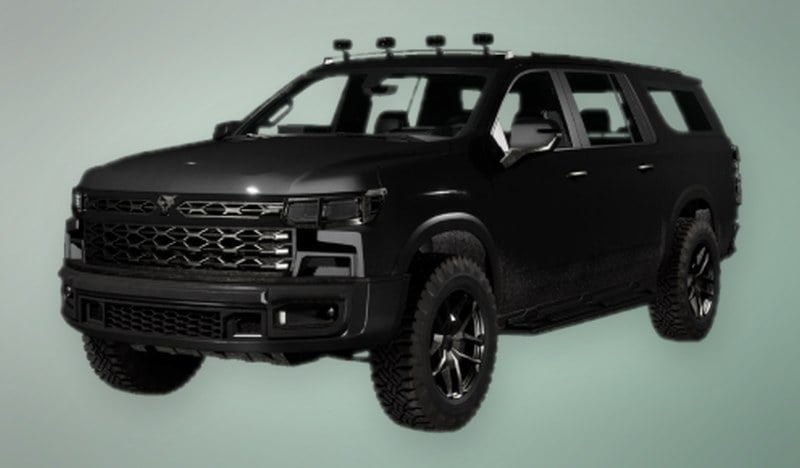
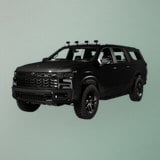 Kodiak Kodiak | $2,500 | 4 | 154.0 km/h |
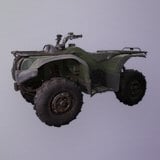 Bobcat Bobcat | $500 | 2 | 75.0 km/h |
| Vehicle | Fuel capacity | Fuel per km | Destroy payout |
|---|---|---|---|
| Ural | 85.0 L | 4.0 L | — |
| Humvee | 65.0 L | 3.3 L | $500 |
| Kodiak | 50.0 L | 2.9 L | $500 |
| Bobcat | 18.0 L | 2.2 L | $100 |
Ural
The Ural is the hauler. It is the one transport shown carrying full supply pallets, and its in-game description calls it a large multi-capacity wheeled attack vehicle. It is also the slowest and thirstiest option in the lineup, which is the trade you accept for bed space. The Ural unlocks at Driver level 3 with a one-time unlock fee of $35,000.
Humvee
A four-seat light-armored wheeled vehicle built for off-road travel. It takes smaller containers rather than pallets, so treat it as an escort, a scout, or the vehicle that carries the crate the Ural could not reach with. It unlocks at Driver level 15 for a one-time fee of $25,000.
Kodiak
The fastest thing in the transport class and the cheapest way to get four bodies moving. Kodiak variants can take smaller containers, and an armed variant does not add bed capacity. Use it when the priority is getting a squad into the zone rather than moving resources.
Bobcat
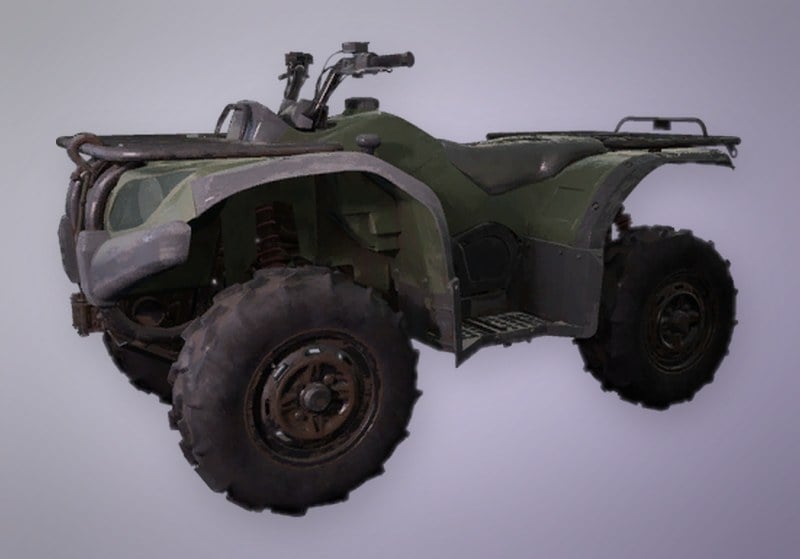
A two-seat cheap transport vehicle, and the one option that was never demonstrated carrying cargo at all. At $500 it is a taxi and a rotation tool, nothing more.
WARDOGS supply resources and what each one feeds
Four resource types move through the logistics system, and they are not interchangeable. Delivering ammo to a base that ran out of fuel does nothing for the people waiting on it.
| Resource | Price | Weight | Feeds |
|---|---|---|---|
| Build Supplies | $10 | 0.02 kg | All buildables |
| Ammo Supplies | $10 | 0.03 kg | Buildable weapons |
| Fuel Supplies | $10 | 0.03 kg | Vehicle refueling |
| Mechanical Supplies | $10 | 0.03 kg | Vehicle repairs |
Ammo, fuel, and mechanical supplies all require FOB radius to use, and build supplies additionally need any hammer in hand to actually construct something. The vendor also stocks the Mechanical Supply Pallet at $400, a full mechanical resource load meant for FOB delivery. The High Capacity Battery is a separate $300, 2 kg item that recharges drills and defibrillators, and it unlocks at Wardog level 45 for a one-time fee of $50,000.
A supply pallet will be destroyed by high-speed impacts, with roughly a 90 m free-fall as the ceiling. A pallet that arrives at the bottom of a cliff in pieces is $400 gone.
How to load and deliver a supply pallet
B, and the screen splits the vehicle’s normal inventory from its bed slots. Tools and small equipment go in the internal inventory; crates and pallets go in the bed.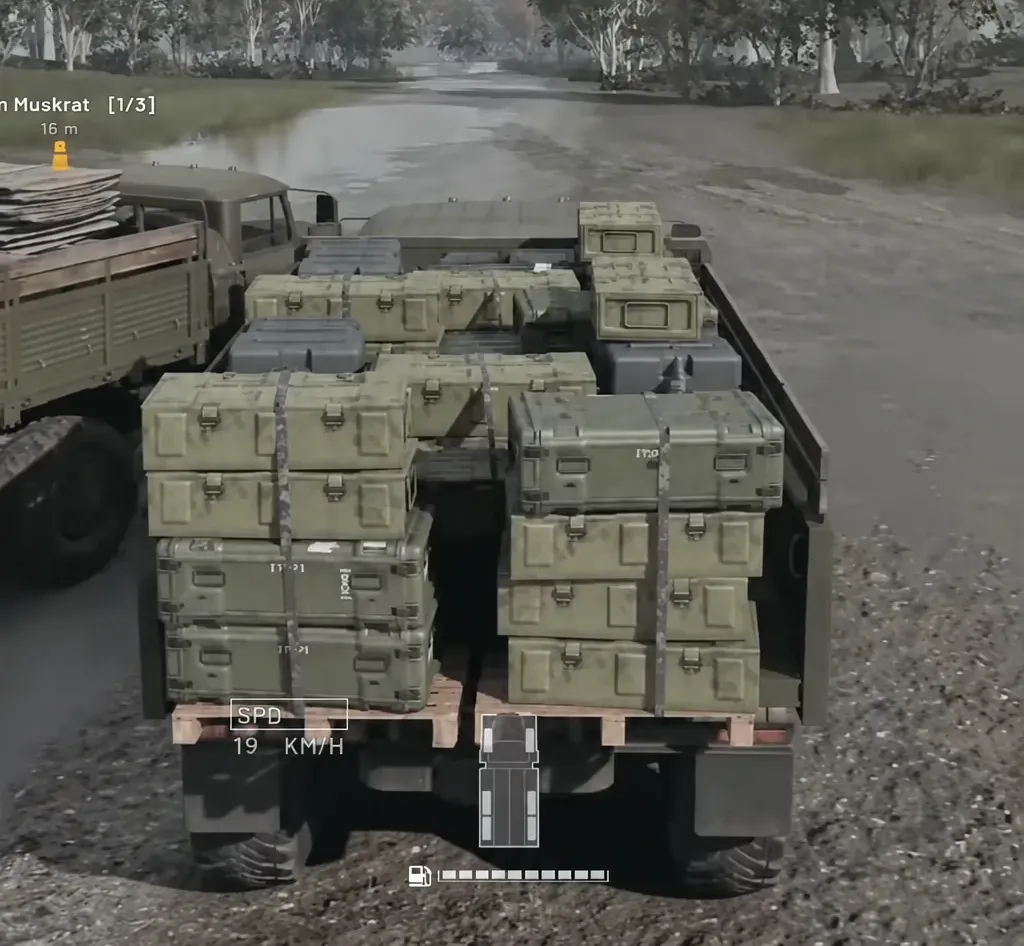
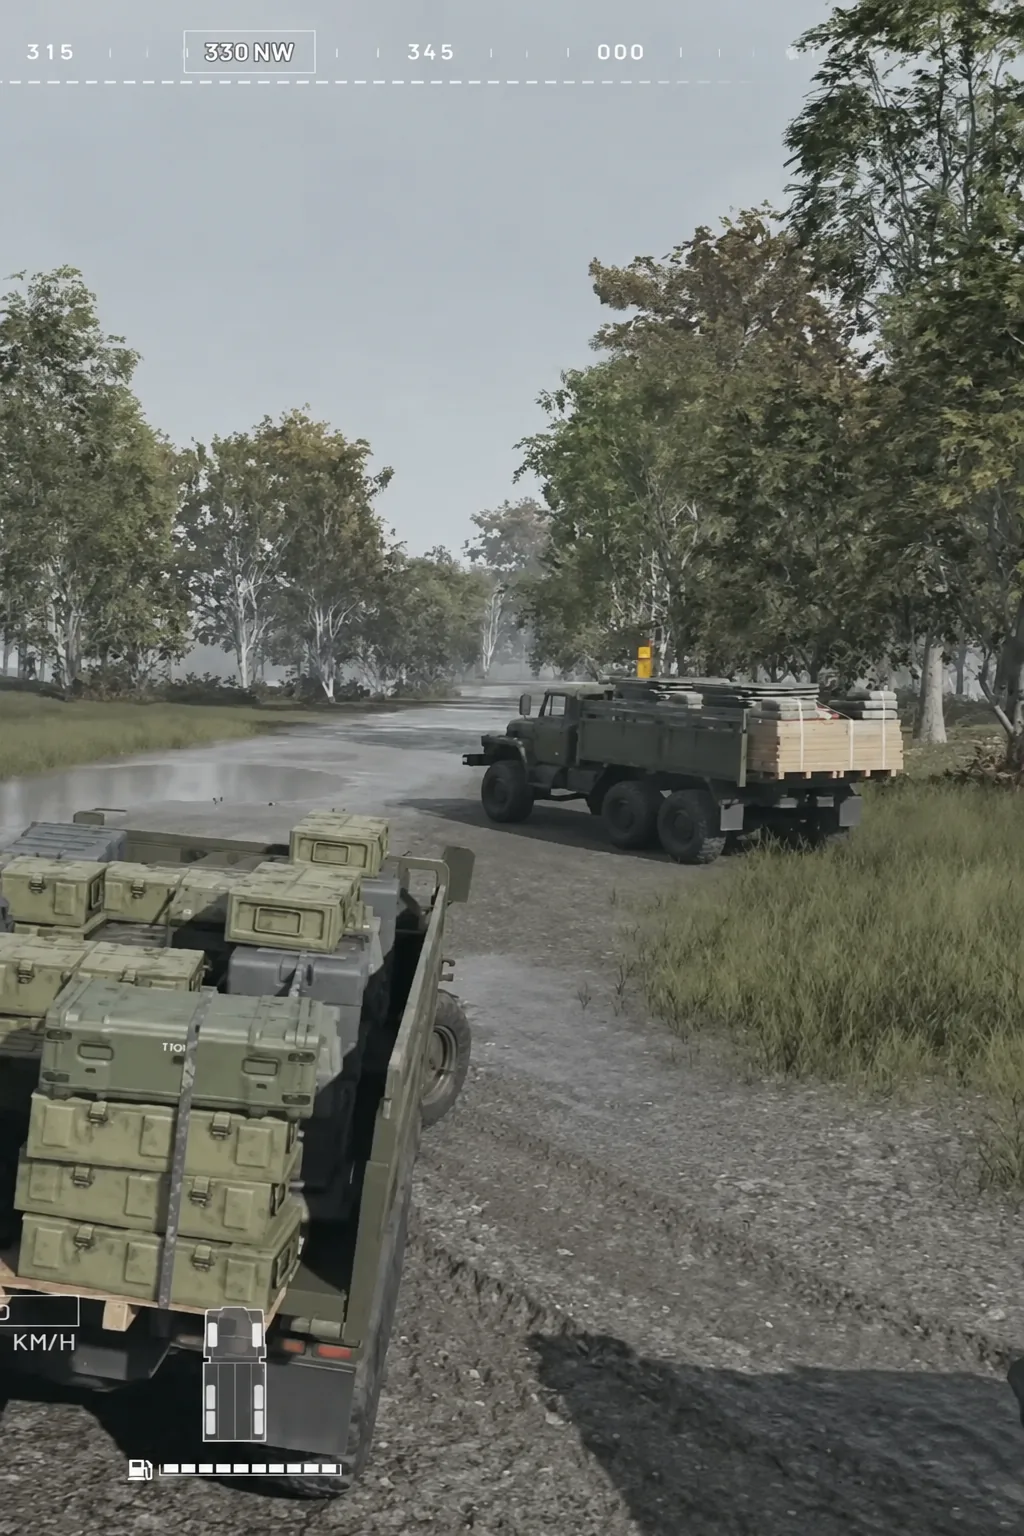
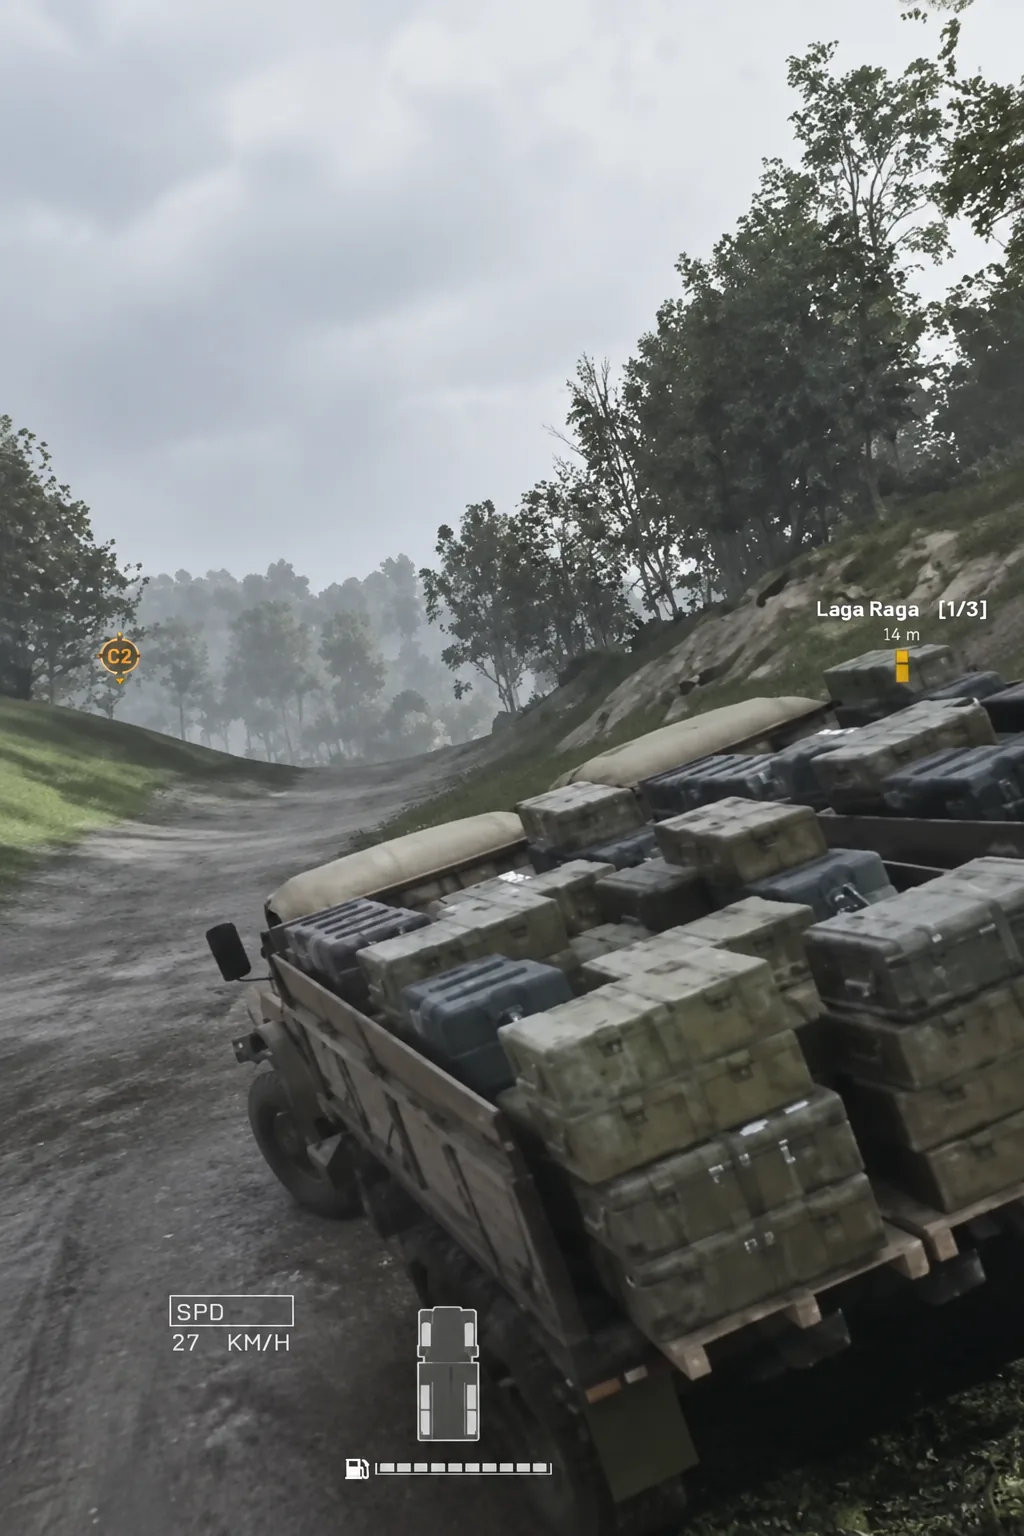
G to drop cargo from the vehicle and a held F at a valid FOB to transfer the supplies into the base’s usable pool. Check the live prompts, since those keys can change between builds.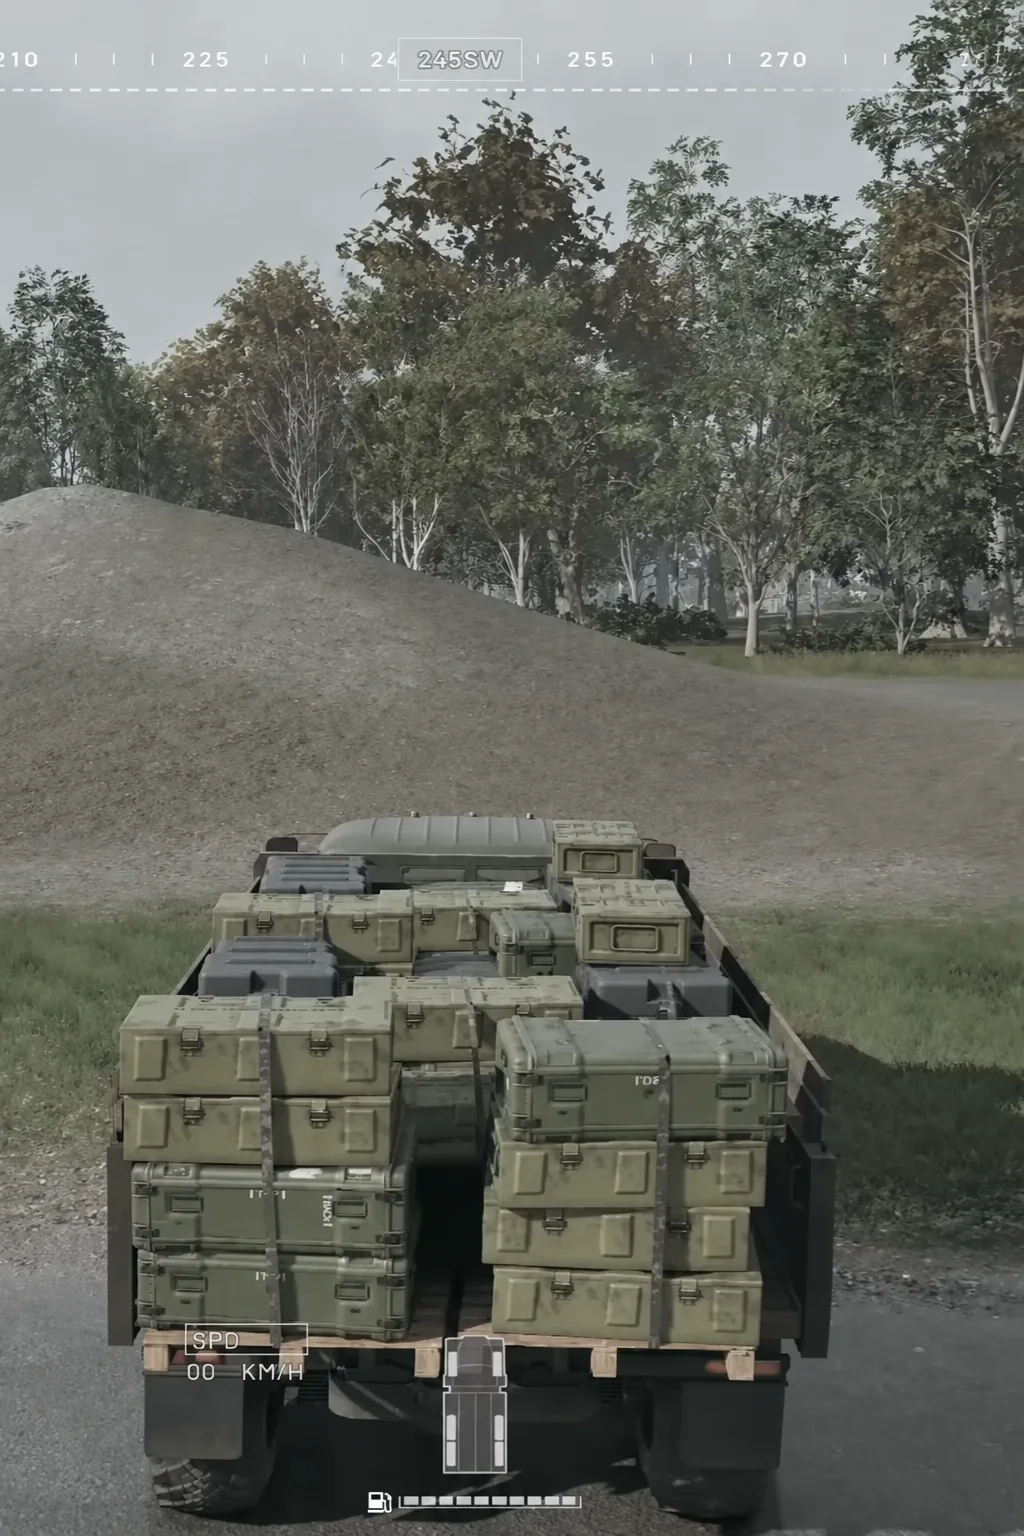
If the truck cannot physically reach the drop point, a small crate can sometimes be moved from the bed into your backpack and carried in by hand to the FOB computer. It eats inventory space and leaves you exposed, so secure those last few metres first.
How to confirm the delivery registered
The run only counts when the cargo transfers into the FOB’s usable supply pool. The hold-to-unload prompt at a valid destination is the confirmation, and the receiving base’s stock is what proves it landed. Cargo left sitting on the ground outside the transfer area is not delivered, no matter how close it is parked.
Deliveries made near an active, useful FOB or a contested area return noticeably better value than dumping resources somewhere nothing is being built or shot. Dropping supplies in an area with no demand produces little or no useful reward.
Convoy mistakes that lose the load
Most failed supply runs die in the first hundred metres, inside your own base. Trucks bunched on a narrow dirt path stall each other, wedge together, and leave nobody able to steer out. A pallet that falls onto the road cannot be picked back up, and the next truck down that road tends to hit it and flip.
- Buying a pallet for a vehicle that only accepts small containers.
- Delivering a resource the destination FOB is already fully stocked on.
- Dropping cargo outside the valid transfer area and calling the job done.
- Parking across the only vehicle entrance while you unload.
- Reusing the same road after the enemy has already ambushed it once.
A loaded truck is also a target worth killing, and an enemy vehicle closing to short range on a forest road is the single most common way a full bed disappears.
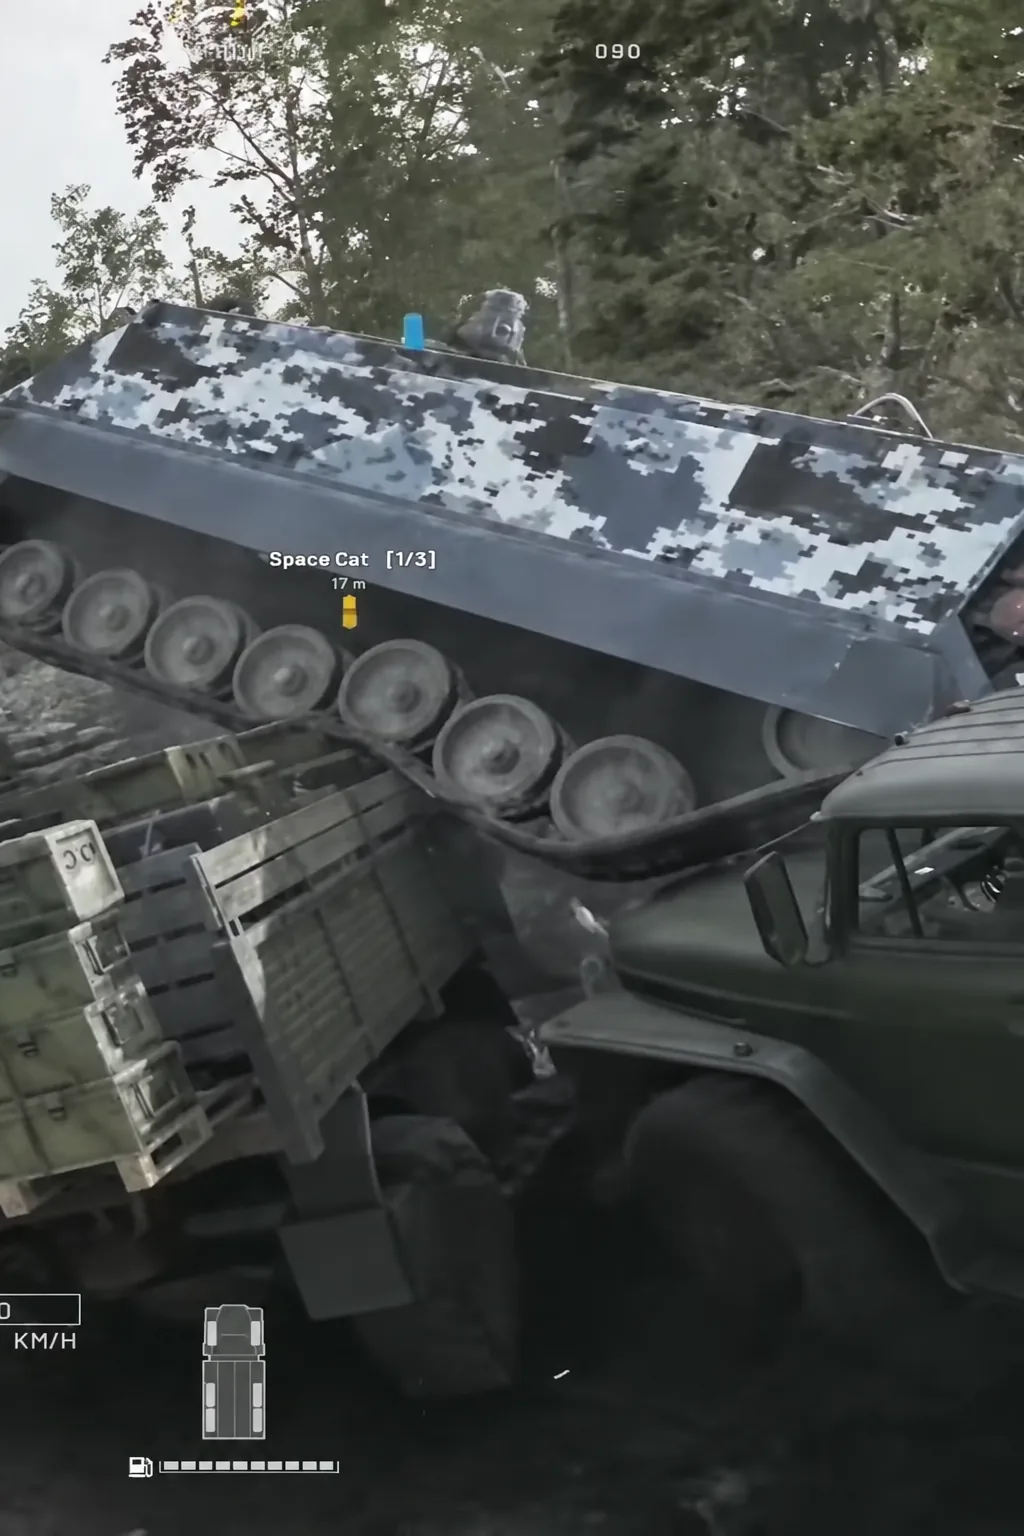
Treat the whole thing as one loop rather than a single keypress. Identify what is short, buy the vehicle that can actually carry it, pick a route you can reverse out of, unload at a valid point, and get the truck home for the next run. That is what carrying for Lonestar looks like when it works.





