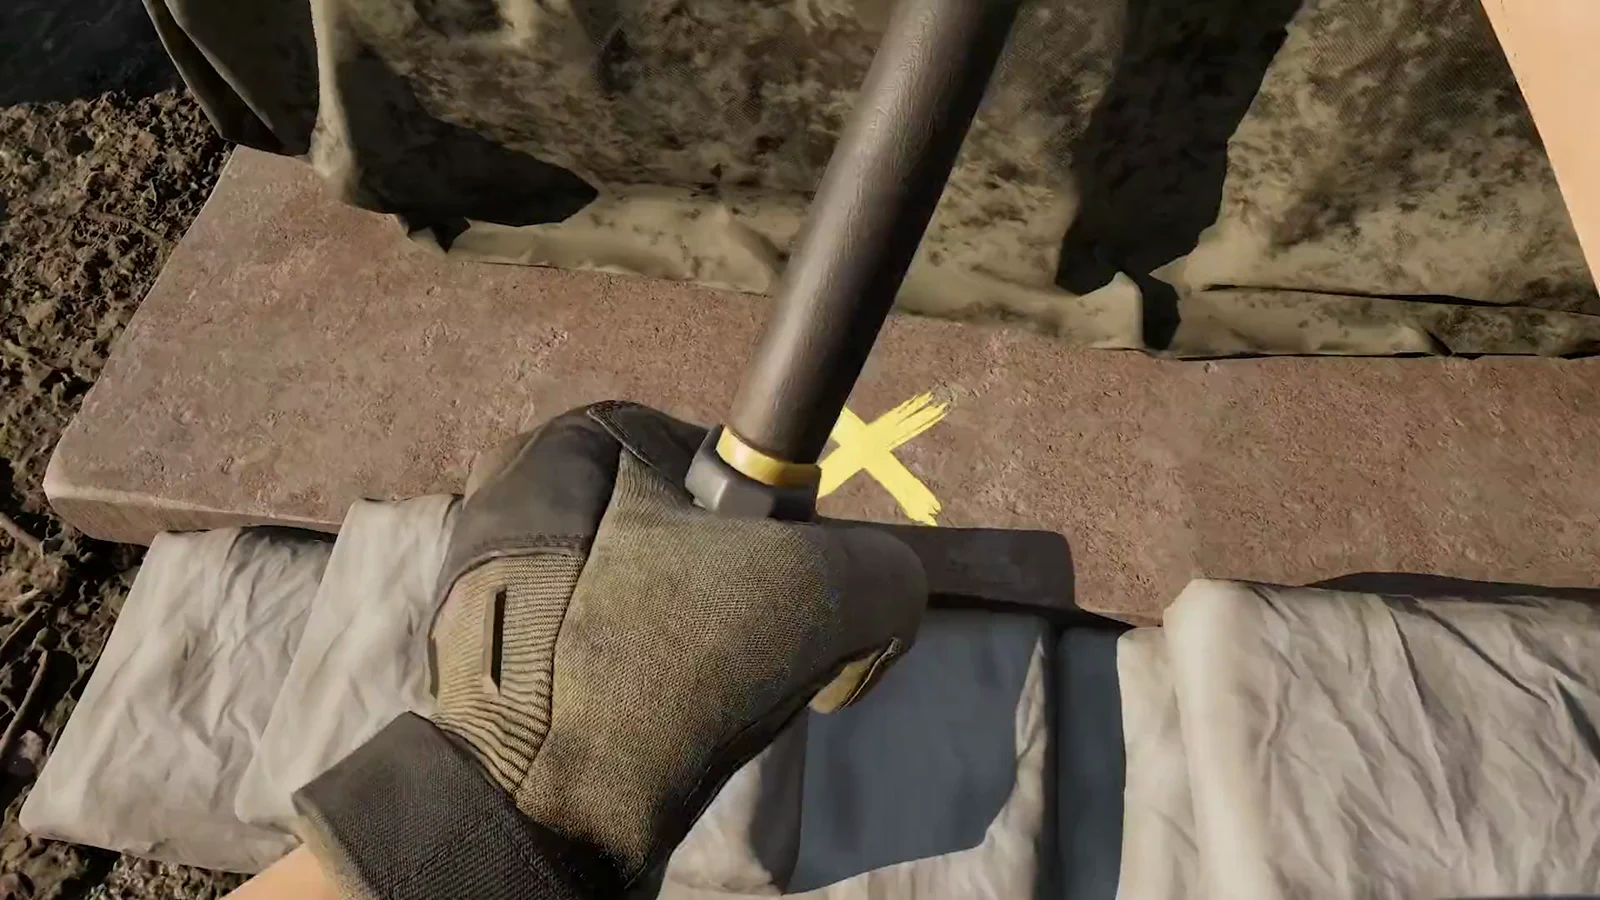
Most of the construction in WARDOGS happens inside a forward operating base, but the small hammer works anywhere on the map. That matters because a FOB kit is a squad-sized purchase, and the fortifications you can throw down without one cost a fraction of that while still shaping how a fight goes.
Quick answer: Four buildables need no FOB radius — Sandbag Wall, Barbed Wire, Hedgehogs (Tank Trap) and Recon Tent. Carry the small hammer plus supplies, which together occupy four inventory slots.
Buildables that need no FOB: costs and bounties
Equip the small hammer and open the radial menu and you get four options that place on open ground. Each one pays the enemy a bounty when they destroy it, so scattering them carelessly funds the other team.
| Buildable | Cost to place | Paid for destroying it |
|---|---|---|
| Sandbag Wall | — | $100 |
| Barbed Wire | $10 | $75 |
| Tank Trap (Hedgehogs) | $100 | $250 |
| Recon Tent | — | — |
Compare those numbers to the $1,000 it costs to place a FOB, which hands an attacker $5,000 when it goes down, and the difference in risk is obvious. Field fortifications are cheap enough to treat as disposable.
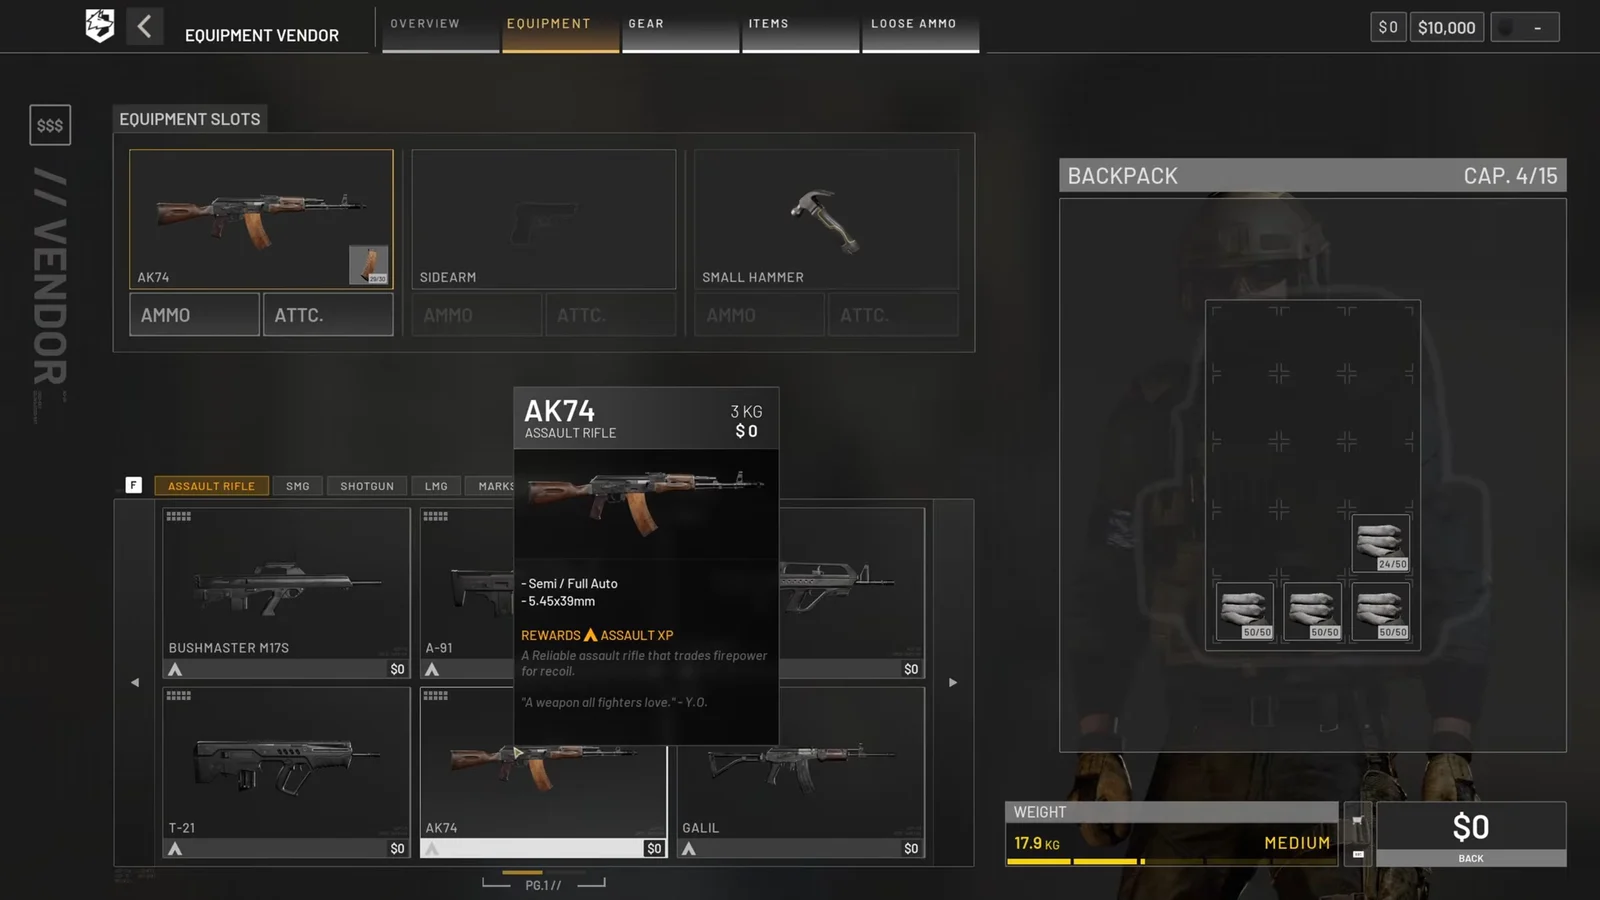
Small hammer loadout: four inventory slots, no specialty slot
The small hammer and the building supplies that feed it take four inventory slots between them. Crucially, they do not eat a specialty equipment slot, so you can still run your normal kit and build on the side. That is the whole argument for carrying it as a regular infantry player rather than as a dedicated builder.
Hedgehogs: road blocks, bush traps and climbing steps
Hedgehogs are the anti-vehicle option. Laying a line of them across a road stops drivers cold, and tucking a few behind bushes catches anyone cutting a corner at speed. Vehicles that stop moving are vehicles your squad can shoot.
They also work as terrain. Placed against a concrete perimeter wall, a hedgehog becomes an elevated peek spot that lets you see over the top without a ladder or a door.
At $250 paid out for each one destroyed, hedgehogs are the most expensive thing on this list to lose. Put them where they block a route, not where they decorate one.
Recon Tent: thermal cover and rooftop bridges
The Recon Tent has two uses that have nothing to do with resting. Dropped inside a bush, it blocks enemy IR scanners and thermal vision, which turns ordinary foliage into a hide that survives a drone pass.
The second use is mobility. Built on a rooftop or on top of a shipping container, a tent acts as a jumping bridge to reach positions there is otherwise no route to. Container parks and warehouse roofs open up quickly once you start using tents as stepping stones.
Barbed Wire: funnel enemies inside buildings
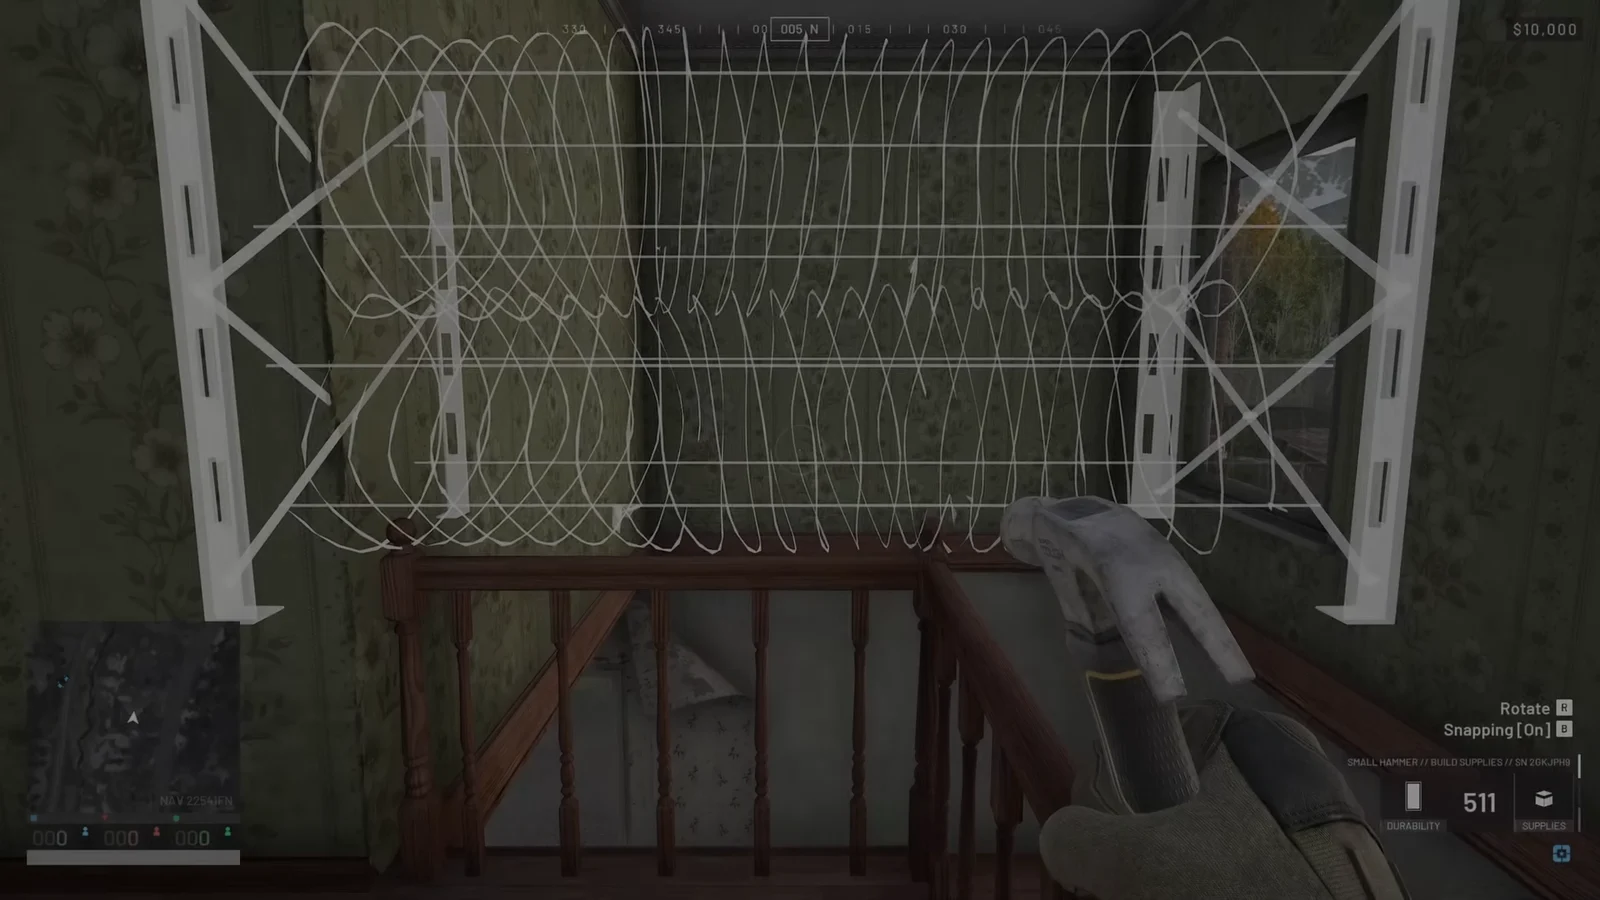
At $10 a placement, barbed wire is the cheapest way to edit a building’s interior. Wiring off a stairwell in a two-story structure forces attackers down the one route you left open, and running it along interior railings catches players trying to climb around your block.
The point is not to seal a building. It is to make every path into it predictable, so your team only has to watch one doorway.
Sandbag Wall: firing peeks, sniper cover and vault steps
Sandbags are the most flexible thing on the radial menu. Stacked at the right height they give you a firing peek shaped exactly the way you want it, and a single wall placed on the correct side of a position cuts the sightline from a distant tower that has been killing your squad all match.
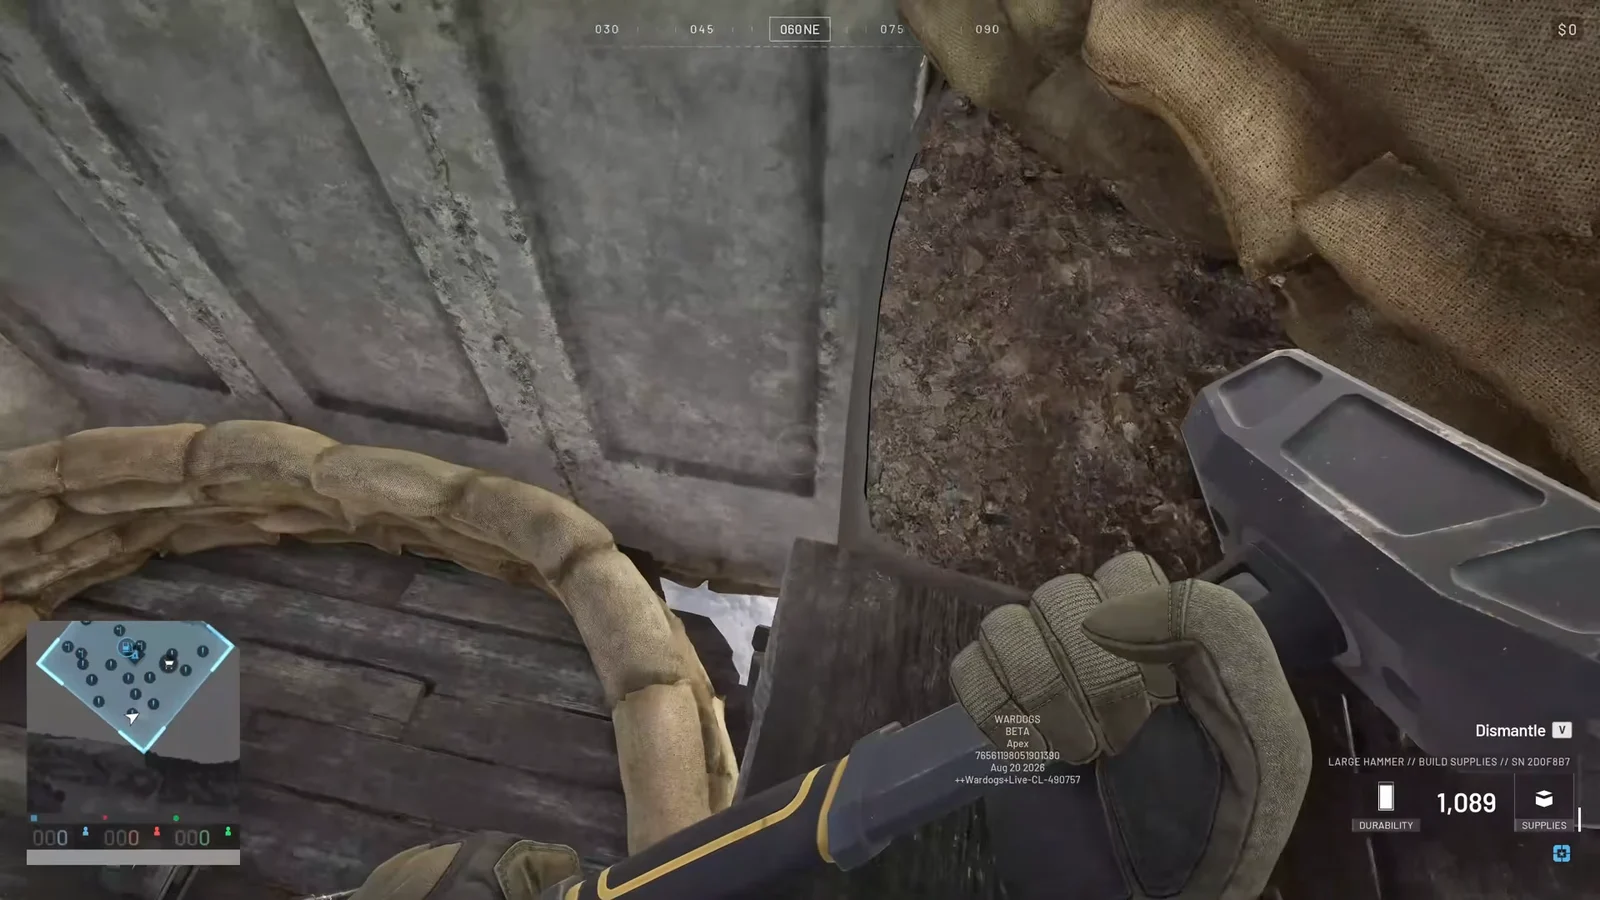
They also double as steps. A sandbag wall against a concrete barrier gives you a vault point, which means crossing a perimeter without touching a gate.
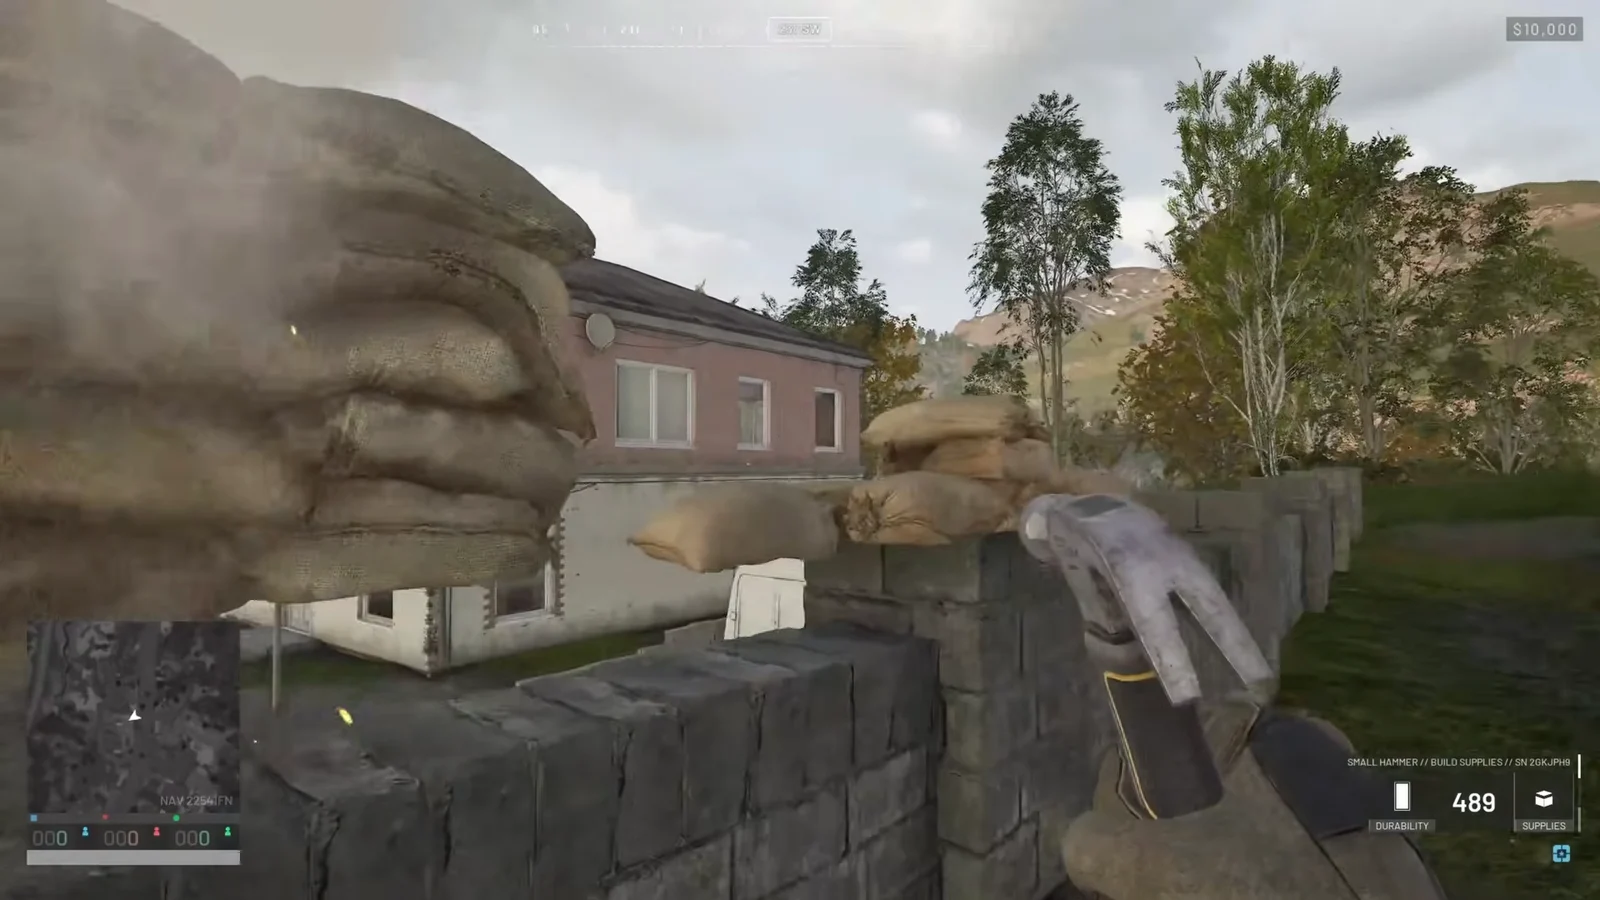
Sandbag walls cannot be placed inside an enemy FOB radius. If the hammer refuses to confirm a placement in an area you expect to work, you are standing inside someone else’s build zone.
Snap building: press B to toggle it on and off
Snapping aligns each new piece to the last one. Leaving it on is what stops walls from ending up with gaps an enemy can shoot through, and it is the correct setting for anything meant to be a solid barrier.
Turning it off is what makes sandbags interesting. Free placement lets you cut a peek-down slit at the exact height you want and build a wall you can vault over rather than walk around. Toggle with B, place the piece, then toggle back before you continue a straight run of wall.
What still requires a FOB radius
The Forward Operating Base kit costs $7,500, weighs 6.5 kg, and does three things. It is needed to build larger structures, it holds items and resources for your team to draw on, and it projects the radius inside which those larger structures can be placed. Placing one costs $1,000.
Everything heavier lives inside that radius. Large Hesco barriers, bunkers, recon towers, indirect fire shelters, Stingray launcher pits, Talon 9K-SAM emplacements and the Buildable Hotzone Magnet all depend on FOB coverage.
Mortar pits need clearance, not tall walls
A common mistake is boxing an L81 mortar inside tall concrete walls. Fired at a high angle, the rounds clip the inside of the enclosure. The build that works places the mortar first, keeps snapping on, spaces the surrounding walls one hesco block away from the weapon, and leaves a doorway. Fire one round straight up to confirm clearance before you rely on it.
Stacking hesco blocks for stairs and two-story outposts
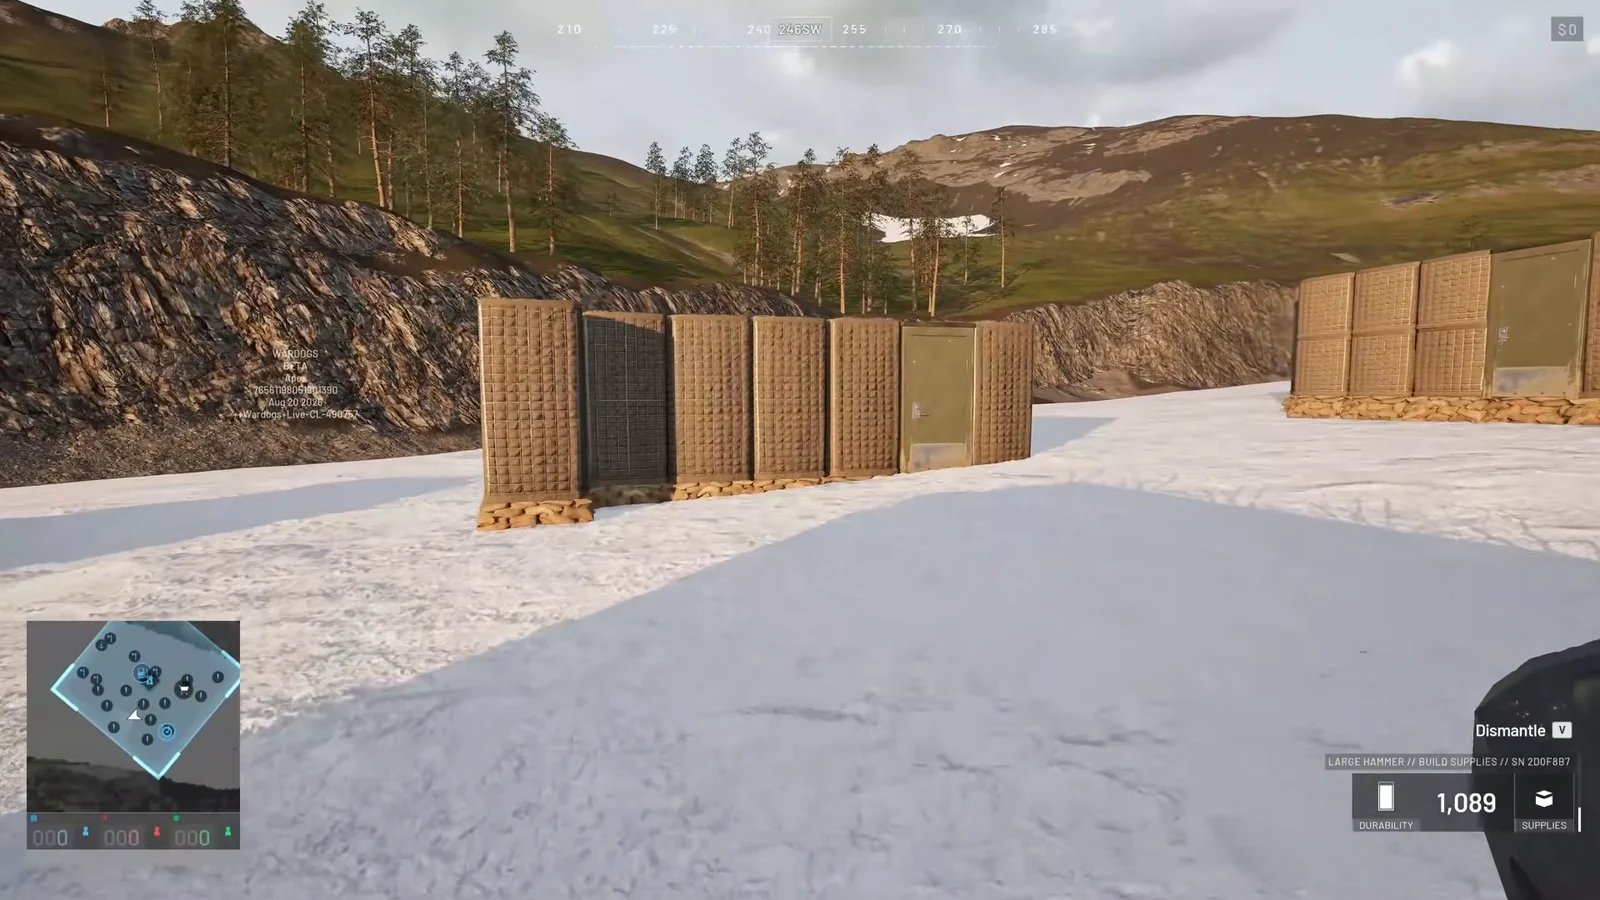
Hesco blocks stack, which is how you get stairs, roof access and two-story bunker outposts without any terrain to work with. Gates are the exception and must be placed on the ground. A Vanguard CIWS or an anti-air mount sitting on a stacked roof needs its sightlines kept clear, so plan the sandbag cover around the gun rather than over it.
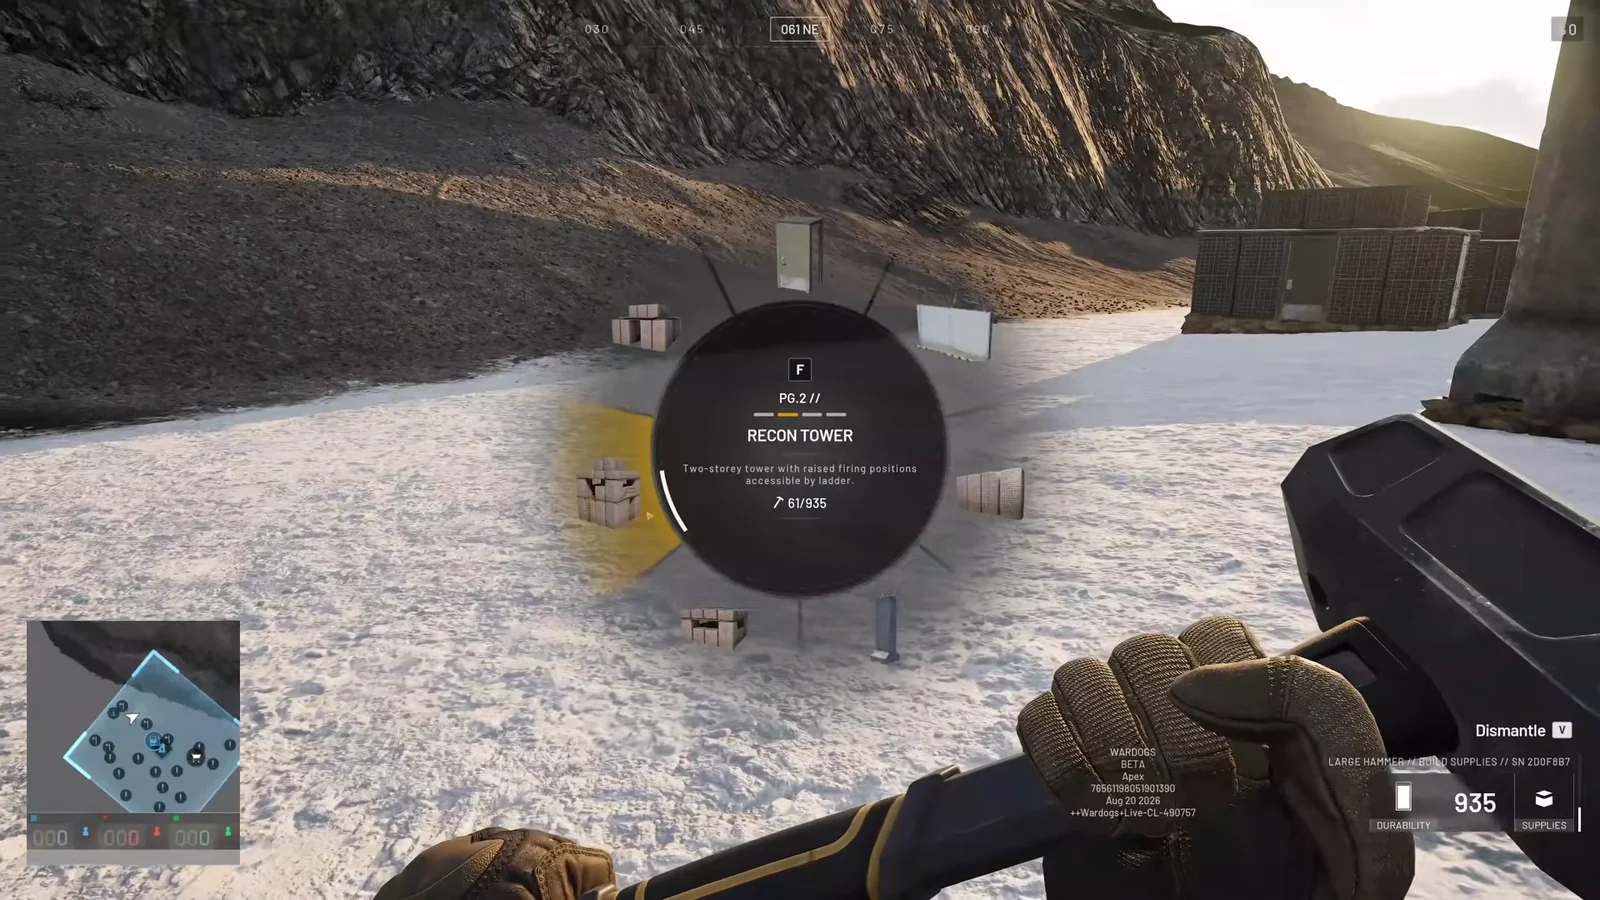
Corners are the weak point of any enclosed bunker. Raising the corner hesco blocks by one level, or laying barbed wire on them, stops enemies vaulting straight in over the edge.
Treat the two systems as separate jobs. The FOB is the squad’s infrastructure and the expensive thing worth defending, while the small hammer is a personal tool for reshaping the ground you are already fighting over. A wire-blocked stairwell, a sandbag slit and a line of hedgehogs across a road cost almost nothing and change how an approach plays out long before anyone spends $7,500.