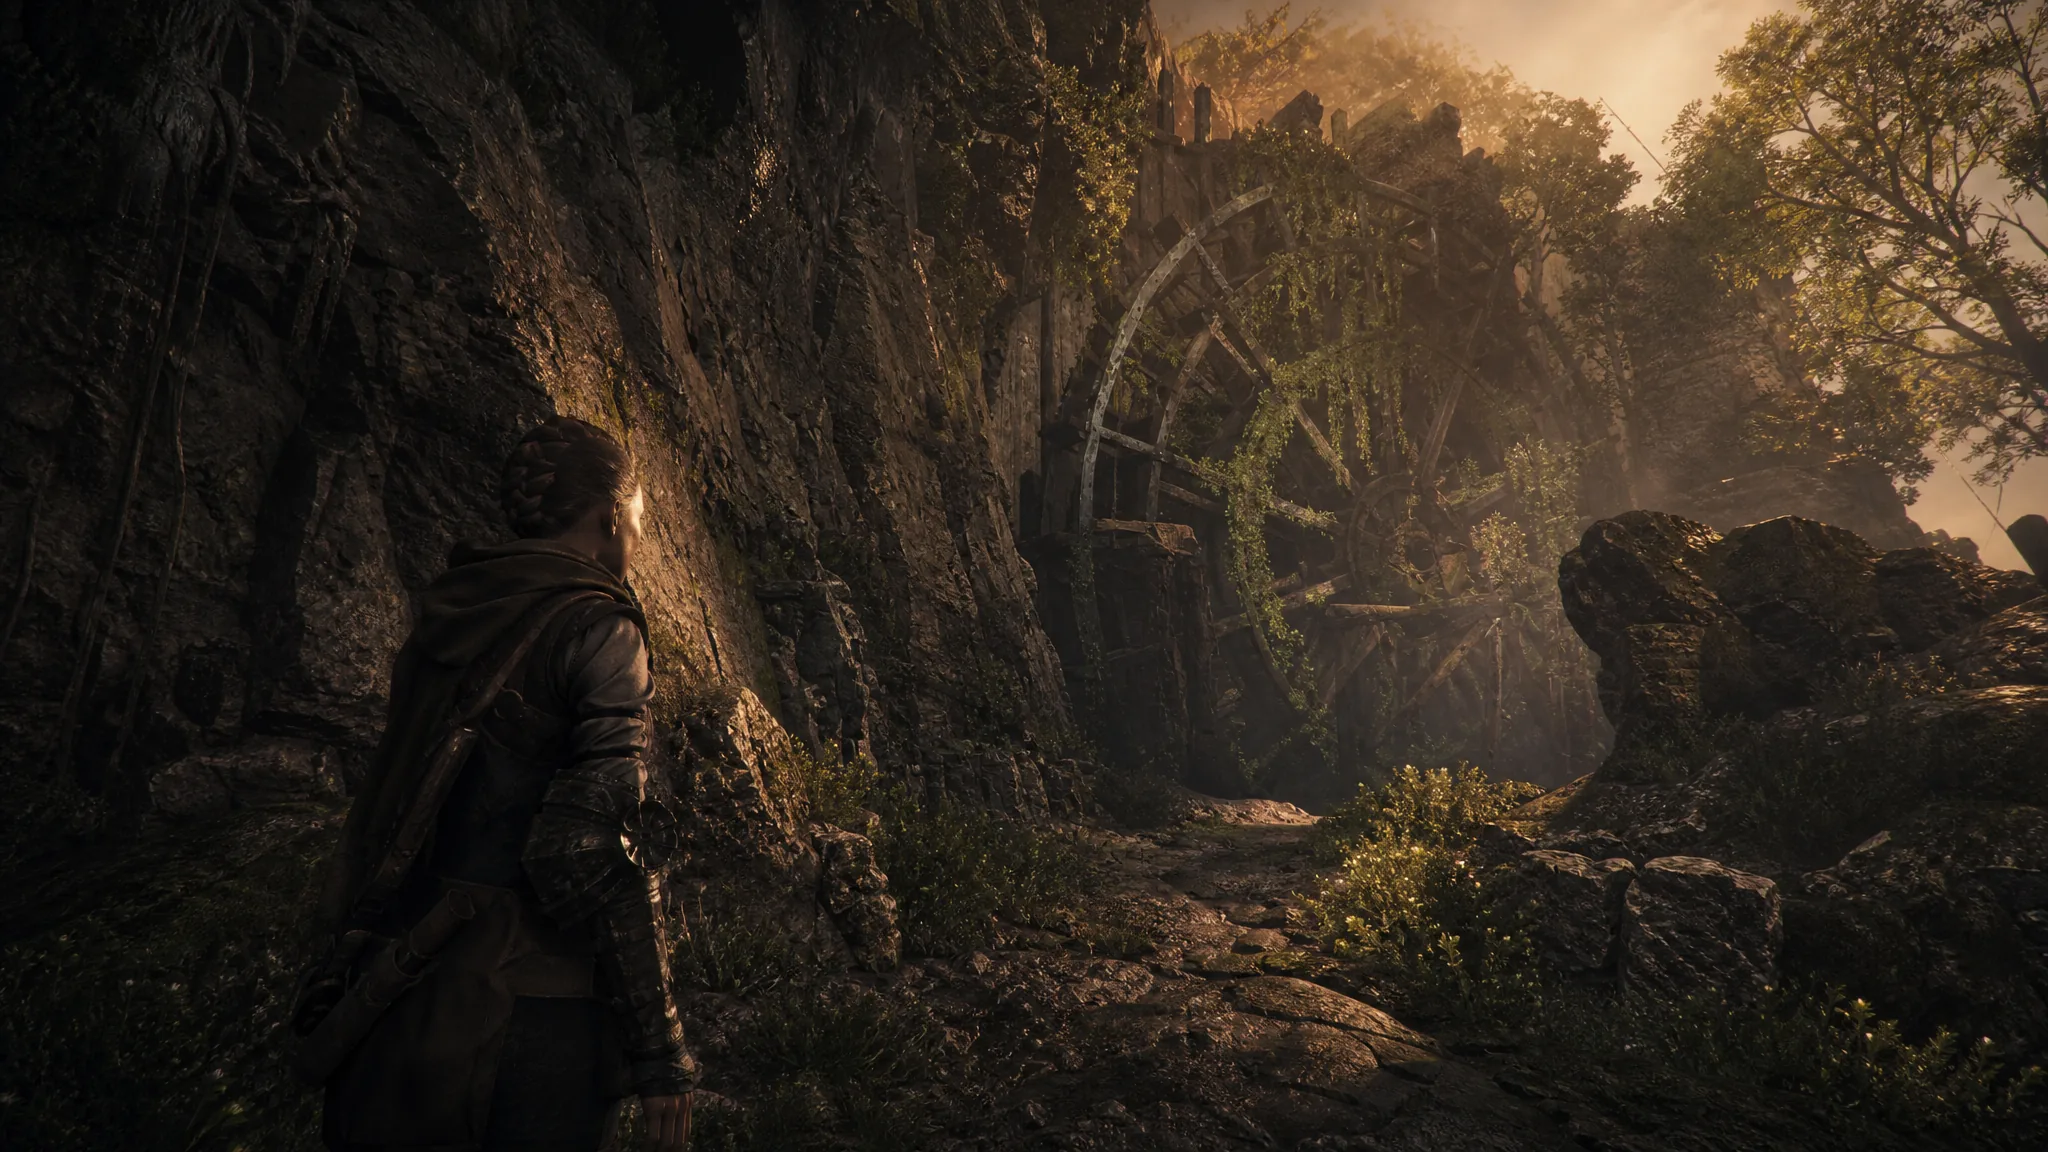
Chapter 6, “What Lies Beneath,” drops Sophia into a flooded, cavernous labyrinth full of giant chains, pipes, and a stalking monster. Six fixed collectibles are tucked into its side rooms, along with a handful of Resonance Points that reward exploration. Everything here can be reached with careful stealth and a couple of light puzzles.
Quick answer: Grab 2 Artefacts (Minoan Queen, Corrupted Mosaic), 3 Charms (Seal 3, Bead 3, Pierced Coin 2), and the Sica blade, plus the Resonance Points along the way. The Artefacts, Charms, and blade can be picked up later through Chapter Select, but Resonance Points only count if you collect them within a single continuous run.
| Collectible | Type | Sub-Chapter |
|---|---|---|
| Minoan Queen | Artefact (Relic of the Past) | 3 – False hope |
| Seal 3 | Charm | 4 – Minoan machinery |
| Bead 3 | Charm | 5 – The Architect |
| Corrupted Mosaic | Artefact (Relic of the Past) | 5 – The Architect |
| Pierced Coin 2 | Charm (Theseus Echo) | 5 – The Architect |
| Sica | Blade | 5 – The Architect |
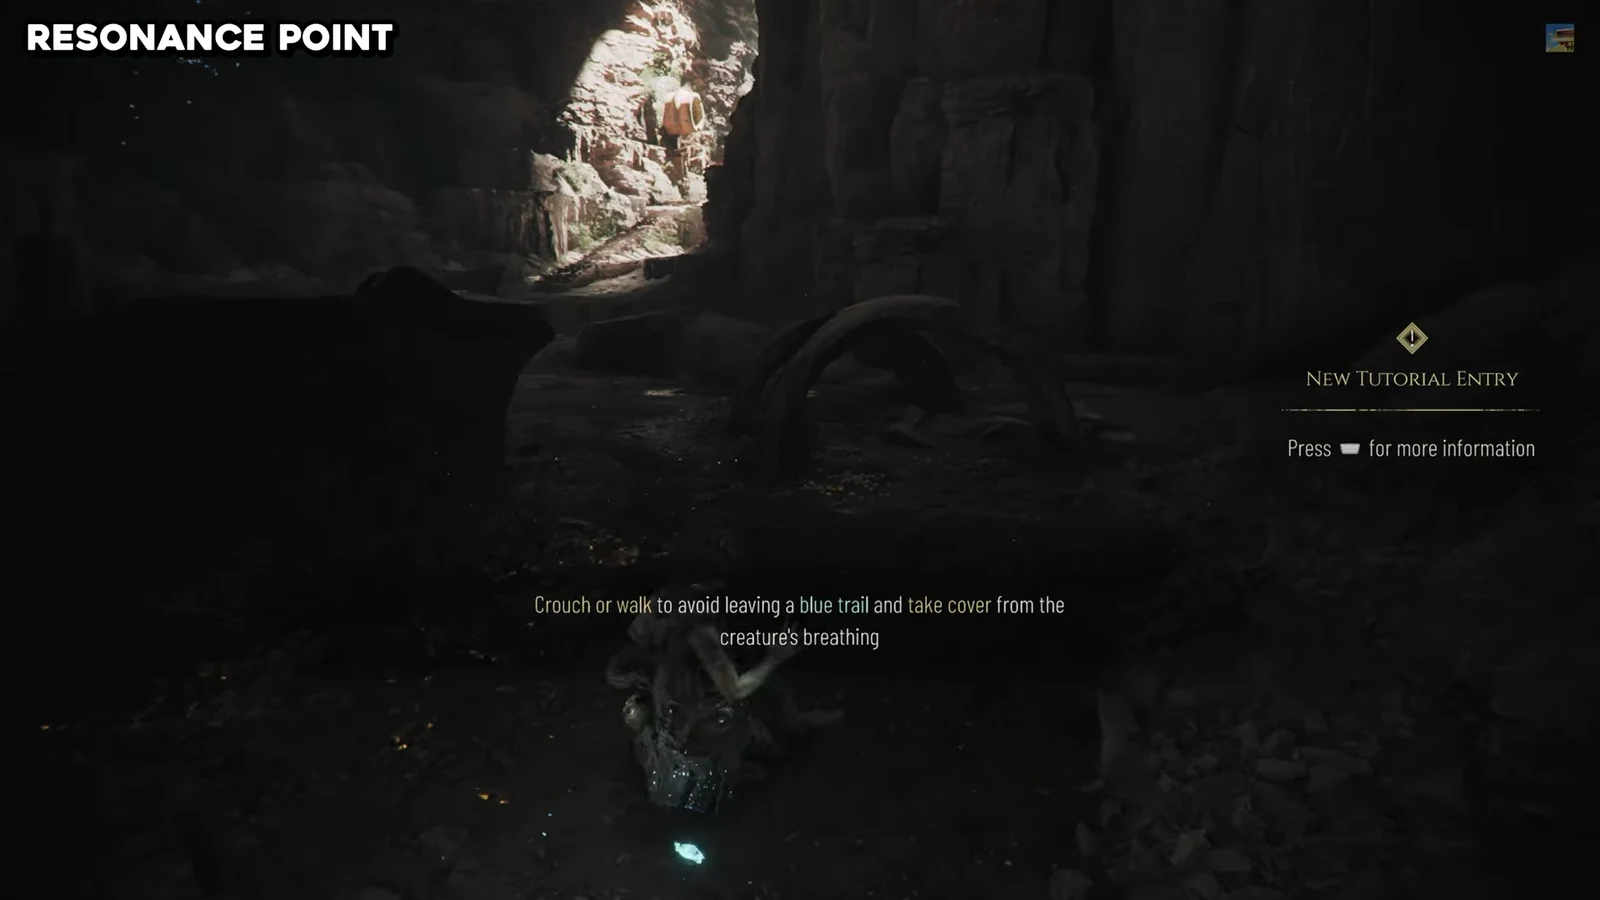
Resonance Points in the opening caverns
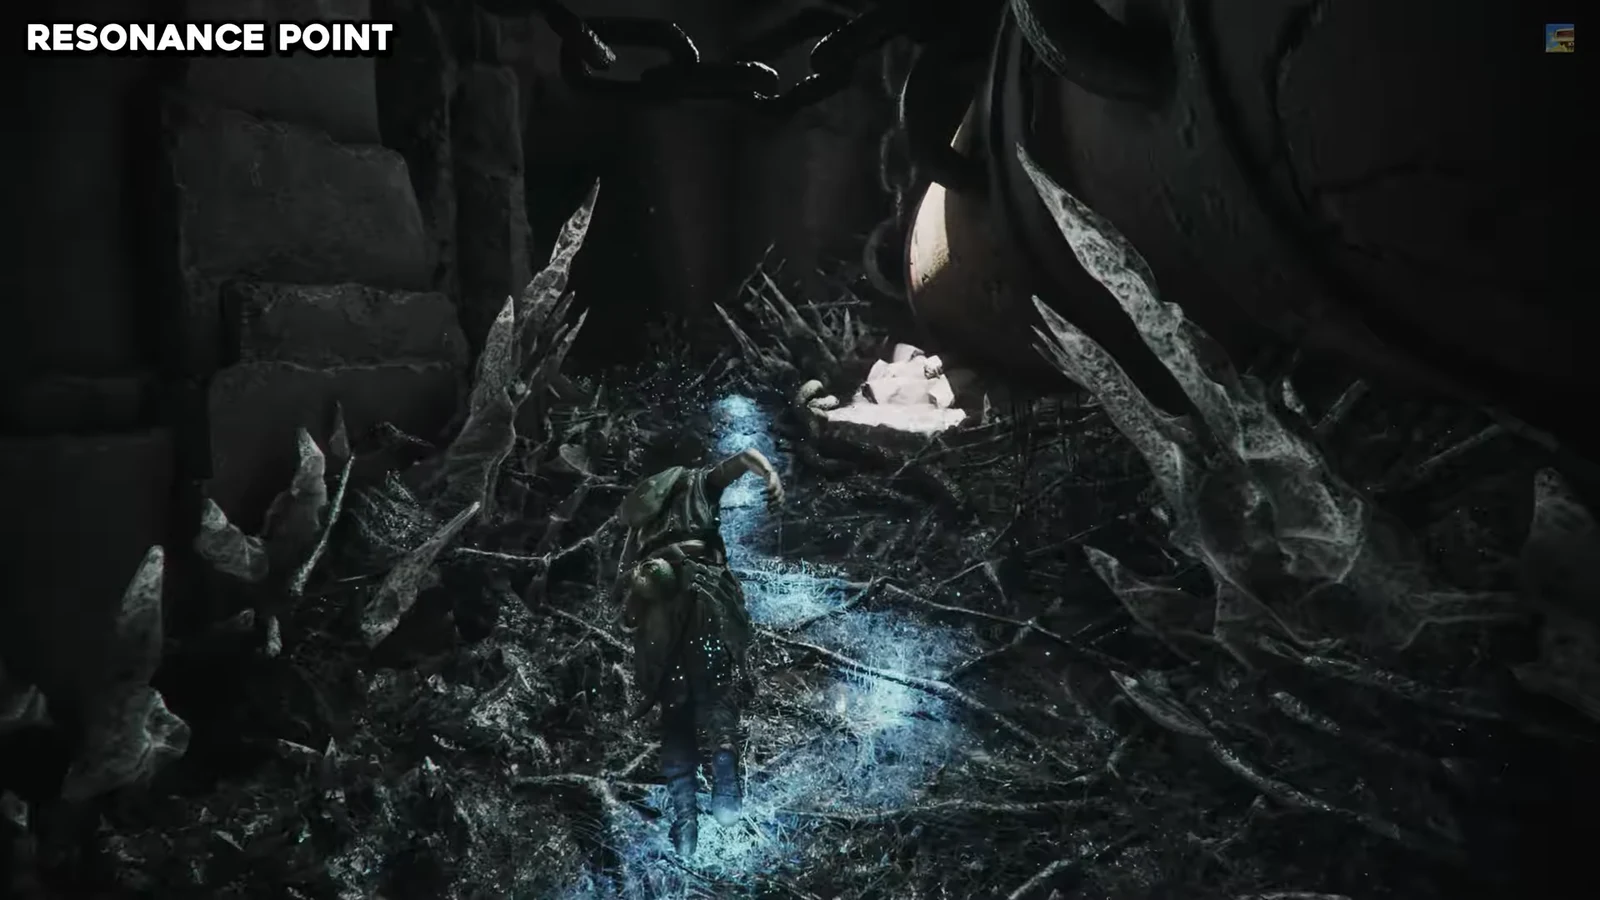
The chapter begins in a dark cavern with huge chains hanging overhead. Follow the glowing blue trail forward and into the large pipe to reach the first Resonance Point. Each pickup adds a single point toward your skill total, so it pays to sweep the path rather than rushing ahead.
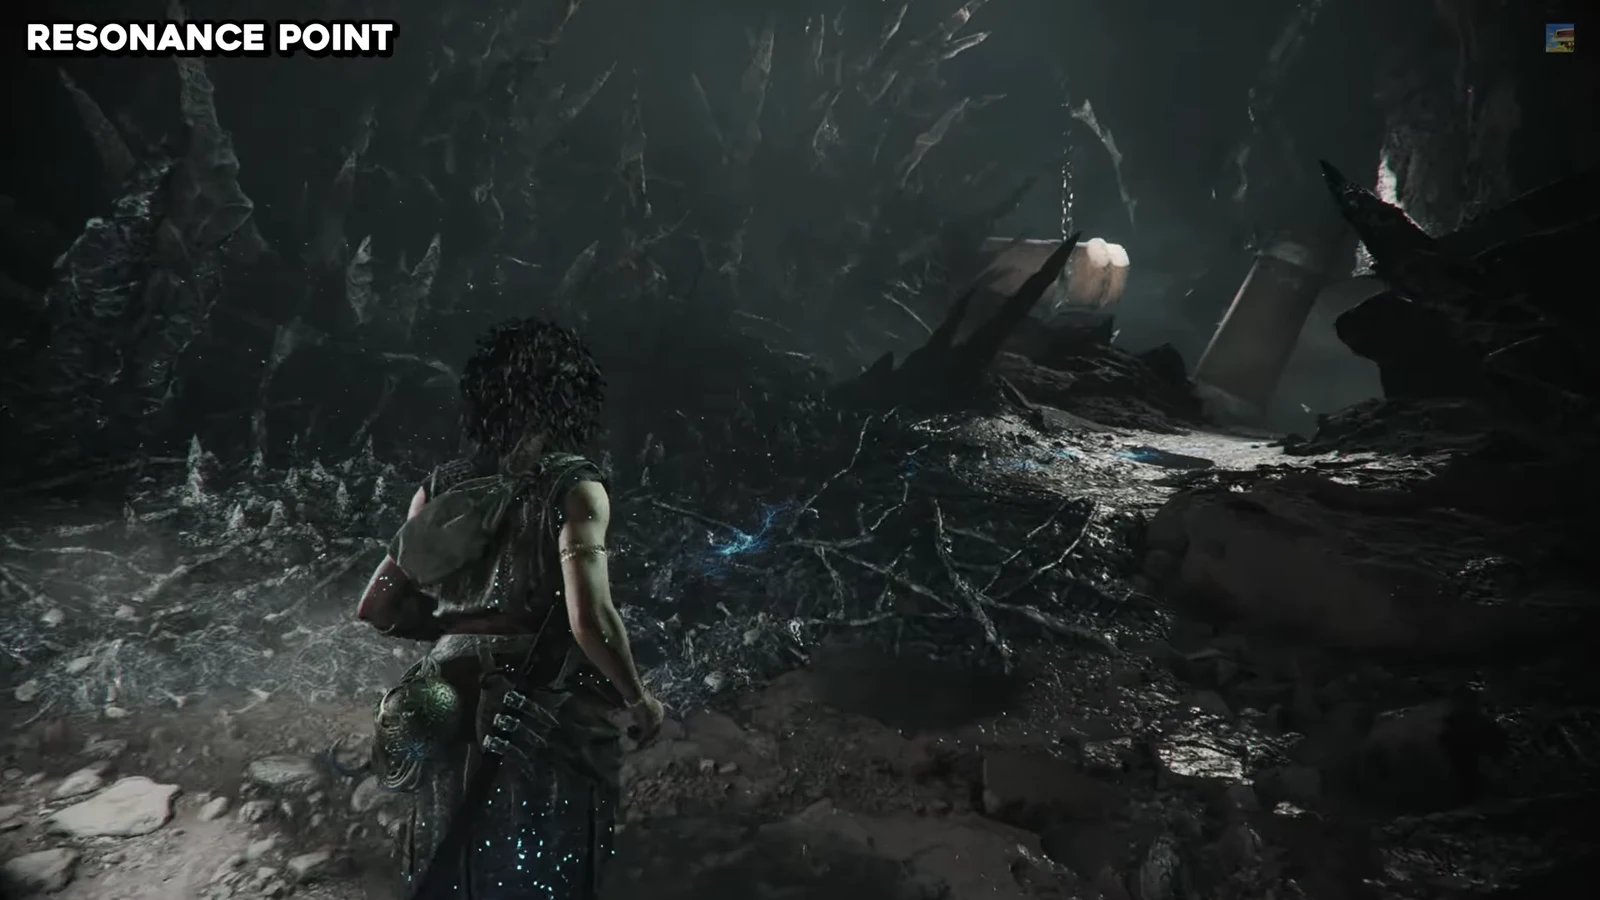
Continue through the narrow, spiky cavern path to collect a second Resonance Point. This stretch is tight, so move slowly and watch for the glimmering light on the ground.
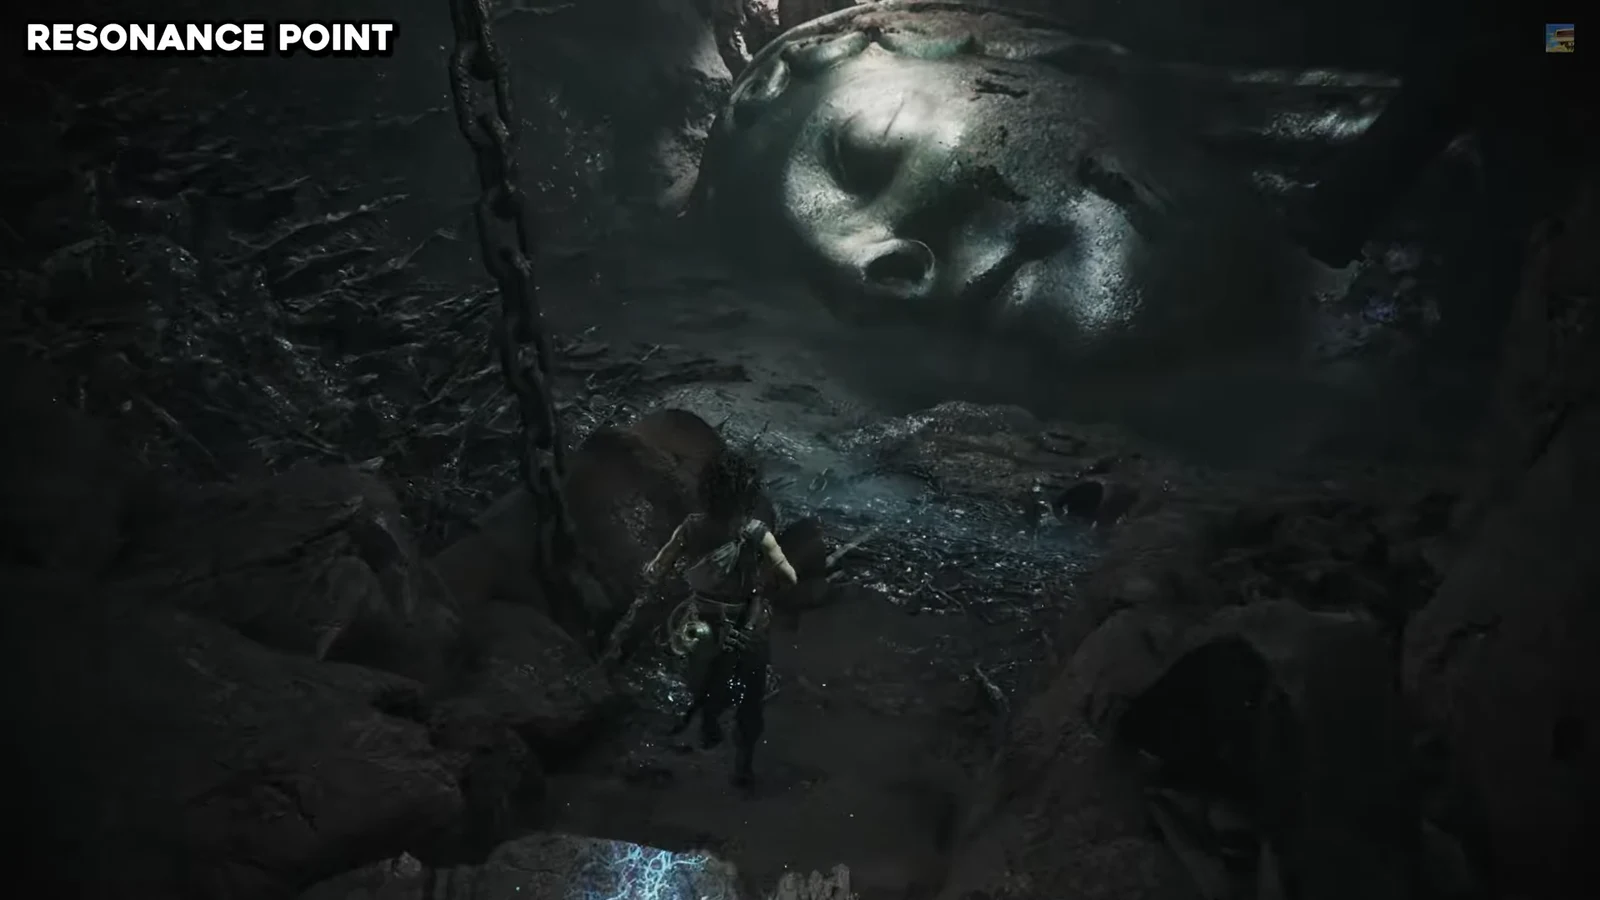
Shortly after, Sophia drops down beside a colossal stone face lying on the cavern floor. This giant statue head is your landmark that the stealth section is close.
An on-screen prompt then teaches the chapter’s core rule for staying alive. Crouch or walk to avoid leaving a blue trail, and take cover from the creature’s breathing. Keeping this in mind lets you comb side paths for Resonance Points without alerting the monster.
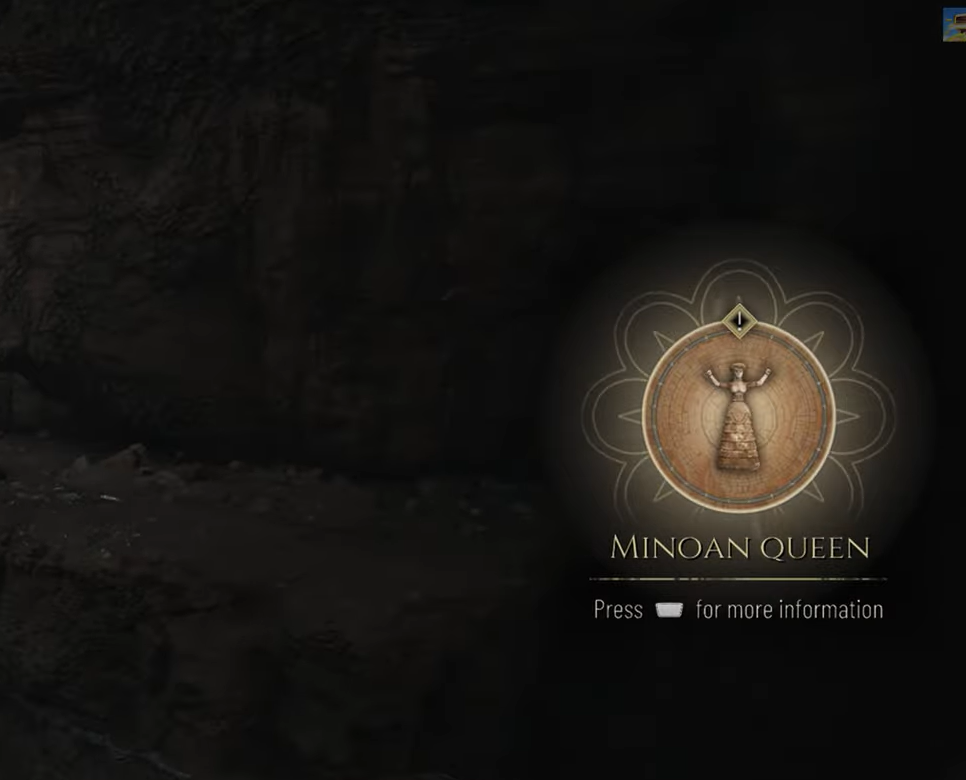
Minoan Queen artefact (Sub-Chapter 3: False hope)
Once Sub-Chapter 3, “False hope,” begins, head forward and pass the broken water wheel. Before you use the grappling hook to climb up, check the cave on your right. The Minoan Queen relic is waiting inside, so grab it while you are still on the lower level.
Seal 3 charm (Sub-Chapter 4: Minoan machinery)
In Sub-Chapter 4, “Minoan machinery,” you escape the monster and enter a room lined with lanterns. Walk to the end of the hallway, where the story has you burn away dust with a mirror. The mirror is on your left behind some boxes, and more crates sit on the right.
Smash the boxes on the right side to reveal the Seal 3 charm. It is easy to walk past while focused on the mirror puzzle, so break the crates before moving on.
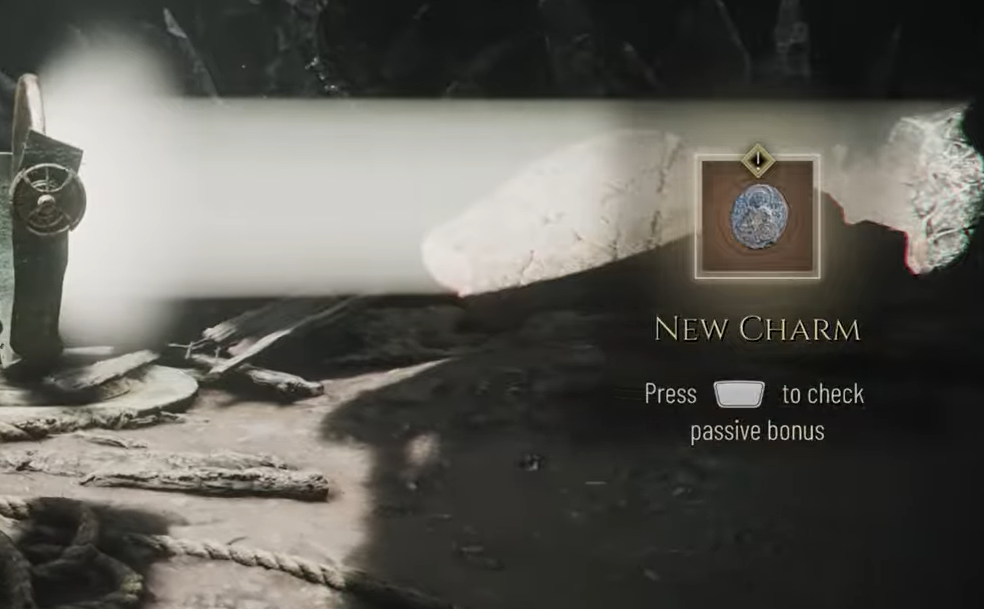
The Architect collectibles (Sub-Chapter 5)
Sub-Chapter 5, “The Architect,” holds most of the chapter’s loot. It opens with a cutscene where Sophia approaches a petrified person at a cliff inside a round room. From that spot you can reach two Charms, an Artefact, and the Sica blade before continuing the story.
Bead 3 charm
After the cutscene, turn right and follow the dark path. A chest containing the Bead 3 charm sits at the end of it.
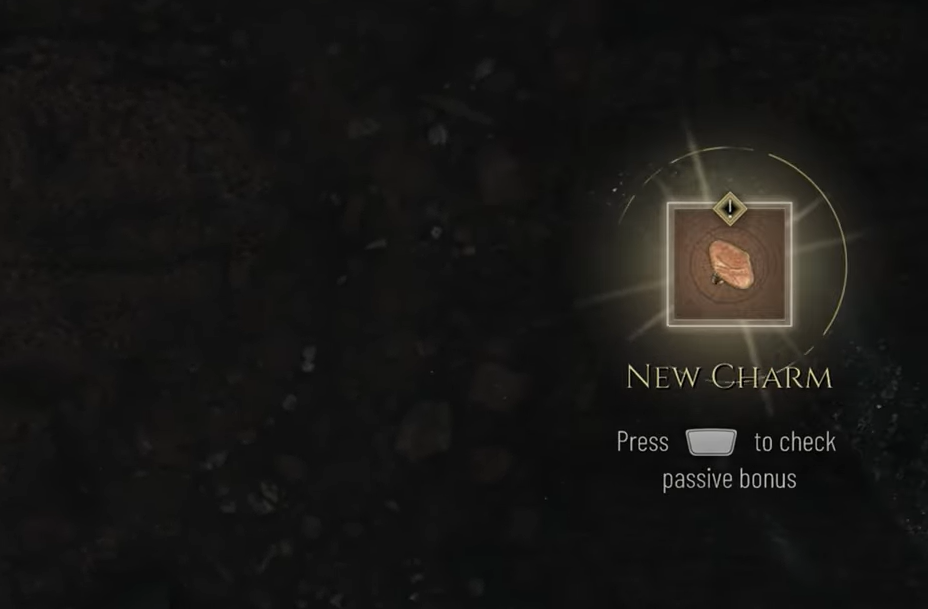
Corrupted Mosaic artefact
Face the staircase you came down and look to its left. Take the dark path on that side and you will spot the Corrupted Mosaic glimmering in a doorway.
Pierced Coin 2 charm (Theseus Echo)
To the left of the Bead 3 chest, drop down the cliff. Do not step through the door on the right yet. Instead, go straight ahead and pass through the door at the far end, then interact with the Axe chalice to earn Pierced Coin 2.
This coin is one of the five Theseus Echoes. Interacting with the Axe chalice triggers a short flashback of Theseus speaking, which confirms you claimed it.
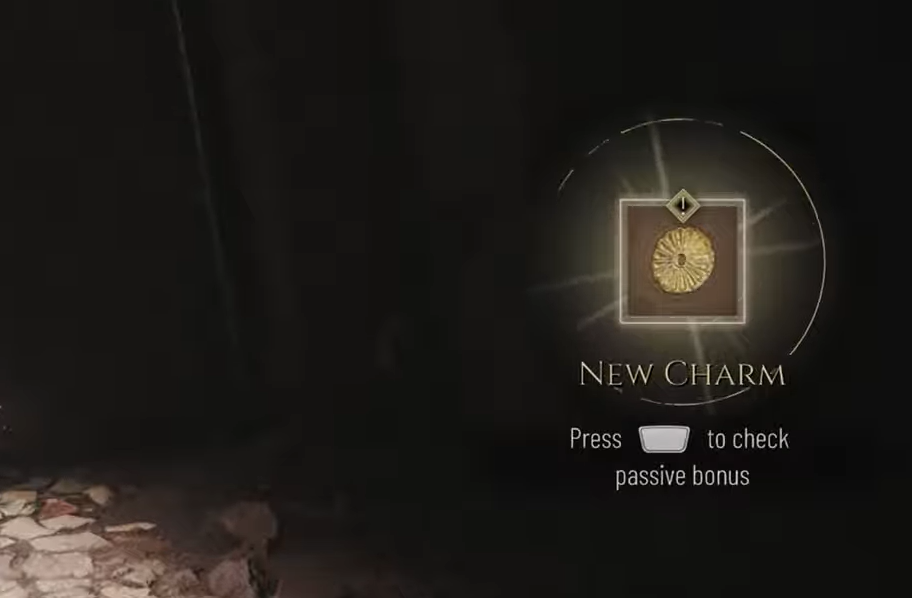
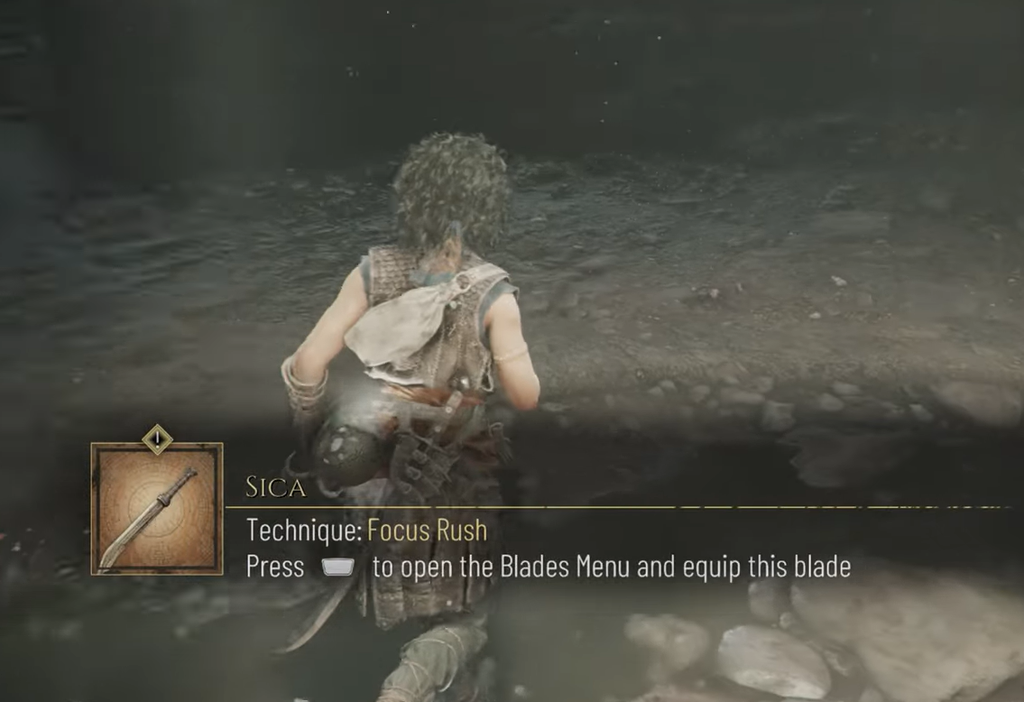
Sica blade and the bull pillar puzzle
How to confirm you got everything
Chapter Select shows a tracker for each collectible type, so you can check your totals against Chapter 6 at any time. The Artefacts, Charms, and the Sica blade are not missable. If you leave one behind, reload the chapter later, grab it, and back out to the main menu to keep the pickup.
Resonance Points work differently. They only save when you reach the next checkpoint, and reloading through Chapter Select resets your total to what it was when you first started that chapter. Because of that, aim to sweep every Resonance Point during a single continuous playthrough rather than counting on a later clean-up run.