
Ending Part 1 in Fire Emblem: Fortune’s Weave is a one-way door for a lot of what you’ve collected. Gold, storage materials, unfinished recruitments, and expiring quests do not follow you into Part 2. A few minutes of cleanup before the final chapter of your protagonist’s route saves you from watching a stack of resources quietly disappear.
Quick answer: Only items held directly in character inventories transfer, capped at six items per unit. Sell or equip everything else, spend all your gold and gifts on recruits, and clear deadline quests first.
The six-item inventory limit on what transfers to Part 2
Open the Base Menu and go to Inventory. Anything sitting in a character’s personal inventory comes with you into Part 2, and each unit can hold six items. That is the whole allowance. Convoy-style storage and the Material Bag do not make the trip.
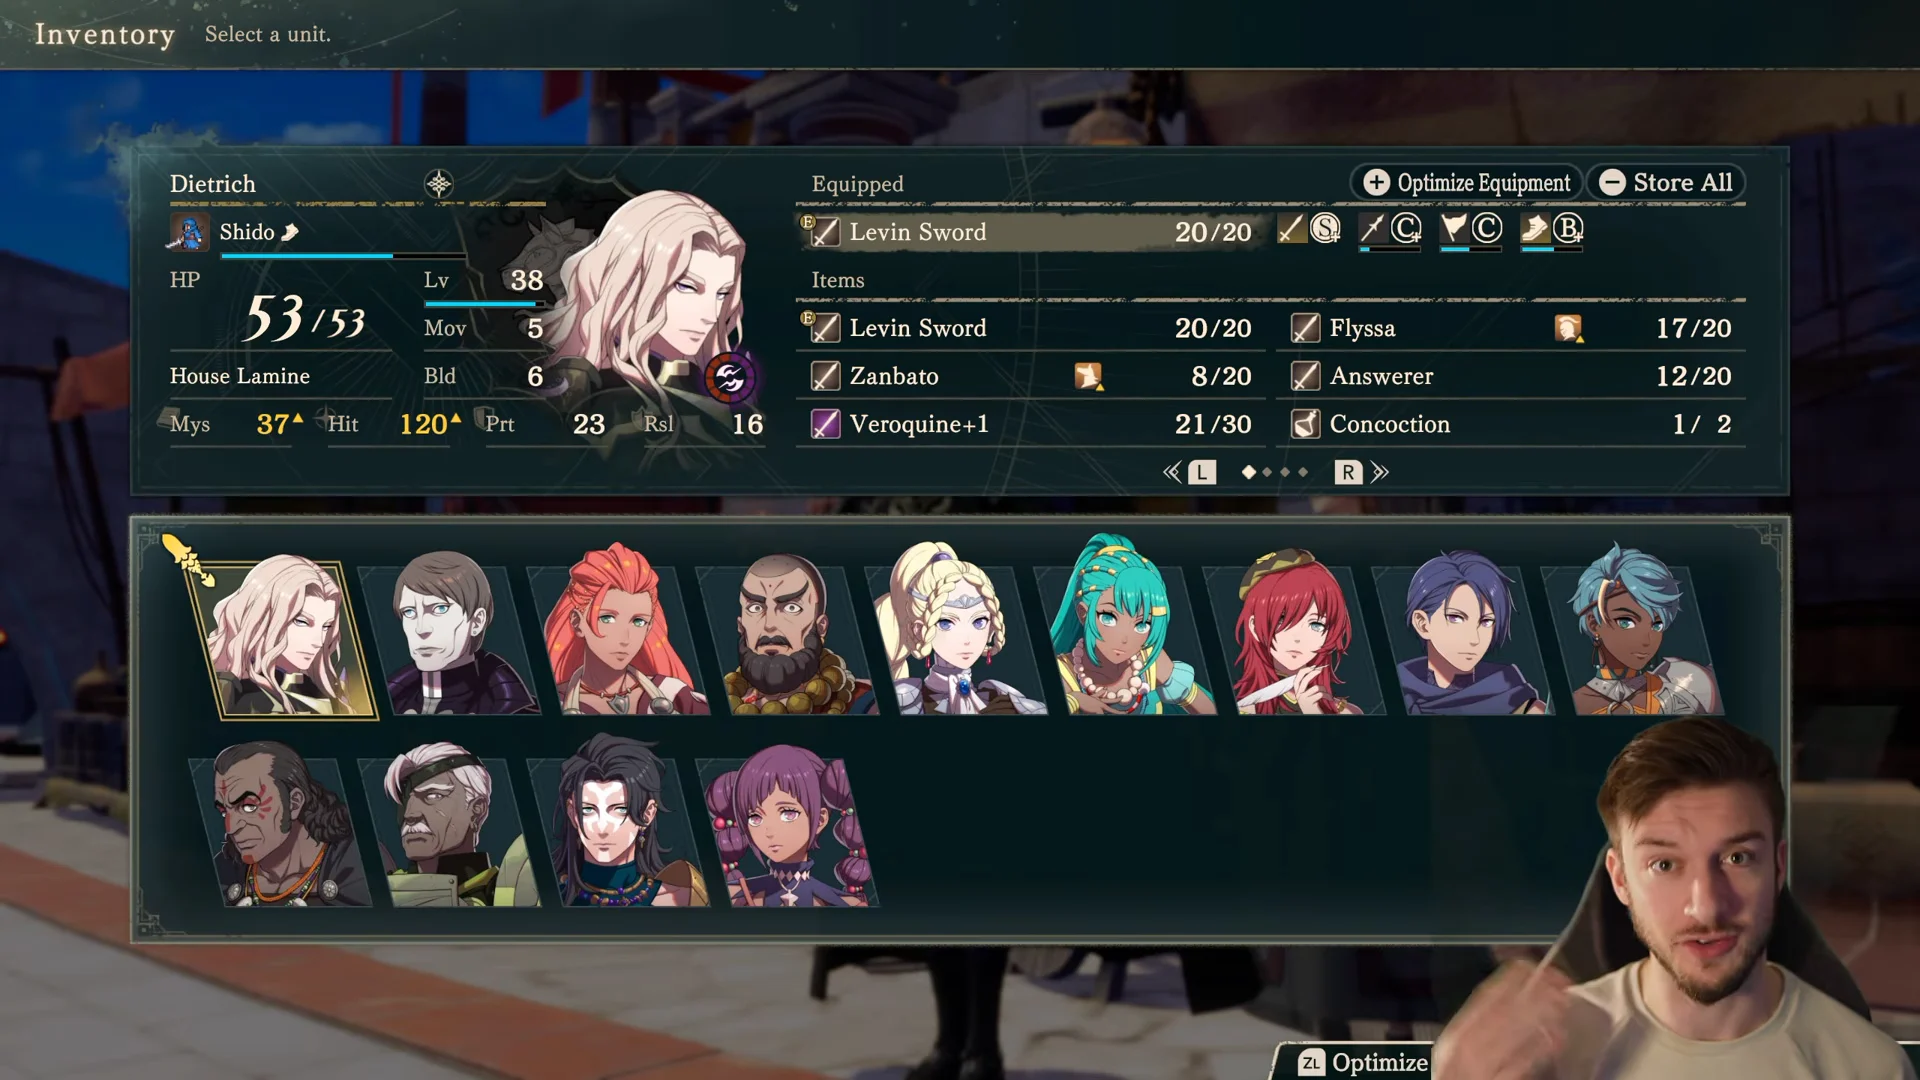
So the job is simple. Distribute the gear and consumables you actually want across your roster until every unit is carrying six useful things, then treat everything left behind as currency rather than inventory.
Fill the slots with equipment and healing items you’ll use immediately in Part 2 rather than hoarding one-off curios that will sit unused.
Sell leftover materials and buy weapon upgrades
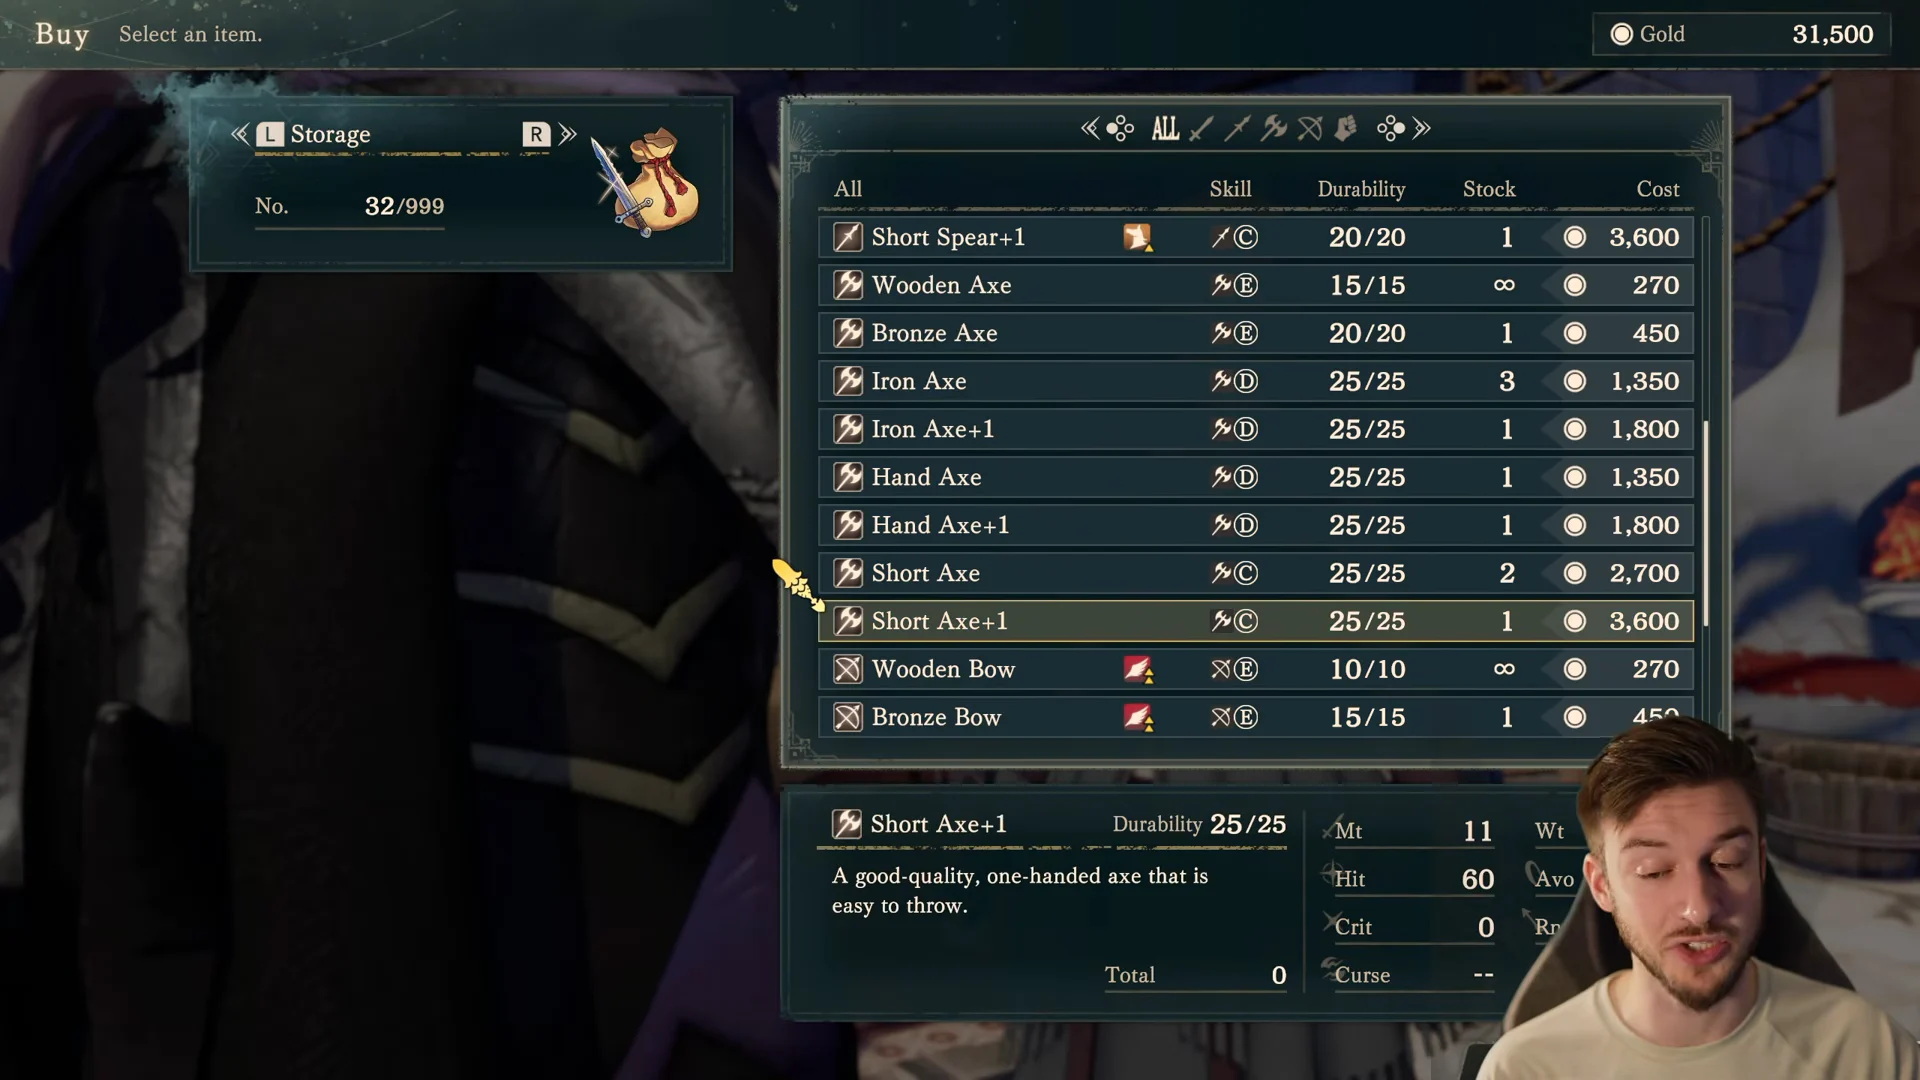
Head to the shop’s Sell screen and work through the Material Bag. High-value sellables like Bullion and Umbral Steel are the obvious candidates, but anything you’re not carrying into Part 2 is fair game. Liquidate it all.
Then turn that gold straight back into something durable. Weapon upgrades such as a Short Axe+1 stay attached to the gear your units are holding, which makes them a far better use of leftover money than a bank balance that resets.
Finish every recruitment you can reach
Recruitment is the piece that pays off longest, because units you raise on one route feed into your combined Part 3 army. Open the People list on the Base Map to see exactly what each potential ally still wants from you. Ultand, for example, lists a support rank and a Renown requirement side by side.
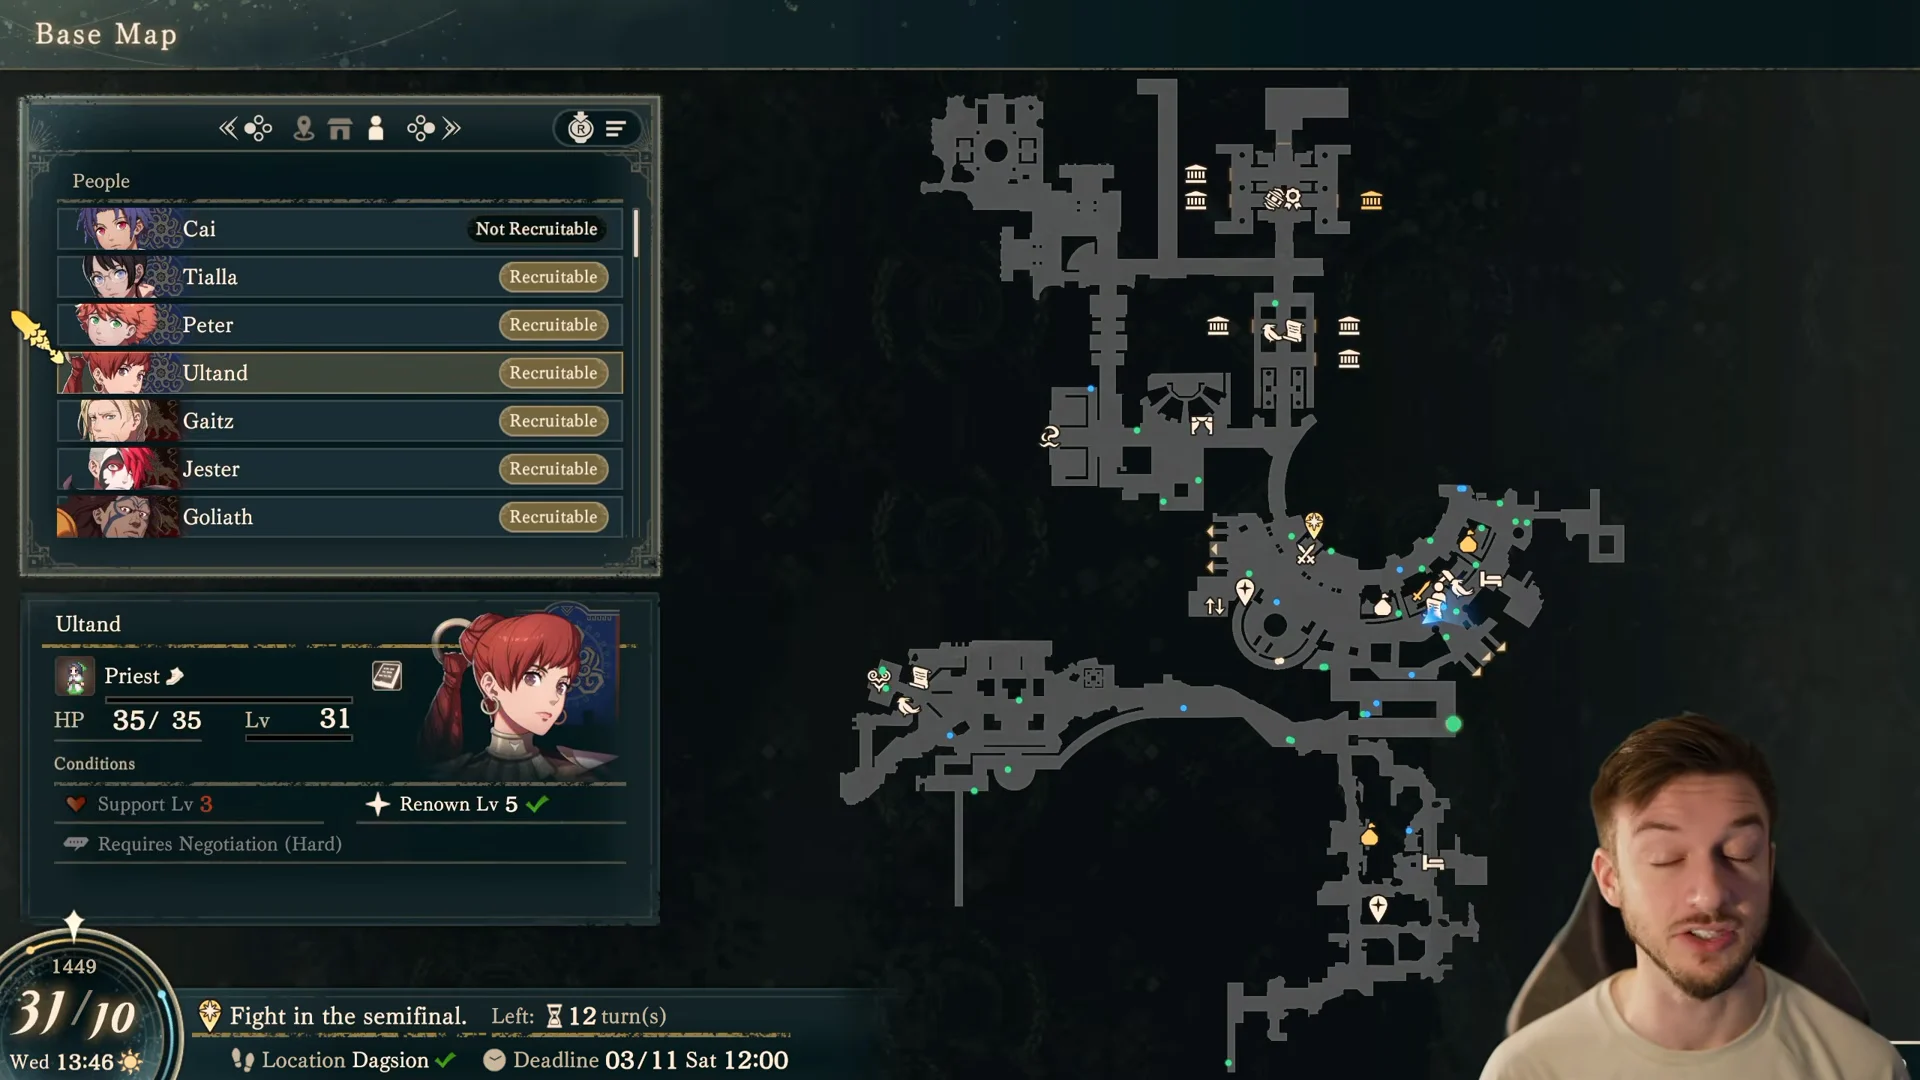
Gifts are the entry fee. A character needs a gift from you before you can invite them to a meal at the Inn, and meals are the fastest way to push support ranks up toward a recruitment threshold. Any gold or gifts still in your pockets when Part 1 ends is wasted, so spend down to zero.
Keep dining supports with Restart Chapter
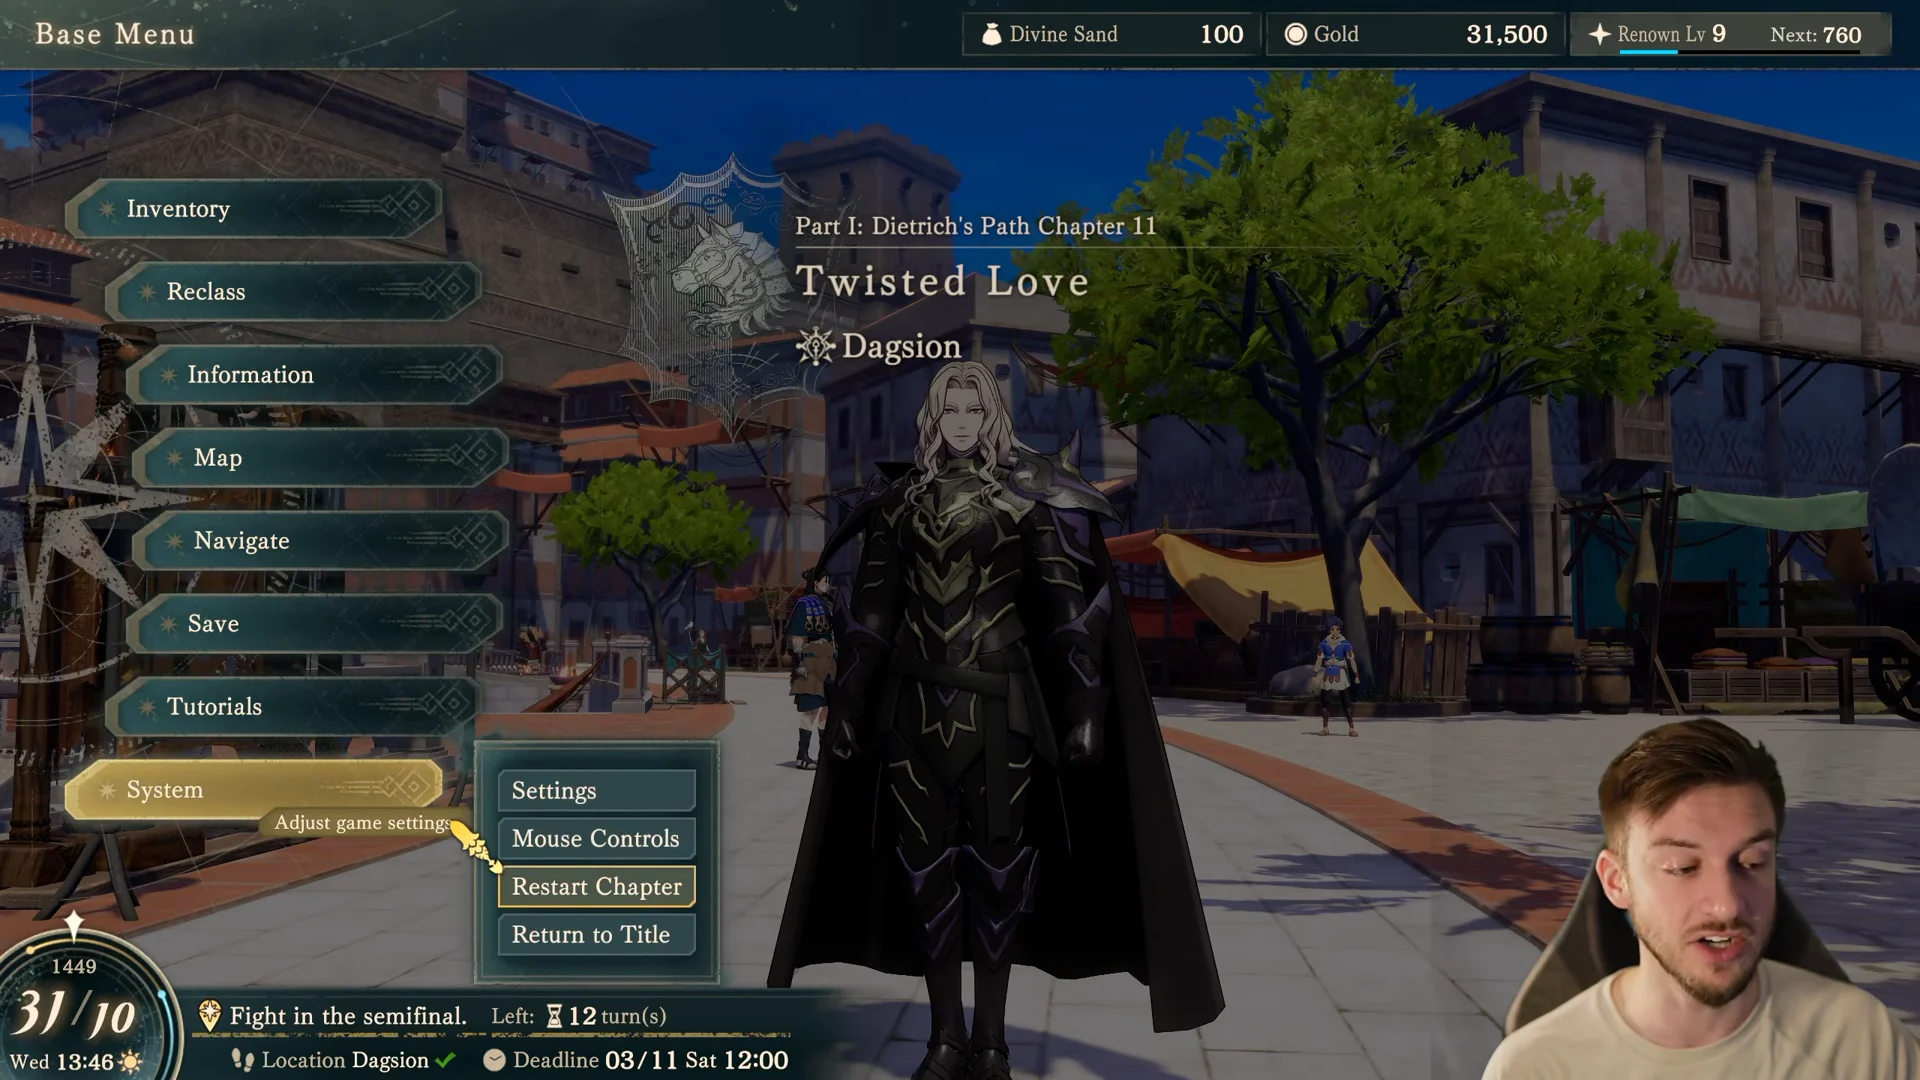
Support gains from dining survive a chapter restart. Open the System menu and pick Restart Chapter, and the support levels you built up over meals stay banked even though the chapter itself rolls back. That lets you push a recruitment threshold without burning the turns you’d otherwise need.
Paralogue-locked recruits
Several characters ignore support and Renown entirely and instead ask you to clear a specific Paralogue. These are easy to forget because nothing prompts you, and the window closes with Part 1.
| Unit | Recruitment gate |
|---|---|
| Ultand | Support rank plus Renown |
| Diego | Clear a specific Paralogue |
| Simon | Paralogue completion |
| Fianna | Paralogue completion |
| Ursula | Paralogue completion |
| Sha Lan | Paralogue completion |
The People list names the exact Paralogue for each one, so check it against the maps you’ve already cleared before assuming you’re done.
Clear time-limited quests on the Calendar
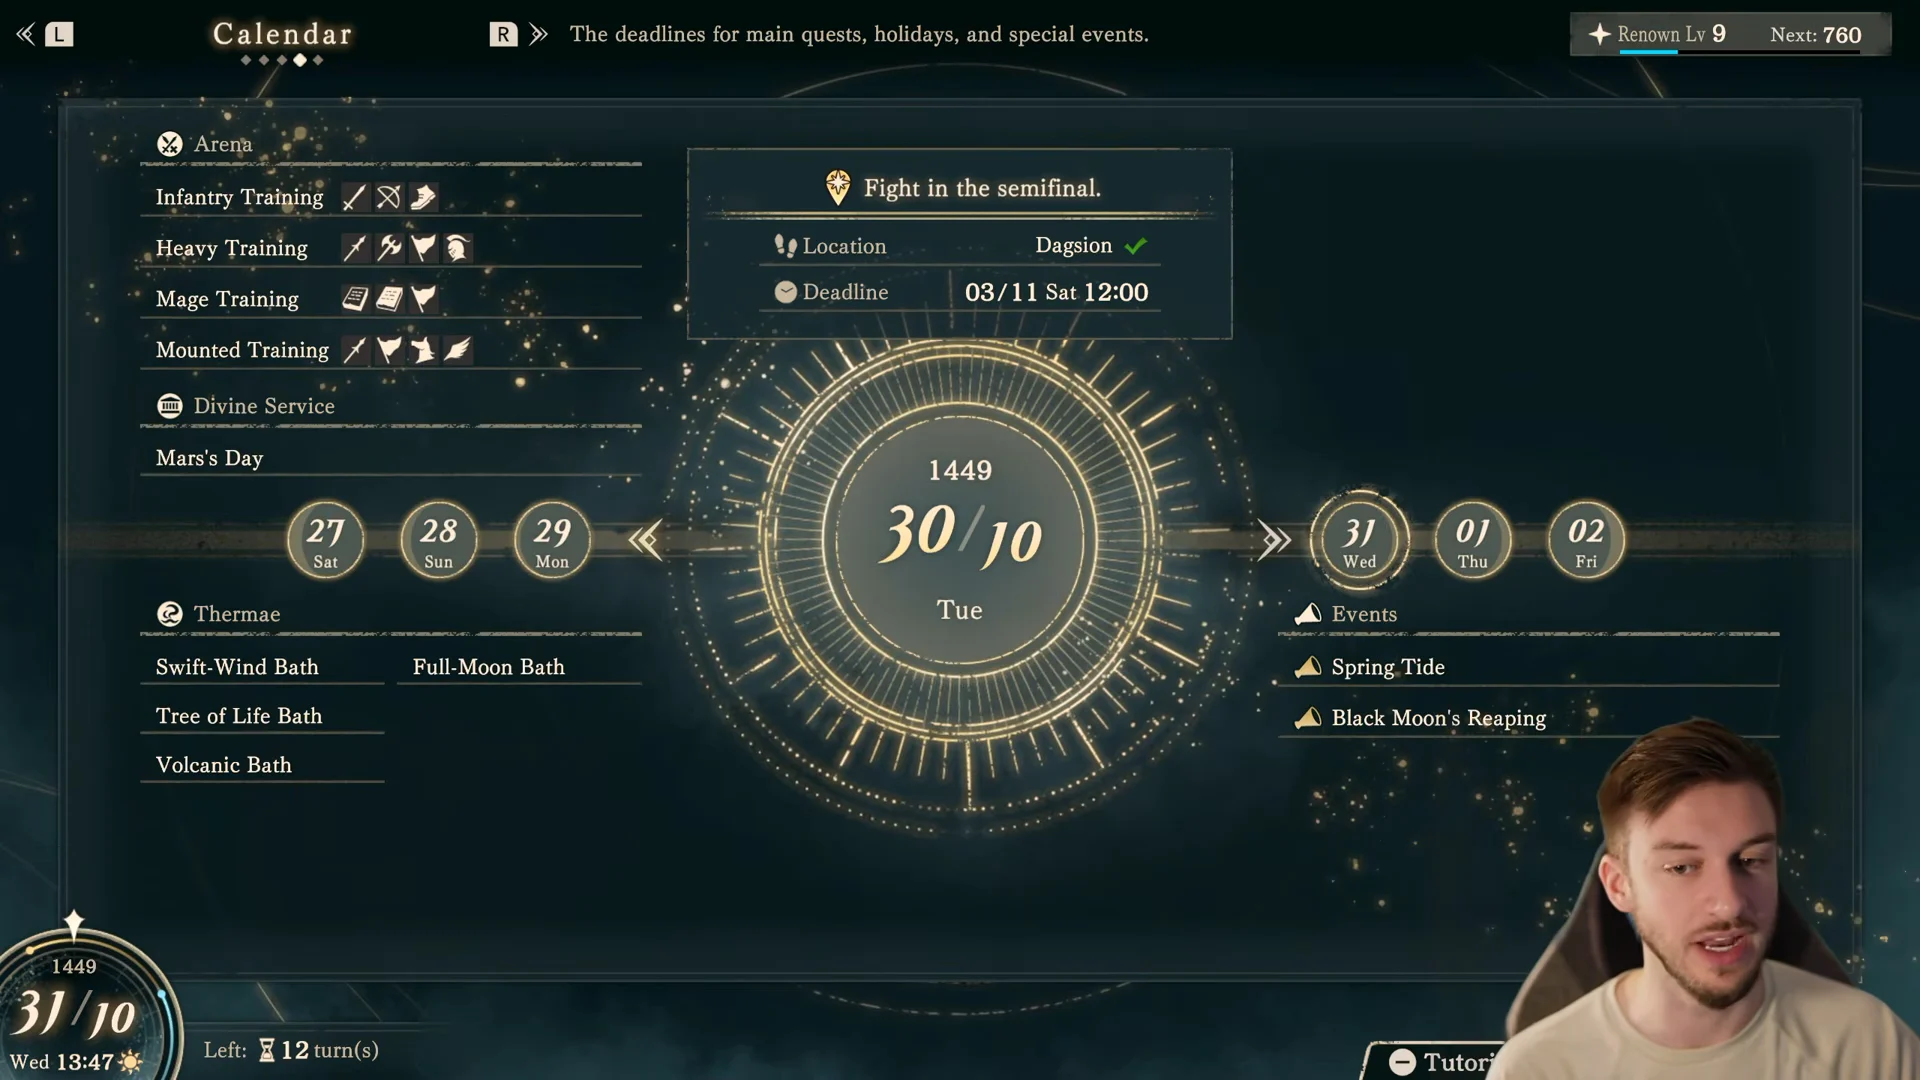
Some quests expire on a date rather than at the end of the part. Cross-reference the Quest List with the in-game Calendar and look for anything with a deadline attached, such as the Dread Warrior Challenges or Attack of the Huge Birds. Missing the date means missing the reward outright.
Farm Renown and God Blessings while you still can
Renown gates recruitments, so if a unit is sitting one point away, this is where you close the gap. From the Base Map, press right and then up to jump straight to Dagda’s Temple and its branch temples, including Smyrnos’s Branch Temple. Those are your fastest stops for Renown and God Blessings.
Dietrich generates Renown differently from the other protagonists and leans on Answerer’s Call to do it, so plan a little extra time on his route.
Divine Service days and a weekly routine
The Calendar marks Divine Service days such as Credna’s Day and Dagda’s Day, which falls on Sunday. Those days hand out bonus blessing points and special Arena discounts, so line up your temple visits and Arena time with them instead of spending turns at random.
- Saturday: training and meals, both of which build support and stats.
- Rest at the Inn through to Sunday so facilities reset.
- Sunday: Dagda’s Day bonuses, then head out for dungeons and Paralogues.
The Perch and Headhunter duels
On the upper pavilion, the Perch offers a temporary buff when you interact with it. The dialogue drops hints about which buff you’re getting, so it rewards actually reading the lines instead of mashing through them.
In town, the Headhunter NPC offers exclusive duel challenges. Completing these duels grants unique abilities to characters. Cai’s route also includes Kindness Quests, a subquest category exclusive to him. Each is easy to overlook, so do not expect either to remain available.
How to confirm you’re ready to end Part 1
Run a last pass through four screens. The Inventory should show each unit holding items you actually want, up to six. The Material Bag should be empty of anything worth selling. Your gold and gift stock should be close to zero. The People list should show no recruit you could still have reached.
Once that’s true, the Quest List is your final check. Anything still flagged with a date on the Calendar is either done or gone, and there’s nothing left to salvage after the chapter ends.
The effort compounds later. Units you’ve raised across protagonists who have finished Part 2 get merged in Part 3, with support ranks, weapon experience, and unlocked classes combined into single characters. Recruiting the same person on more than one route is how you end up starting the final arc with an army that can survive it, which is why a thin Part 1 finish costs you more than it looks like at the time.