

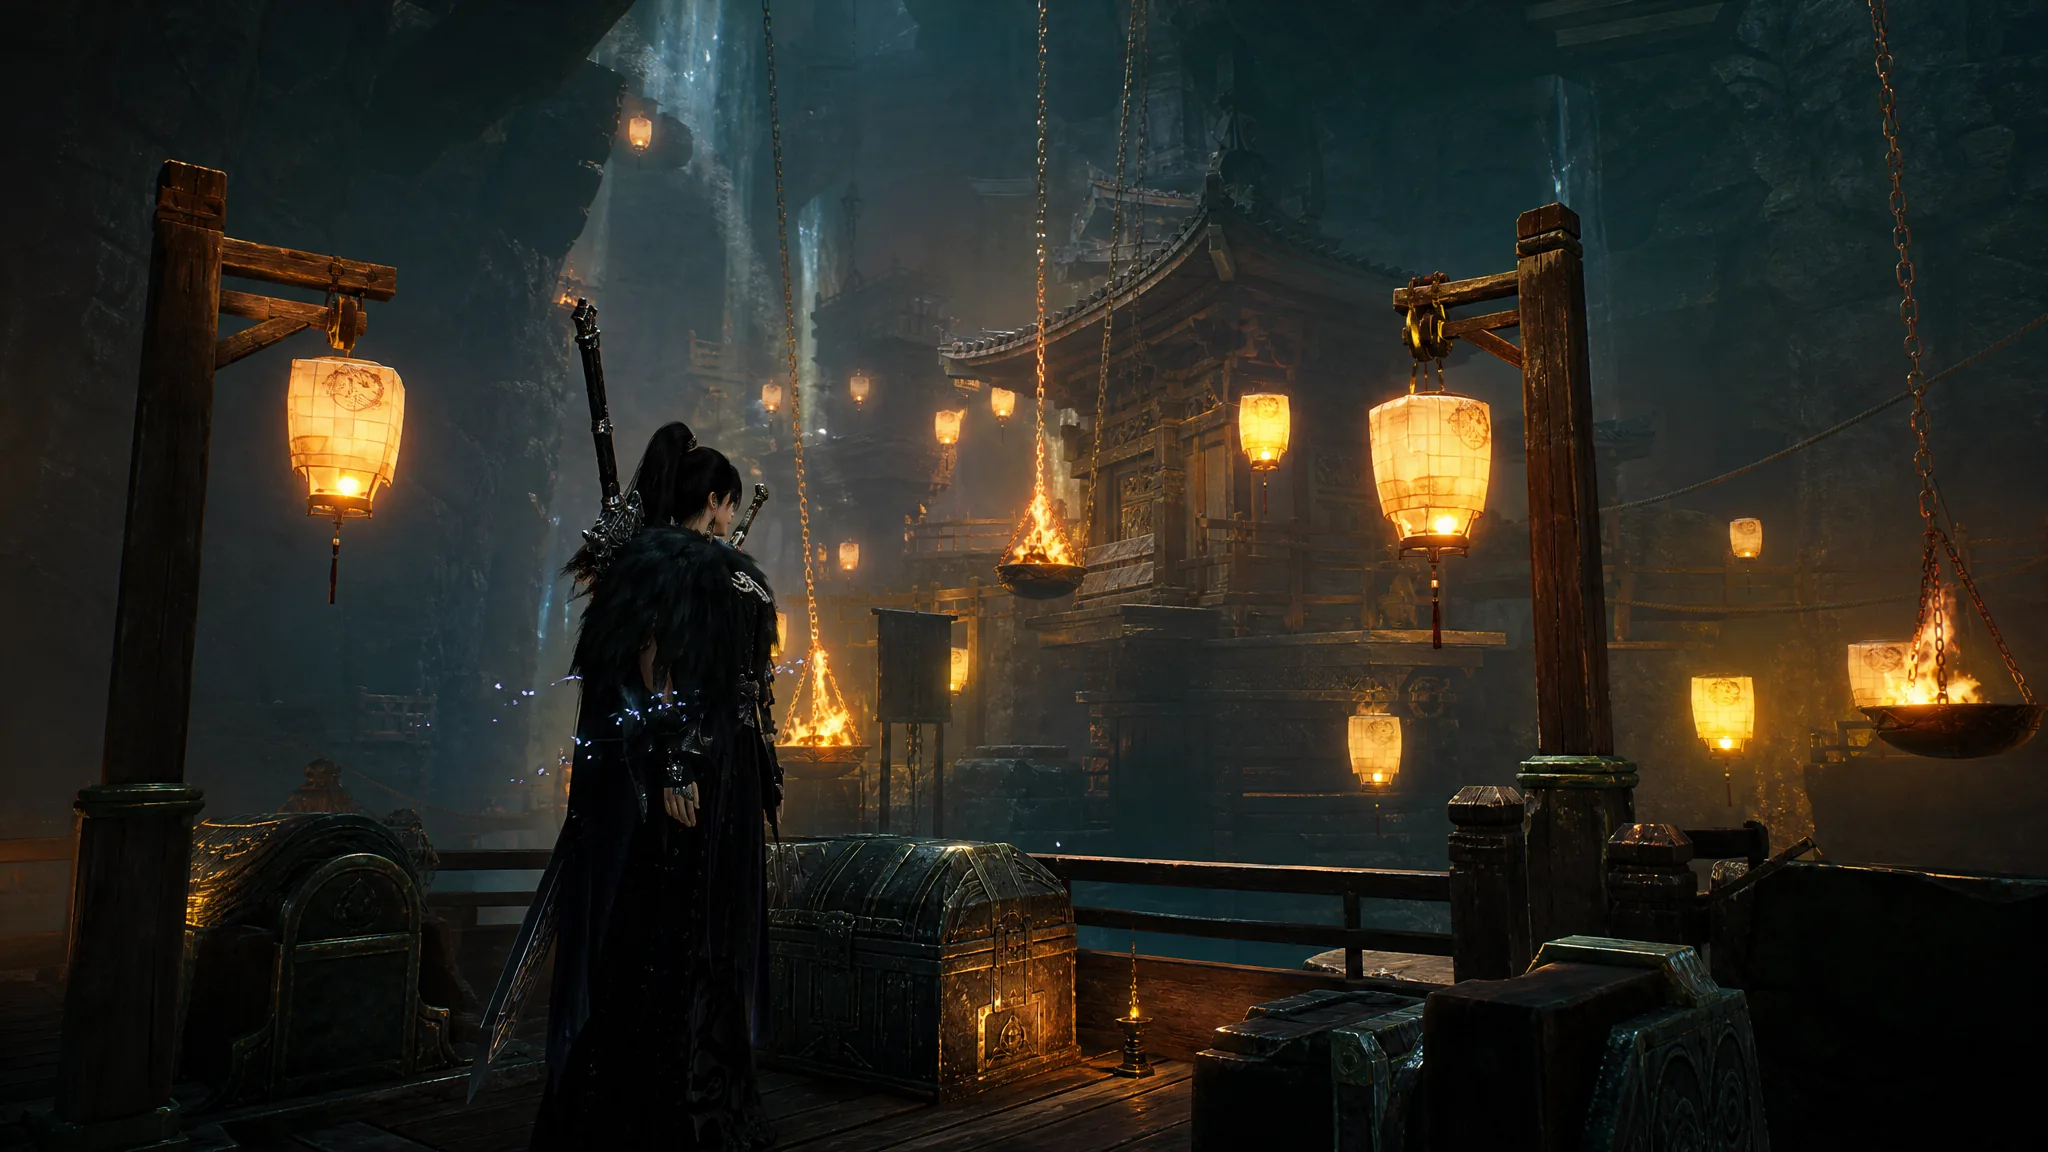
Zenithstride is a Divinecraft Dungeon tucked into Goldflow Slope, inside the Heaven’s Threshold section of Hidden Mountain in Where Winds Meet. It is a vertical platforming cavern rather than a combat run, and it holds seven chests along with a letter needed for the Wandering Tale: The Elder’s Legacy II quest. The whole dungeon reads as one long downward path, so once you know where each chest branches off, a full clear is fast.
Quick answer: Enter through the gear puzzle, drop the opening shaft for Chest 1, grab Chests 2–4 around the central rotating chain hub, zipline to the pavilion for Chest 5, then glide down to the final temple for Chests 6 and 7. Pick up the letter Travels Beyond VI next to the final chests before leaving.
Before you enter Zenithstride
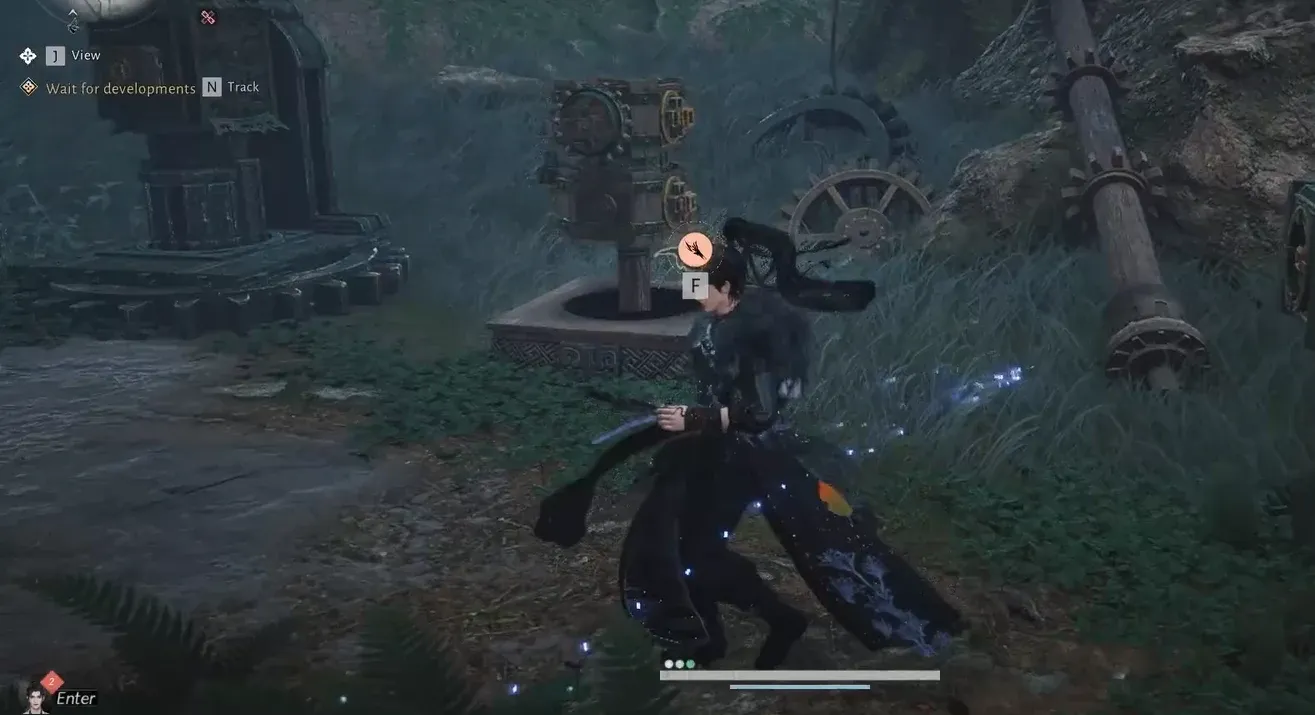
Travel to Goldflow Slope in Hidden Mountain and glide down to the cave entrance. Pi the Fifth, a Mohist Hill Disciple, stands near the door and starts the dialogue that lets you unlock it. You will hand a quest item back to this same NPC after finishing, so remember where they wait.
Note: the dungeon restricts certain skills. On entry the game warns that “There’s something off about this place. Your strength feels drained,” and lists a “Restriction: Certain Skills” condition. Movement tools like wind gliding, ziplines, and the Celestial Seize ability still work, and those are all you need to clear it.
Open the entrance gear puzzle
All 7 Zenithstride chest locations
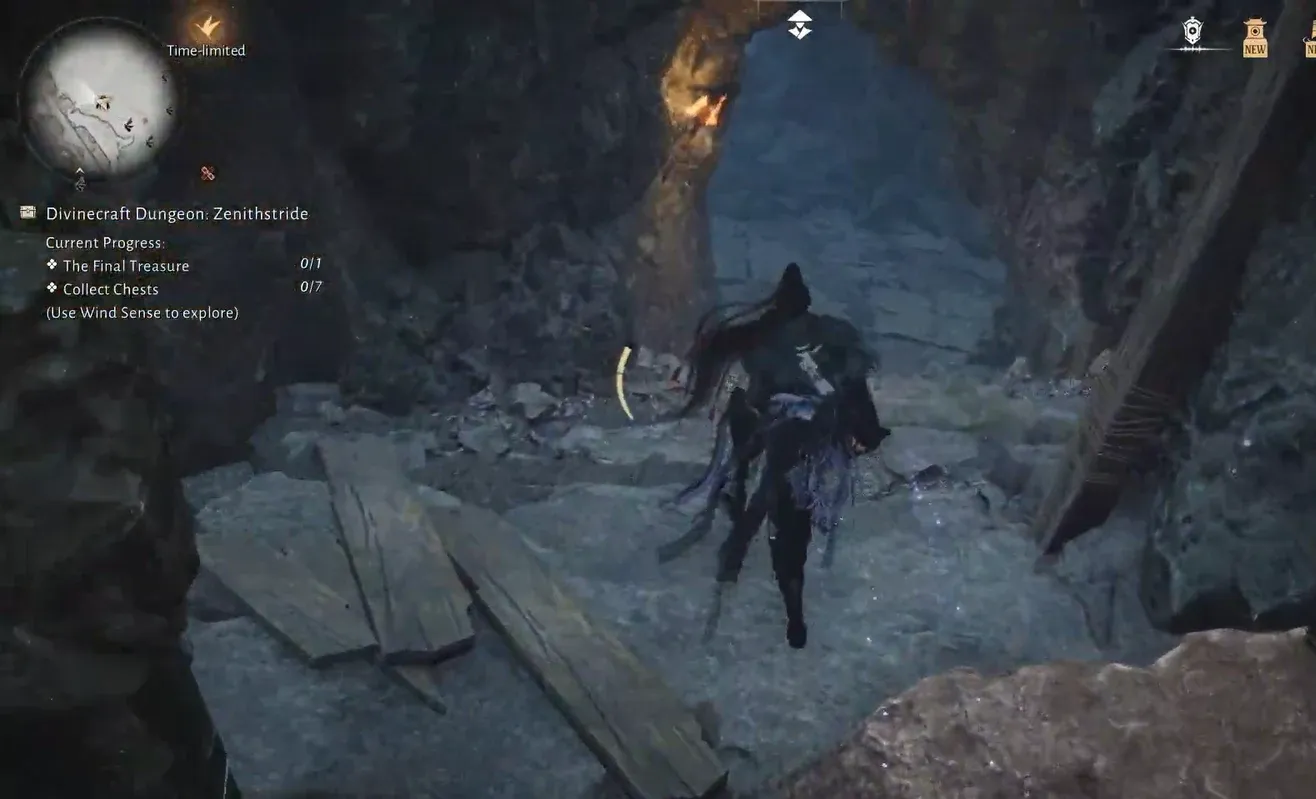
Here is where each chest sits along the route so you can plan the run before dropping in.
| Chest | Where it is |
|---|---|
| Chest 1 | On a ledge after dropping down the opening shaft past the waterfall |
| Chest 2 | Side room at the central rotating chain hub |
| Chest 3 | Opposite side room, reached across the chains |
| Chest 4 | Platform beside a zipline landing below the chain hub |
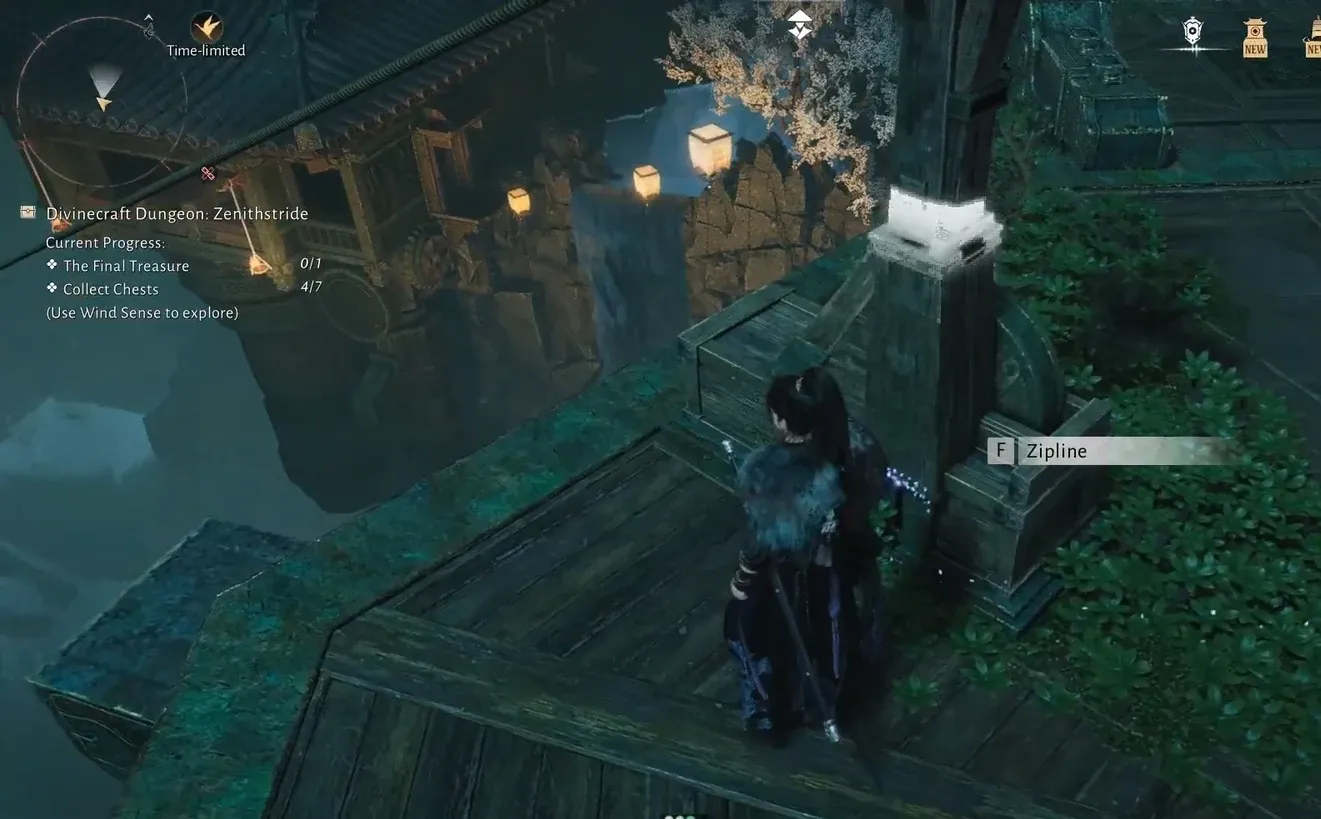
| Chest 5 | Inside a wooden pavilion off the main path, reached by zipline |
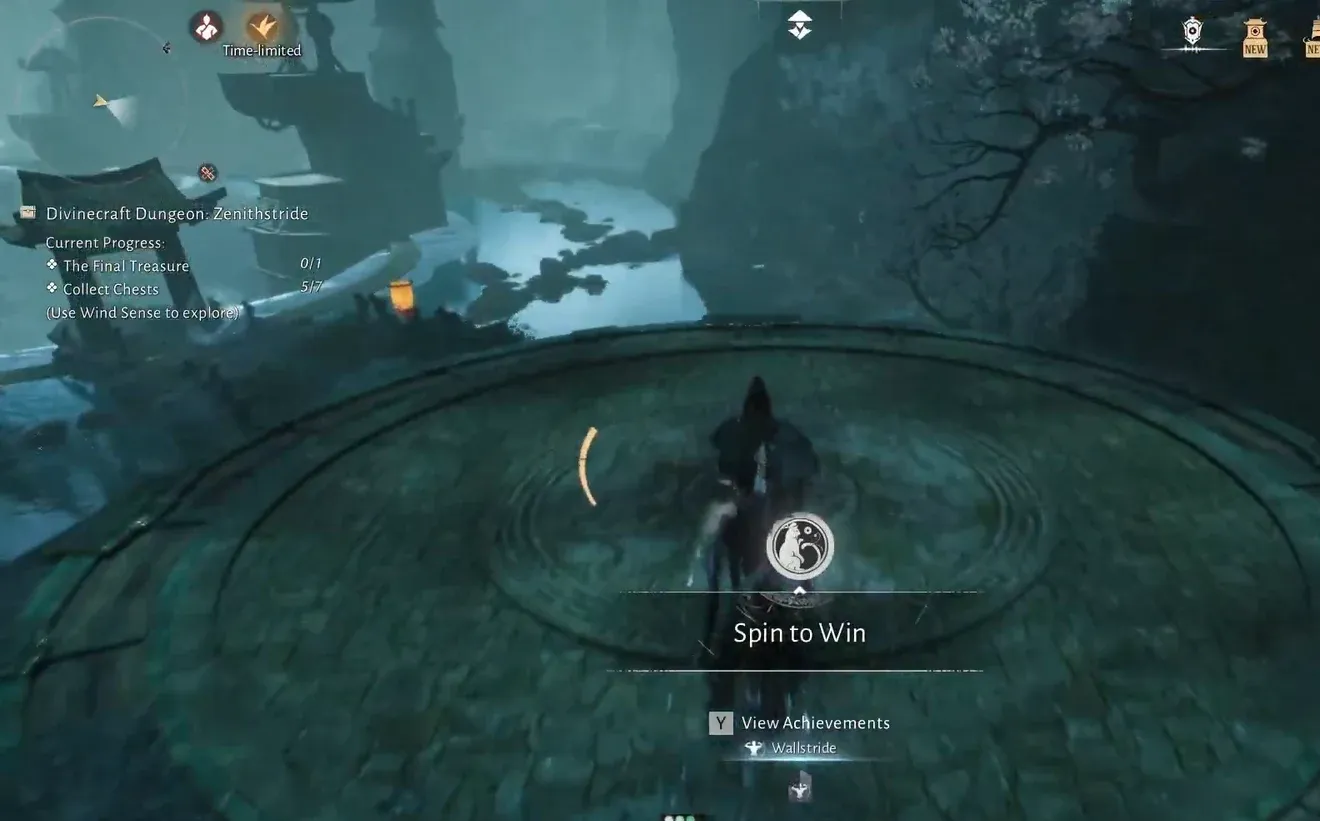
| Chest 6 | Final courtyard next to the stone wheels |
| Chest 7 | The final treasure mechanism at the temple |
Chest 1: the opening shaft
Chests 2, 3, and 4: the central chain hub
The middle of the dungeon opens into a large chamber built around a rotating chain lantern mechanism. This hub feeds into two side rooms and a lower zipline, so treat it as your base for three chests in a row.
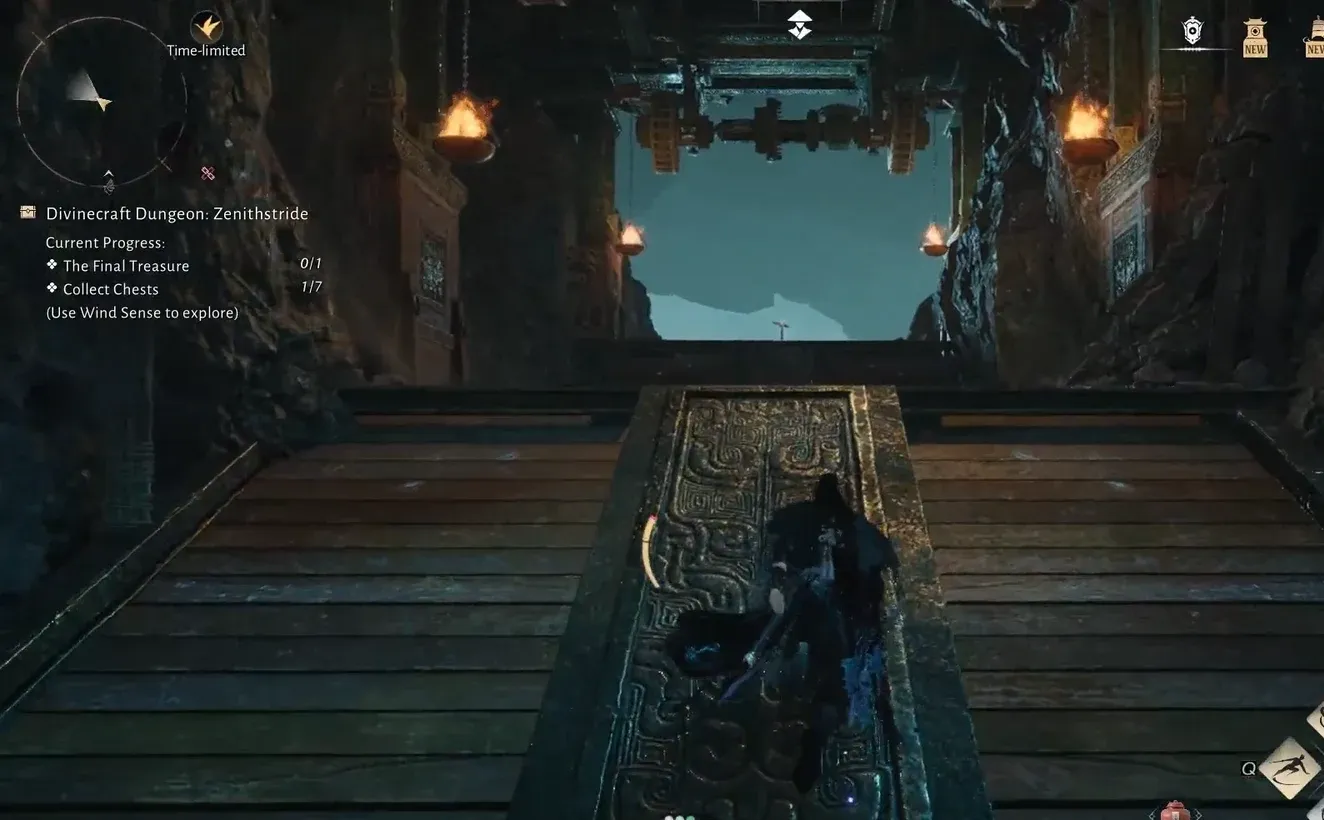
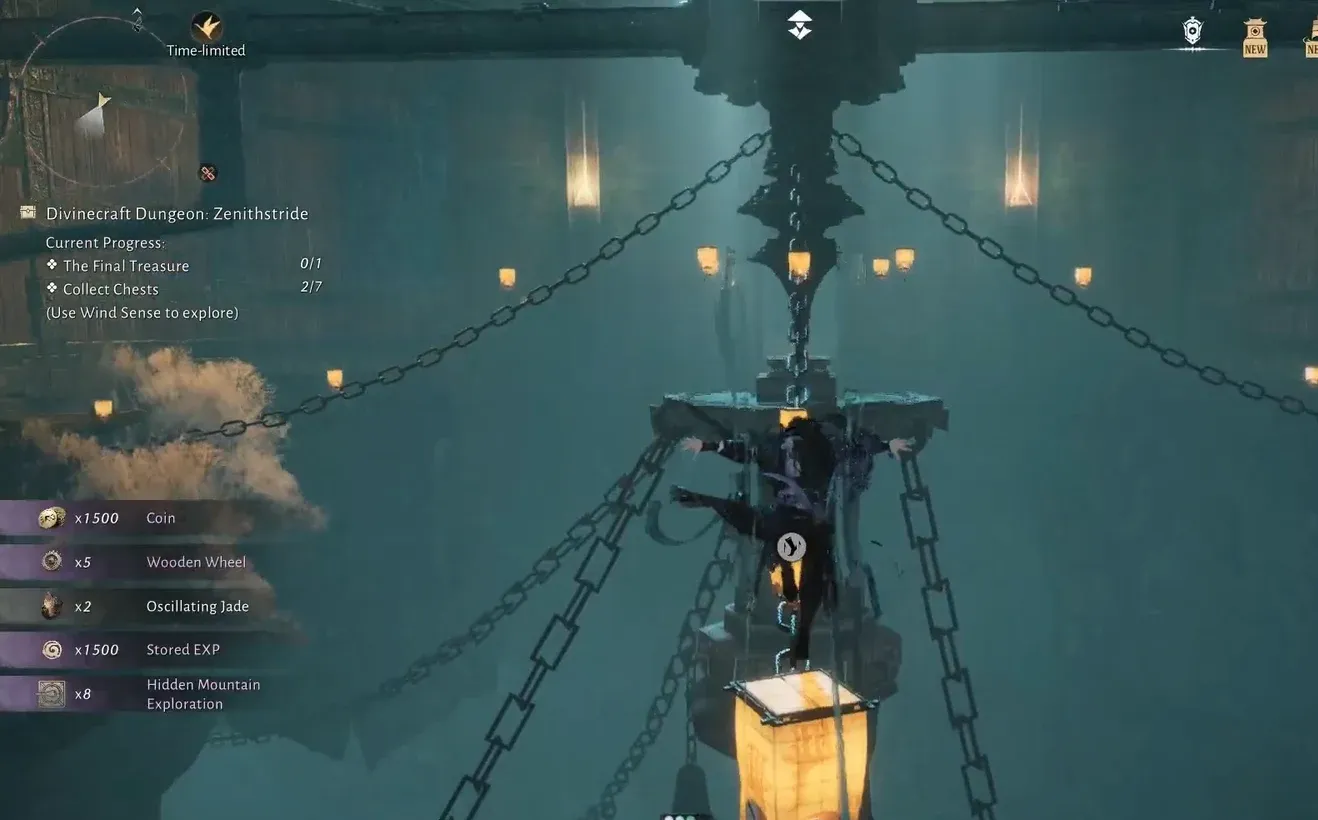
Tip: If you mistime a jump and get defeated in this chamber, you respawn at the nearest checkpoint. Simply run back along the lanterns to pick up where you left off, so a bad leap does not cost a full restart.
Chest 5: the hidden pavilion
Chests 6 and 7: the final temple
Grab the letter for The Elder’s Legacy II
Near the final chests, a small box holds the letter Travels Beyond VI. This is the journal item required for the Wandering Tale: The Elder’s Legacy II quest, so open it before you leave the temple area. The chest on the right side of the final room is where it sits.
How to confirm a full clear
You know Zenithstride is done when the final treasure mechanism awards its rewards and the dungeon shows the “Complete” status. If the chest counter still reads fewer than seven, the missing chest is almost always the pavilion (Chest 5), since it branches off the main zipline path and is easy to fly past. Backtrack to the wooden house window if your count is short before you leave.
With all seven chests looted, the Spin to Win achievement earned, and Travels Beyond VI handed to Pi the Fifth, Zenithstride is fully cleared and the linked Wandering Tale is closed out.





