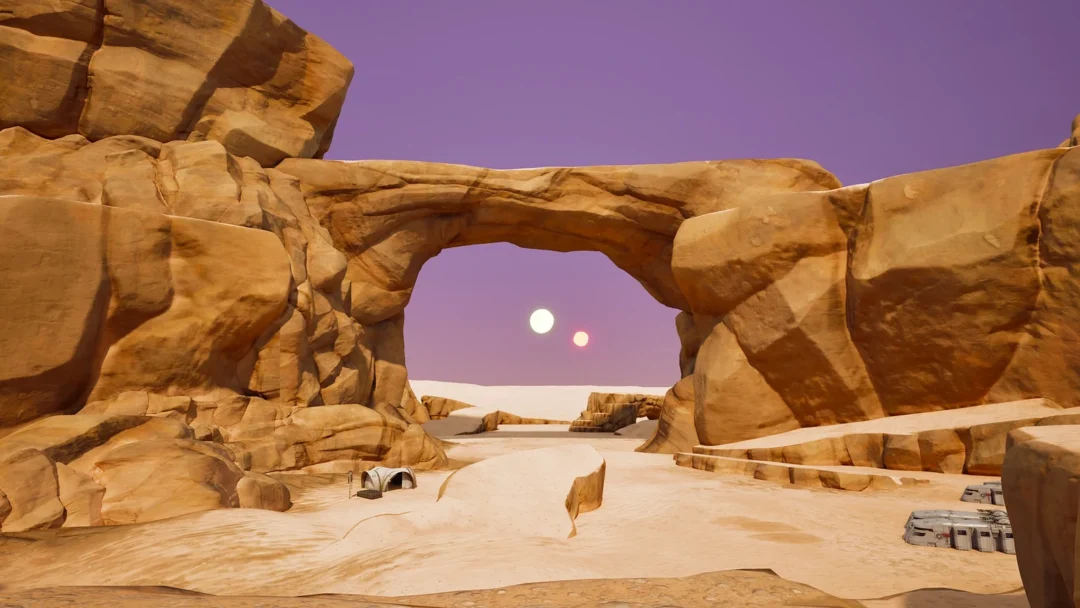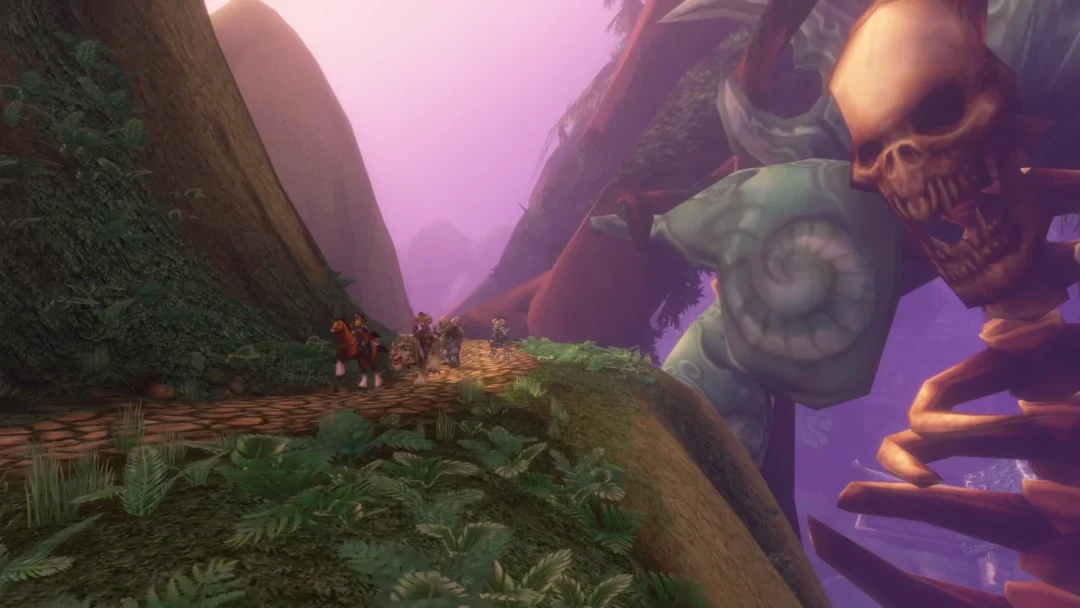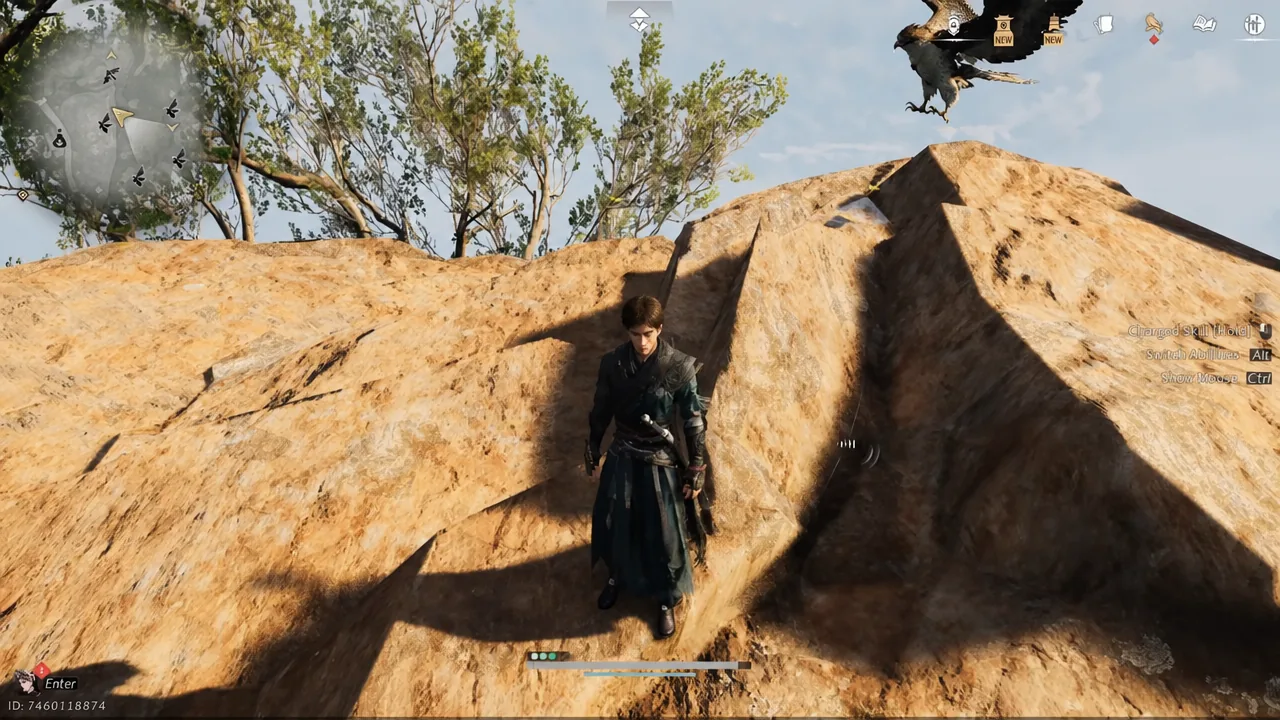
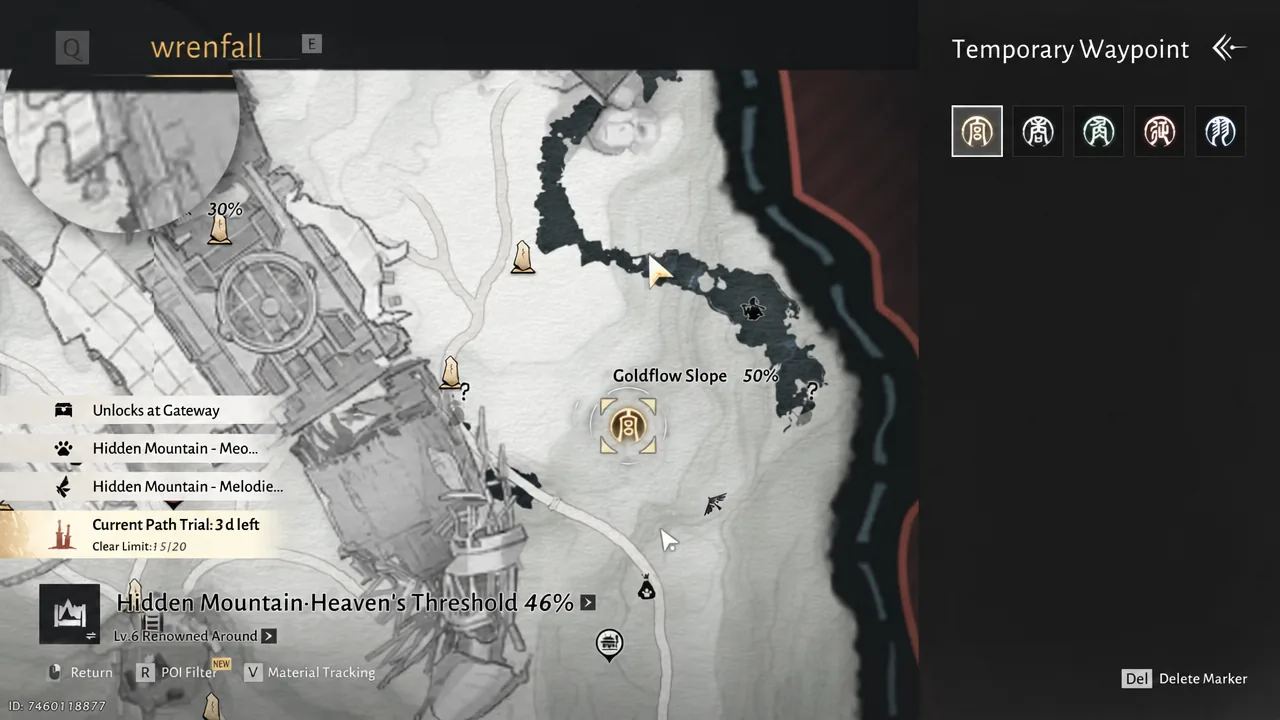
Goldflow Slope sits in the Hidden Mountain – Heaven’s Threshold region, on the vertical terrain southwest of the Lodestar Vista boundary stone. Almost nothing here is at ground level. The containers are stashed on cliff ledges, tucked inside cracked stone walls, hung from rock faces as green jars, and sunk under water, so the collection run is really a traversal run with looting attached.
Quick answer: Start at the rocks beside Liu Chunsheng southwest of Lodestar Vista and work the cliff line upward, then teleport back to Lodestar Vista and sweep southeast through the misty water, the cliffside structures, and the scaffolding camp below. Bring Celestial Seize — several containers only open once you throw a lantern into a cracked wall or pull a hanging jar down with it.
What you need before starting the Goldflow Slope run
Three movement tools carry the whole route. Wall climbing gets you up the rock faces and scaffolding, the glider handles the drops between cliff tiers and the canyon crossing, and the zipline moves you across one gap that has no climbable approach. Celestial Seize is the only ability that is strictly required, since a handful of containers are sealed behind stone or hanging out of reach.
Unlock the Lodestar Vista boundary stone first. It is the anchor point for the second half of the route, and you will teleport back to it once to reset your position instead of climbing back down the way you came.
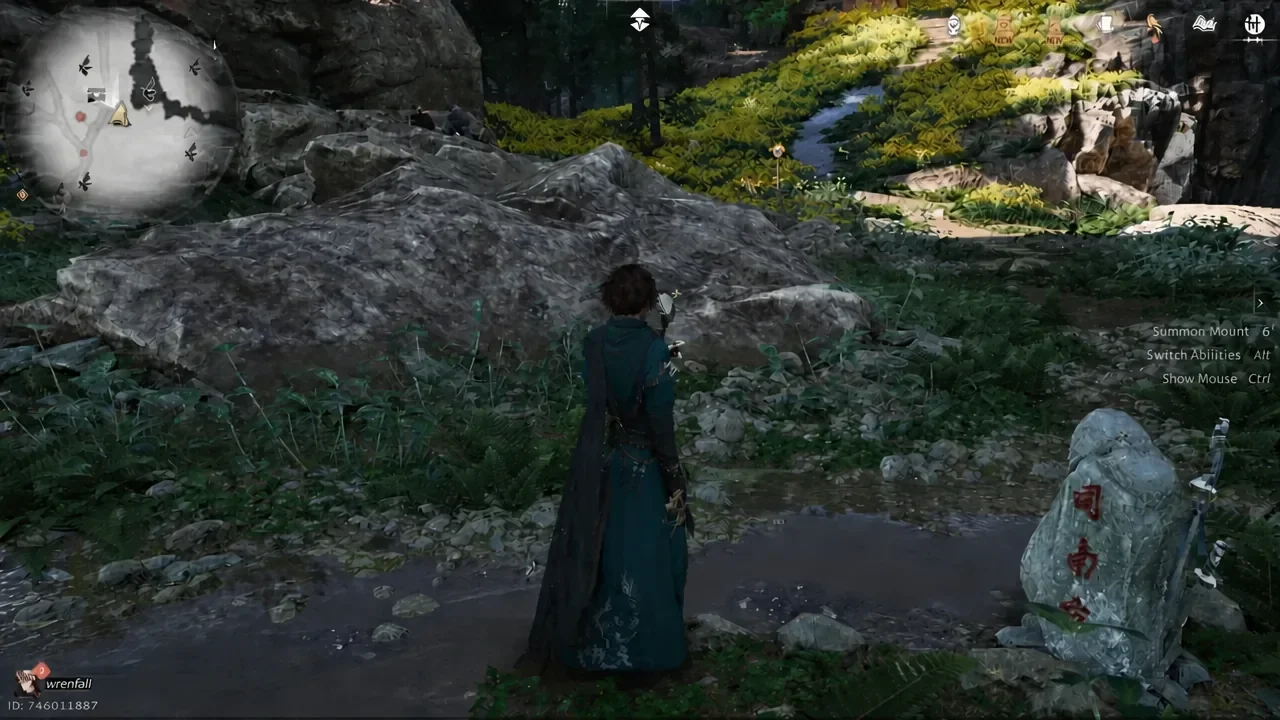
Container types matter more than their map pins, because each one has a different opening method and a different payout in Jade Fish.
| Container | How to open it | Jade Fish |
|---|---|---|
| Pot or urn | Walk up and interact | +9 |
| Submerged chest | Swim down and search the reeds | +9 |
| Cracked stone wall | Celestial Seize a lantern into the crack | +11 |
| Green hanging jar | Celestial Seize to pull it off the rock face | +11 |
| Mechanical cauldron chest | Defeat it in combat first | +24 |
Chests 1-6: The cliff line southwest of Lodestar Vista
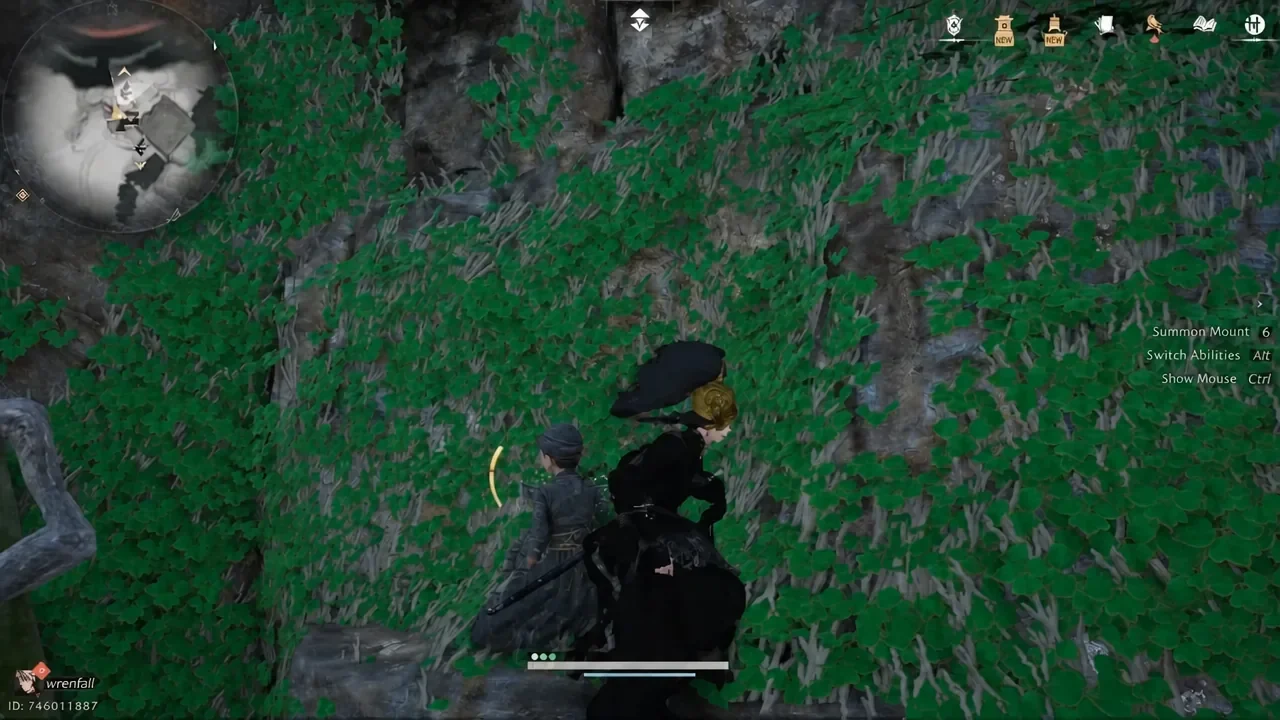
Chest 7: The Insufficient Cauldron in the misty water
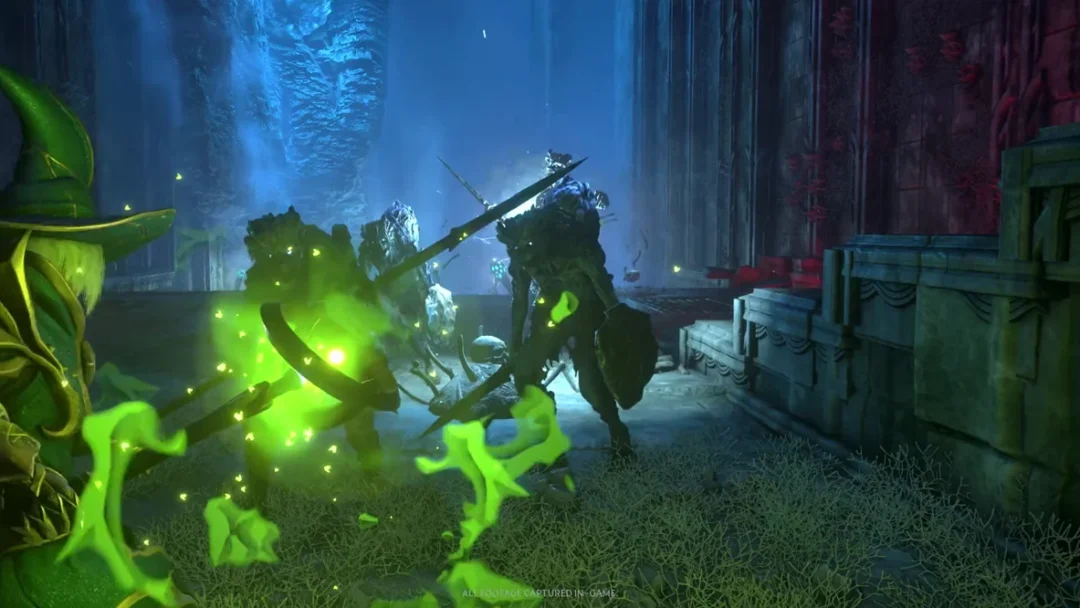
Teleport back to Lodestar Vista and travel southeast until the ground opens into a misty stretch of water. The container waiting there is a mechanical cauldron chest, which behaves like an enemy rather than loot. It attacks on approach and has to be beaten down before it drops anything.
It is the single biggest payout on the route at Jade Fish +24, so it is worth the fight even if you skip nothing else in the area.
Chests 8-10: Gliding down the cliffside tiers
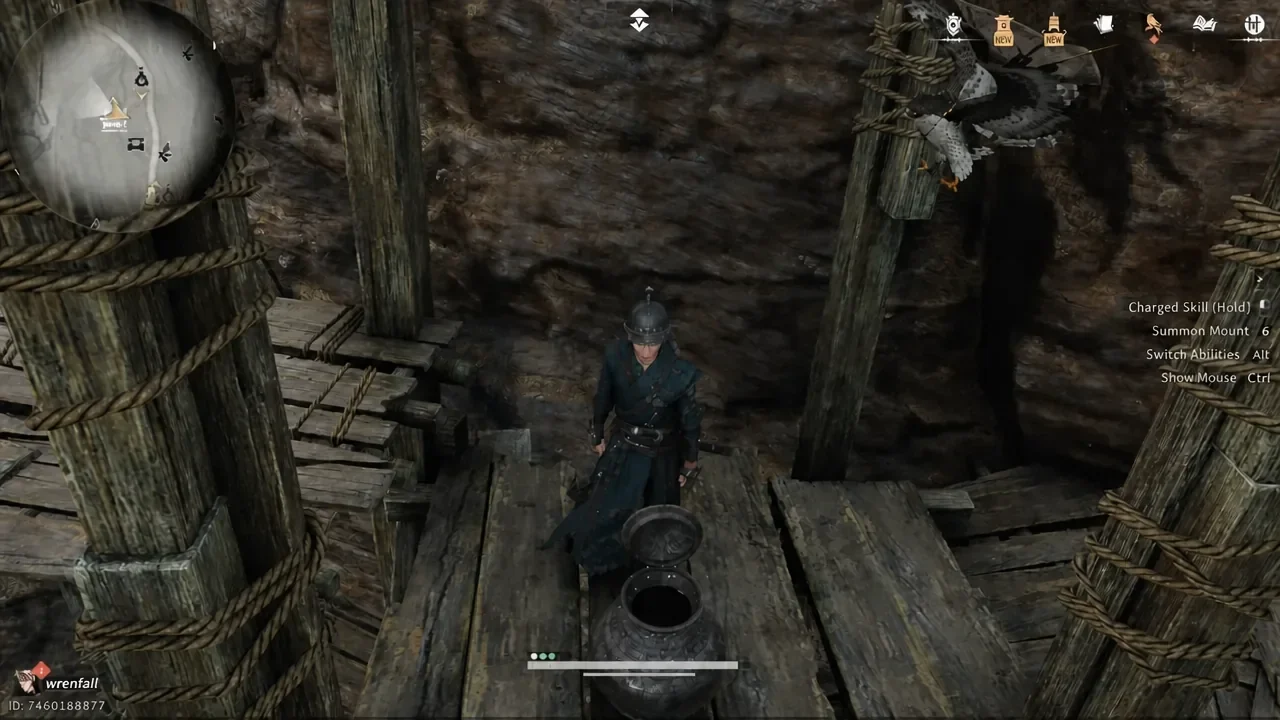
Chests 11-16: The scaffolding camp
This camp is the densest pocket on the route. Six containers sit within a short vertical loop, so climb once and work downward rather than circling the camp at ground level.
Chest 17 and the lower forested camp
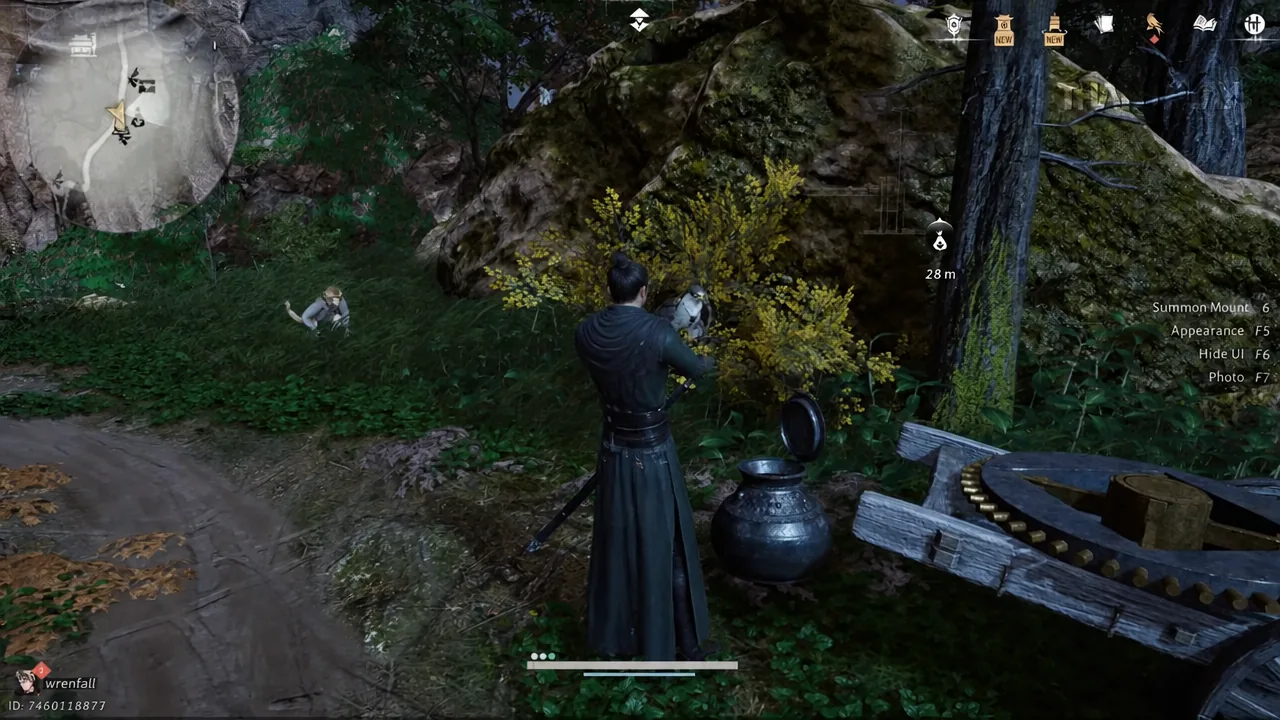
Descend from the scaffolding camp into the forested camp on the tier below. The rocky hill immediately beside it holds a pot worth Jade Fish +9. The rest of the set is spread around this lower camp and the platforms you reach by gliding on from it, so keep altitude in mind and glide between them instead of walking the loop twice.
How to confirm a container counted, and why some do not open
Every successful pickup fires a Jade Fish reward popup with its exact value, and the area exploration progress for Goldflow Slope moves up. If you interact and see nothing, the container was already looted on a previous pass.
There are only a few reasons a container refuses to give anything. A cracked wall does not break unless the lantern actually detonates against the crack, so reposition and throw again if the first attempt lands short. A green jar will not respond to a normal interact prompt at all, since it has to be pulled off the rock with Celestial Seize. And the cauldron chest stays hostile until its health is gone, so no loot appears while it is still fighting back.
Run the route in the order above and the only backtracking you do is the single teleport to Lodestar Vista. Everything after that flows downhill, which is exactly how Goldflow Slope is built.