The Level 4 chase is the first genuine wall in Wonderland. Up to this point you have been learning the loop of collecting Lumins and finding exits, but Level 4 flips into a fast pursuit the moment you activate the scanner. Miss a step and the Mole catches you, costing a life. Get the route right and you clear it with seconds to spare.
Quick answer: Turn toward the exit and start sprinting the instant you regain control, press E on every lever you pass without stopping, skip the fake jump by dropping into the pit, clear both platforming sections and the swinging hammers, then wait at the end for the Mole to fall through the plank bridge so the final gate opens.
How the Level 4 chase starts
Before the chase begins, find the lever that opens the scanner room. Enter and activate the scanner. This spawns the Mole and immediately starts the pursuit. The opening cutscene points your camera straight at the monster, so your first job is to spin the view around toward the exit.
You have unlimited sprint during this sequence, so there is no reason to hold back on straight sections. The only points where you should slow down are the jumps and the hammer stage, where timing matters more than raw speed.
Pull every lever while you run
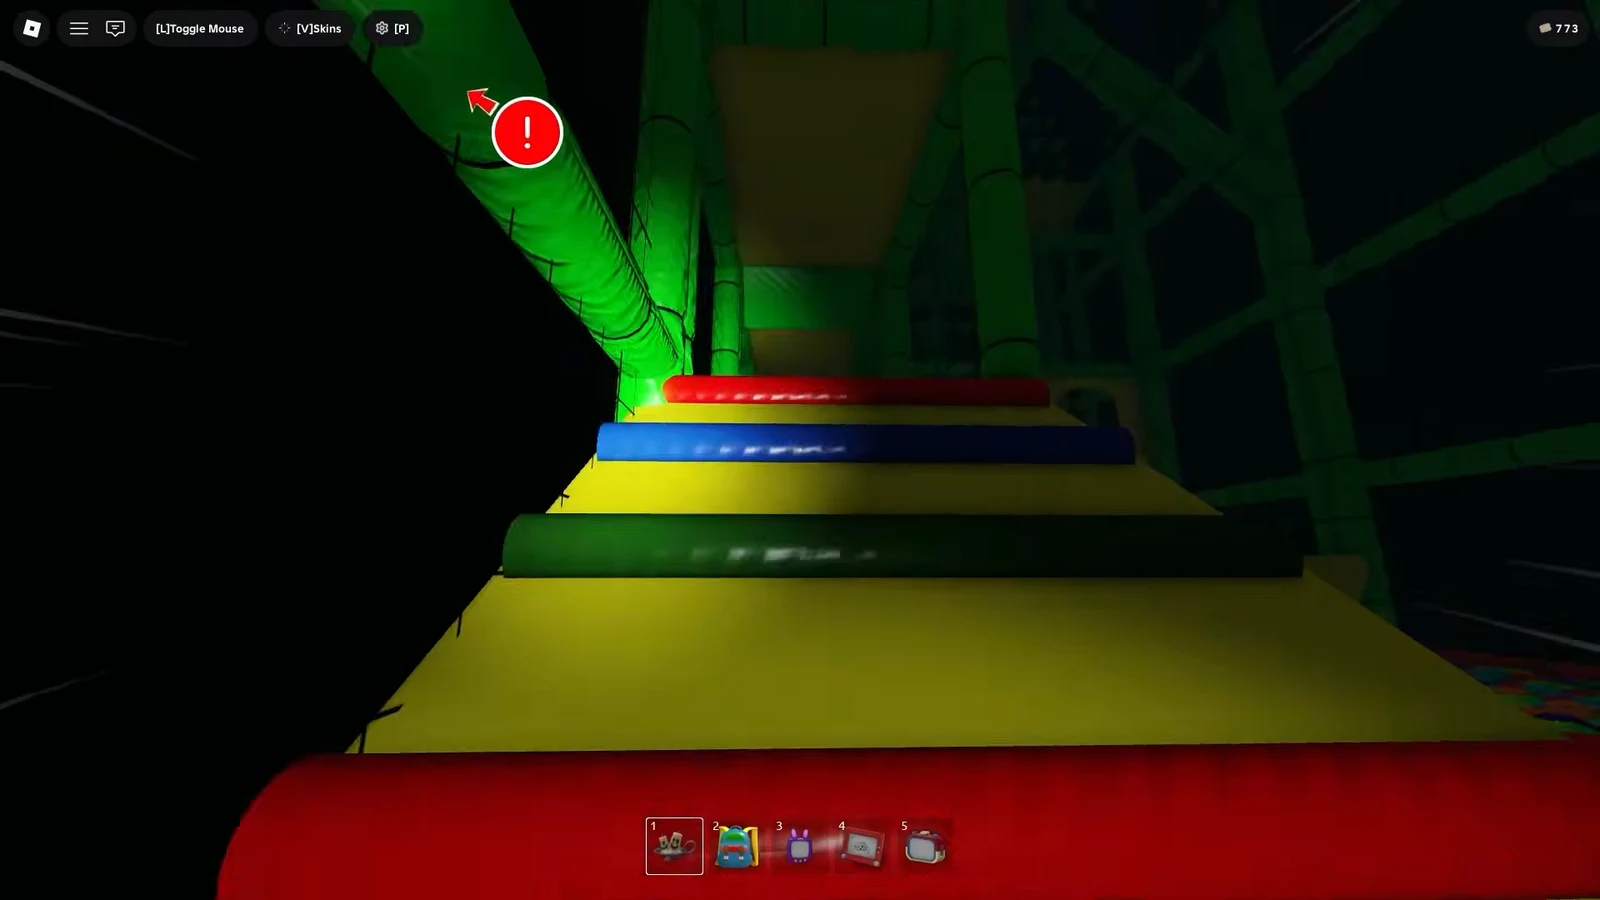
The single most important rule is that the exit gate stays sealed if you miss even one lever. Levers are mounted along the walls of the tunnel and marked with red exclamation points. You can trigger them with E while moving, so do not stop to line them up.
Keep sprinting, flick your camera toward each switch as you pass, and press E in one smooth motion. Stopping to hit a lever is what gets most players caught, since with clean play you are only about 5 to 10 seconds ahead of the Mole. This part is much harder solo, so bringing friends to split the switches helps.
The two jumping sections and the fake jump
Beat the hammer stage
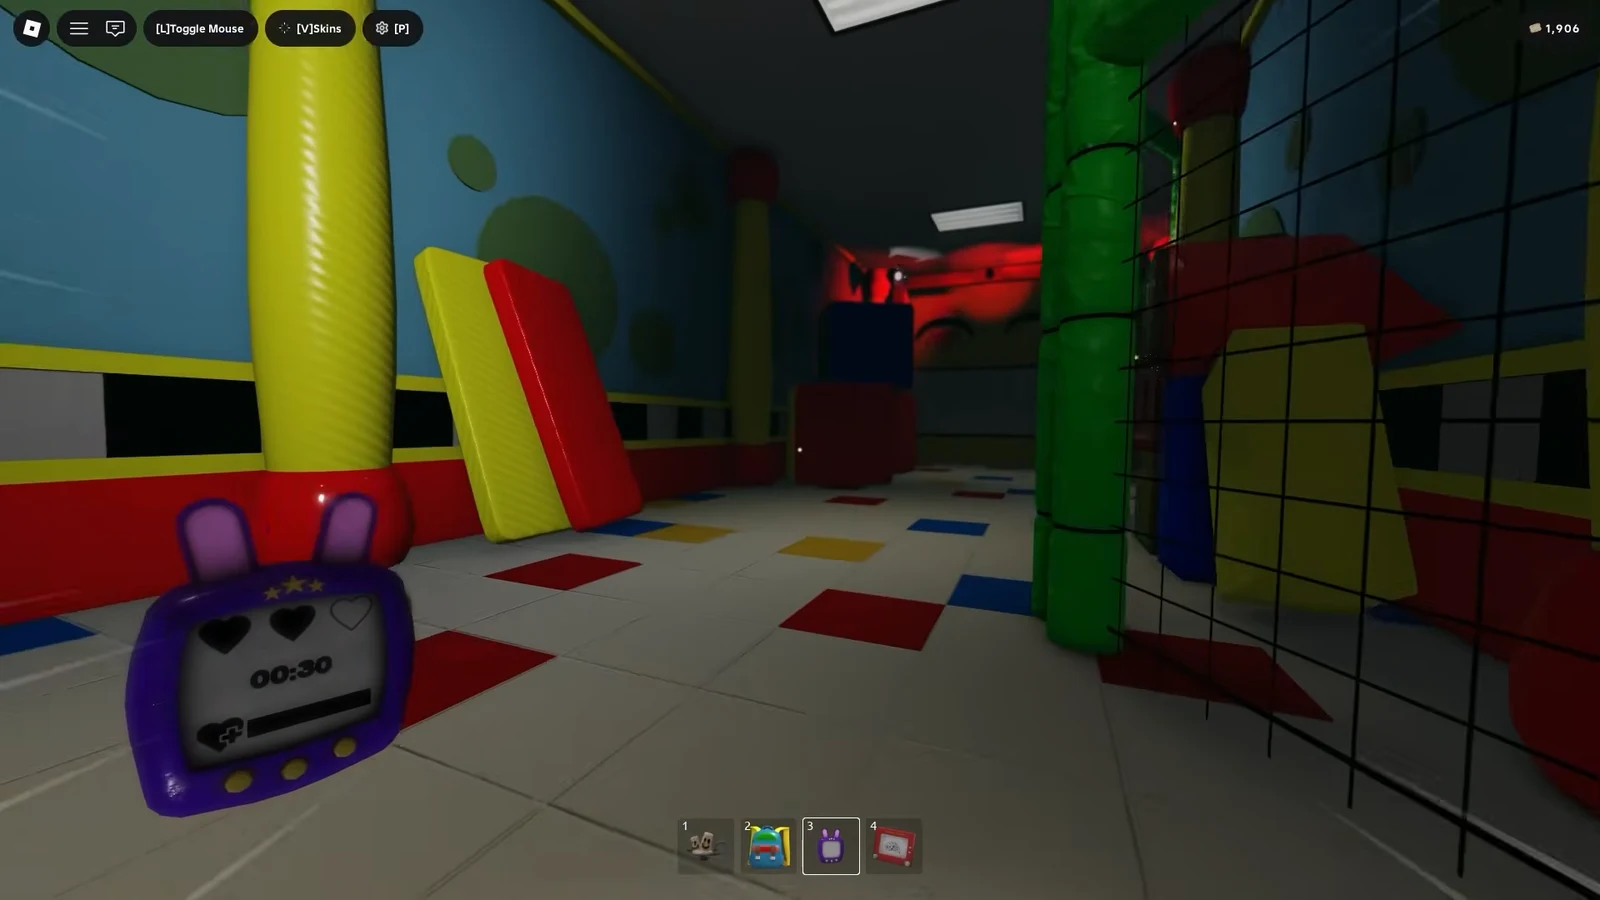
Near the end you cross a set of bridges guarded by swinging hammers. Getting hit slows you down and gives the Mole time to close the gap, so the goal is to pass through cleanly rather than quickly barge in.
Wait for the first hammer to swing, then sprint ahead at full speed. The swing timing is set so that once you commit after that first pass, every following hammer arrives too late to catch you. Do not stop mid-run through this section.
The ending: jump into the hole, don’t use the door
Once you finish the obstacles, you reach a final plank bridge and a door. The door at the end is locked and is not the exit. Heading for it wastes time and can end your run.
Instead, jump directly into the hole in the floor. If the way forward does not open immediately, wait for the Mole to step onto the plank bridge and fall through it. That fall is what clears the sequence and lets you continue.
How you know it worked and why runs fail
You have completed the chase once the Mole drops through the plank bridge and you pass into the next section. A run through Level 4 begins as part of the wider Wonderland structure, and every death here draws from your shared pool of three lives. Lose all three and you restart the run from the beginning, replaying the first four levels.
| What went wrong | Result |
|---|---|
| Missed a lever | Exit gate and final pit stay sealed |
| Mole catches you | Lose 1 life |
| Fell during a jump section | Lose 1 life |
| Ran into the end door | Wasted time, door never opens |
| Hit by a hammer | Slowed down, Mole closes in |
Keep your eyes forward the entire time. Turning to check on the Mole is the most common reason players miss a lever or a landing. If you sprint the straights, drop into the pit on cue, and clear the hammers on the first swing, you will stay far enough ahead to focus on your jumps and finish clean.
Failing the chase only sends you back through the opening levels, which doubles as practice for the tougher Wonderland chases waiting later. Once the route is memorized, the Level 4 Mole chase becomes one of the more predictable sequences in the game.