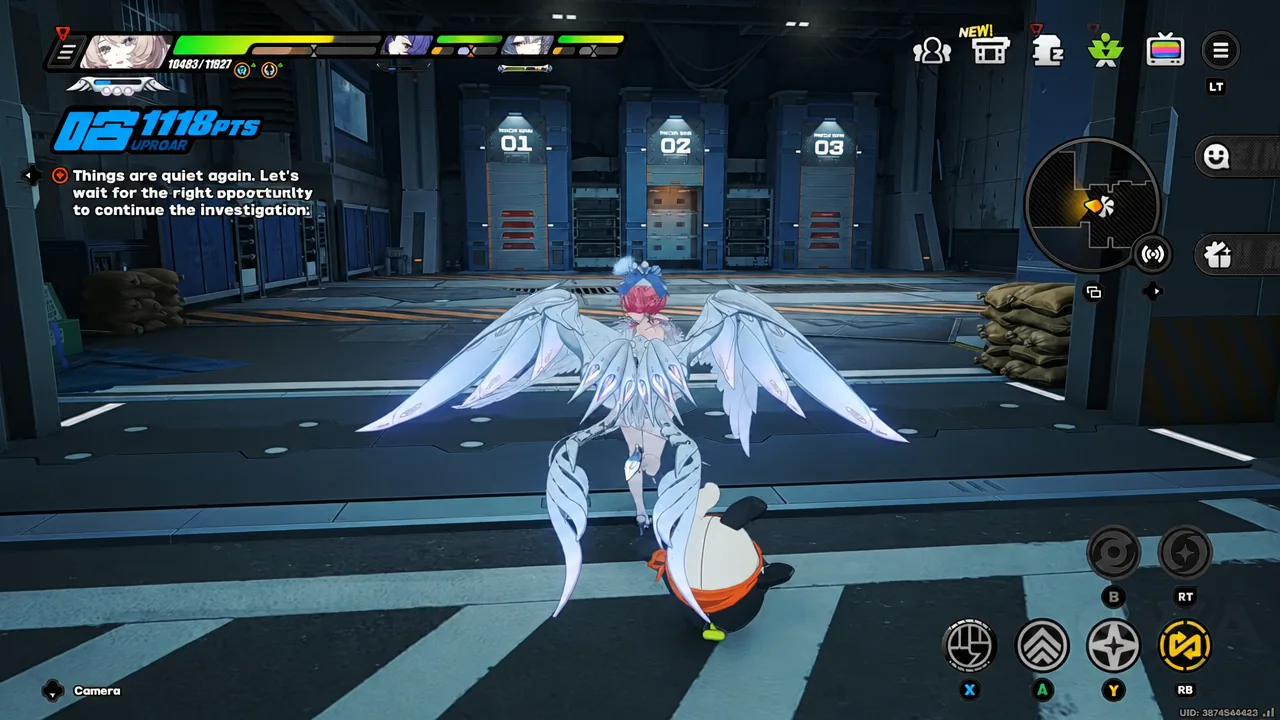
The Shrouded Reef Transfer Station is a compact restricted area, which is good news for anyone chasing a clean exploration percentage. Everything worth picking up sits along one corridor and the rooms branching off it, so a full sweep takes a few minutes if you know which walls to check and which terminal to use.
Quick answer: The area contains six collectibles — four Mini Cargo Trucks, one Corrosion-Resistant Locked Box, and one Phantom Terminal — all reachable from the Shrouded Reef Transfer Station Entrance teleport point without backtracking to another zone.
Shrouded Reef Transfer Station collectible checklist
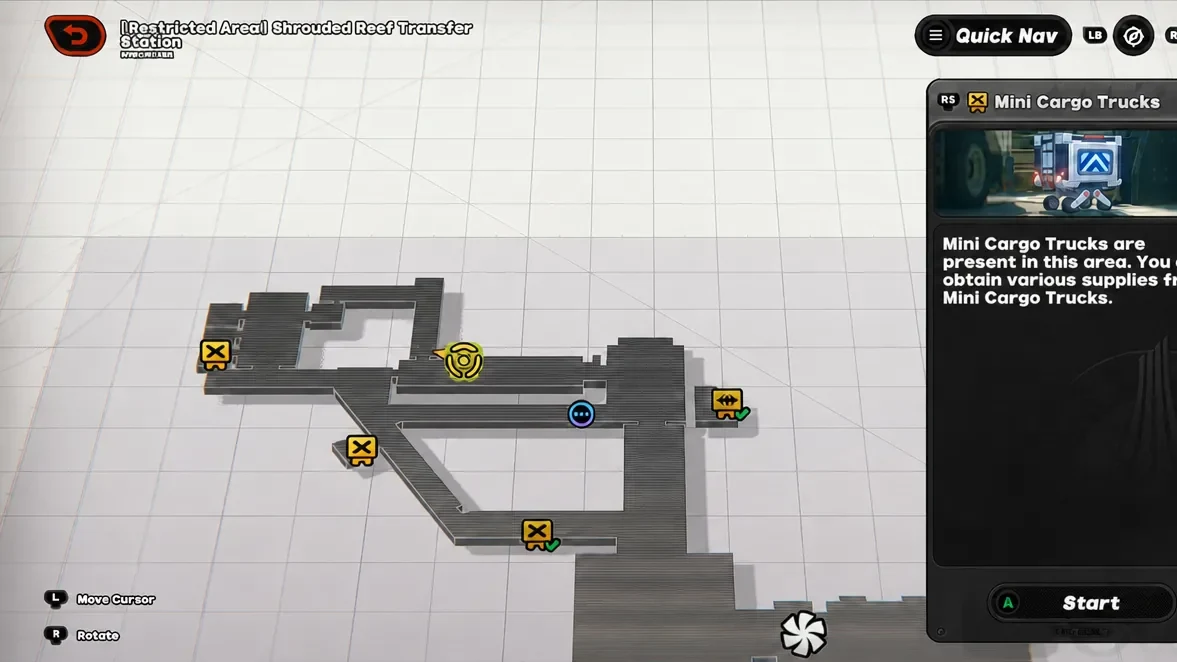
The area counter tracks each collectible type separately, so you will see prompts such as 1/4 Mini Cargo Trucks and 1/1 Corrosion-Resistant Locked Box as you pick things up. Use the Quick Nav entry for Mini Cargo Trucks on the map screen to keep the remaining markers visible while you move.
| Collectible | Count | Location |
|---|---|---|
| Mini Cargo Truck | 4 | Dark corner near the entrance, further down the main corridor, and one behind each Open Access Control door |
| Corrosion-Resistant Locked Box | 1 | Near the entrance stretch, unlocked through the NW-124 terminal |
| Phantom Terminal | 1 | Next to the fourth Mini Cargo Truck |
All four Mini Cargo Truck locations
1/4 Mini Cargo Trucks.Open Access Control prompt and trigger it. The third truck is inside the room behind that door, so grab it before moving on.Open Access Control door deeper into the station. Clear whatever is waiting inside, and the fourth truck is in that room, completing the 4/4 Mini Cargo Trucks count.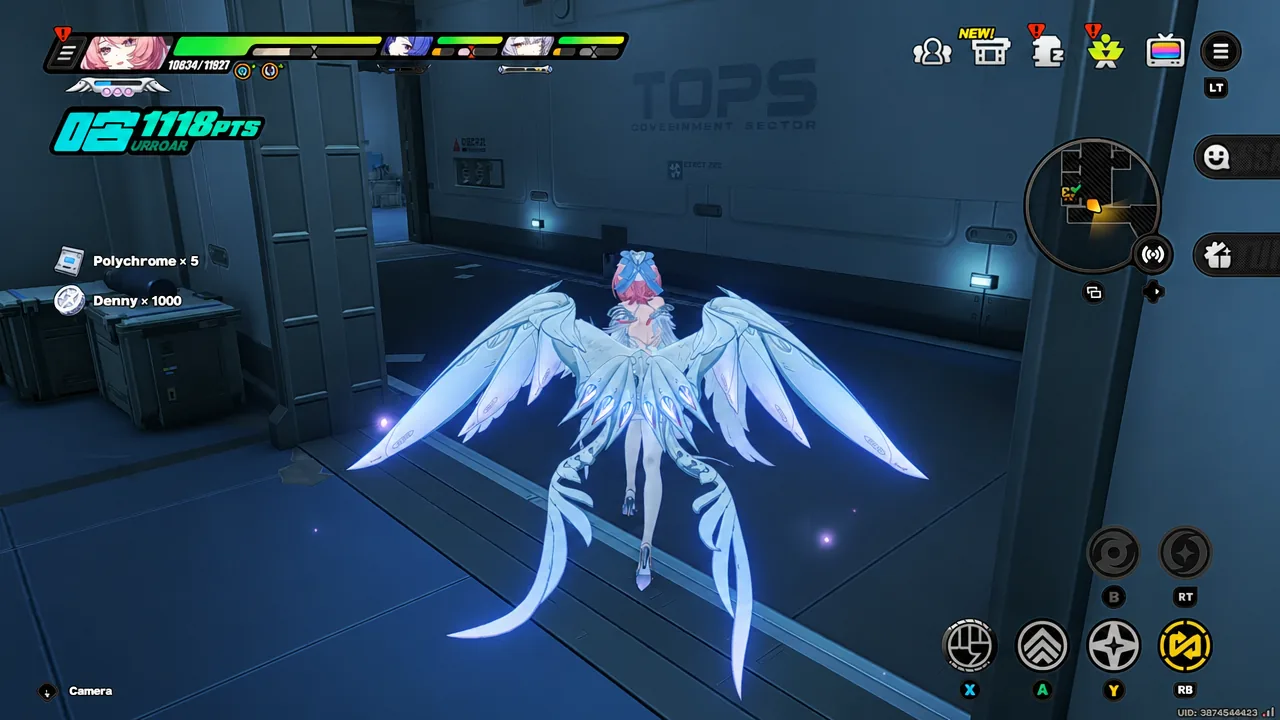
Corrosion-Resistant Locked Box and the NW-124 terminal puzzle
The single Corrosion-Resistant Locked Box appears early, shortly after the first Mini Cargo Truck. Walking up to it gives you a Crack the Locked Box prompt, but the box itself will not open from that interaction alone.
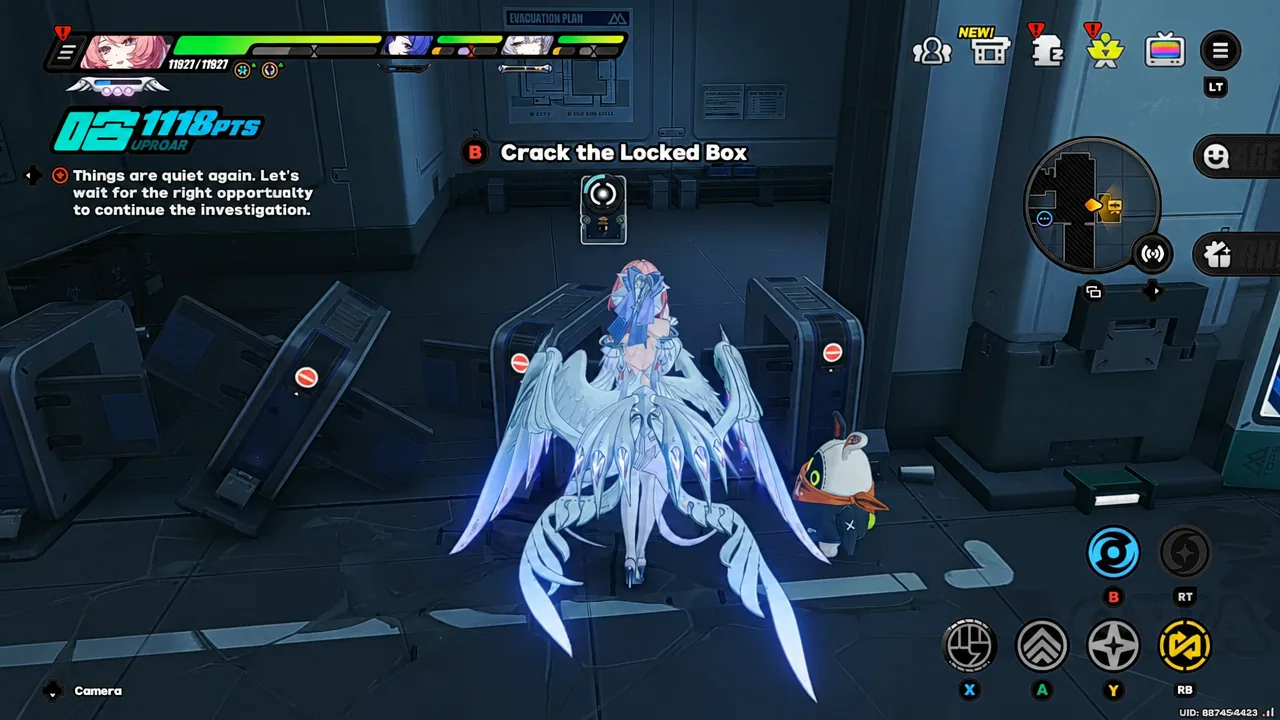
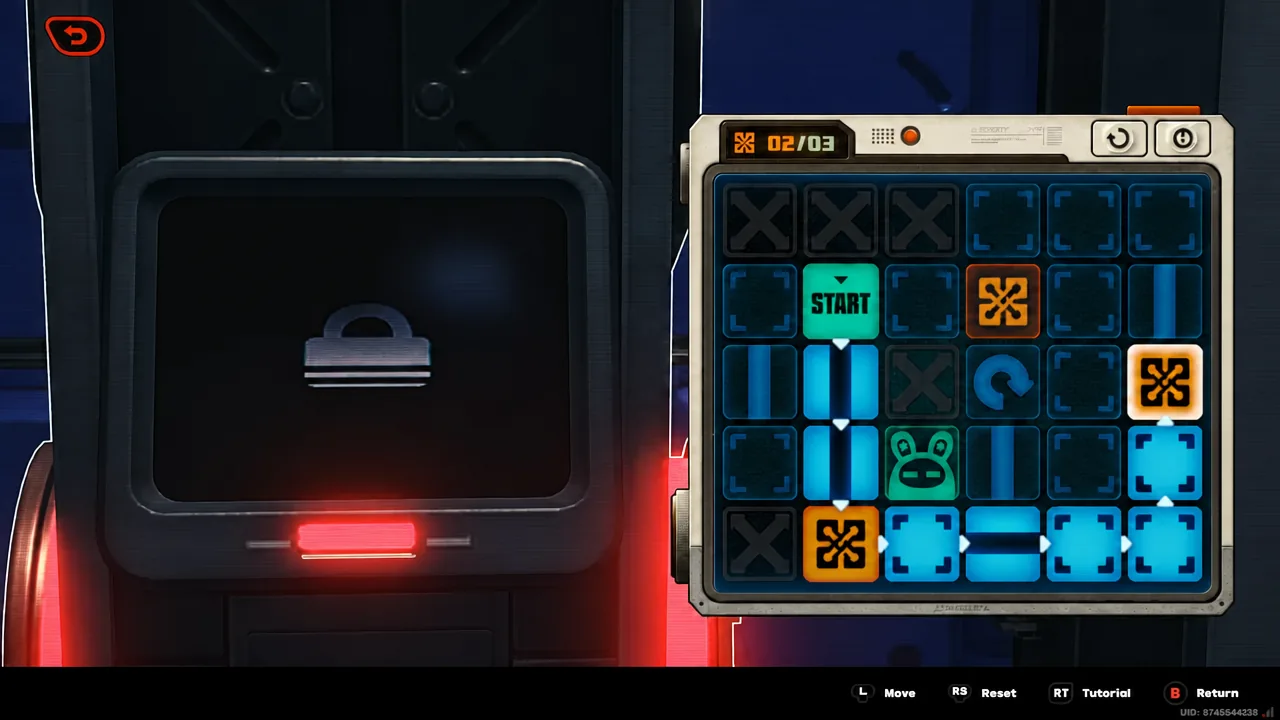
The lock is tied to the nearby terminal labelled NW-124. Interact with it to open a grid puzzle where you trace a path across the tiles. Complete the route and the box unlocks immediately, marking 1/1 Corrosion-Resistant Locked Box on the area counter.
Note: if the box still refuses to open, you are almost certainly standing at the wrong terminal. Only the NW-124 unit is wired to this container.
Phantom Terminal: Bot takeover and the decoding puzzle
The area’s only Phantom Terminal sits right beside the fourth Mini Cargo Truck, so you will walk into it the moment you finish the truck run. It is a two-part interaction — a traversal section, then a decode.
Call the bot. The screen confirms with Hidden area structure revealed, showing the section of the map that is otherwise sealed off.Take over the bot and drive it into the vent. The bot is the only thing small enough to make the trip, so steer it through the duct until you reach the terminal on the other side.Decode the Torn Picture Book Page and finish the puzzle. Success hands you Torn Picture Book Page "11", titled Ah, the Lighthouse, and ticks the counter to 1/1 Phantom Terminal.Gym Membership Redemption and confirming 100% exploration
Solving the decode at the Phantom Terminal opens the Gym Membership Redemption commission. To close it out, head back and speak to Kabka. The dialogue ends with Commission accomplished. Great work, Belle., which is your confirmation that the commission has actually registered rather than just being handed in.
Once that is done, open the Exploration Progress Overview for the Shrouded Reef Transfer Station. With four trucks, the locked box, and the Phantom Terminal all collected, the area reads 100 percent. If it does not, the overview shows which category is still short, and in practice the missing entry is almost always the first truck in the dark corner by the entrance or the locked box you walked past before finding the NW-124 terminal.
What the collectibles pay out
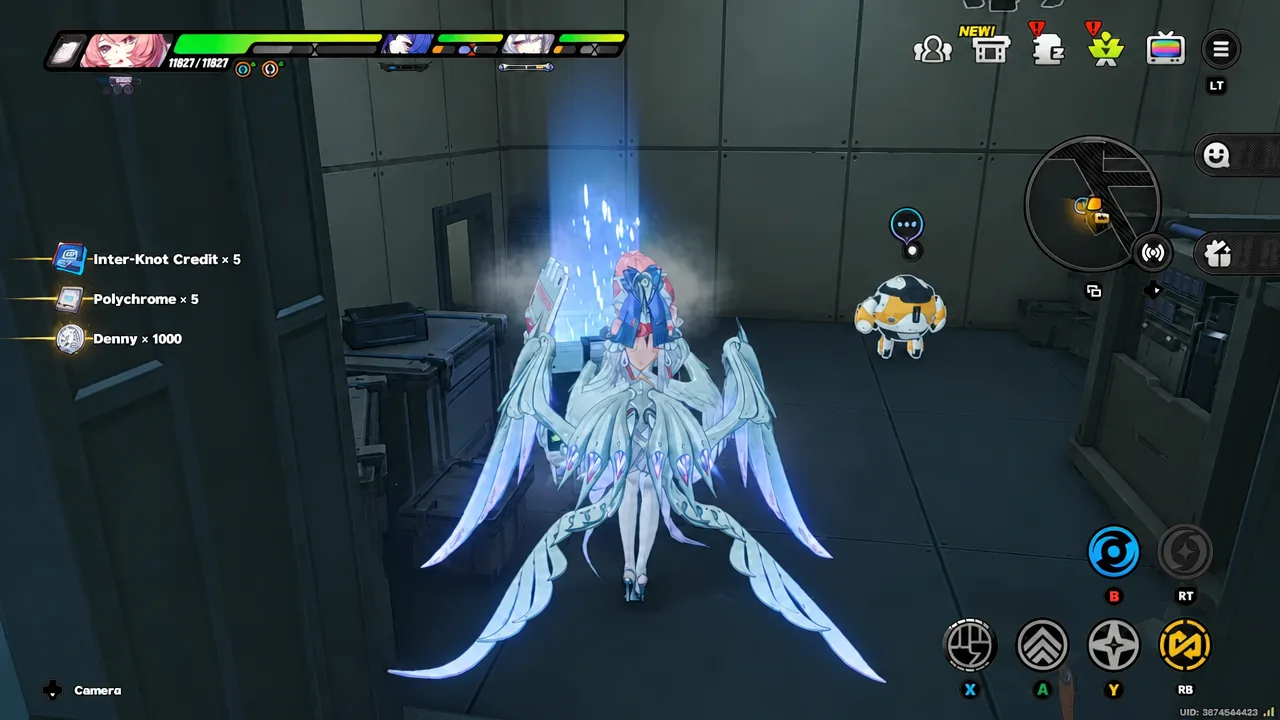
Mini Cargo Trucks are HIA logistics vehicles that went astray, and each one drops a mix of Dennies, materials, items, and Polychromes. Pickups roll in as on-screen reward toasts, so you can see exactly what a truck contained without opening your inventory.
Clearing the whole station in one pass is the efficient play, since the four trucks, the locked box, and the Phantom Terminal all sit within a short walk of the same teleport point. Do the corridor first, deal with NW-124 on the way through, and leave the bot ride for last.