Gaming

Zenless Zone Zero 3.2: All Porcelloy Research Institute Mini Cargo Trucks and Locked Boxes

The full collectible count for the Porcelloy Research Institute, plus the bot and drone routes needed to reach the hidden ones.

The full collectible count for the Porcelloy Research Institute, plus the bot and drone routes needed to reach the hidden ones.

The Porcelloy Research Institute is one of the tighter collectible zones in Zenless Zone Zero, mostly because several of its chests sit behind vents and pipes your Agent physically cannot enter. Clearing it to 100% means switching bodies more than once.

Quick answer: The Porcelloy Research Institute holds 8 Mini Cargo Trucks and 2 Corrosion-Resistant Locked Boxes. Two trucks and one locked box are only reachable by taking over the rabbit-like bot and entering a Pipe Access Point; the second locked box requires hijacking a drone and flying through a vent.


Porcelloy Research Institute collectible count

Ten objects total count toward this area’s exploration progress. Nothing else in the zone is tracked by that percentage, so once these ten are open, the area is finished.

CollectibleCountAccess requirement
Mini Cargo Truck85 on foot, 2 via bot, 1 after clearing enemies
Corrosion-Resistant Locked Box2Bot (vent) and drone (vent), each with a grid puzzle

Rewards from these containers include Inter-Knot Credits, Polychrome, Denny, Interboo Coins, Noise Reduction Master Copies, and W-Engine materials such as W-Engine Energy Modules and W-Engine Batteries.


Starting point and the first truck (5F)

Open the map and fast travel to the Porcelloy Research Institute Entrance, which sits on floor 5F. This is the anchor point for everything that follows, so it is worth returning here if you lose your bearings.
From the entrance, take the stairs going down. The first Mini Cargo Truck is sitting in plain view at the bottom, and no puzzle or fight gates it.

Bot route: two Mini Cargo Trucks and the first locked box

Three of the ten collectibles live inside the vent system, and only the small rabbit-like bot fits through it. This is the part most players miss on a first sweep.
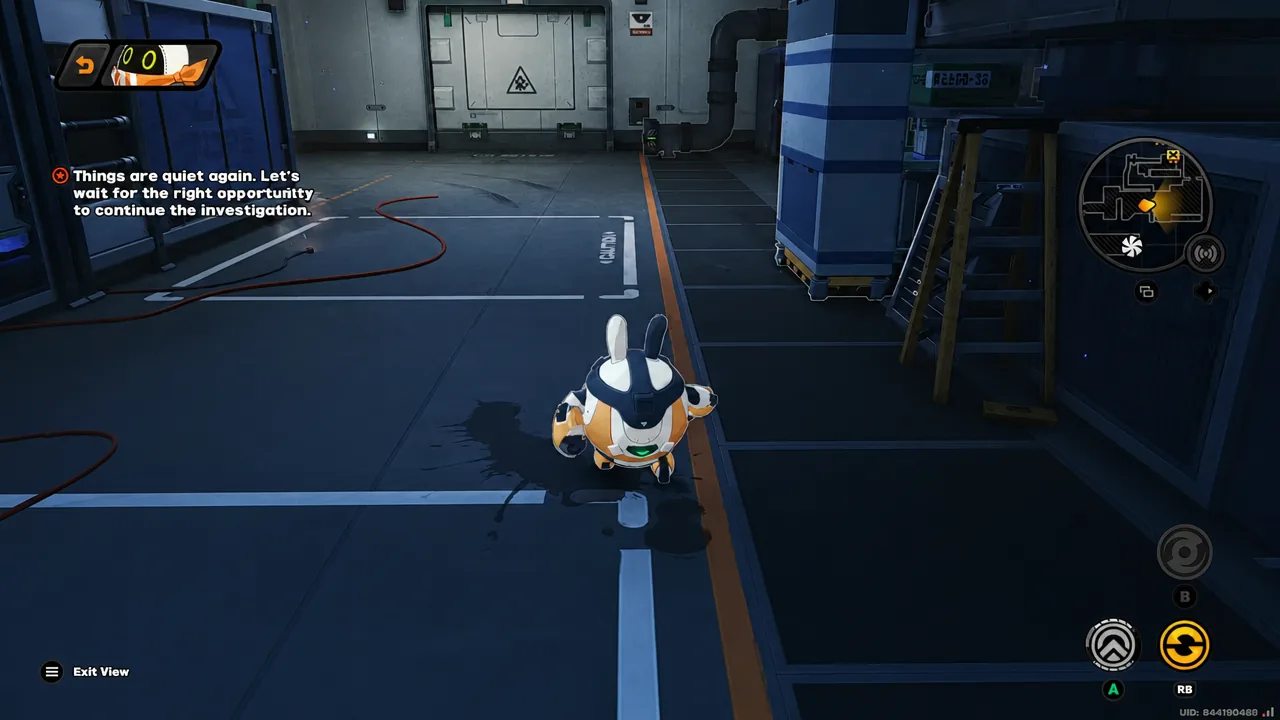
Continue through the corridors past the first truck until you find the bot. Interact with the “Take over the bot” prompt to switch control over to it.
Drive the bot forward and smash the obstacles blocking the path, then move into the Pipe Access Point. Control shifts to the interior vent network from here.
Player character holding position inside the Porcelloy Research Institute with the Exit View control on screen
Holding position while the bot handles the pipe route. Image: HoYoverse
Follow the vent until the second Mini Cargo Truck appears and open it with the bot. It cannot be reached any other way.
Keep moving a short distance further to reach the first Corrosion-Resistant Locked Box. Use the “Crack the Locked Box” prompt to open the terminal and solve the grid connection puzzle.
The third Mini Cargo Truck sits right beside that locked box, so open it before you leave the vents. Then exit the bot and resume control of your Agent.
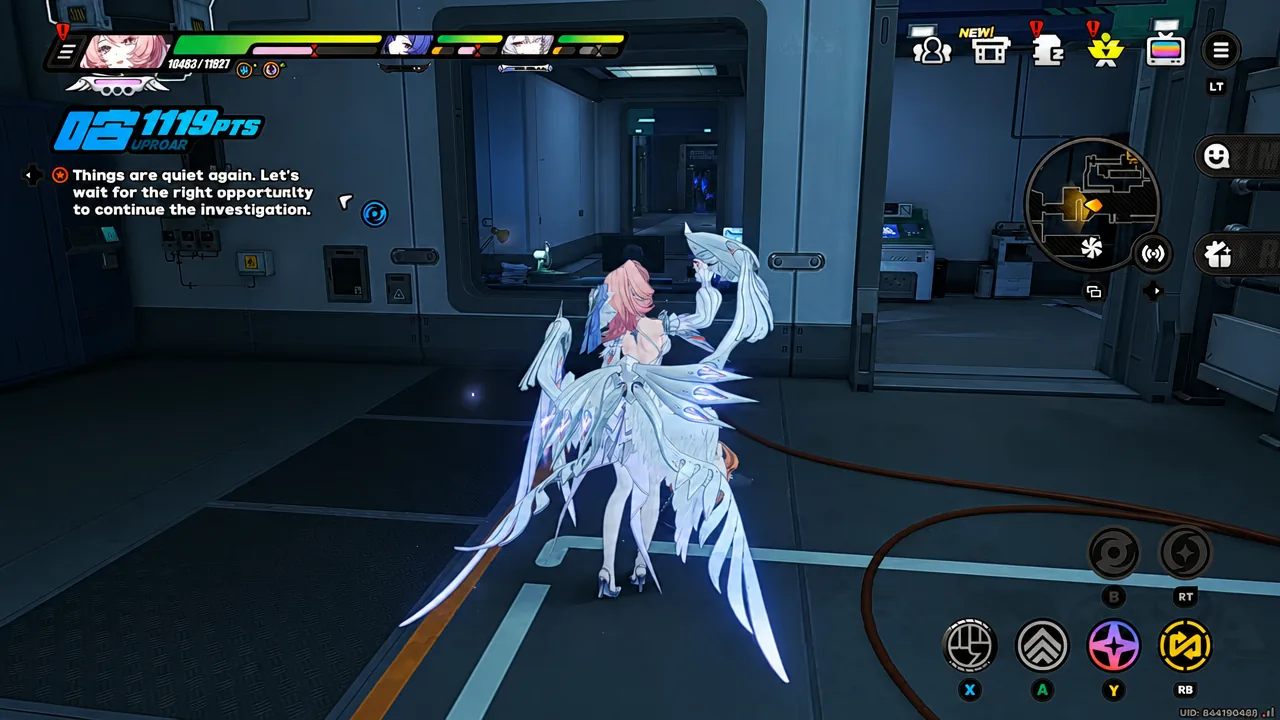
Objective text reading Things are quiet again after leaving the bot and returning to the main character
Control returns to your Agent once you exit the bot. Image: HoYoverse

Trucks 4 through 7: laboratory, containment sector, and offices
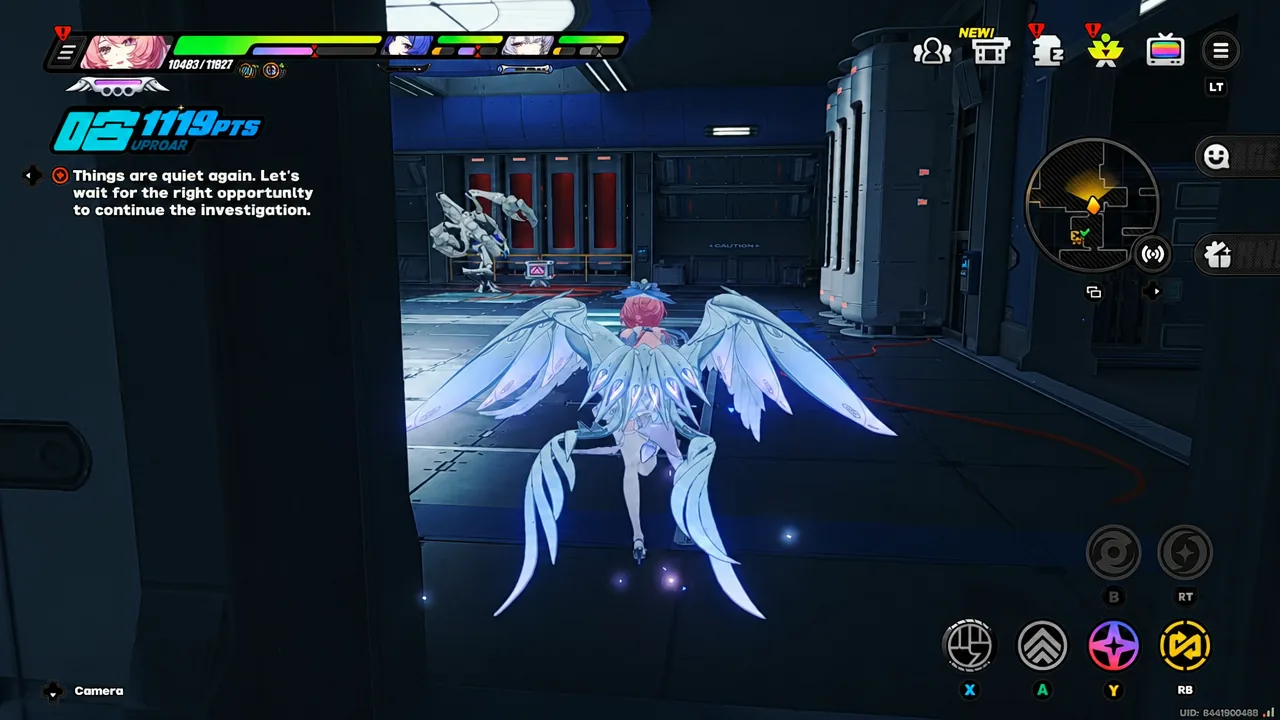
Head into the laboratory room to pick up the fourth Mini Cargo Truck. This one is straightforward and needs no bot or drone.
Move on to the TOPS CONTAINMENT SECTOR. An enemy guards the fifth truck, so clear the fight before the container becomes interactable.
Winged Agent standing in the containment area during the investigation objective
The fifth truck sits in the containment area behind an enemy encounter. Image: HoYoverse
Continue into the adjoining office space for the sixth Mini Cargo Truck.
Leave the office and check the nearby hallway. The seventh truck is a short walk away along that corridor.
Agent walking down a Porcelloy Research Institute corridor with the RB control highlighted
The corridor run between the office and the seventh Mini Cargo Truck. Image: HoYoverse

Drone route: the second Corrosion-Resistant Locked Box

Drones are the second traversal tool in this zone, and they behave differently from the bot. You can hijack one from the Drone Storage Bay, but the connection can drop if you stray too far, which cuts control and returns you to your Agent.

Use the “Hijack Drone” prompt to take over a drone. If your first attempt disconnects shortly after takeoff, hijack it again and start closer to the vent you need.
Fly the drone through the vent opening and continue until the second Corrosion-Resistant Locked Box comes into view.
Interact with the terminal and complete the grid puzzle to crack the box. That closes out both locked boxes in the area.

The final Mini Cargo Truck

The eighth and last truck is tucked into the final hallway of the route. Walk it end to end rather than teleporting away, since the container is easy to run past while chasing map markers.
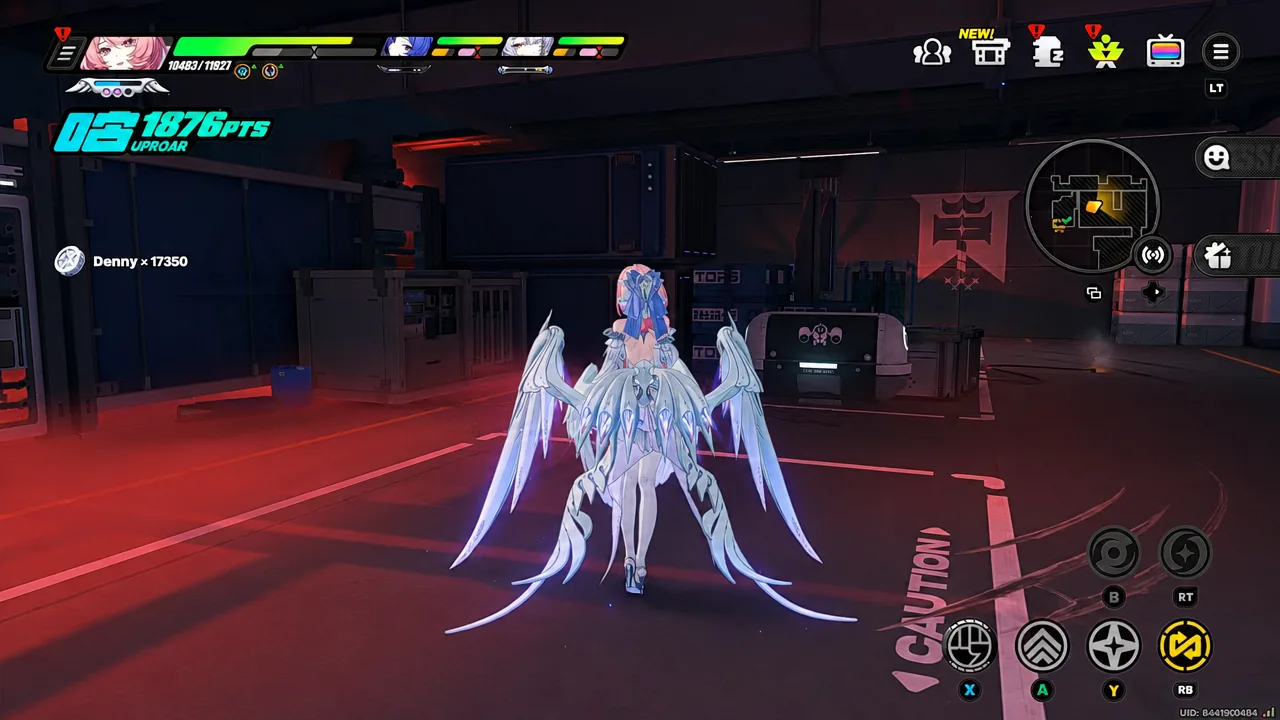
Agent standing in the open final area of the Porcelloy Research Institute before the last cargo truck
The last stretch before the eighth Mini Cargo Truck. Image: HoYoverse

How to confirm 100% exploration progress

Open the map menu and check the exploration progress readout for the Porcelloy Research Institute. When all eight trucks and both locked boxes have been opened, the area reads as complete.

If the counter stalls short of full, the missing item is almost always one of the three vent collectibles or the drone-only locked box. Trucks that are merely walked past do not register, since each one has to be opened directly.

Note: The area spans multiple floor labels, including 5F and 1F. Switching floors on the map view helps confirm you have not left a marker sitting on a level you did not sweep.

Once the zone reads 100%, nothing else in the Institute affects the tally, and the rewards from these ten containers are one-time pickups that will not respawn on a later visit.