007 First Light Chapter 15: Grab the Q Lab gear and leave MI6
A fast route through Man Of The Hour, covering every gadget pickup, the test chamber escape, and the 1324 armoury code.
A fast route through Man Of The Hour, covering every gadget pickup, the test chamber escape, and the 1324 armoury code.
by Shivam Malani
Man Of The Hour is the fifteenth chapter of 007 First Light, and it is one of the shortest in the game. There is no open combat to grind through. Instead, Bond walks out of MI6 after a tense round of cutscenes, then loots the Q Lab for a fresh set of gadgets before heading to Webb Industries. The whole chapter is built around collecting three pieces of equipment and solving a small environmental puzzle to escape a locked test chamber.
🎯
Quick answer: Clear the opening cutscenes with Moneypenny and Q, then enter the Wearables section to collect the gears, grab the Q Watch in the Test Chamber, escape the chamber using the furnace and laser, and use code 1324 to open the Armoury for the service pistol. Reach the elevator to leave MI6 and end the chapter.
Opening cutscenes: M’s decision, Moneypenny, and Q
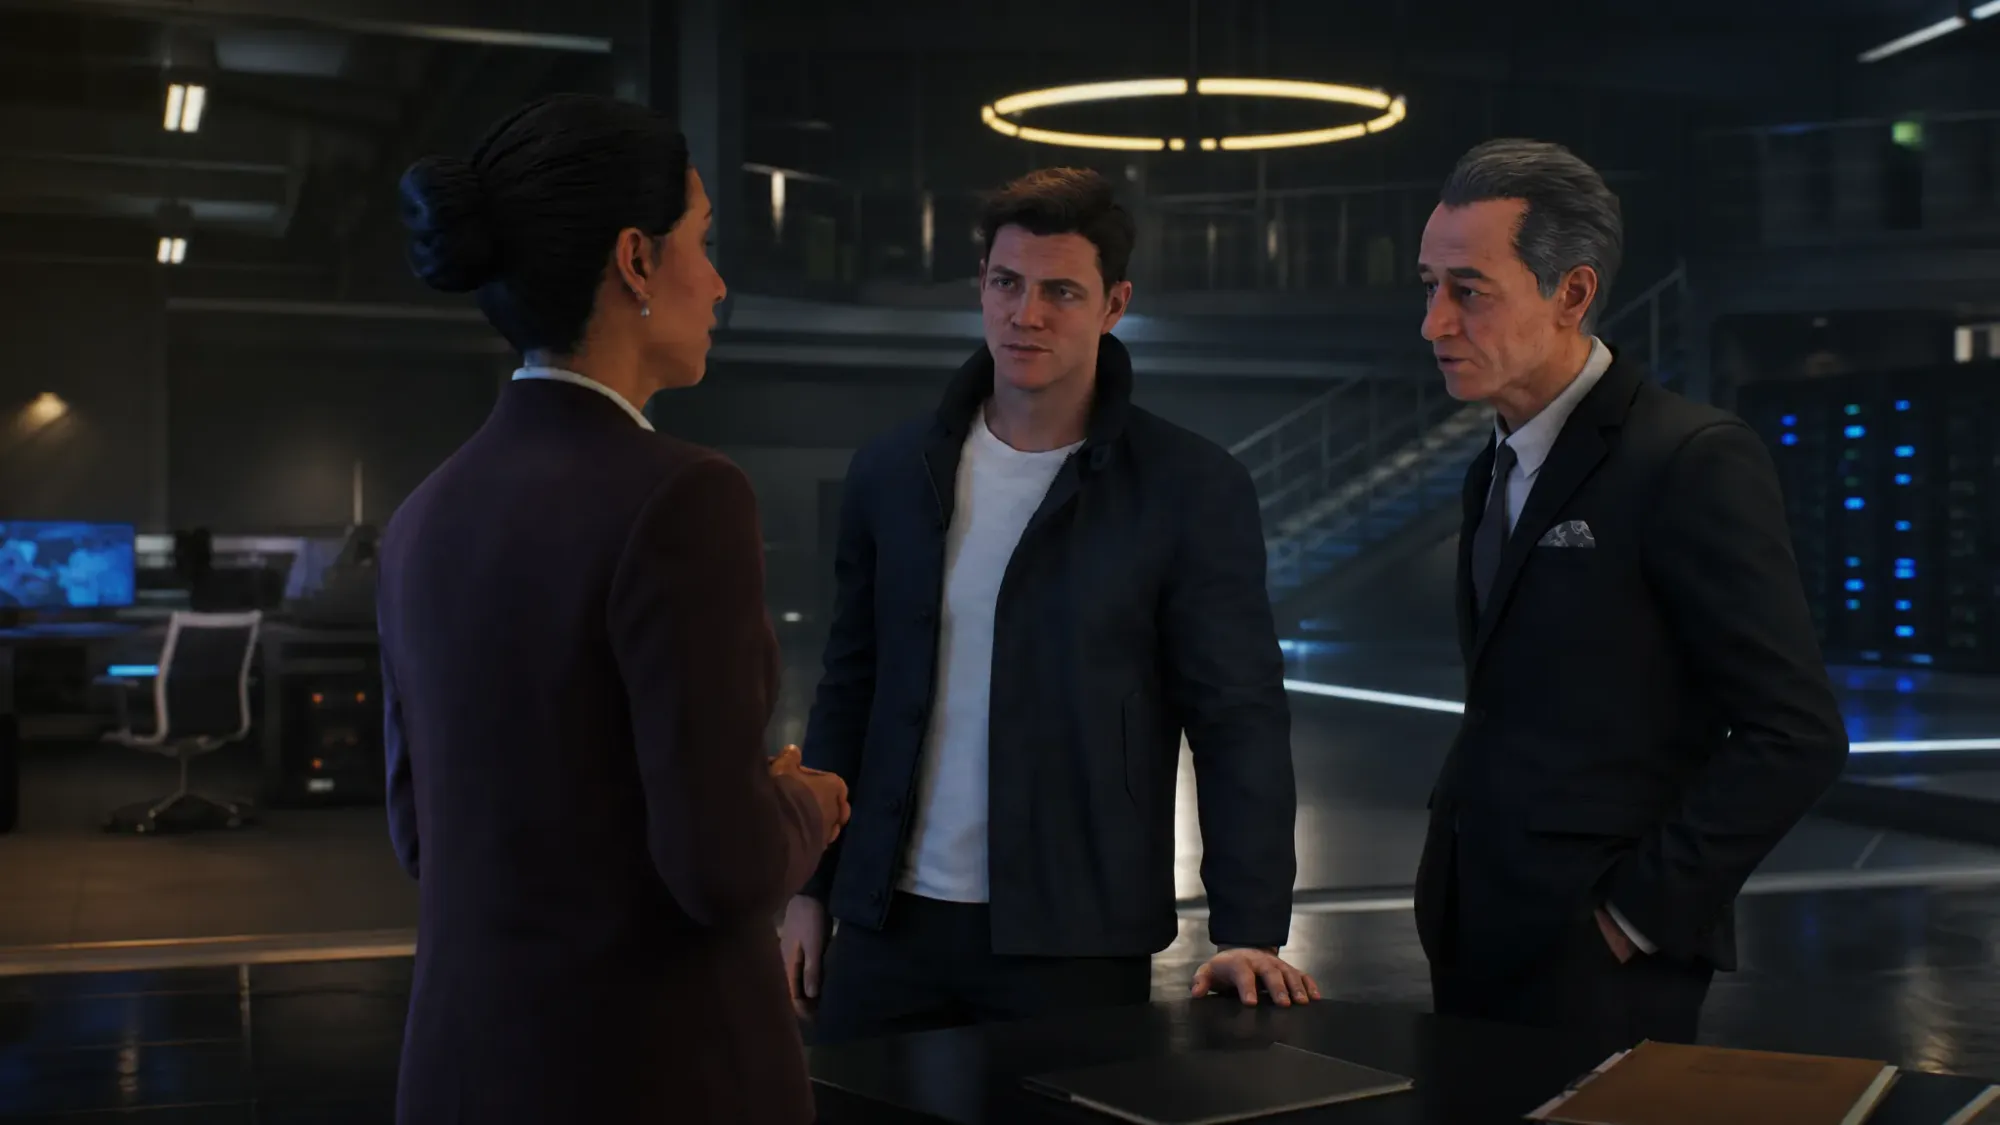
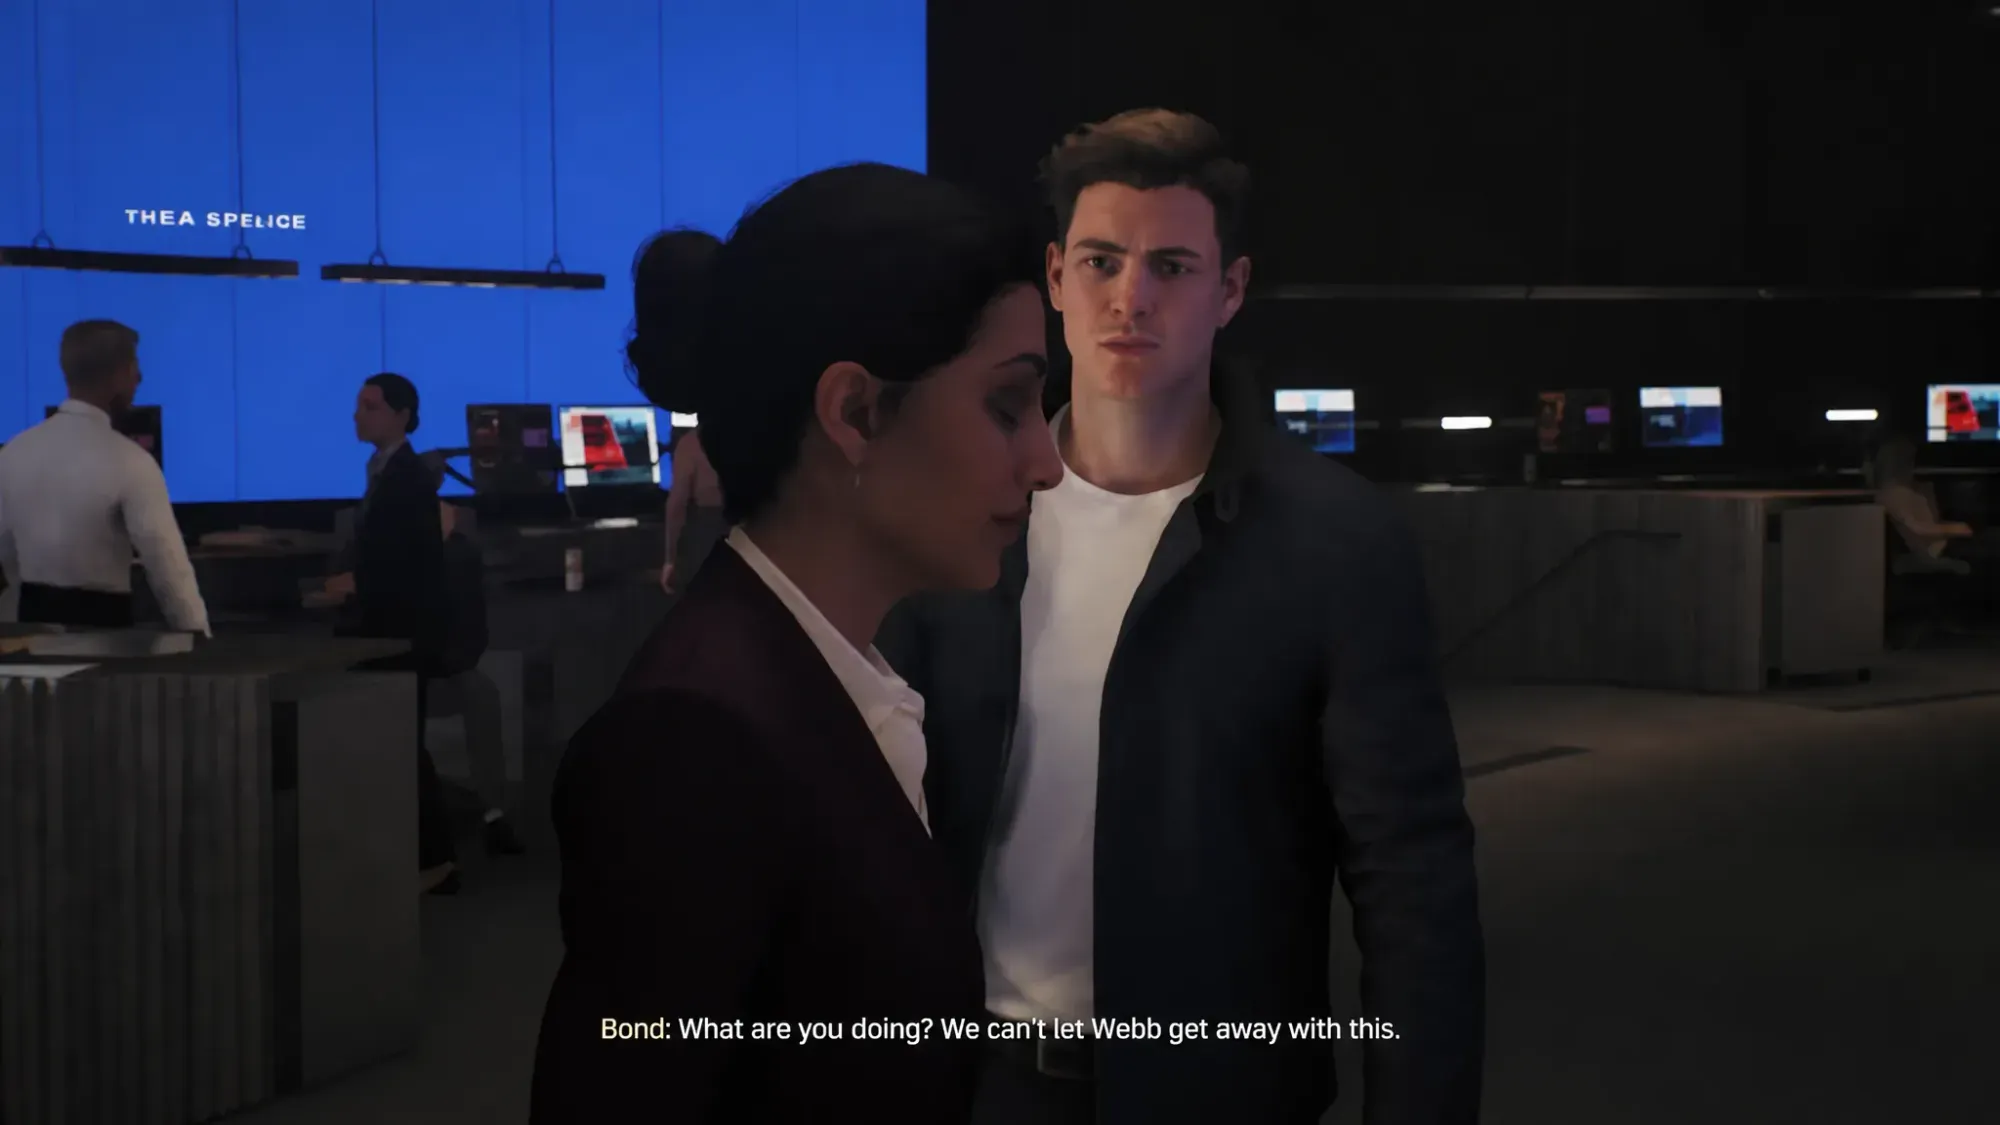
The chapter starts with M telling the staff that Sir Nicholas Webb has blackmailed THEIA, threatening an even larger leak that would expose recent sources, assets, and active agents. To stop that from happening, THEIA agrees to Webb’s demands and grants him immunity. Bond is clearly unhappy with the call.
Once the cutscene ends, head upstairs and speak with Moneypenny. After their exchange, follow her to the elevator that leads down to THEIA’s hidden lab inside the secured vault.
Inside the lab, a second cutscene plays where Bond and Moneypenny argue over M’s decision. Bond walks out and visits Q, who quietly agrees with him. When Q leaves his office, you regain control and the gadget hunt begins.
Steal field equipment: Collect the gears in Wearables
Your first pickup sits past the Wearables section, which is directly opposite the central podium in the lab.
Enter Wearables and walk to the back of the room, then exit through the rear door. Keep moving straight toward the Gym section. While you are here, the Trilby Hat Legacy Item is tucked inside one of the changing rooms if you want it for completion.
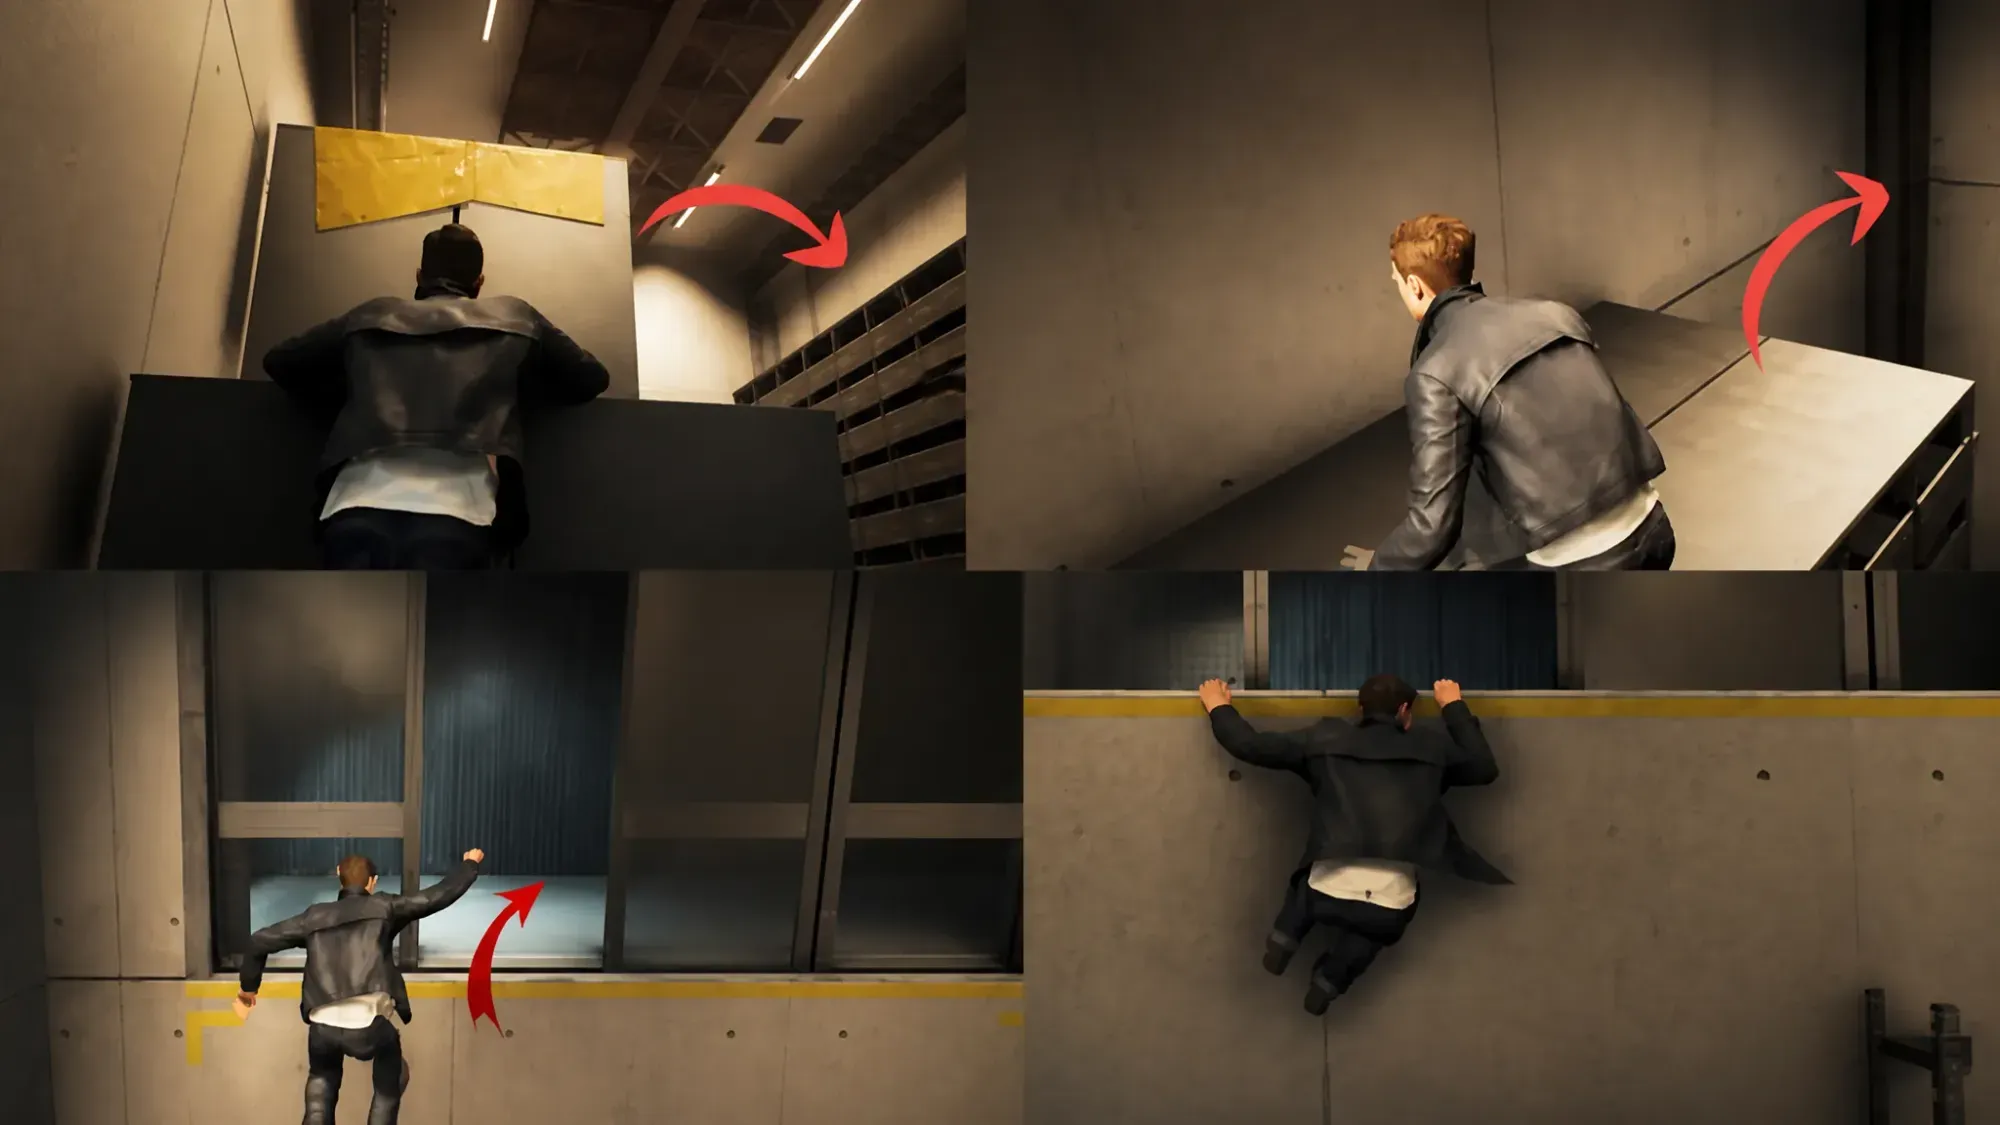
In the gym, climb the locker on the right, then step up onto the top locker. Jump across to the locker on the opposite side, then jump once more to grab the ledge of the opening above you.
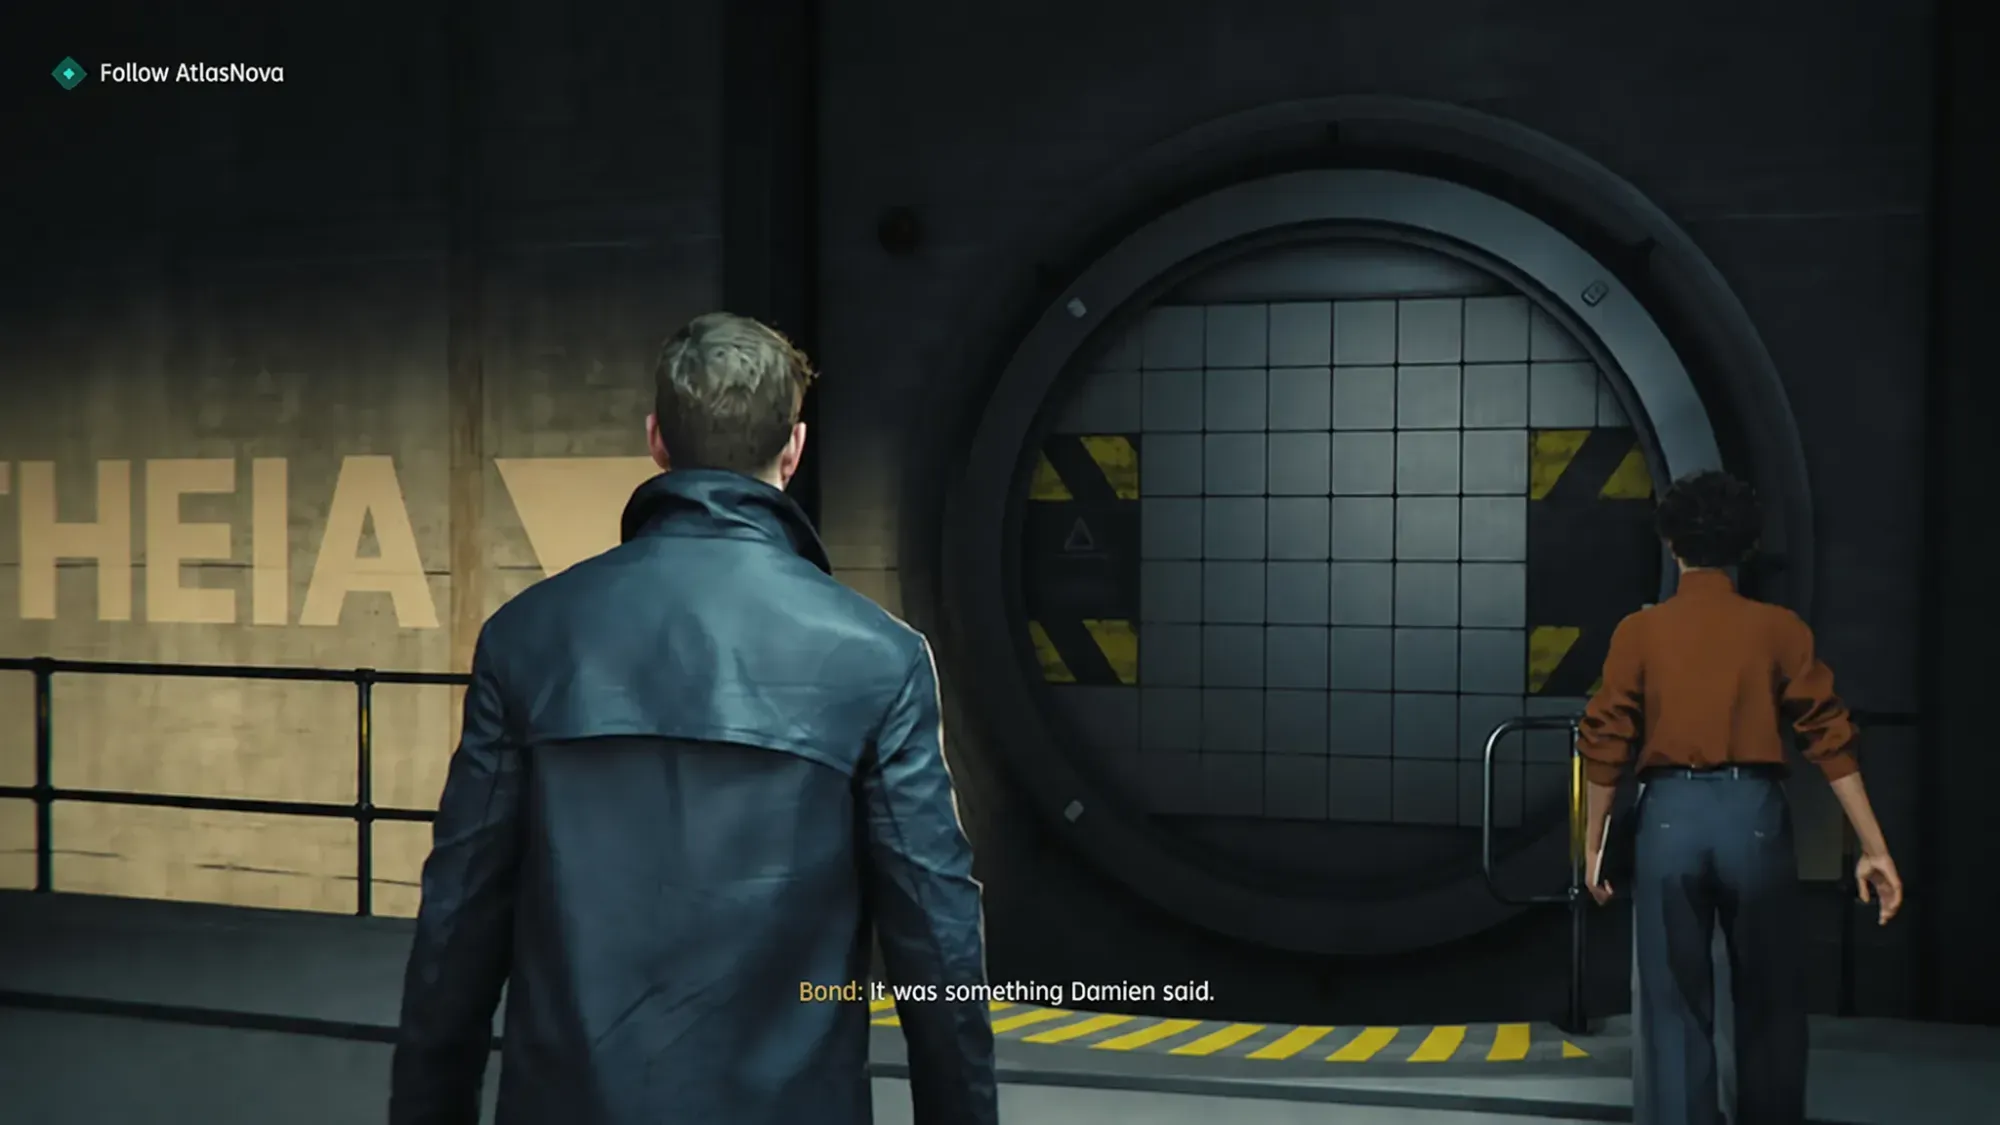
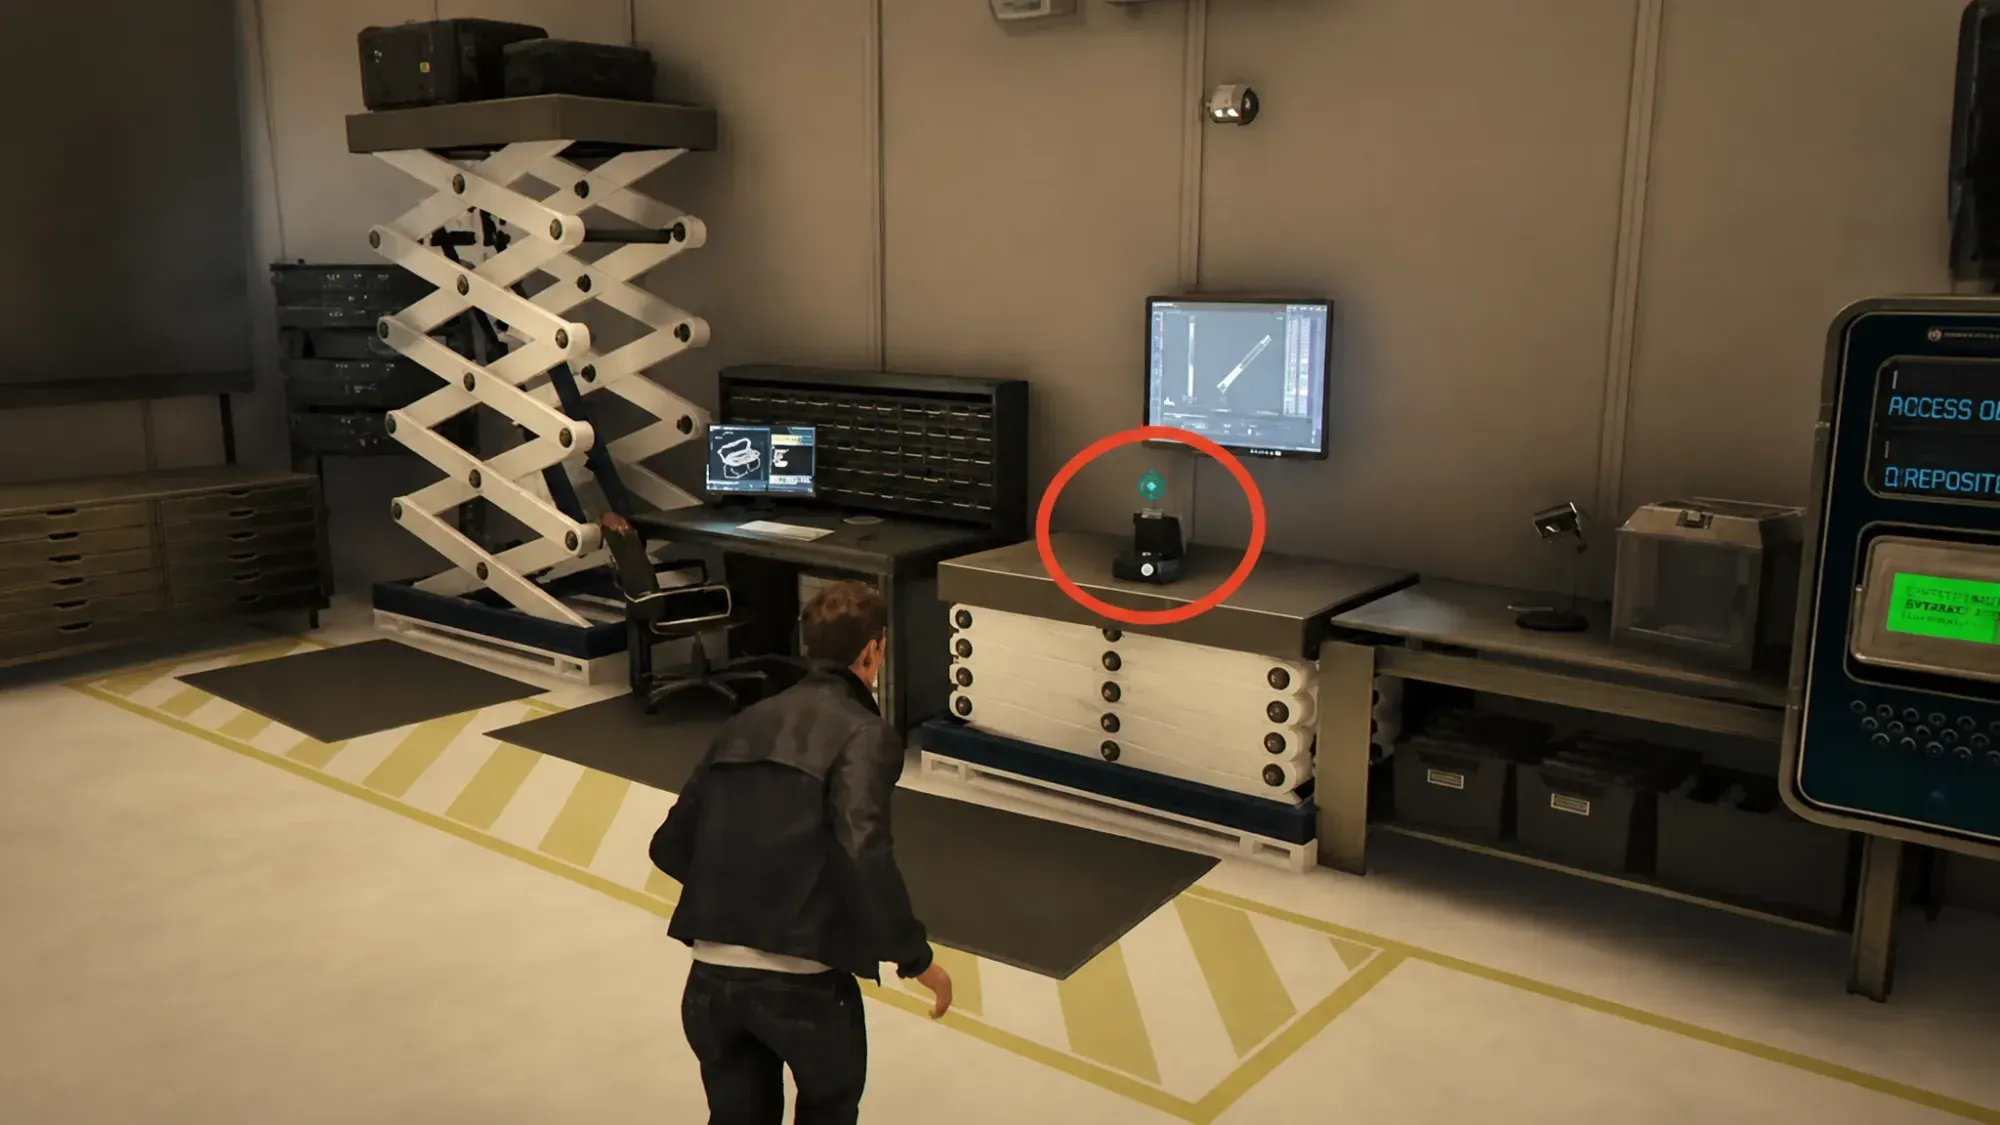
With the gears equipped, leave through the main door and turn left. Walk straight until you reach a Fire Extinguisher fixed to the wall beside the Test Chamber gate.
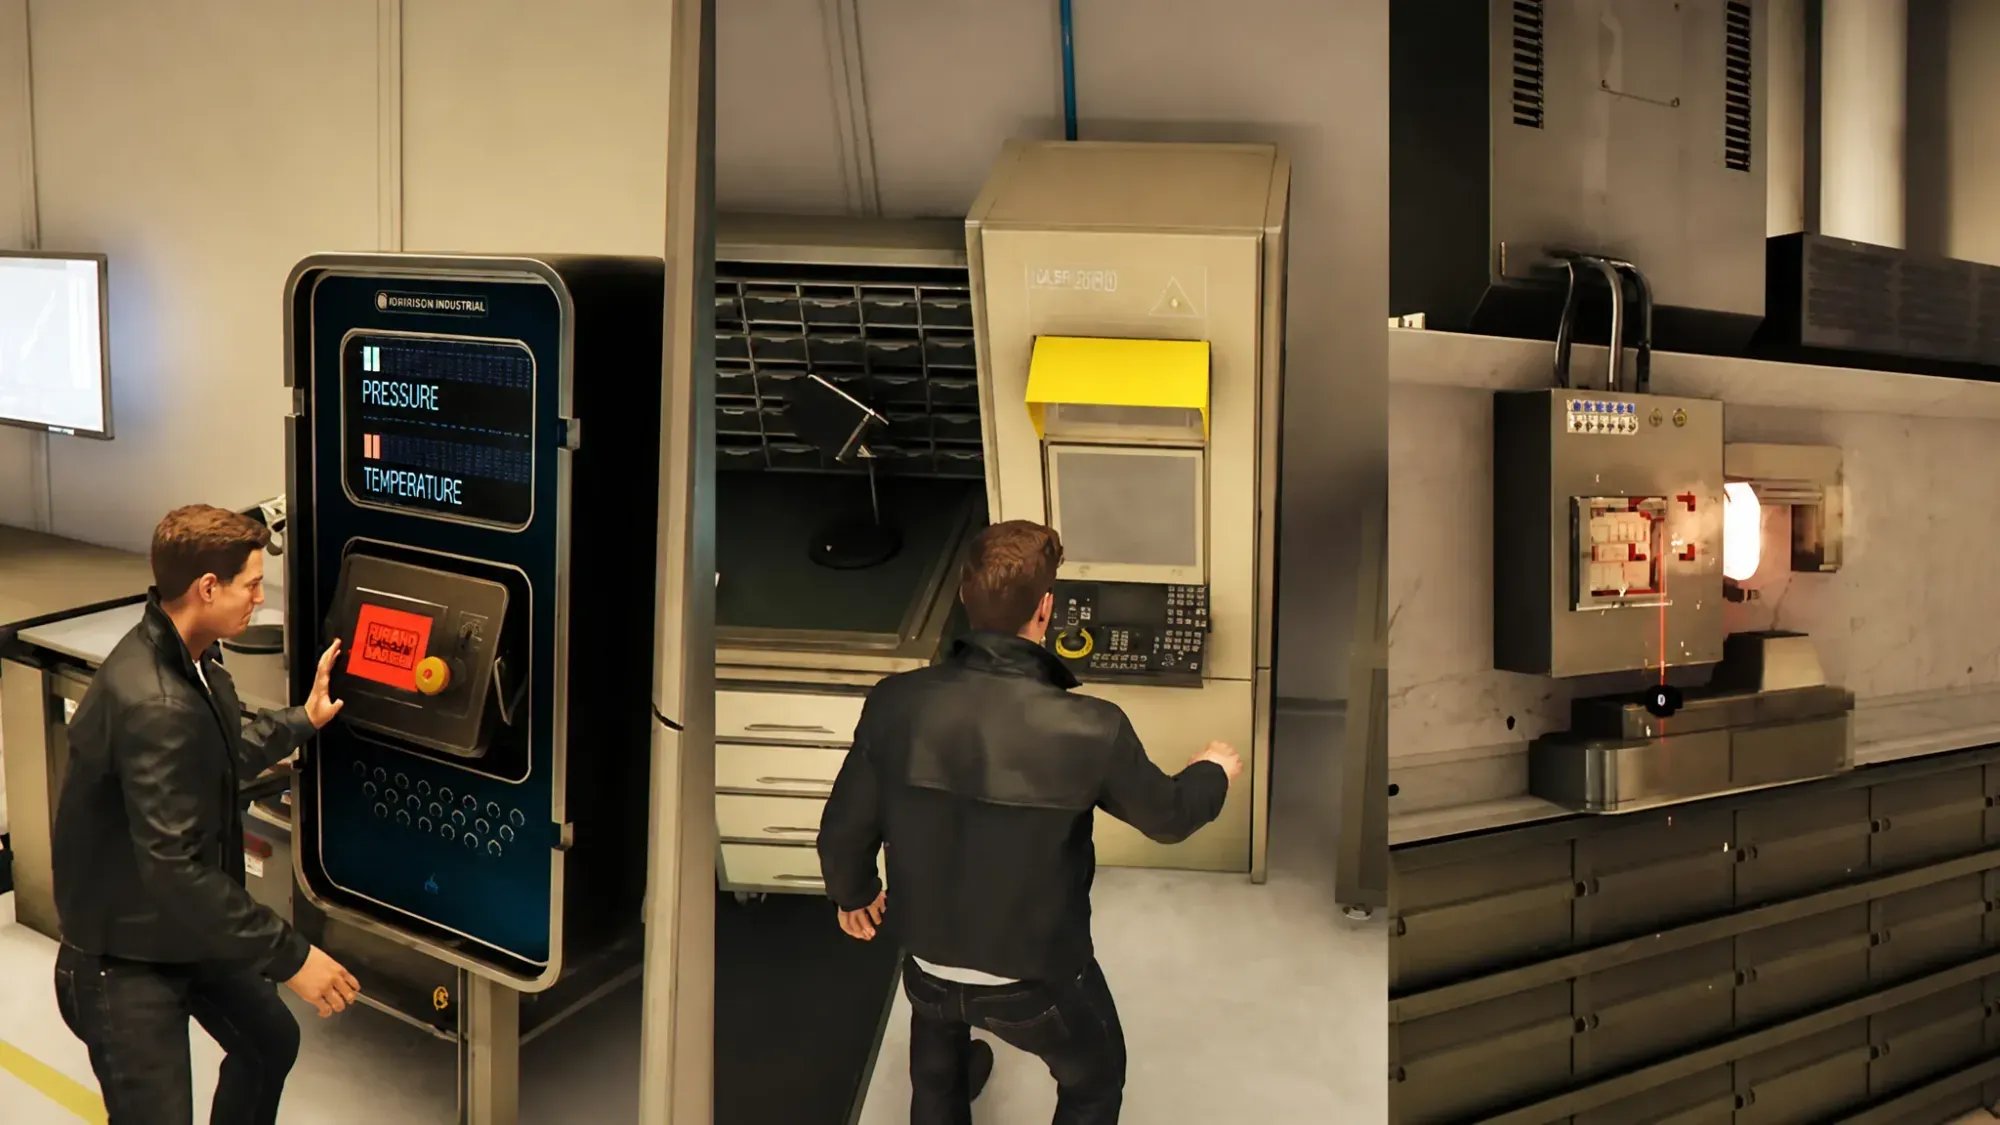
Use the laser control and aim the laser at the nearby garage door. Look for the shutter lock above the gate with a light on it, hold the laser on that spot for a few seconds, and wait for the “Laser deactivated” voice line.
Inside the garage you will see a blast-proof SUV and a Blast Sequence console. Trigger the console to start the countdown, then get into the SUV before the explosion goes off.
After the blast, step out of the vehicle and open the explosive chamber. Use the Q-Lens to set off another explosion that breaks the wall and opens your path forward.
Leave the range and the Armoury is on your right. Enter 1324 on the door to open it, then collect the service pistol and the progress report at the back of the room.
With all three pieces of equipment in hand, walk to the elevator to leave MI6. A cutscene plays where Bond switches off the lights in Q’s office on his way out, and Isola calls to tell him to head to Webb Industries.
When the elevator scene ends, cross the main MI6 lobby. This triggers the final cutscene where Bancroft speaks with Bond before he leaves.
Once that conversation wraps, Man Of The Hour is complete and the game moves you toward the next chapter. You can confirm success by the chapter-end screen and the automatic transition into Bond’s drive to Webb Industries. The only thing that holds players up here is the chamber escape, so if the garage gate will not open, make sure the furnace is lit and the laser has fully deactivated before you damage the shutter lock with the Q-Lens.