

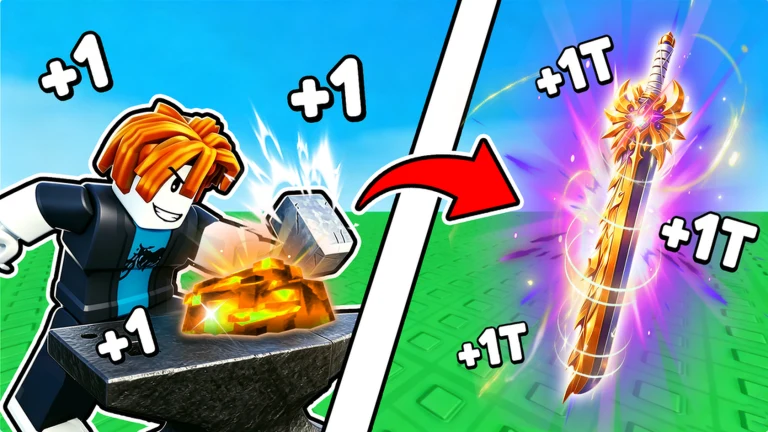
Starting a new character in the Roblox game +1 Loot To Forge looks slow for about two minutes, then stops being slow entirely. Power is earned by clicking in a training zone, ore comes from dungeon stages, and the Forge turns that ore into weapons and armor far stronger than anything sold in the shop. The trick is running those three steps in the right order instead of parking in the training area and clicking forever.
Quick answer: Train in the highest multiplier zone you can reach, clear dungeon stages for ore, forge and equip a stronger weapon, then rebirth once your Power gains start crawling. Repeat.
The four hub areas and how they feed each other
Everything in the game runs through four spots in the main hub, and each one only matters because of what it feeds into next.
- Train Area — click to build Power, standing inside the strongest multiplier zone you have unlocked.
- Dungeon Portal — numbered stages full of enemies that drop ore when they die.
- Forge — combines up to four ore types into a weapon or a piece of armor.
- Sell Stall — turns leftover ore into Gold, which pays for upgrades and enchants.
Power decides how hard you hit, so a stalled dungeon run is usually a Power problem rather than a weapon problem. If a blade that felt strong two stages ago suddenly bounces off enemies, go back and train before hunting for a replacement.
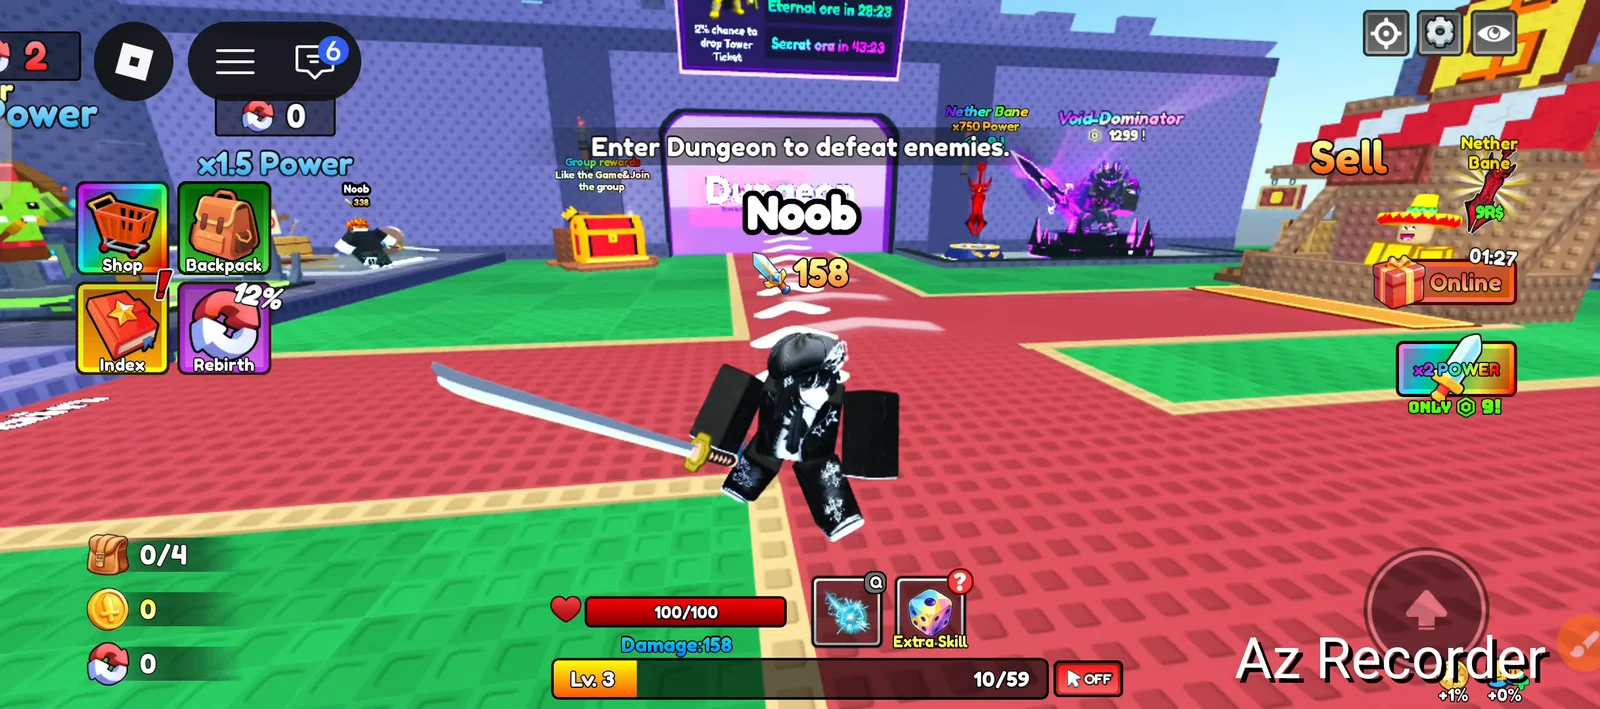
Training multipliers and the Throne Train Area
The Train Area is split into zones, and each zone multiplies the Power you gain per click. Moving up a tier as soon as your character can survive there is the single biggest change you can make to your rate of progress.
| Zone tier | Power multiplier |
|---|---|
| First | 2x |
| Second | 8x |
| Third | 15x |
| Fourth (Throne Train Area) | 100x |
The x100 Throne Train Area is a 500 Robux unlock and it is permanent, which is why a restarted account can push from a fresh level into billions of Power within a few training sessions. Without it, the 15x zone is your ceiling and the same loop still works, just at a slower pace.
Shop purchases that skip the early grind
None of these are required, but they change how a restart feels. The Starter Pack in particular hands a new character a Mythic weapon that scales off the best weapon you own, which is enough to clear the first handful of dungeon stages without stopping to forge anything.
| Purchase | Cost | What it gives |
|---|---|---|
| Starter Pack | 79 Robux | Edith’s Thorn (Mythic, 110% power of best weapon), 5 keys, 1 pet ball |
| Multiple Power x2 | 99 Robux | Doubles Power gains |
| x150% Luck | 79 Robux | Luck boost for drops |
| Throne Train Area | 500 Robux | Permanent x100 Power training zone |
| Nether Bone | 9 Robux | Legendary sword |
Forged weapons overtake shop weapons quickly, so treat anything bought with Robux as a bridge rather than a permanent loadout.
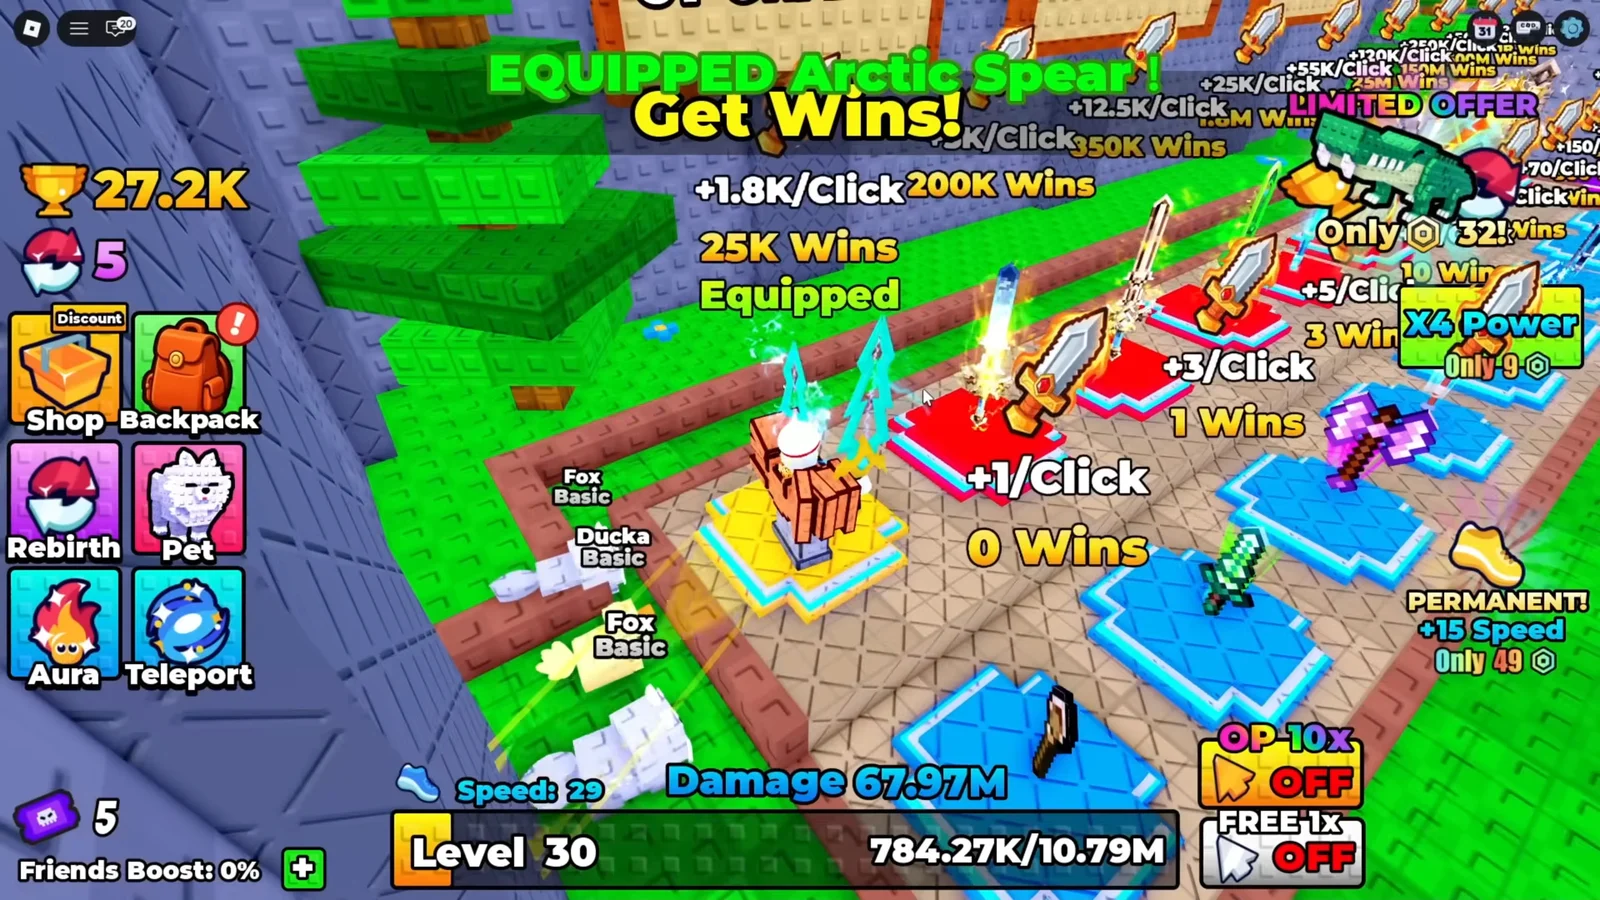
Dungeon stages and the ore each one drops
Early stages exist to teach you the combat pattern. The ore that actually matters starts once you reach the desert stages, and the mid-stage desert run is where most of a restart’s crafting materials come from.
| Stages | Enemies | Ore |
|---|---|---|
| 2–4 | Goblins, Armored Goblin boss | Stone, Copper, Quartz, Jade |
| 5–6 | Desert Zombies | Amethyst, Nova Ore, Sunfire Ore, Fire Crystal |
| 7 | Jackal Zombies | Emerald, Mystic Crystal, Gold, Sapphire, Obsidian |
| 8 | Pharaoh Zombies, Desert Reaper | Mystic Crystal, Arcane, Obsidian |
| 9–10 | Desert mobs | The materials are Sunfire Ore, Bone Ore, Crimson, Emerald, Topaz, and Frostbite. |
| 11 | Hook Skeletons | Diamond, Emerald, Frostbite |
Stage 7 is the best farming spot before the difficulty spike, because Jackal Zombies drop six useful ore types at once. Stage 8 sits behind the Desert Reaper, a boss with 500 million HP, so there is no reason to rush it. Stage 11 has a similar wall in the Hook Skeletons, which will kill an under-geared character outright and end the run with a YOU DIED screen and no loot.
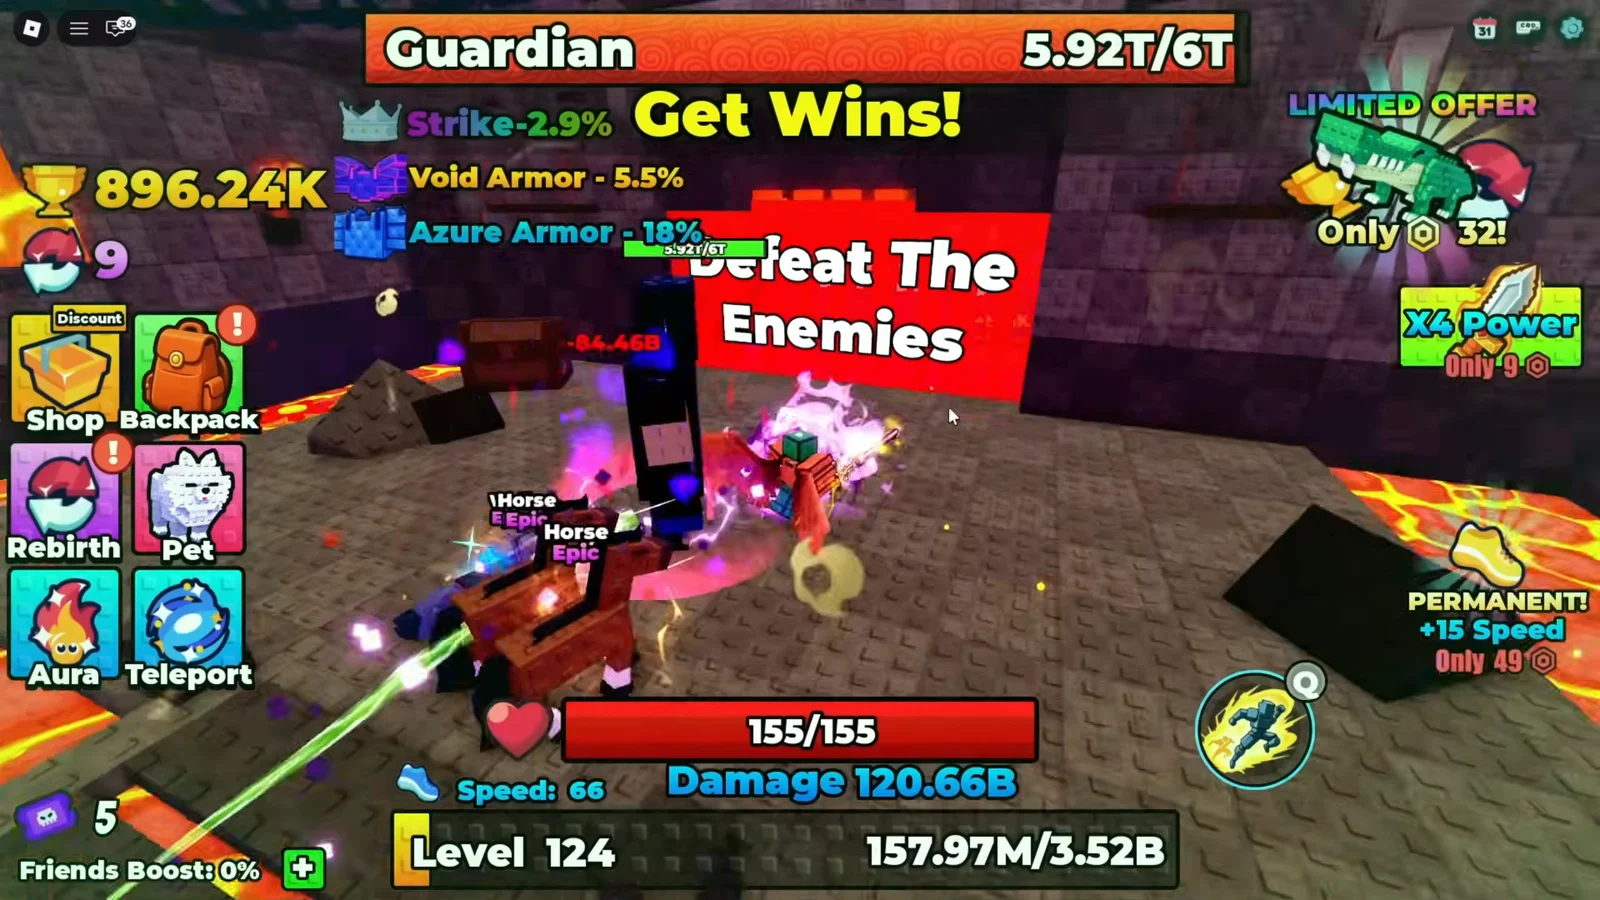
How to forge a weapon and confirm it worked
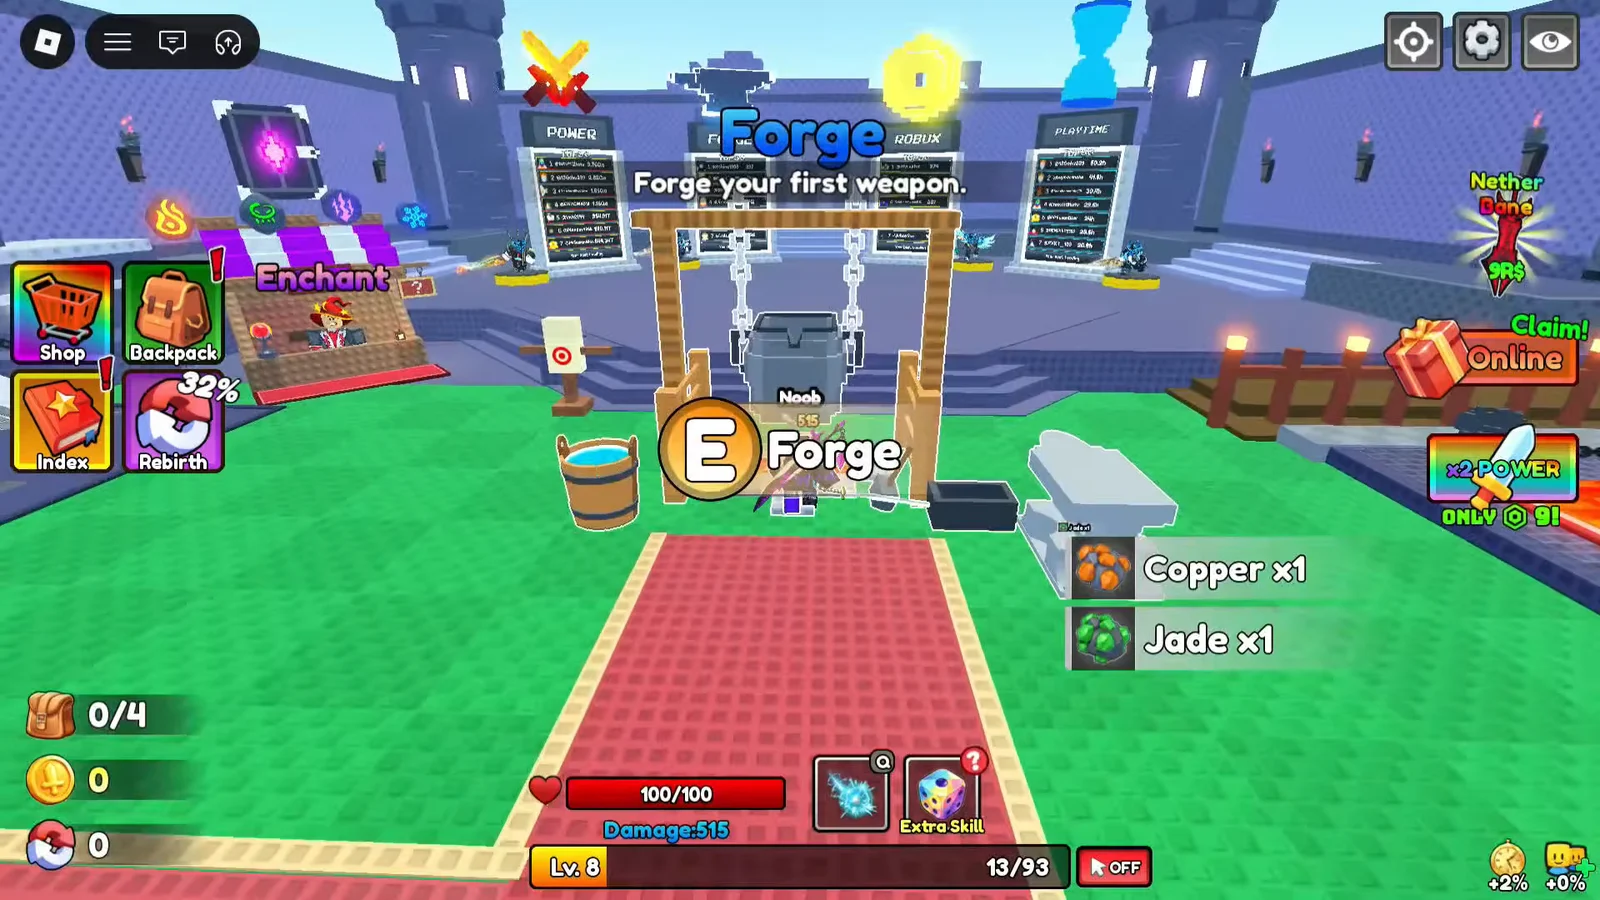
Armor works the same way through the Forge’s Armor tab, and it is the fix for dying instantly in a new stage rather than dealing too little damage.
Known ore combinations
| Ore combination | Result | Rarity |
|---|---|---|
| Sapphire, Fire Crystal, Nova Ore | Draco-Ignis (katana) | Rare |
| Fire Crystal, Nova Ore, Amethyst | Celestial Hilt (greatsword) | Epic |
| Gold, Obsidian, Sapphire, Fire Crystal | Phantom Violet (katana) | Epic |
| Frostbite, Diamond, Emerald | Runebound (greatsword) | Heroic |
| Emerald, Crimson, Topaz, Obsidian | Shadow Shogun Helm (armor) | Legendary |
When to rebirth
Rebirth wipes your accumulated Power and hands back a permanent multiplier. The right moment is when training has clearly slowed down and the next dungeon stage is still out of reach, not the second the button becomes available.
Once the x100 zone is unlocked, rebirths come thick and fast. Levels in the 100s and 150s go by in a minute or two of clicking, and stacking several rebirths in a row is what carries a restarted character from millions of Power into the billions. Weapons and armor stay in your Backpack through a rebirth, so nothing you forged is lost.
Spend valuable ore at the Forge before rebirthing so you are not carrying a half-finished recipe through a reset.
Max Ore Count, selling, and Index rewards
The Max Ore Count upgrade caps how much ore you can carry out of a dungeon run, and at the starting capacity you will hit the limit partway through a good stage. Raising it to Level 3 early roughly changes what a single run is worth, with no change to how you fight. Pushing it further, up to +4, keeps deep runs worthwhile later on.
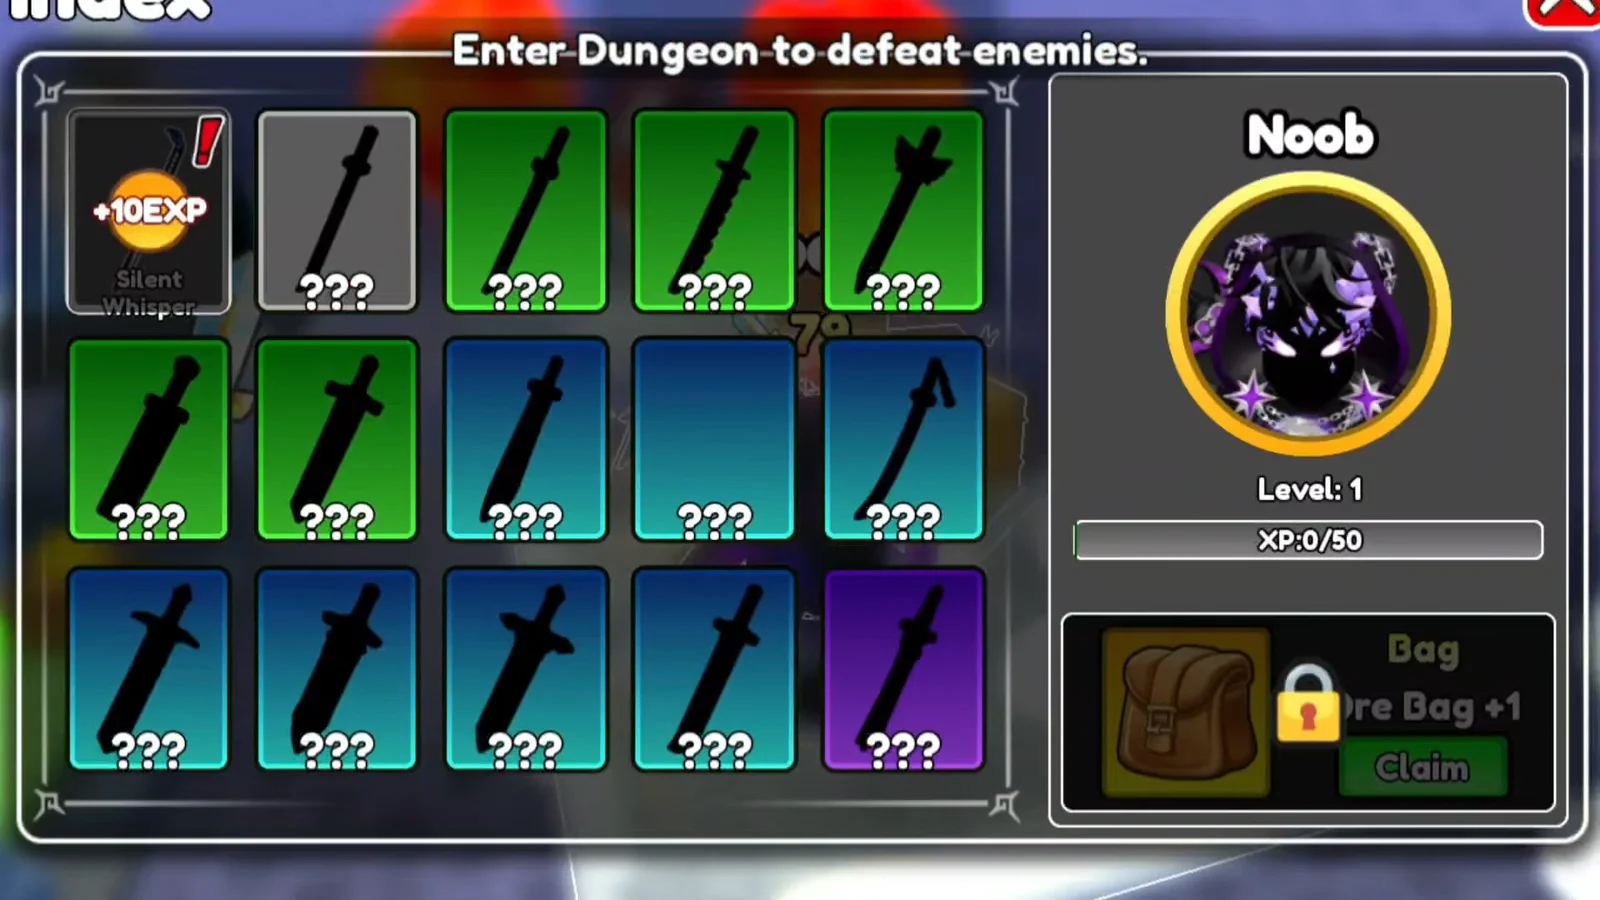
Pay for those levels with the ore you do not need. Sort each haul into materials a recipe wants and materials it does not, then sell the second pile. Old forged weapons you have outgrown can be sold as well. Index rewards are worth claiming on the same trip, since they include capacity bonuses such as a Gag Ore Bag +1.
Frostbound Tower runes and enchanting
The Frostbound Tower is the endless mode, and entry costs Tower Tickets. Each round drops you into a timed fight where every enemy has to die before the clock runs out, and clearing rounds pays out elemental runes in Flame, Frost, Poison and Thunder varieties. A couple of free tickets can be claimed every day, so logging in keeps a steady supply coming.
Runes are spent at the Enchant station, which has separate slots for weapons, helmets and armor. Applying something like a Flame Rune I to a sword adds elemental damage on top of its base stats. Enchanting costs Gold rather than ore, so it is the natural use for the money from selling surplus materials.
Put your weapon first. Damage is what shortens dungeon runs, and shorter runs mean more ore per minute. Once you stop struggling to kill things and start struggling to survive them, shift the Gold toward helmet and armor enchants instead. That switch, plus a forged armor piece like the Shadow Shogun Helm, is usually what turns a stage that killed you into one you can farm.





