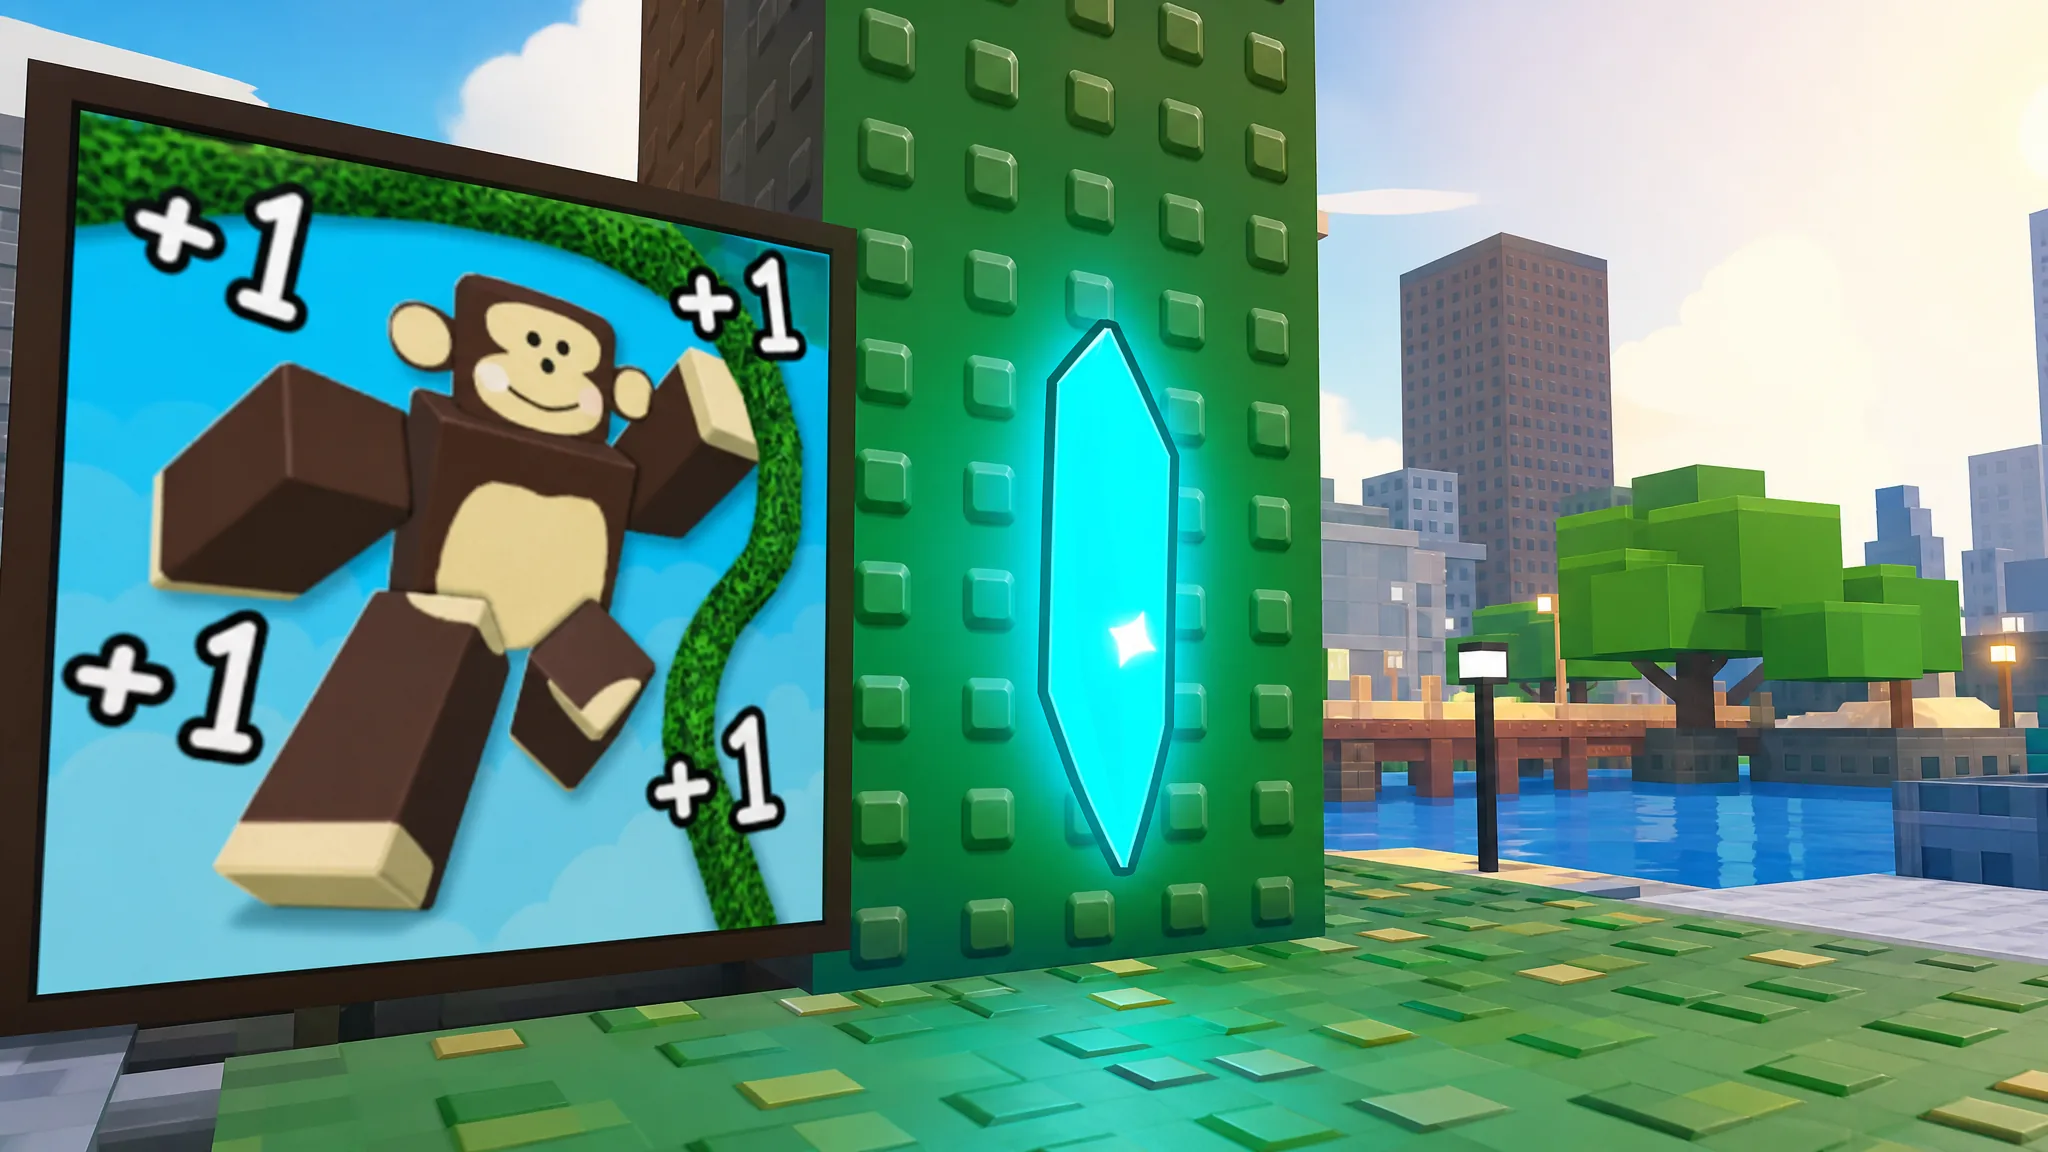
Nine Sunken Shards are tucked away across +1 Speed Monkey Escape, and finding all of them takes you off the main obstacle path and into a few risky jumps. Two of them sit in the main lobby, and the remaining seven are spread across the stages. Grab all nine and you earn a free x2 Speed Treadmill for faster training.
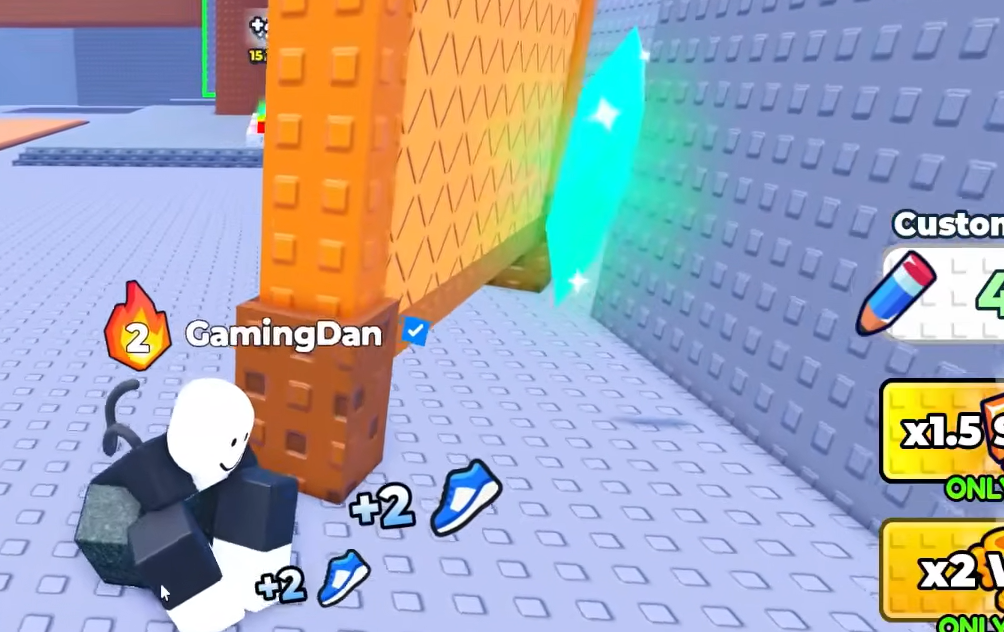
Quick answer: Collect all 9 Sunken Shards (2 in the lobby, 7 across Stages 2–9) to unlock the free x2 Speed Treadmill. Each pickup shows a “Collected X/9 Sunken Shards!” message, and the treadmill unlocks after the ninth.
All 9 Sunken Shard locations
Use the table below as a quick reference, then follow the detailed directions underneath for the trickier pickups. Shards do not respawn once collected, so the counter climbs permanently as you go.
| Shard | Location | Where to look |
|---|---|---|
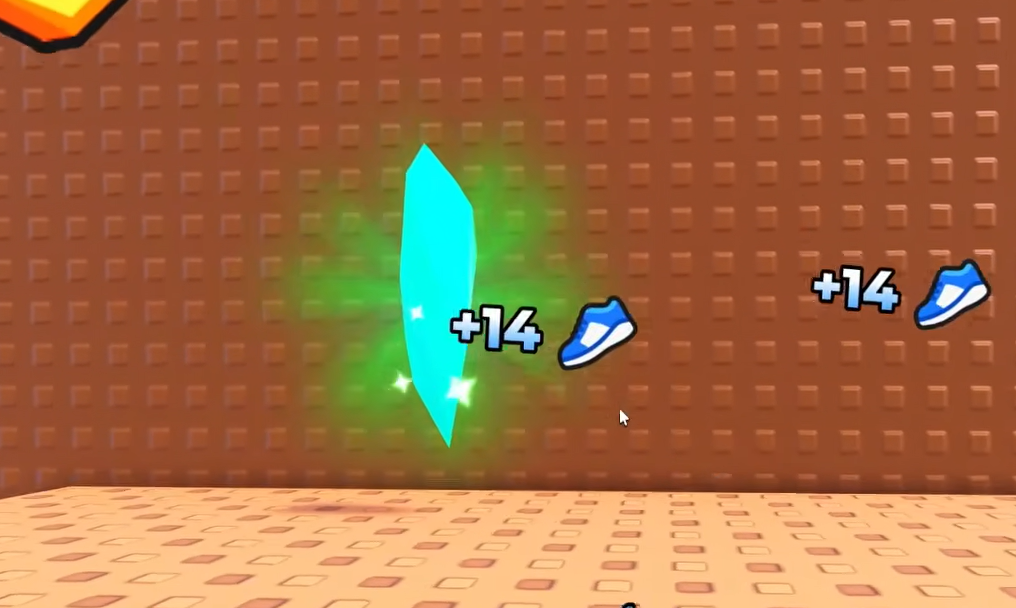
| 1 | Main Lobby | Behind the Top Robux leaderboard on the left |
| 2 | Main Lobby | Ledge reached by the large vertical jump booster on the left |
| 3 | Stage 2 | Below the platform near the small pillar on the left |
| 4 | Stage 3 | Behind the large wooden block on the right at the end |
| 5 | Stage 4 | Top level, at the far left before Stage 5 begins |
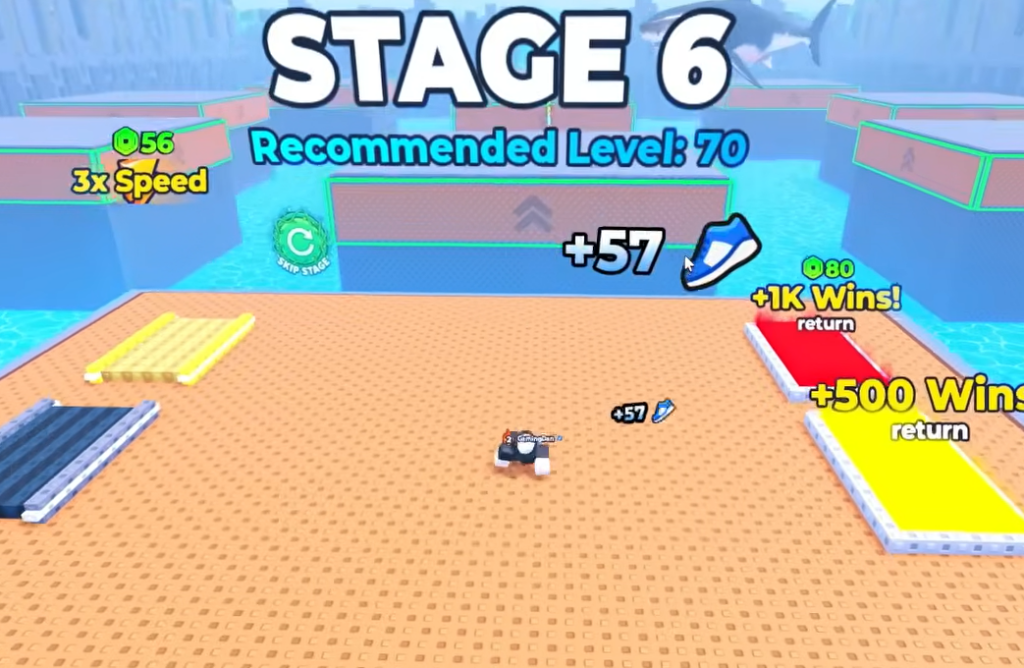
| 6 | Stage 6 | Edge of the second center platform in the water |
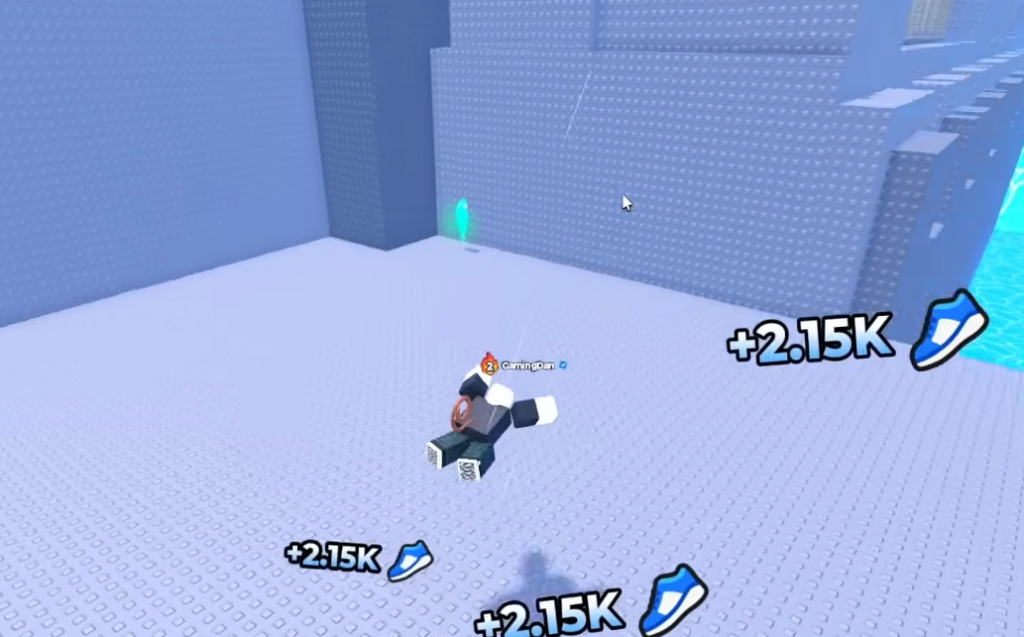
| 7 | Stage 7 | Middle of the three green platforms |
| 8 | Stage 7 | Small ledge beside the last green platform |
| 9 | Stage 9 | Right corner of the third center platform, past the waves |
Two shards in the main lobby
Shards in Stages 2 through 6
Two shards in the Stage 7 maze
The final shard in Stage 9
How to confirm you got them all
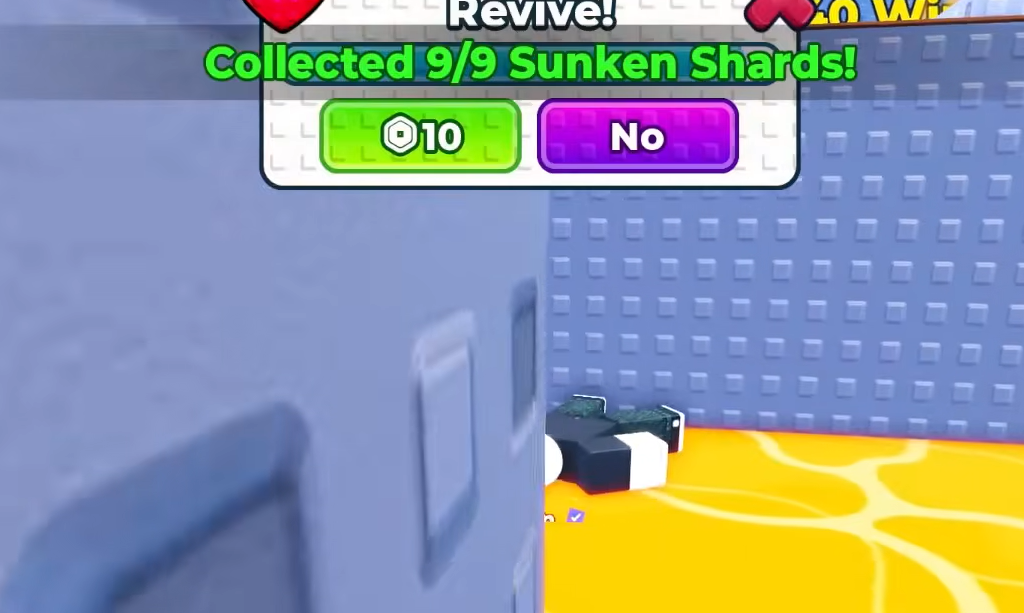
Each shard you touch pops a “Collected X/9 Sunken Shards!” message on screen, so you can track your progress as the number climbs. Once the ninth pickup registers, the x2 Speed Treadmill reward becomes available for training. You can also open your Backpack to check which shards you have already banked.
If a shard seems to be missing, it is almost always because you skipped one of the off-path drops. The pickups below platforms in Stage 2 and Stage 6 are easy to fly past at high speed, so slow down and line up the fall before you jump.