

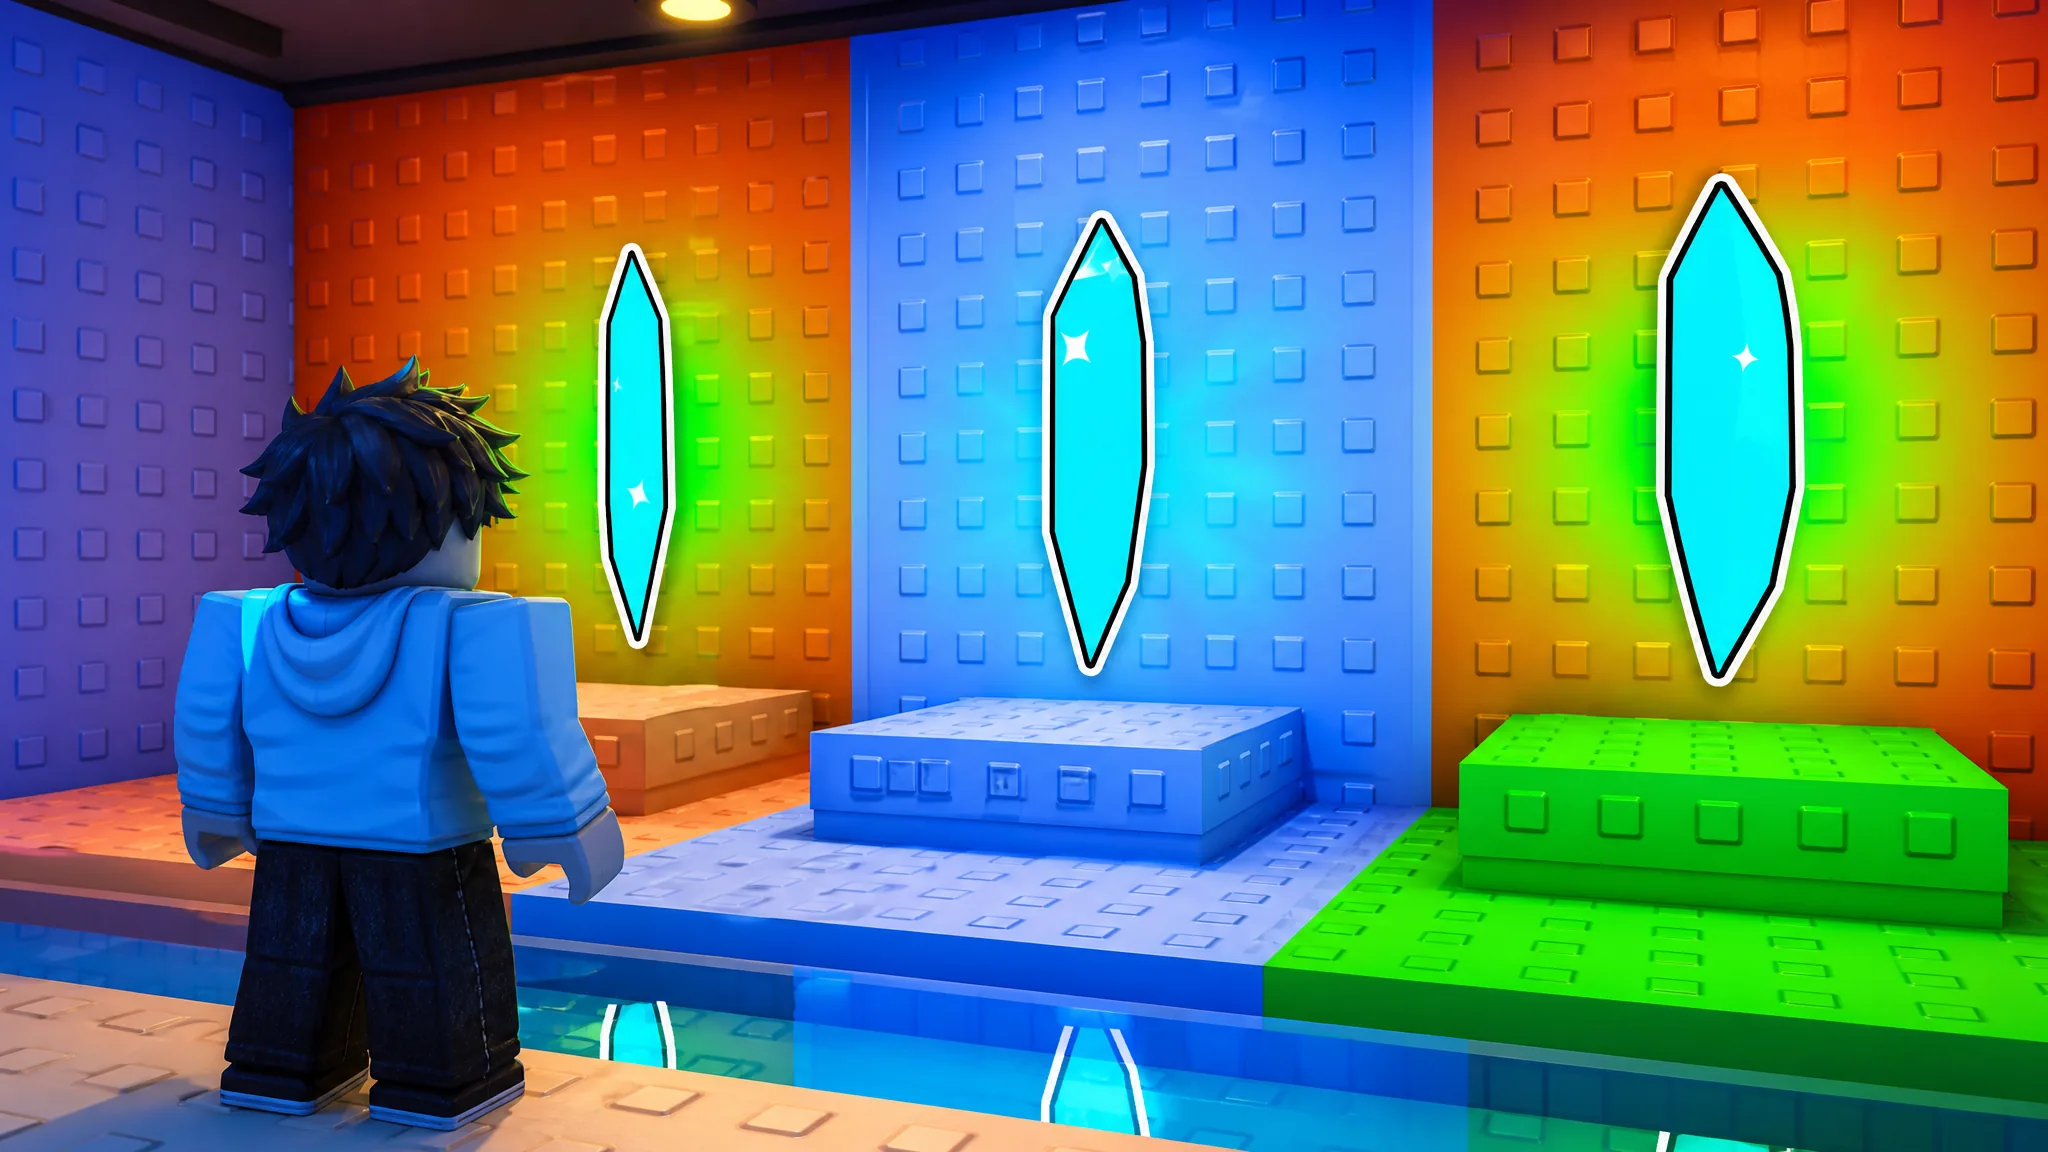
The nine Sunken Shards in +1 Speed Monkey Escape are tucked into corners, ledges, and gaps that sit off the main running path, starting in the lobby and ending on Stage 9. Collect all of them and you get a permanent x2 Speed Treadmill that doubles how fast you gain speed during training.
Quick answer: Grab two shards in the main lobby, one each on Stages 2, 3, 4, and 6, two on Stage 7, and the last on Stage 9. Each pickup shows a Collected X/9 Sunken Shards! message, and the ninth automatically grants the x2 Speed Treadmill.
What collecting all 9 shards unlocks
The reward for the full set is the x2 Speed Treadmill, and it is free. Once it is applied, your speed gains during training are doubled, which cuts the grind toward higher stages and rebirths roughly in half. It is a permanent unlock, so you keep the bonus for good after the ninth pickup.
You can collect the shards in any order as long as you have reached the stage each one sits on. Because the stages run in a straight line, most players simply grab them in sequence during a normal run. You can play the exact game on its official Roblox page.
All 9 Sunken Shard locations at a reference glance
| # | Area | Where it hides |
|---|---|---|
| 1 | Main Lobby | Behind the Top Robux Leaderboard on the left |
| 2 | Main Lobby | Corner ledge above the left vertical jump booster |
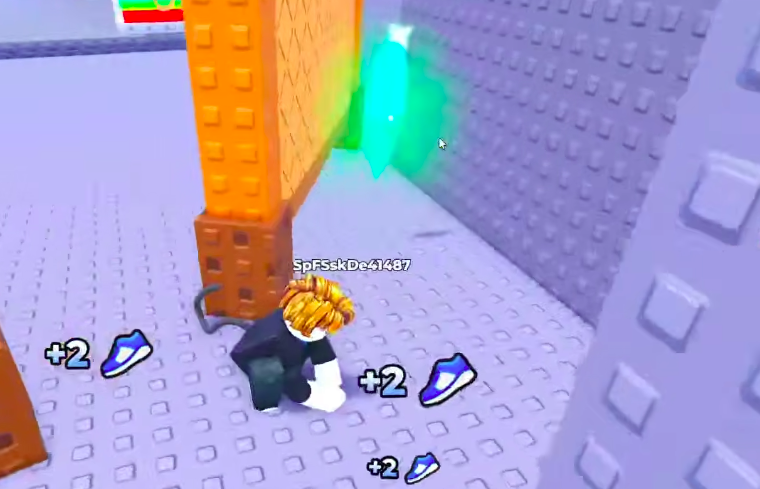
| 3 | Stage 2 | Base of the small pillar on the left of center |
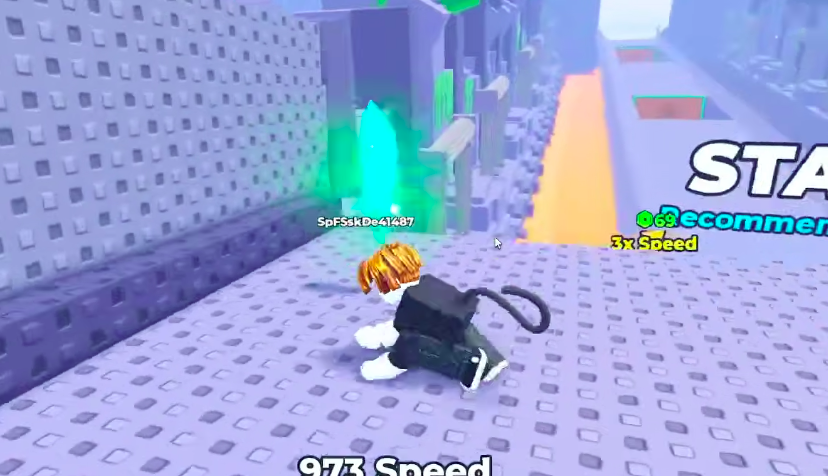
| 4 | Stage 3 | Behind the large wooden block on the right, past the booster |
| 5 | Stage 4 | Top level, far left, right before Stage 5 |
| 6 | Stage 6 | Below the edge of the second center platform |
| 7 | Stage 7 | On the central green platform of the three |
| 8 | Stage 7 | Side ledge next to the last green platform |
| 9 | Stage 9 | Right corner of the third center platform |
Two lobby shards before your first run
Shards on Stages 2, 3, and 4
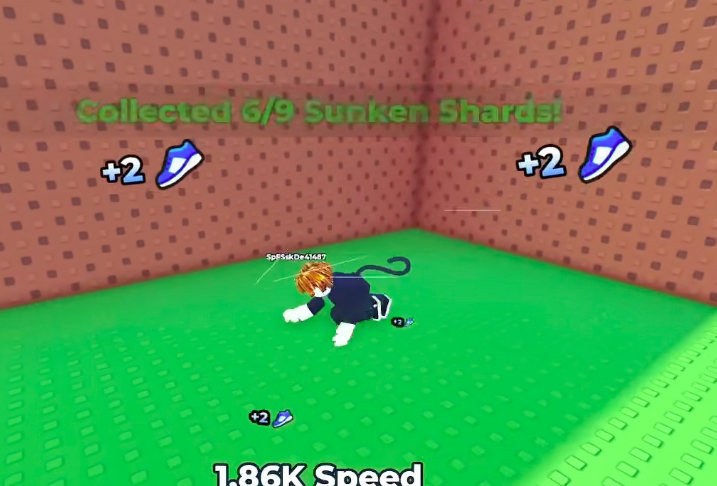
Stage 6 and the two Stage 7 shards
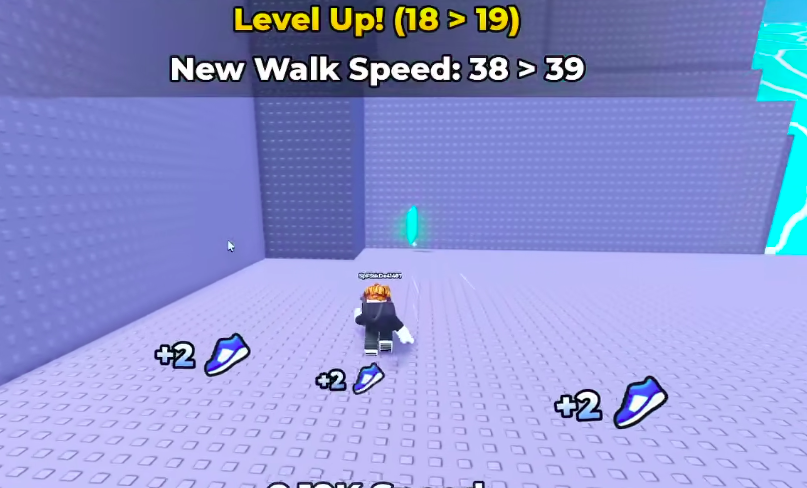
The final shard on Stage 9
How to confirm the reward unlocked
Every shard you touch flashes an on-screen message counting your progress, from Collected 1/9 Sunken Shards! up to Collected 9/9 Sunken Shards!. When the ninth one registers, the x2 Speed Treadmill is granted automatically. If it does not appear right away, check your inventory or the treadmill station, since the item is a permanent addition rather than a temporary buff.
If you stall at eight out of nine, the culprit is almost always a skipped lobby pickup or the shard hidden under the Stage 6 platform, since both are easy to run past. Low movement speed is the other common blocker, because several jumps rely on clearing boosters or gaps that need momentum. Train up your speed a little and retry the jump rather than fighting it at low stats.
Dying to grab a shard, such as the dive on Stage 2, never costs you shards you have already collected, so treat those drops as intended pickups and keep moving.





