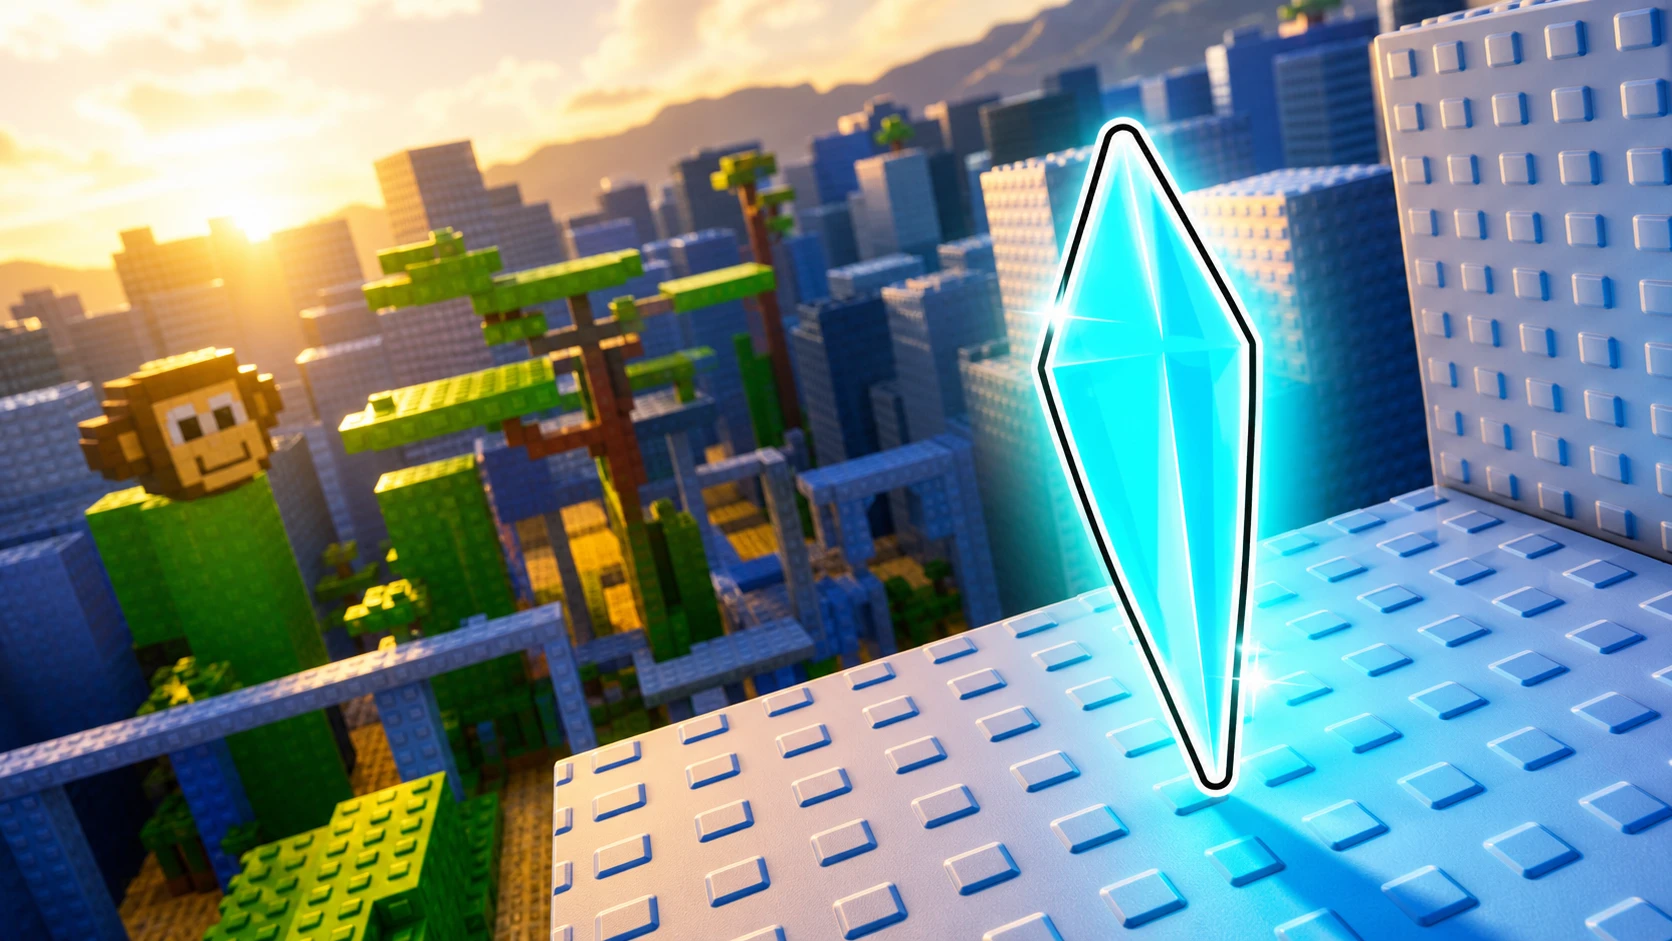
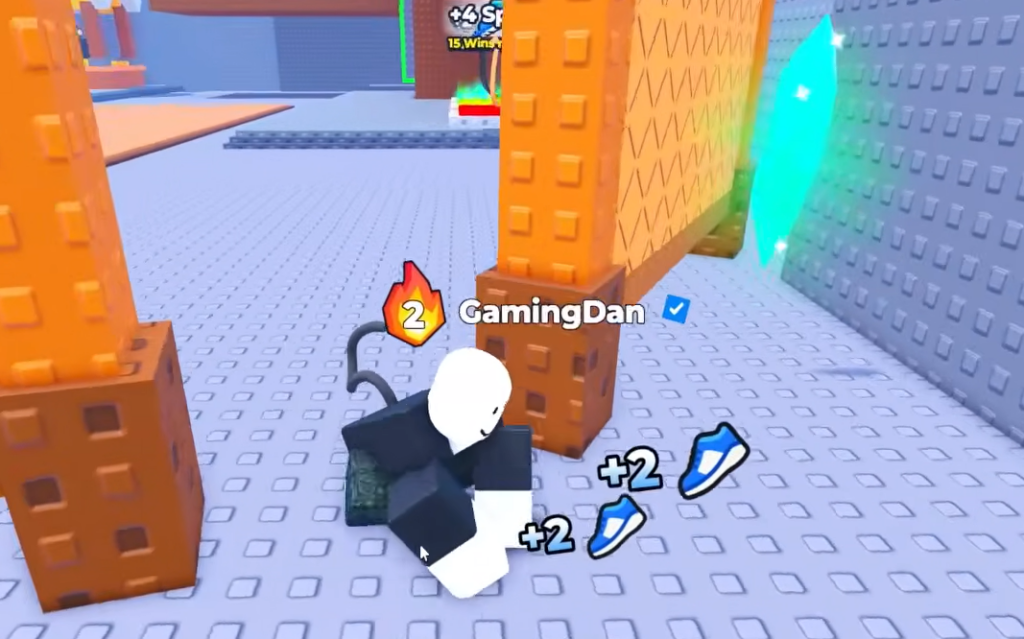
Nine Sunken Shards are scattered across +1 Speed Monkey Escape, a Roblox incremental runner by 100% ALGO SHOT where every step makes your monkey faster. Two shards sit in the starting lobby, and the other seven are tucked into progression stages that gate behind level requirements. Collecting all nine unlocks a free x2 Speed Treadmill you can use for training.
Quick answer: Grab the two lobby shards first (behind the Top Robux leaderboard and up top of the climbing tree), then pick up the remaining seven as you unlock Stage 2, Stage 4, Stage 6, Stage 7 (which holds two), and Stage 9. Each pickup shows a “Collected X/9 Sunken Shards!” message, and the ninth completes the set.
Level requirements for each stage
Most shards require reaching a specific stage, and stages open at recommended levels. If you can’t access a shard yet, you likely haven’t hit the level gate. Here is the level each relevant stage is built around.
| Stage | Recommended level |
|---|---|
| Stage 1 (Lobby) | 0 |
| Stage 2 | 10 |
| Stage 4 | 30 |
| Stage 6 | 70 |
| Stage 7 | 90 |
| Stage 9 | 130 |
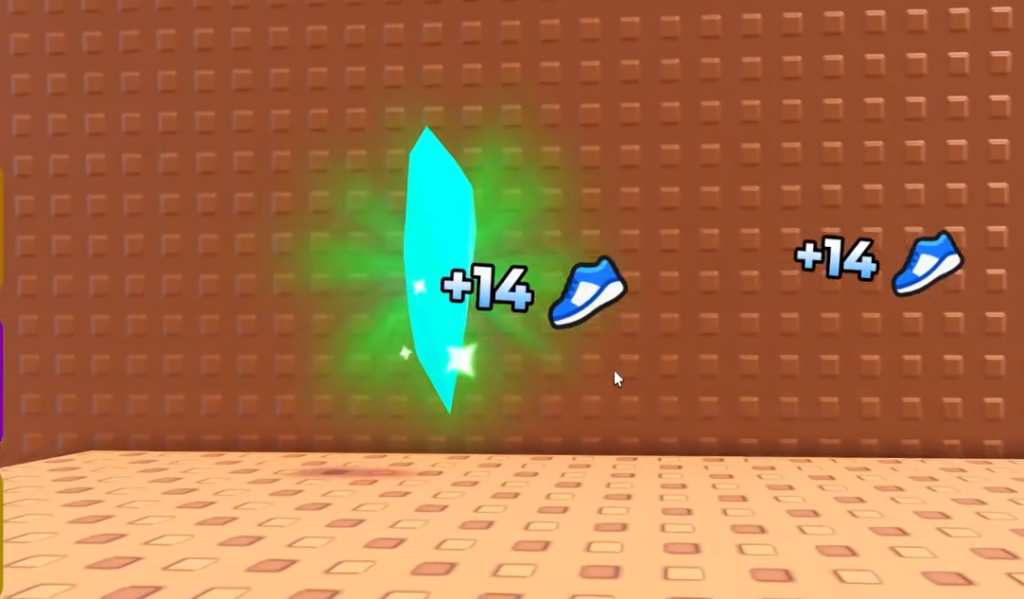
All 9 Sunken Shard locations
The lobby shards need no level and are the fastest way to start the count. Several stage shards require you to fall off a ledge or into a hazard to reach them, which kills your character and respawns you back at the lobby. That is expected and does not remove the shard from your collection.
| Shard | Location | How to reach it |
|---|---|---|
| 1 | Lobby (Stage 1) | Walk behind the Top Robux leaderboard near spawn. |
| 2 | Lobby (Stage 1) | Use the vertical jump booster by the Upgrades wall to reach the ledge on the climbing tree, then grab it from the corner. |
| 3 | Stage 2 (Lv 10) | From the second platform, drop off the left side and collect it as you fall. |
| 4 | Stage 4 (Lv 30) | Jump onto the closing barrier wall and walk to the edge. |
| 5 | Stage 6 (Lv 70) | Jump off the edge of the middle platform. |
| 6 | Stage 7 (Lv 90) | Use the vine swing to reach the second-highest tier, then drop down. |
| 7 | Stage 7 (Lv 90) | Use the vine swing to reach the top tier and drop into the corner slot. |
| 8 | Stage 4 (Lv 30) | Look behind the green wall jump pad. |
| 9 | Stage 9 (Lv 130) | Cross to the center of the wave island, avoiding the tsunami waves. |
Shards 6 and 7 both sit in Stage 7 and both use the vine swing, so plan to make two separate runs there. The difference is height; one lands on the second-highest tier and the other on the very top tier.
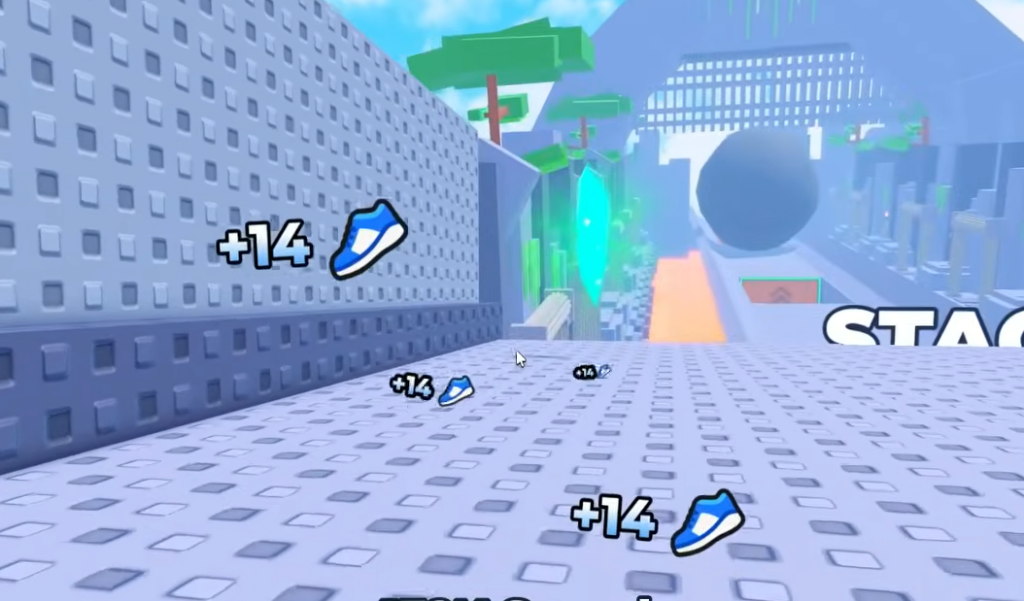
Fastest order to collect them
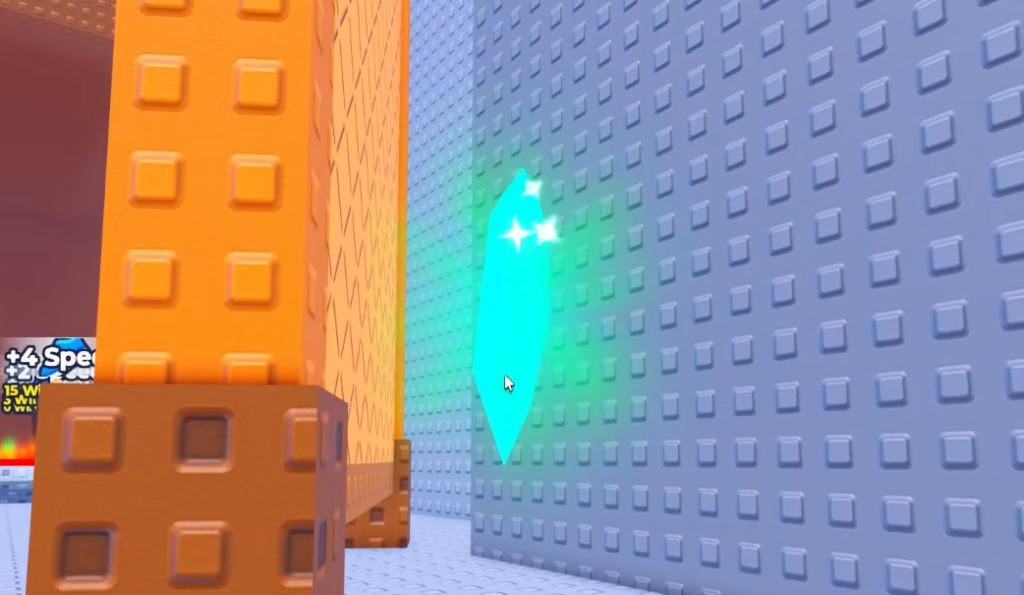
How to confirm you finished
Each shard triggers an on-screen “Collected X/9 Sunken Shards!” message the moment you touch it. When you grab the last one, that counter reads “Collected 9/9 Sunken Shards!” and the x2 Speed Treadmill reward becomes available for training. If your count is stuck below nine, the missing shard is almost always one of the two hidden Stage 7 pickups or the Stage 9 shard, since those need the highest levels and the trickiest movement.
You can jump into the current build directly on the official +1 Speed Monkey Escape Roblox page to check your progress. If you land on a similarly named experience such as the Candy & Chocolate keyboard version, confirm the creator is 100% ALGO SHOT, since shard locations there do not apply.