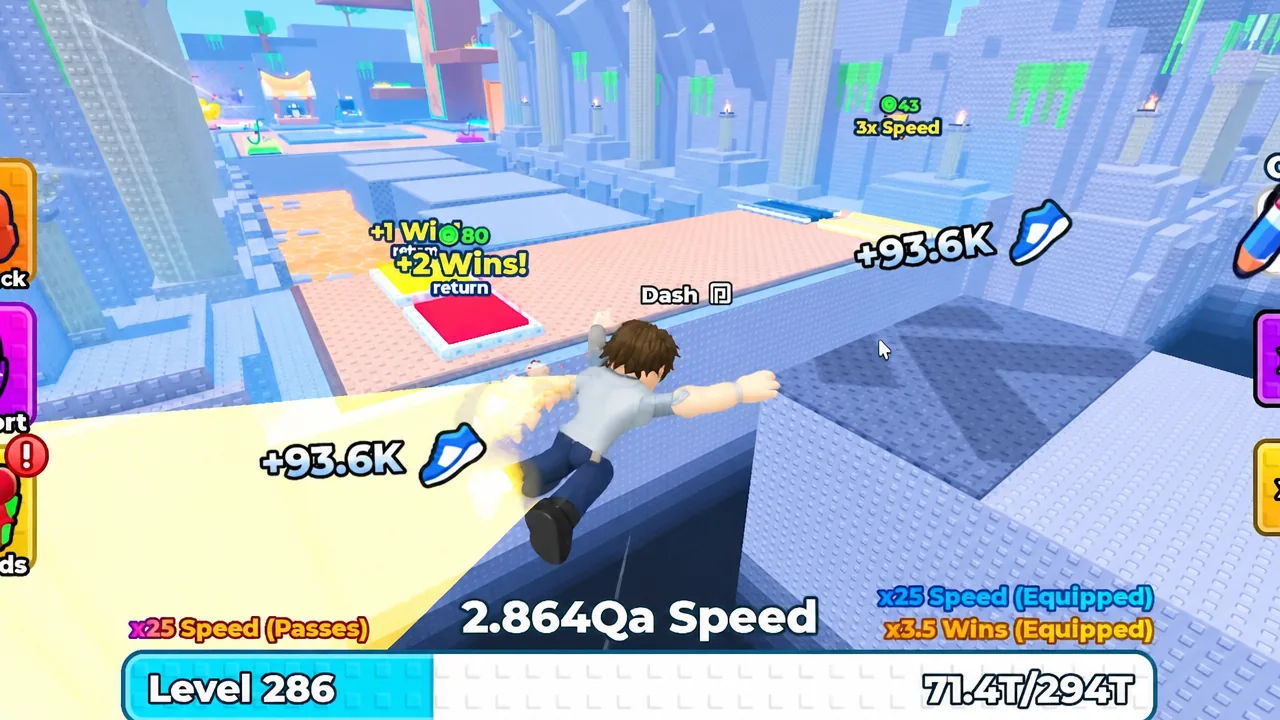
Underneath Stage 3 in +1 Speed Monkey Escape there is a sealed room with a single treadmill in it. That treadmill is rated at 2x Speed, and unlike the ones in the lobby, you cannot walk onto it and start farming. It checks your inventory first, and it only opens for players carrying all nine Sunken Shards.
Quick answer: Collect all nine Sunken Shards scattered across the lobby and Stages 3, 4, 6, 7, and 8, then step onto the 2x Speed treadmill in the hidden room directly below Stage 3. Anything short of 9/9 and the treadmill refuses to run.
What the 2x Speed treadmill does
The lobby treadmills are tiered, running from 1.5x Speed up through 3x, 5x, 9x, 25x, 100x, and a 1000x admin treadmill that only opens during admin abuse events. The hidden treadmill sits at 2x, and it doubles the Speed you gain per tick while you stand on it. It is a permanent unlock, so once the shard check passes you can return to it whenever you want without re-collecting anything.
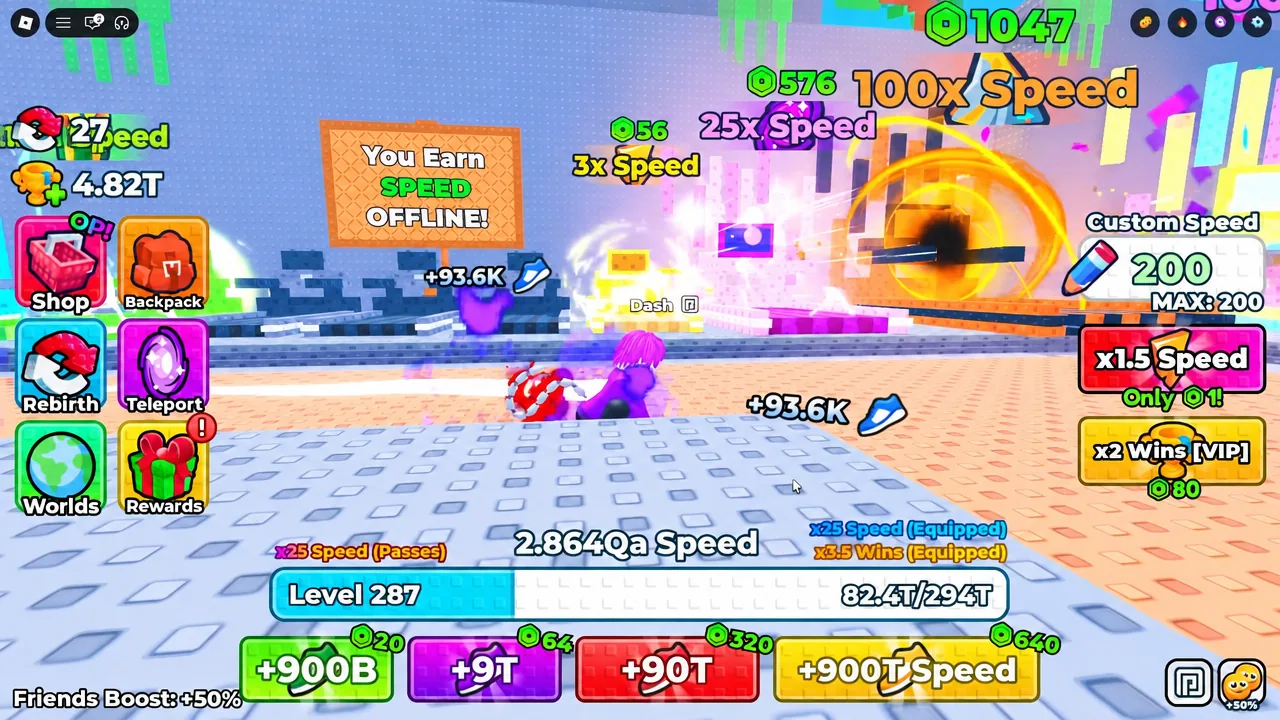
The room itself is not gated. You can walk in and read the prompt before you own a single shard, which is the fastest way to confirm you are in the right place. Interacting with the treadmill early throws up You don't have all the Sunken Shards! (1/9) with your current count baked into the message.
All 9 Sunken Shard locations
Two shards sit in the lobby and can be grabbed in under a minute. The rest are spread across five stages, with Stage 3 and Stage 7 each holding two. Order does not matter, and every pickup fires a Collected X/9 Sunken Shards! banner so you always know where you stand.
| # | Area | Where to look |
|---|---|---|
| 1 | Lobby | Behind a wall next to the Charms Shop |
| 2 | Lobby | Tucked behind the leaderboard sign |
| 3 | Stage 3 | In the void, through a gap between platforms |
| 4 | Stage 4 | On a side platform off the main route |
| 5 | Stage 3 | Floating over the yellow honeycomb lava floor |
| 6 | Stage 6 (shark level) | Floating above the water |
| 7 | Stage 7 (maze level) | Down a hole in one corner of the maze |
| 8 | Stage 8 (tsunami level) | On a far platform reached by swinging vines |
| 9 | Stage 7 (maze level) | In a different corner of the same maze |
Shard 3 is the one most people miss. It is not on a ledge — you deliberately jump into the void at the correct gap, and the shard is waiting on the way down. Shard 8 is the most demanding, since it needs the vine sequence on Stage 8. Press Space to attach when the Press [Space] to Attach prompt appears, then Space again to swing across to the far platforms.
While you are down the corner hole collecting shard 7, look for a cat image marked Cool people only. It opens into a hidden disco room. It has no bearing on the treadmill unlock, but it is in the same drop, so you may as well see it.
Teleport costs for the locked stages
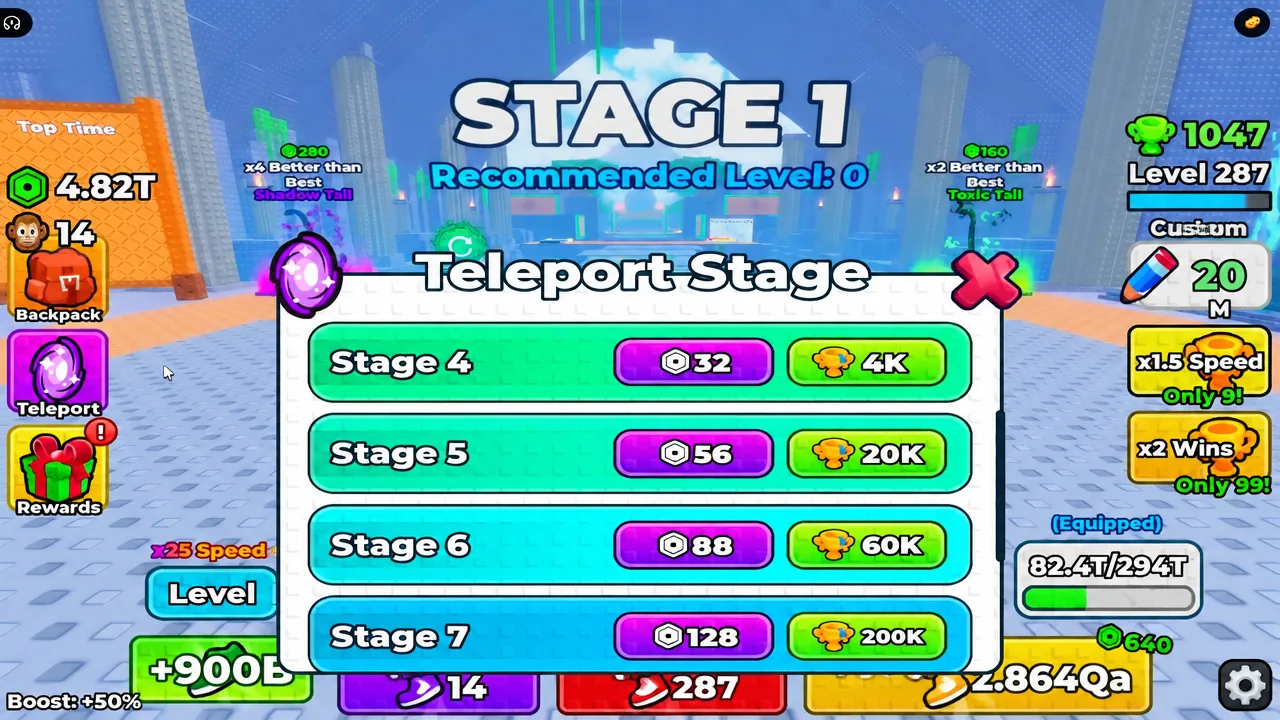
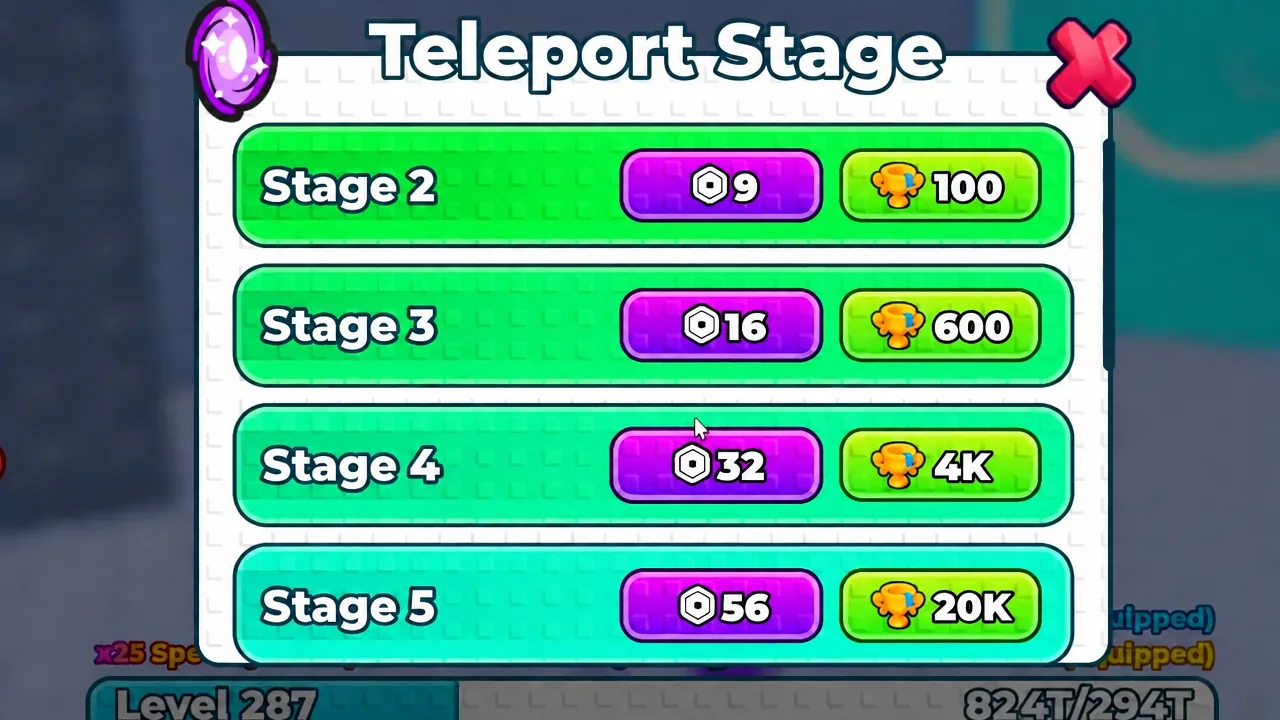
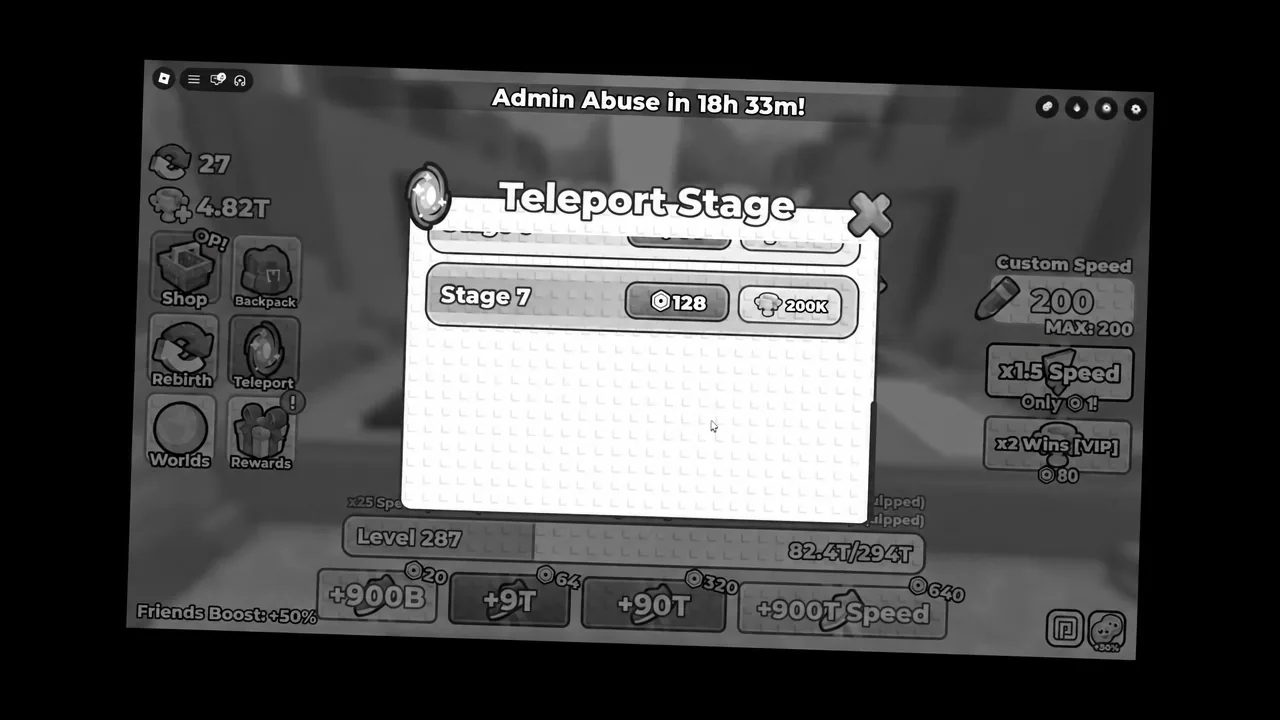
Four of the nine shards sit on stages you probably have not reached on foot. The teleport menu skips the climb, but the later destinations are paywalled behind either Robux or a Wins balance. Budget for these before you start the run.
| Destination | Robux | Wins |
|---|---|---|
| Stage 6 | 88 | 60K |
| Stage 7 | 128 | 200K |
Activating the treadmill and confirming it worked
With the counter at 9/9, head back to Stage 3 and drop into the room underneath it. Walk onto the 2x Speed treadmill. If the unlock registered, the shard warning does not appear and the treadmill starts running normally, with your Speed climbing at twice the rate of an unmodified tick.
If it still blocks you, the pop-up will tell you exactly how many shards the game thinks you have. That number is the only thing to troubleshoot. The usual gaps are the second Stage 3 shard above the honeycomb lava, which is easy to run past, and the second Stage 7 shard in the opposite maze corner, which people skip because they assume the maze only holds one.
Redeeming the 1MCCU code for a x2 Wins Potion
Since Stage 6 and Stage 7 both cost Wins, a doubling potion pairs well with a shard run. The code 1MCCU hands you one.
1MCCU exactly as written and press Redeem. A prompt appears asking you to join the Roblox group Paprika, which is a hard requirement — the code will not process until you are a member.Code Redeemed! confirmation fires and a x2 Wins Potion lands in your backpack with a one-hour duration and a quantity of 1.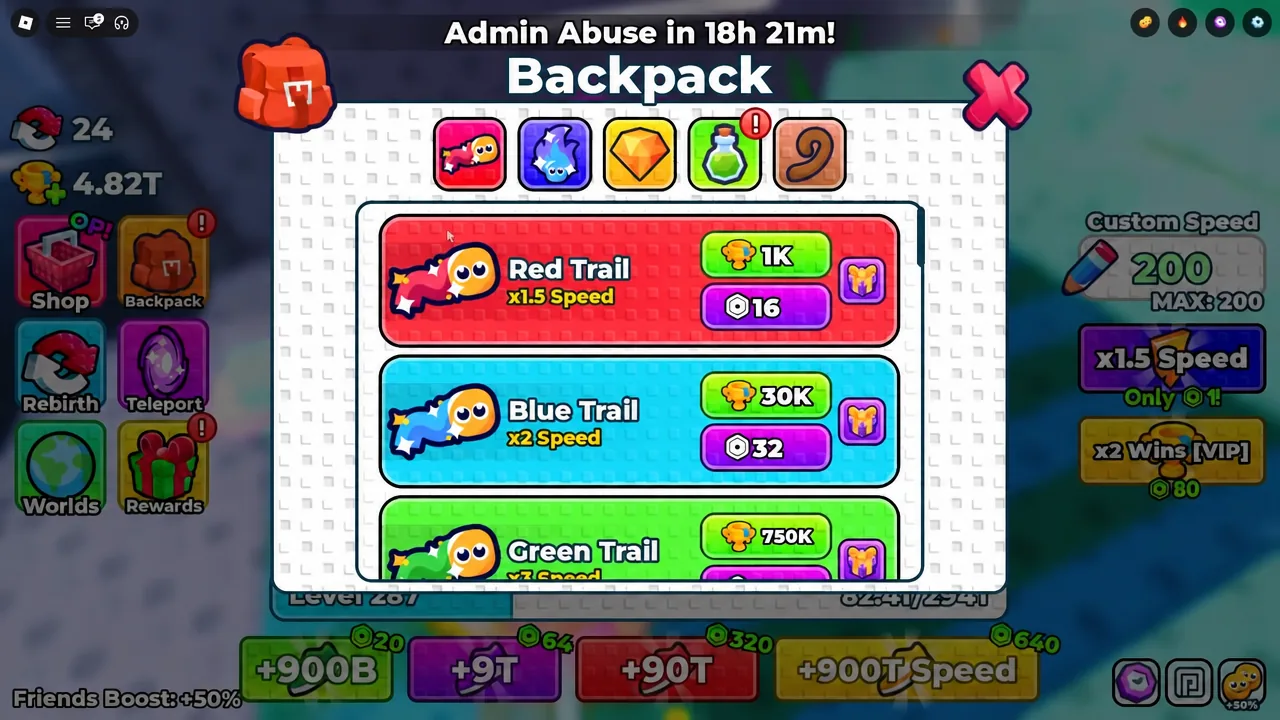
A handful of other codes are in circulation alongside it, including PULSEISANOOB, 300MVISITS, 250KCCU, 100MVISITS, and STREAK, all paying out potions. Older ones such as 50MVISITS, CODESYAY, and 80MVISITS no longer work.
The vine launch glitch on Stage 1
Vines have a momentum bug that can throw you clean out of the map. It is worth knowing about mostly because it can save you a full stage run while shard hunting, though the landing is inconsistent.
Note: the release angle decides everything. Detaching too early drops you back onto the course, and detaching at the wrong point sends you past the sky layer entirely and back to a respawn.
Of the three, the treadmill is the one that stays with you. The potion runs out after an hour and the vine launch is a coin flip, but nine shards buys a permanent doubling of every tick you spend farming — which makes the 200K Wins spent on the Stage 7 teleport pay for itself faster than it looks.