

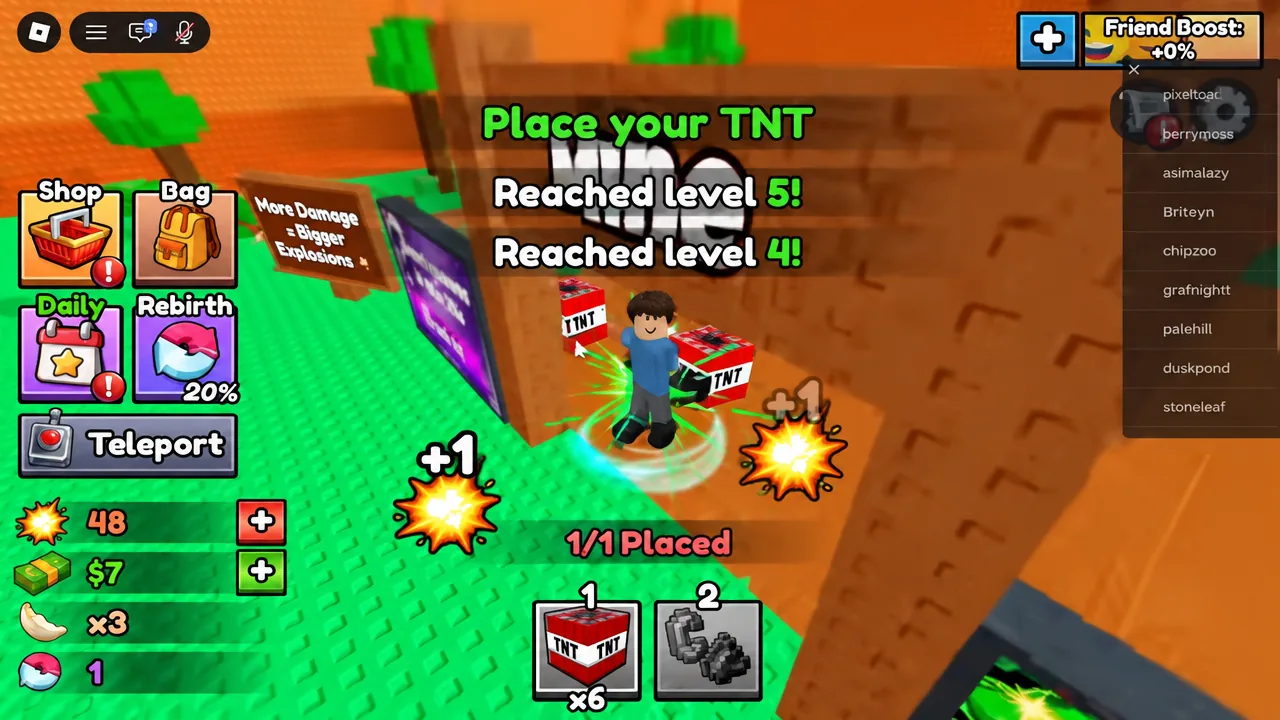
+1 TNT Mining replaces the pickaxe with explosives. You place TNT inside a mining area, light it with flint and steel, and scoop up the debris the blast leaves behind. Those blocks turn into Cash at the lobby, and Cash buys stronger TNT, upgrades, and access to deeper areas where rarer blocks spawn.
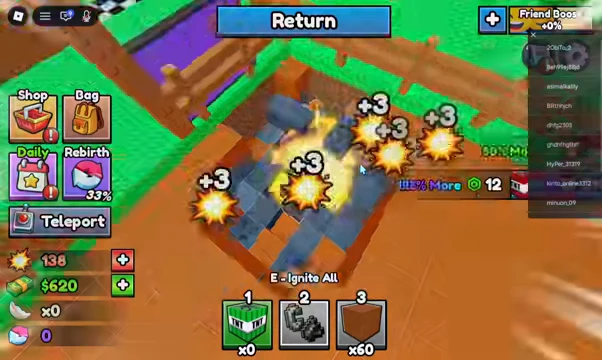
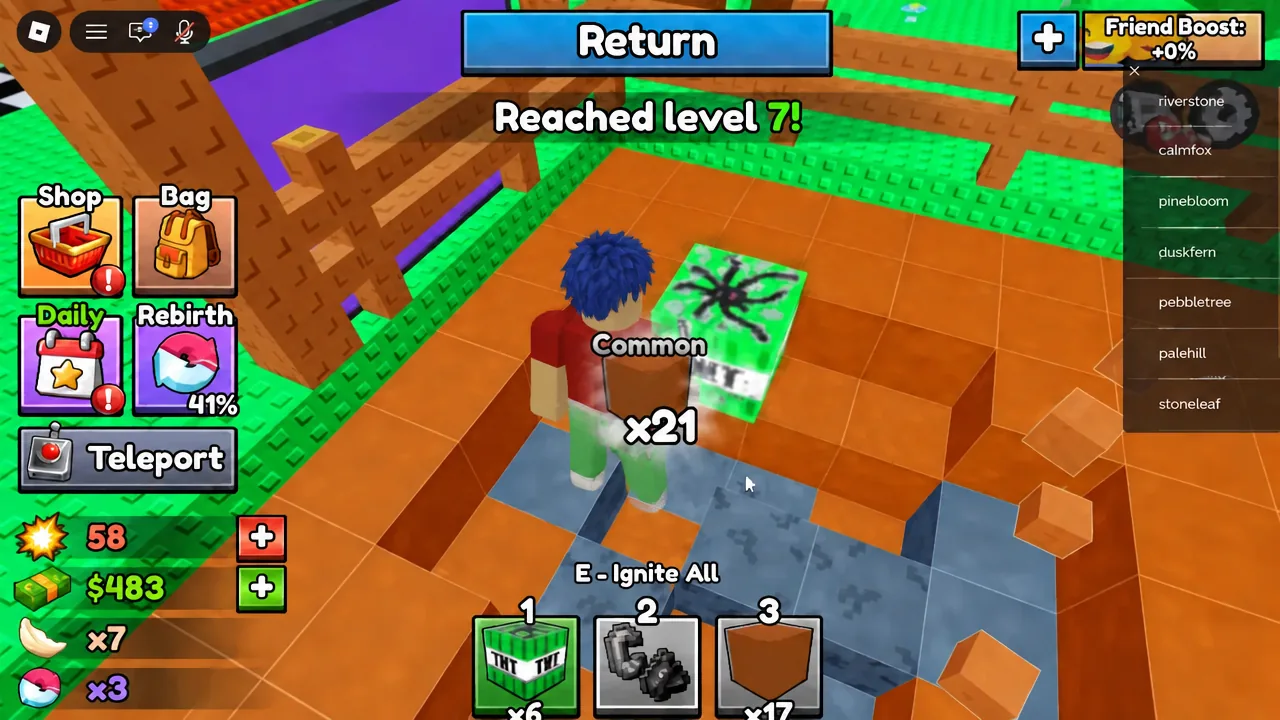
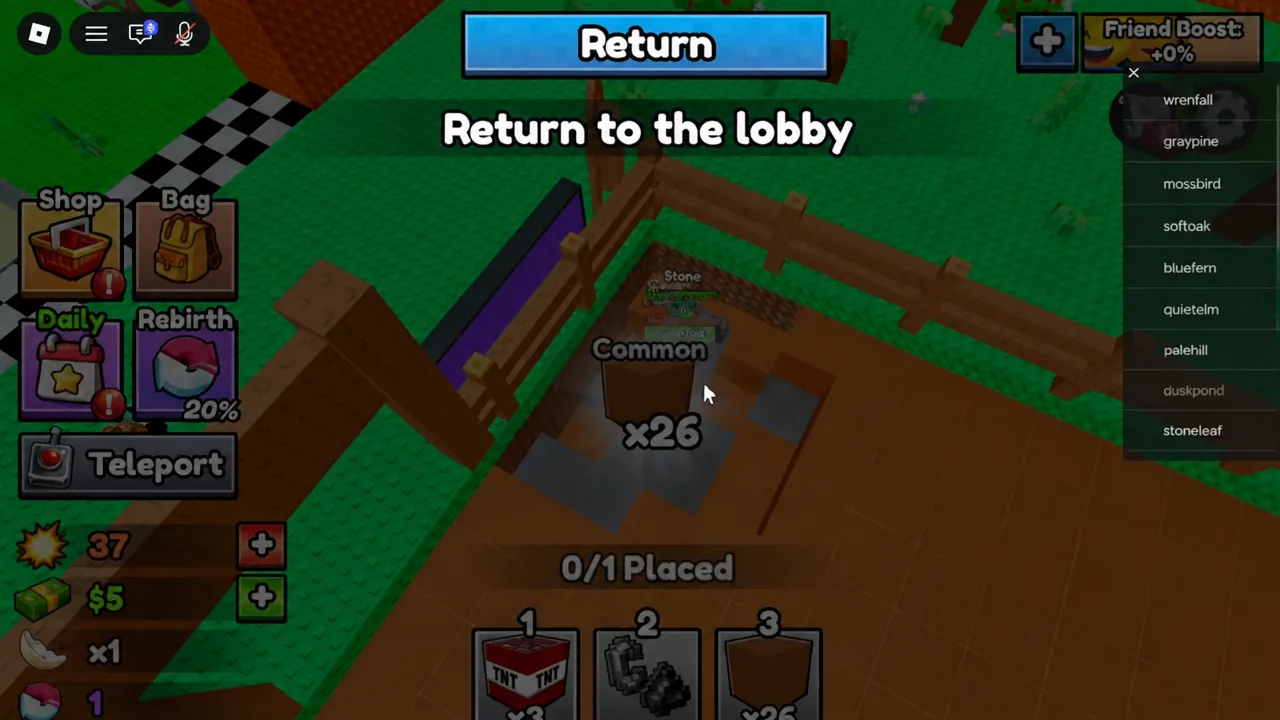
Quick answer: Click your equipped TNT to build Damage, enter the mine, place TNT, switch to Flint and Steel and press E to ignite all, walk over the scattered blocks to collect them, then return to the lobby and sell at the SELL stall for Cash.
The core loop in +1 TNT Mining: train, blast, sell
Everything in the game runs on one number: Damage. Higher Damage means a bigger explosion, a bigger explosion means more blocks per trip, and more blocks mean more Cash. The Damage you build stays with you even when you swap to a different TNT type, so training is never wasted.
Controls for PC, mobile, and console
The control scheme is standard Roblox, with the tool hotbar doing most of the work. Keeping TNT in slot one and Flint and Steel in slot two makes the placement-then-ignite rhythm fast.
| Action | Input |
|---|---|
| Move | W, A, S, D |
| Jump | Spacebar |
| Interact | E |
| Equip a tool | Number keys 1-0 |
| Use the equipped tool | Left mouse button |
Training Damage: manual clicking vs the AFK pads
There are two ways to raise Damage, and they do not conflict. Clicking your equipped TNT by hand is the faster method per minute, but it demands constant input. The Training area is the alternative: stand on a highlighted pad such as the “1x Damage” spot and your Damage climbs on its own. AFK kick is disabled while you are there, so you can leave the game running.
Pets multiply your training gain rate. The multiplier applies to both clicking and the automatic pads, so equipping one never locks you into a single training style. Later Rebirths open extra training spots with higher multipliers than the starting pad.
Park on a Training pad whenever you step away from your device. The Damage you accumulate carries into your next mining run and across any TNT you buy afterwards.
Buying stronger TNT and spending Cash on upgrades
Each TNT type carries its own baseline Damage, which stacks on top of everything you earned through training. The tutorial ends with the Green TNT, an Uncommon type that costs $100 and adds +3 Damage over the starting Classic TNT rated at 5 DMG. From there the shop scales steeply, and the expensive tiers clear far more of the mine per blast than the cheap ones.
The Upgrades station is the other money sink, and it changes how a run feels more than raw Damage does. Four stats are on offer.
| Upgrade | Effect on a mining run |
|---|---|
| TNT carry capacity | More TNT per trip before you have to return |
| TNT placement limit | More explosives armed at once for a single ignition |
| Movement speed | Faster travel between the lobby and the blast zone |
| Collection range | Blocks get picked up from further away |
How Rebirth works and when to use it
Rebirth becomes available once you cross a level threshold. Taking it resets your Damage stat and your level back to 1, and in exchange you get permanent multipliers to your Damage gain rate and your Cash earnings. Those multipliers stack with every additional Rebirth.
The reset sounds harsh, but it is narrower than it looks.
| Reset by Rebirth | Kept through Rebirth |
|---|---|
| Damage stat | Cash |
| Level | Purchased TNT types |
| Station upgrades |
Because the new Damage gain multiplier applies immediately, a few minutes of training usually puts you past whatever Damage you gave up. Levels themselves do almost nothing outside of gating Rebirth, so grinding past the requirement is wasted time. Take the Rebirth as soon as the option unlocks.
Rebirths matter most when you are trying to unlock a new area. The Cash thresholds for deeper zones are set high enough that pushing through them without the earnings multiplier is impractical.
Unlocking new mining areas and using Teleport
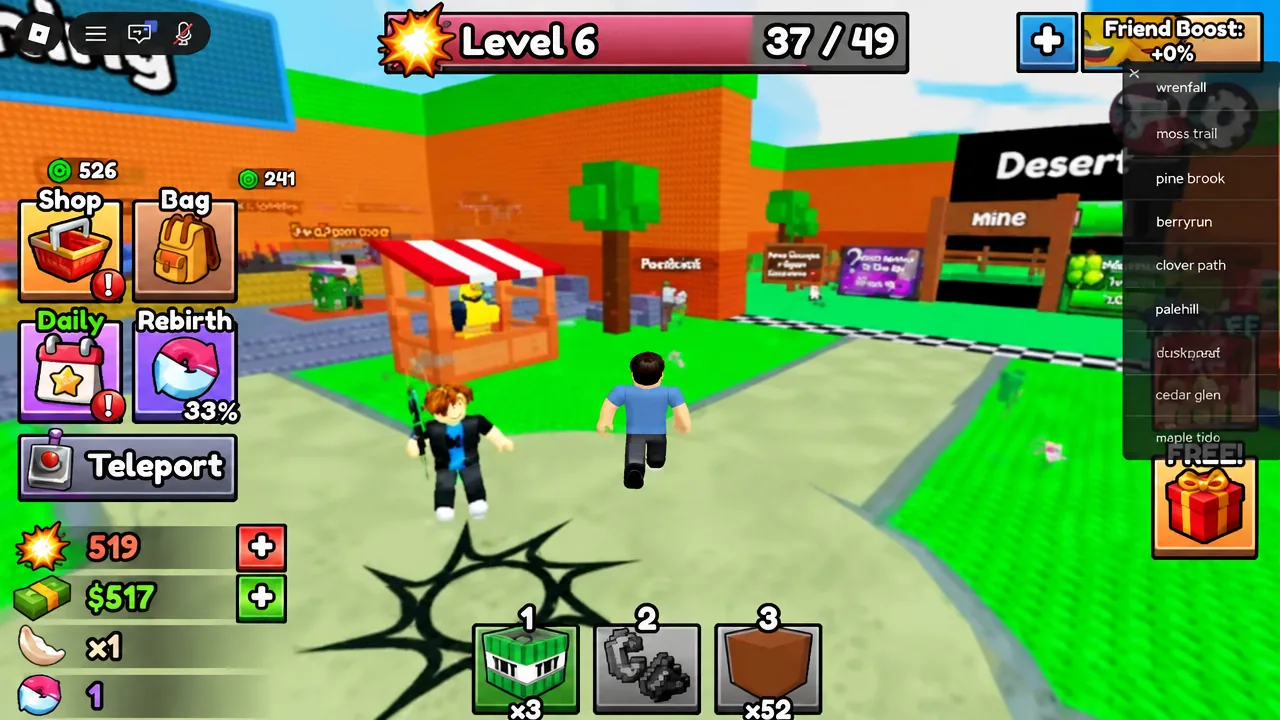
The Desert is the starting area. Deeper zones sit behind a Cash requirement, and the further you go, the rarer the blocks you pull out of each blast.
Free Cash from daily and group rewards
Two prompts hand out Cash without any mining. The DAILY REWARD gives $5K when claimed, and the GROUP REWARD pays +10K Money for liking the experience and joining the creator’s group. Both are worth collecting early, since $10K covers several TNT tiers and a handful of station upgrades at the start of a save.
Common reasons a mining run fails
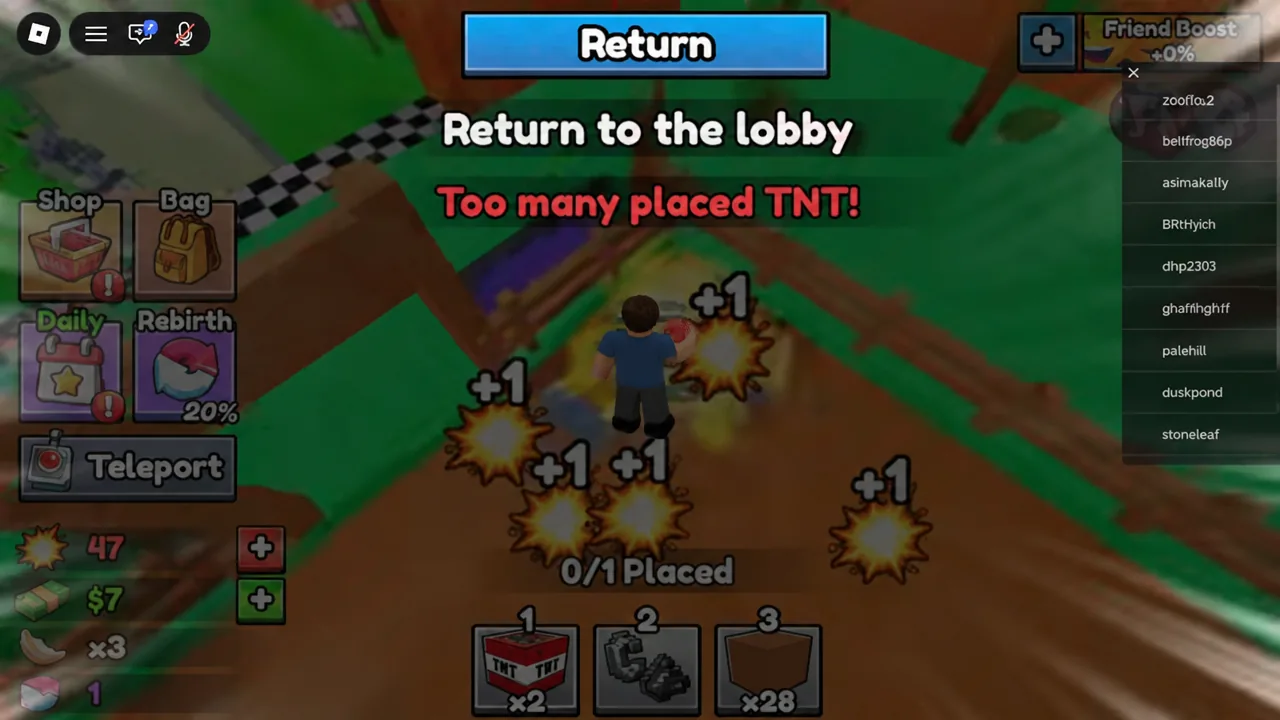
Most stalled runs come down to one of three things, and each one shows an on-screen message telling you exactly what happened.
| Message | What to do |
|---|---|
| Too many placed TNT! | Ignite what you have placed, or raise the placement limit at the Upgrades station |
| No TNT left! | Return to the lobby to restock automatically |
| Nothing detonates on E | Equip Flint and Steel with hotkey 2 before pressing E |
If a sale pays less than expected, you probably left blocks on the ground. Debris has to be walked over to enter your inventory, and upgrading collection range is the fix if you keep missing pieces at the edge of the crater.
+1 TNT Mining is playable start to finish without spending Robux, and it supports PC, mobile, and console. The rhythm settles quickly once the tutorial ends: train on a pad while you are away, blast and sweep a mine on your return, sell, then put the Cash toward whichever upgrade is currently slowing you down the most.





