
The “Critical Process Died” error is a frustrating Blue Screen of Death (BSOD) issue that Windows 10 users may encounter. This error occurs when a crucial Windows process stops functioning or becomes misconfigured. Given the numerous potential causes, pinpointing the exact issue can be challenging. Common culprits include faulty system updates, outdated drivers, memory problems, corrupted files, compatibility issues, and overclocking.
If you’re experiencing this error frequently, you may need to boot Windows in Safe Mode to apply fixes. Here’s how:
- Press
Windows + Rto open the Run dialog. - Type “msconfig” and click “OK”.

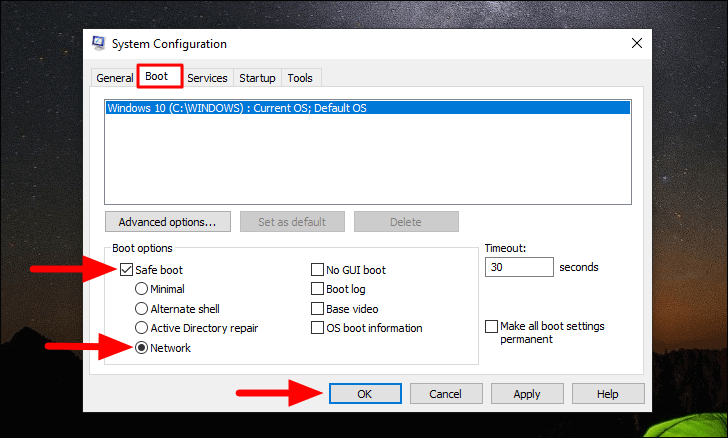
- In the System Configuration window, go to the “Boot” tab.
- Check “Safe boot” and select “Network”.
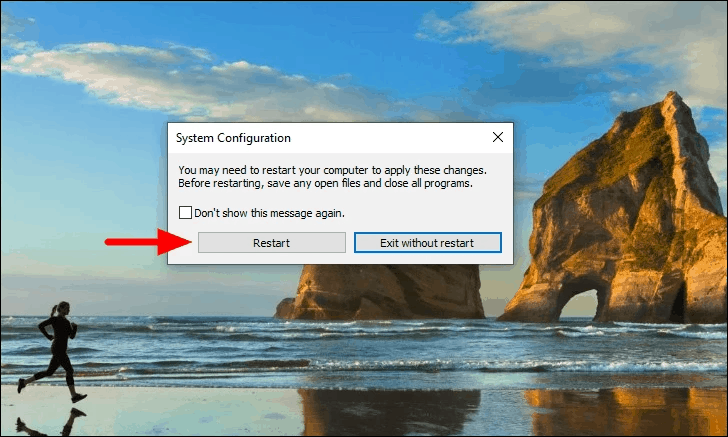
- Click “OK” and then “Restart” when prompted.
Once in Safe Mode, try the following solutions:
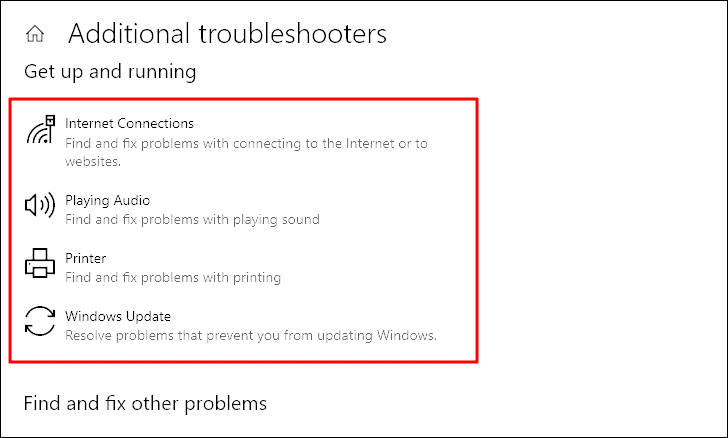
Run Windows troubleshooters
Windows has built-in troubleshooters that can automatically detect and fix various issues:
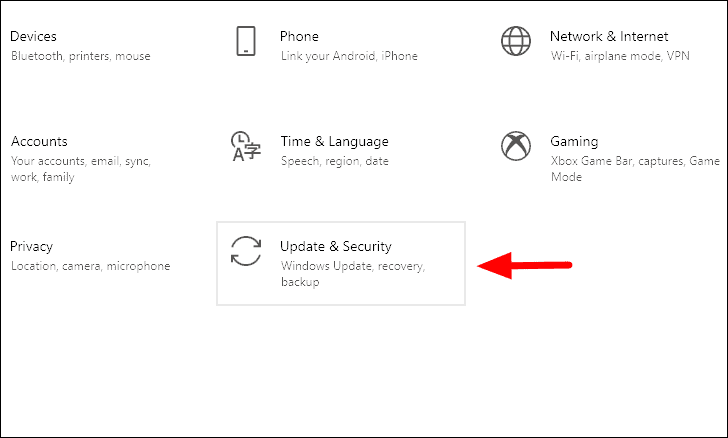
- Open Settings (Windows + I).
- Go to “Update & Security” > “Troubleshoot” > “Additional troubleshooters”.
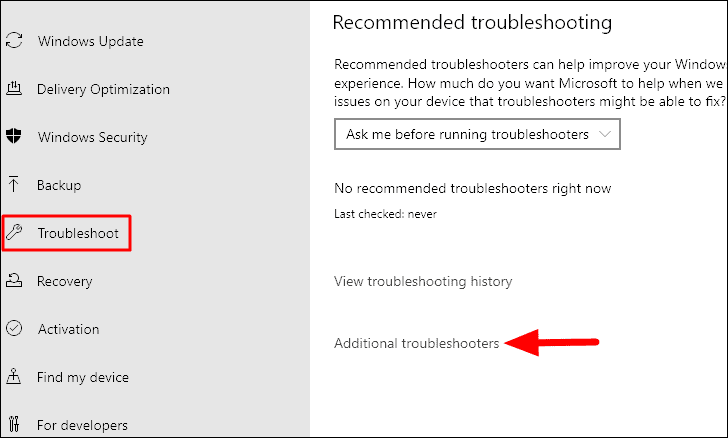
- Run relevant troubleshooters, such as “System Maintenance” or “Windows Update”.
Update or reinstall system drivers
Outdated or corrupt drivers can cause the Critical Process Died error. To address this:
- Open Device Manager.
- Look for devices with a yellow exclamation mark.
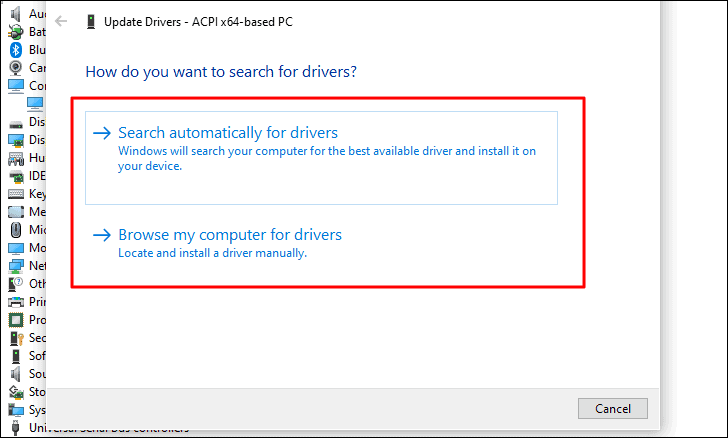
- Right-click the problematic driver and select “Update driver”.
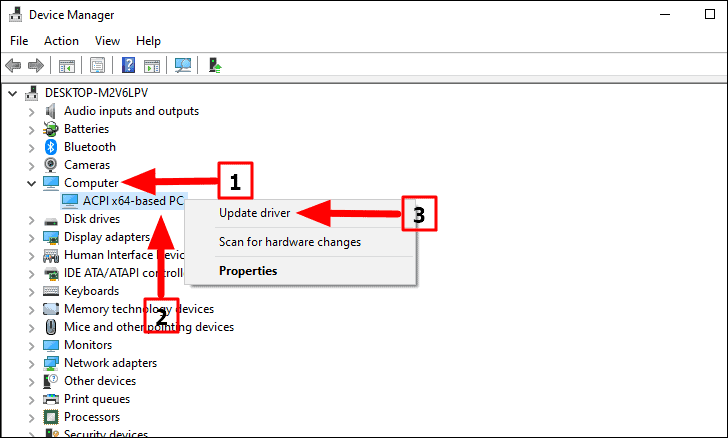
- Choose “Search automatically for updated driver software”.
If updating doesn’t work, try uninstalling and reinstalling the driver:
- Right-click the driver and select “Uninstall device”.
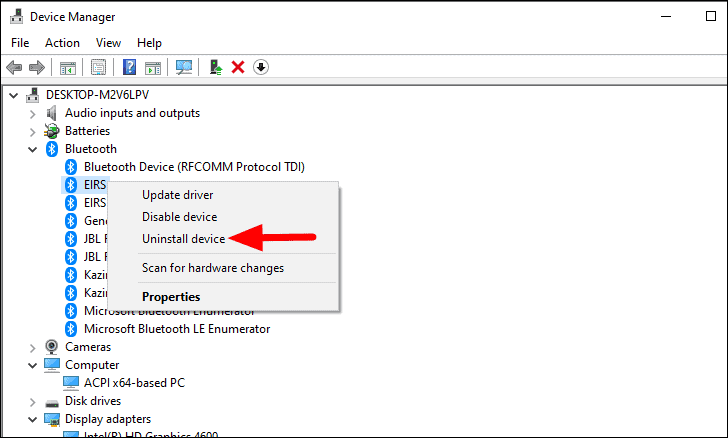
- Restart your computer to let Windows automatically reinstall the driver.
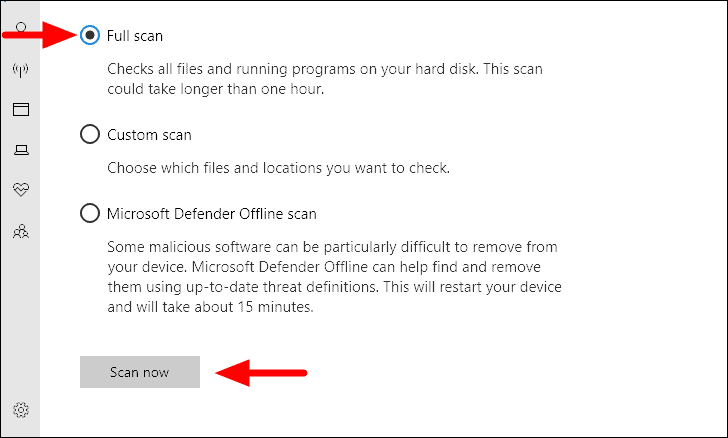
Perform a full system scan
Malware can sometimes cause system instability. Run a full antivirus scan:
- Open Windows Security.
- Go to “Virus & threat protection”.

- Click “Scan options” and select “Full scan”.
- Click “Scan now”.
Run System File Checker (SFC)
The SFC tool can repair corrupted Windows system files:
- Open Command Prompt as administrator.
- Type
sfc /scannowand press Enter.
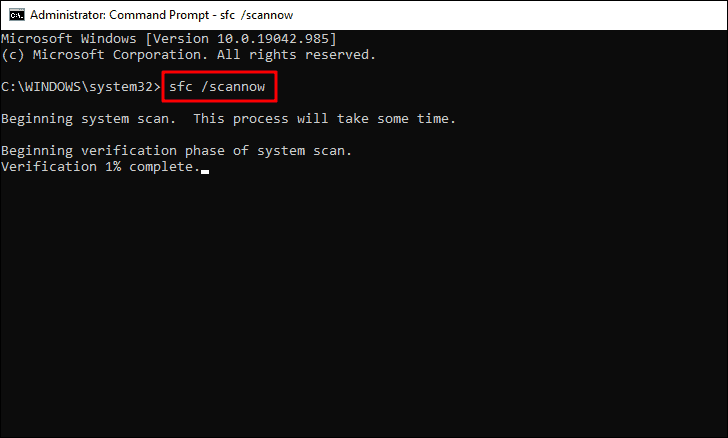
- Wait for the scan to complete and restart your computer.
Use the DISM tool
If SFC doesn’t resolve the issue, try the Deployment Image Servicing and Management (DISM) tool:
- Open Command Prompt as administrator.
- Run these commands in order:
Dism /Online /Cleanup-Image /CheckHealth
Dism /Online /Cleanup-Image /ScanHealth
Dism /Online /Cleanup-Image /RestoreHealth
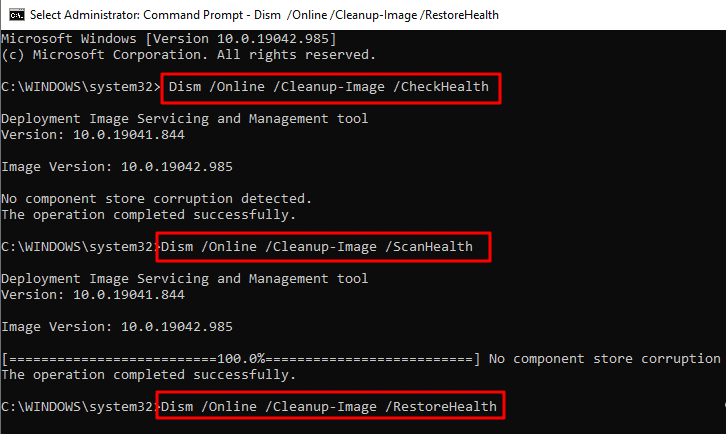
- Restart your computer after the process completes.
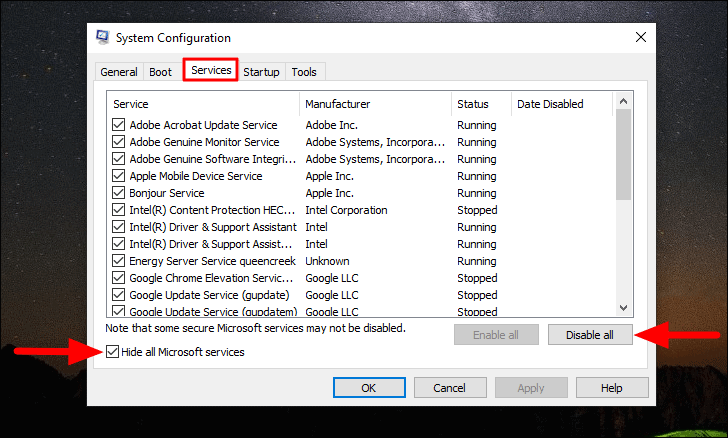
Perform a clean boot
A clean boot starts Windows with minimal drivers and startup programs:
- Open System Configuration (type “msconfig” in the Run dialog).
- Go to the “Services” tab, check “Hide all Microsoft services”, then click “Disable all”.
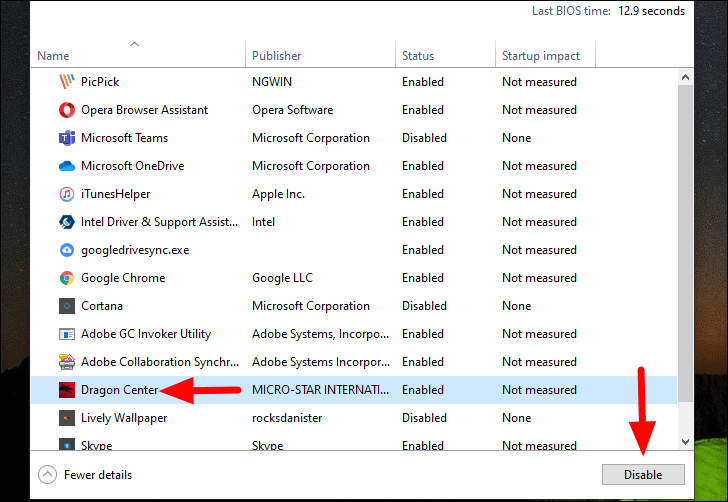
- On the “Startup” tab, click “Open Task Manager”.
- Disable all startup items in Task Manager.
- Restart your computer and check if the error persists.
Uninstall recent applications
If the error started after installing a new app, try uninstalling it:
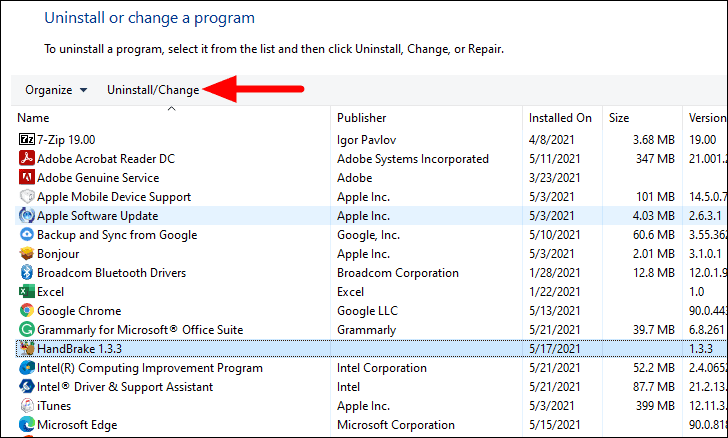
- Open Control Panel and go to “Uninstall a program”.
- Select the recently installed program and click “Uninstall”.
Reset Windows
As a last resort, you can reset Windows while keeping your personal files:
- Go to Settings > Update & Security > Recovery.
- Click “Get started” under “Reset this PC”.
- Choose “Keep my files” and follow the prompts.
Resolving the Critical Process Died error may require patience and multiple attempts. If you’ve tried these solutions and still face issues, consider seeking help from Microsoft Support or a professional technician. Don’t hesitate to leave a comment if you need further assistance or have successfully resolved the error using one of these methods.


