
Windows 10, the latest iteration of Windows, is the most advanced of all. However, it too encounters some errors, but the best part is that they are easily fixable. In this article, we will discuss the various errors that you encounter when launching ‘File Explorer’. Also, we will walk you through the most effective fixes for it.
What are File Explorer Errors?
File explorer is a built-in file manager that helps you access various files and folders on Windows. It has a straightforward interface which makes working on it simple and efficient.
However, sometimes you may encounter errors when you launch file explorer. It could either not launch at all, hang frequently, or not respond after launching. Whatever be the case, the fixes are quick and simple and do not require any major technical acumen on your part.
Before we move to the fixes, it’s necessary for you to understand the various issues that lead to the error. It might help you identify the one that caused the error in your system.
- Erring Display Settings
- Corrupted System Files
- System Infected with Malware
- Misconfigured File Explorer Settings
Now, let’s move to the various fixes. Follow them in the sequence that they are mentioned for a quick and effective solution.
1. Update Windows
Whenever you encounter an error or Windows 10, you should always look for any available updates. There’s a high chance that it’s a bug that’s affecting the efficient functioning of ‘File Explorer’ and has been fixed in the subsequent Windows updates.
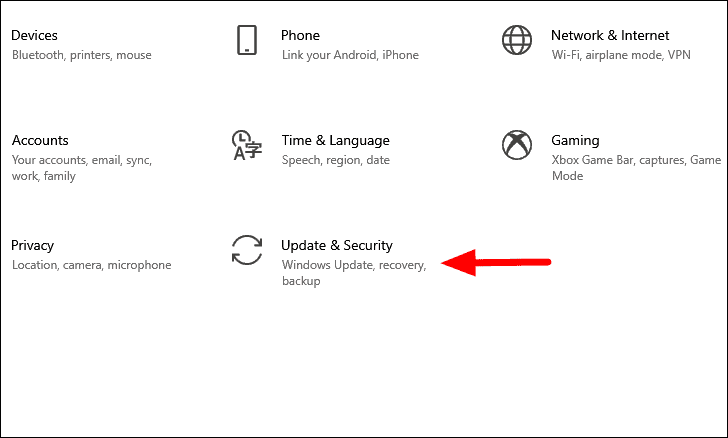
To update the Windows, press WINDOWS + I to launch system ‘Settings’, and then select ‘Update & Security’ from the list of options.
In the ‘Update & Security’ settings, the ‘Windows Update’ tab will open by default. Next, click on the ‘Check for updates’ option on the right.
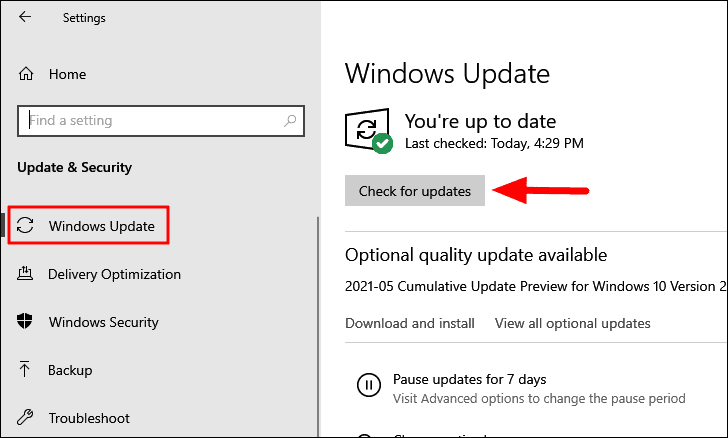
If there any available updates, they will be downloaded and installed on your computer. After the installation is complete, check if the ‘File Explorer’ error persists.
2. Modify Display Settings
Many users tend to change the display settings to make the texts and icons appear bigger but it has a considerable impact on the functioning of the system. It may in rare cases lead to the crashing of apps, which might be the reason for the ‘File Explorer’ error. Hence, you must check and modify the scaling to acceptable limits, in case you changed it earlier.
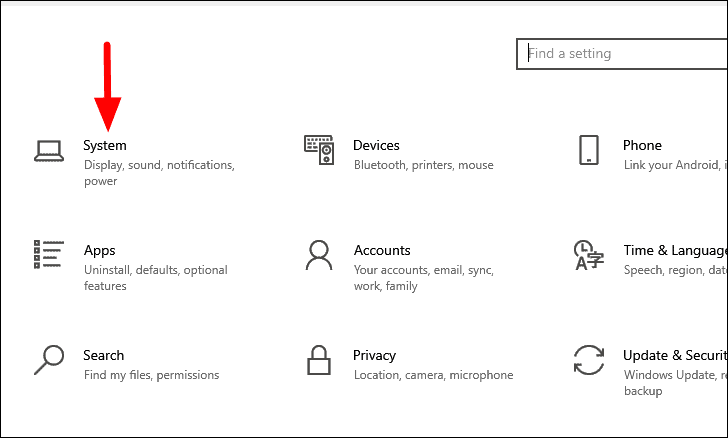
To modify the ‘Display’ settings, press WINDOWS + I to launch the system ‘Settings’ and then click on the ‘System’ option.
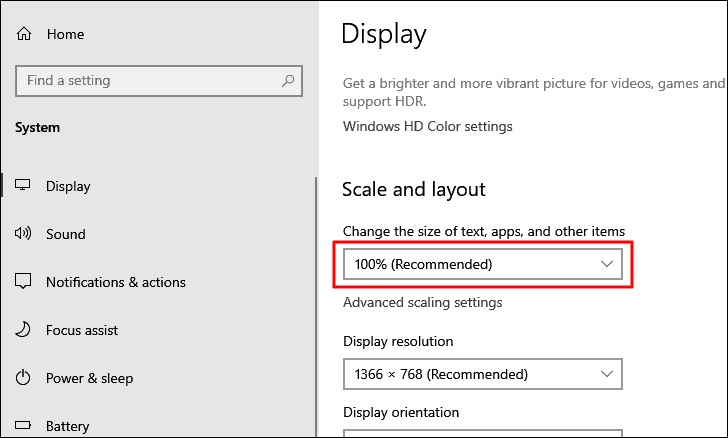
Under ‘System’ settings, the ‘Display’ tab will open by default. Locate the ‘Scale and layout’ heading and then set the ‘Change the size of text, apps, and other items’ to ‘100%’, which is the recommended setting.
After you have made the changes, wait for the new settings to apply. Now check if you are able to launch and work on ‘File Explorer’ without encountering any error. If not, move to the next fix.
3. Restart File Explorer
Most of the problems with a particular app or process can be fixed by simply restarting it. Restarting ‘File Explorer’ has proven to be an efficient fix for many users, so why not give it a try. There are three methods to restart the ‘File Explorer’, with ‘Task Manager’, ‘Command Prompt’, and ‘BAT File’.
Restart File Explorer with Task Manager
To restart ‘File Explorer’, press CTRL + ALT + DEL and select ‘Task Manager’ from the list of options. In the ‘Task Manager’ locate the ‘Windows Explorer’ app, select it and then click on ‘Restart’ at the bottom.
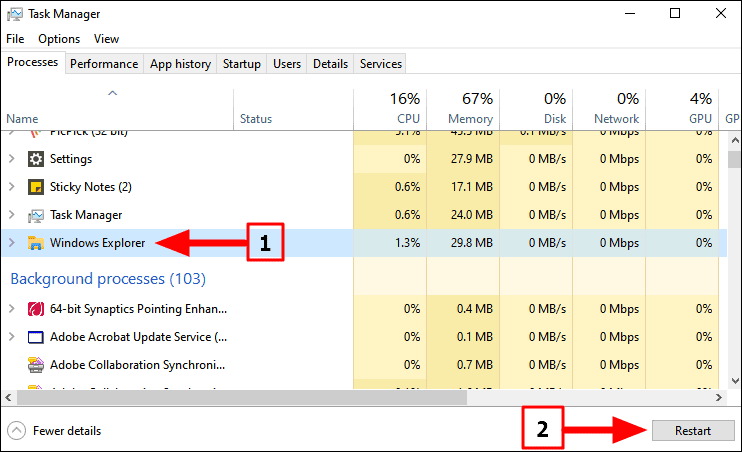
It will take a few seconds for the ‘File Explorer’ to restart. You may notice the taskbar disappearing for a few seconds, but don’t worry, it’s all a part of the process.
Restart File Explorer with Command Prompt
Many tech-savvy users prefer using ‘Command Prompt’ for various functions, hence, it’s necessary to include this method of restarting ‘File Explorer’ as well.
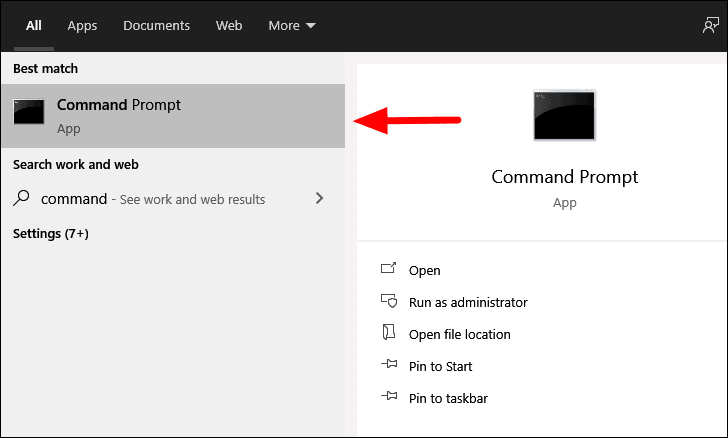
To restart ‘File Explorer’, search for ‘Command Prompt’ in the ‘Start Menu’ and then click on the search result to launch the app. Click ‘Yes’ on the box that pops up.
In the ‘Command Prompt’ window, enter the following command to end the ‘File Explorer’ task and press ENTER.
taskkill /f /im explorer.exe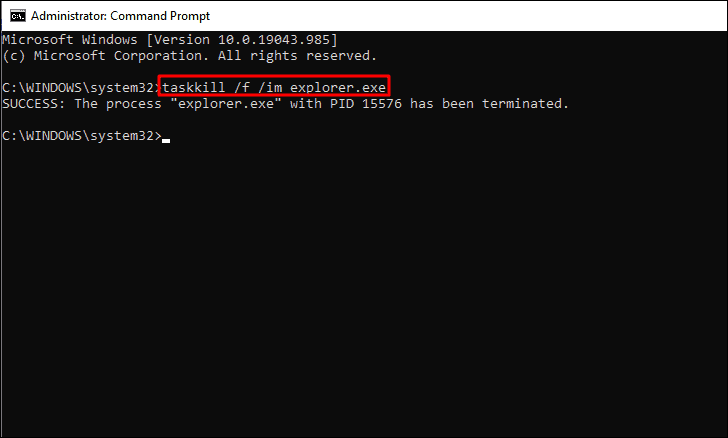
The ‘File Explorer’ process will end immediately and you will notice certain changes to the display, which will confirm the same.
Next, to restart ‘File Explorer’, enter the following command in the ‘Command Prompt’ and then press ENTER.
start explorer.exe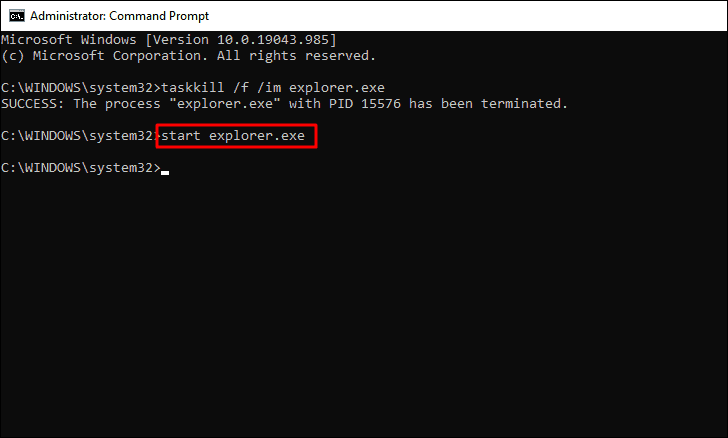
After the ‘File Explorer’ restarts, check if you are now able to access it without any errors popping up.
Restart File Explorer with BAT File
BAT files help automate tasks and are very effective. In case, restarting the ‘File Explorer’ with the above methods worked to fix the error, it’s time you go for a simpler solution to it. The ‘BAT’ file help automate the restart process which can be done with a single click.
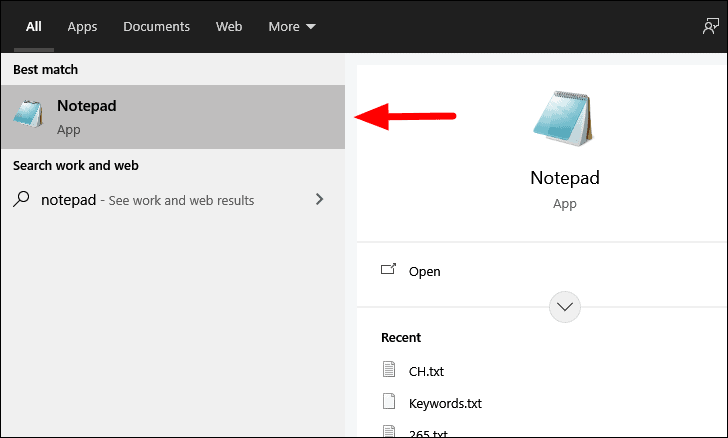
To restart ‘File Explorer’ with a ‘BAT’ file, search for ‘Notepad’ in the ‘Start Menu’, and then launch the app from search results.
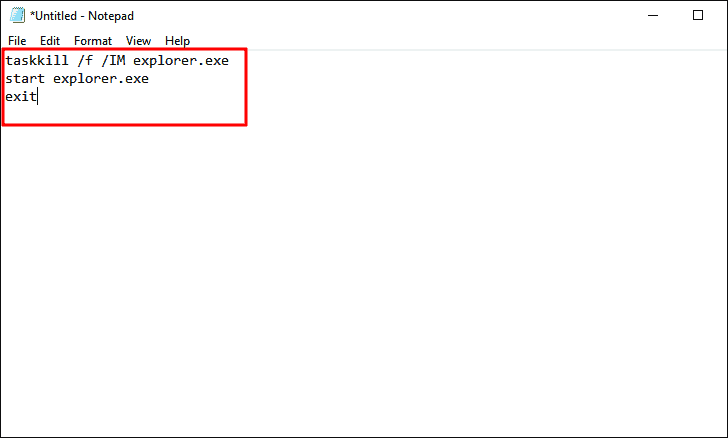
Next, enter the following command in the Notepad.
taskkill /f /IM explorer.exe
start explorer.exe
exit
You will notice that these commands are the same as the ones you entered in ‘Command Prompt’ earlier. The command you enter in the ‘BAT’ file will be run through the ‘Command Prompt’ only but the process will be quick, just three clicks to be precise.
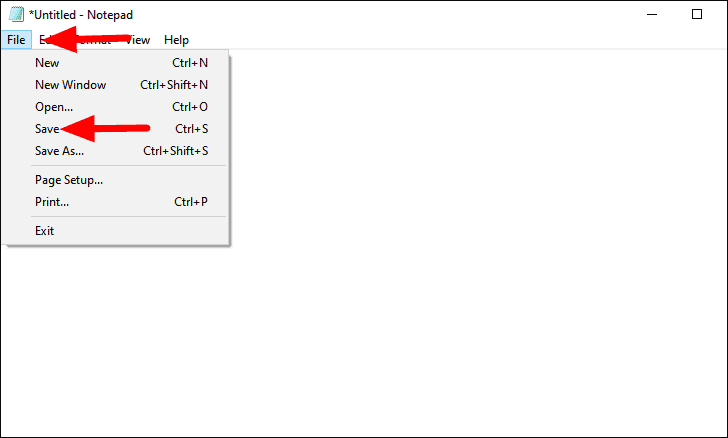
After entering the commands, click on the ‘File’ menu at the top-right corner and then select ‘Save’ from the drop-down menu.
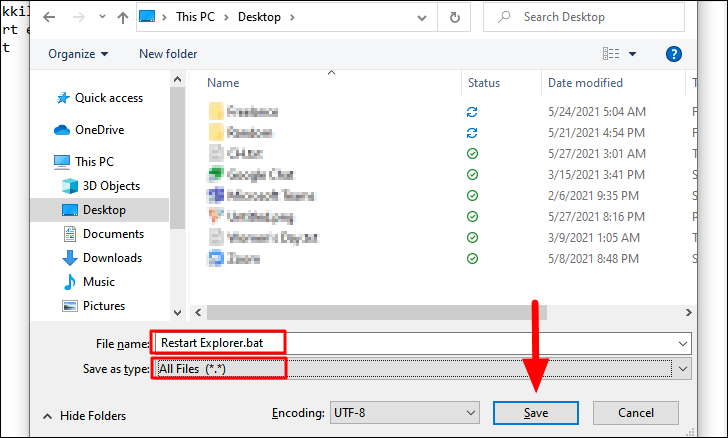
Navigate to the desktop in the ‘Save as’ window and enter the file name as ‘Restart Explorer.bat’. Ensure that you have selected ‘All Files’ for the ‘Save as type’ option. Finally, click on ‘Save’ at the bottom to save the file
Now, locate the ‘BAT’ file on the desktop, right-click on it and then select ‘Run as administrator’ from the context menu. Click ‘Yes’ on the pop-up that appears.
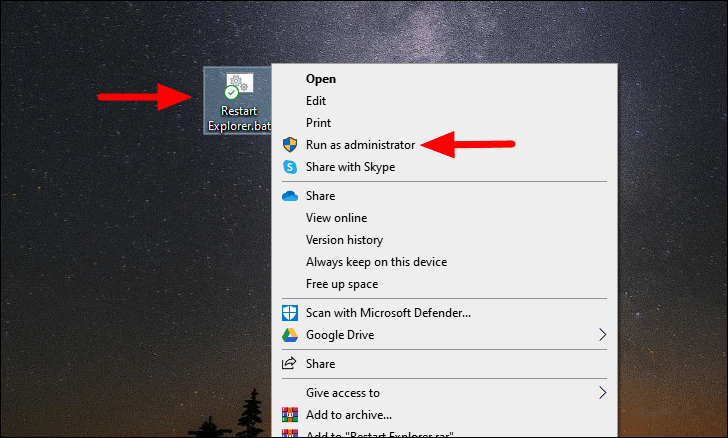
You might see the command prompt windows appear for a flick of a second and the screen and taskbar affected for a little longer. The ‘File Explorer’ will restart soon after. With the ‘BAT’ file, you can restart ‘File Explorer’ quickly and save a lot of time.
4. Modify File Explorer Settings
A few ‘File Explorer’ settings tend to sometimes conflict with the OS, thus leading to errors like crashing of apps or frequent hanging. A similar setting has been noticed for ‘File Explorer’ and modifying it has proven to be an effective fix.
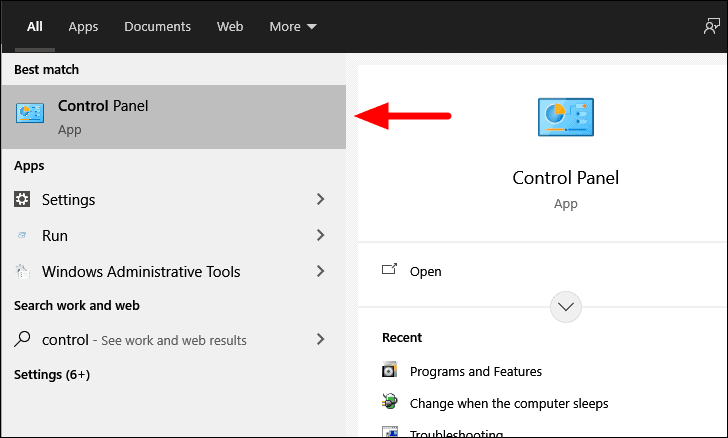
To modify ‘File Explorer’ settings, search for ‘Control Panel’ in the ‘Start Menu’ and then click on the search result to launch the app.
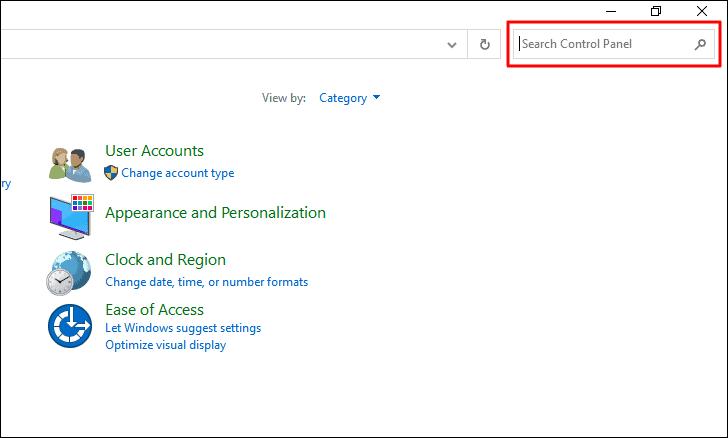
In the ‘Control Panel’ window, you will find a search box at the top-right corner. Enter ‘File Explorer Options’ in the search box.
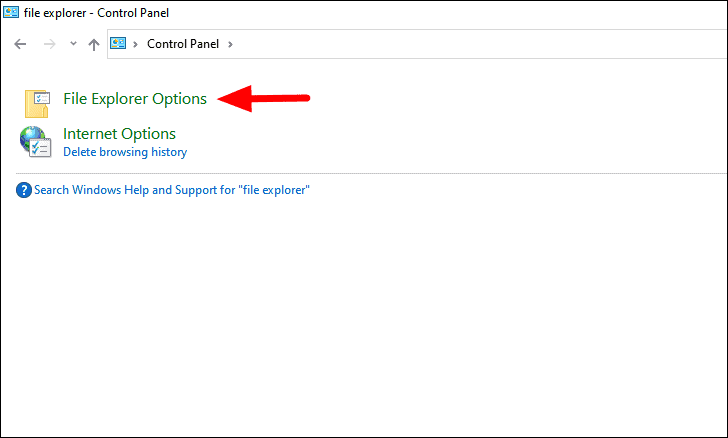
You will find suitable search results appearing on the screen while you enter in the search box. Select ‘File Explorer Options’ from the search results.
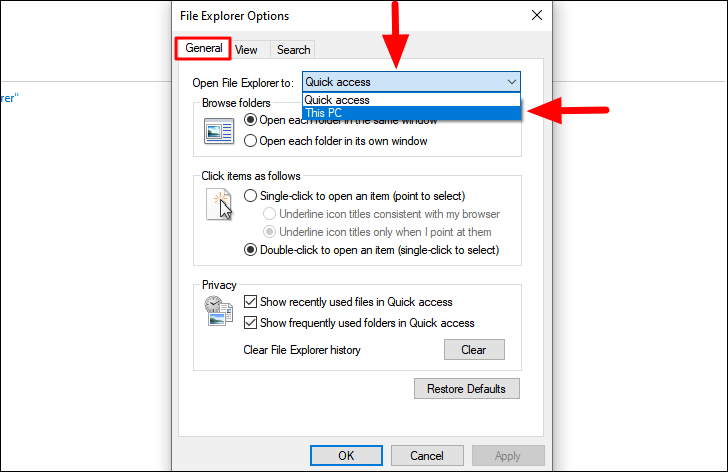
In the ‘File Explorer Options’ window, navigate to the ‘General’ tab, click on the box next to ‘Open File Explorer to’, and then select ‘This PC’ from the drop-down menu.
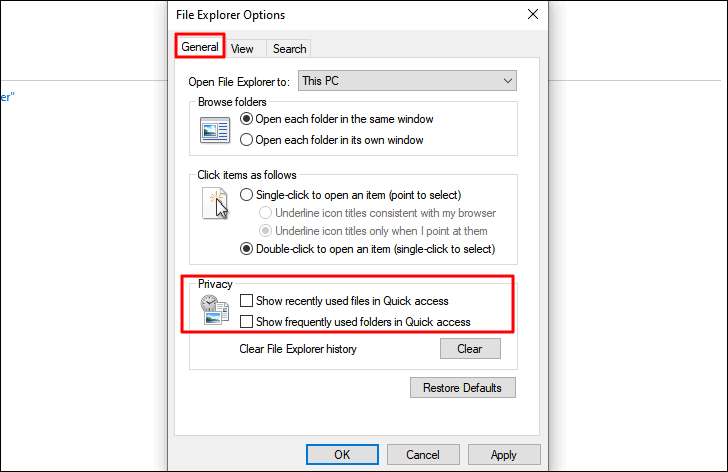
Next, under the ‘Privacy section and untick the checkboxes for’ Show recently used files in Quick access’ and ‘Show frequently used folders in Quick access’.
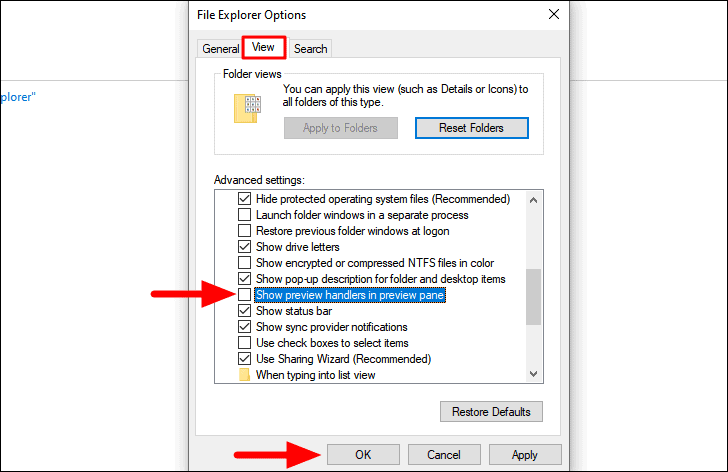
Next, navigate to the ‘View’ tab and then untick the option for ‘Show preview handlers in preview pane’. Finally, click on ‘OK’ at the bottom to apply the changes and close the window.
After you have made the changes, check if the ‘File Explorer’ error has been fixed. If not, move to the next fix.
5. Clear History and Create a Shortcut for File Explorer
If the ‘File Explorer’ error hasn’t been fixed yet, try clearing its history and creating a new path for it. It helps clear up the data and resolve any errors that have been preventing ‘File Explorer’ from functioning properly.
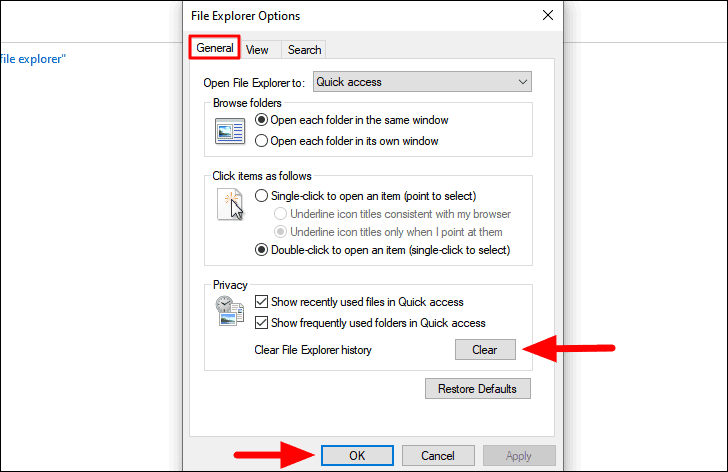
To clear the ‘File Explorer’ history, launch the ‘File Explorer Options’ window as discussed in the previous fix, and then click on ‘Clear’ under the ‘Privacy’ section in the ‘General’ tab. After you have cleared the history, click on ‘OK’ at the bottom to save the changes and close the window.
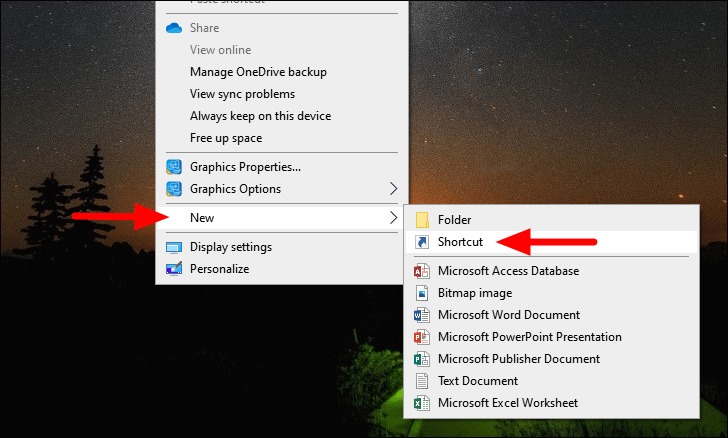
Next, right-click anywhere on the desktop, hover the cursor over ‘New’, and then select ‘Shortcut’ from the menu.
The ‘Create Shortcut’ window will now launch. Enter the following address in the box under ‘Type the location of this item’, and then click on ‘Next’ at the bottom.
C:\Windows\explorer.exe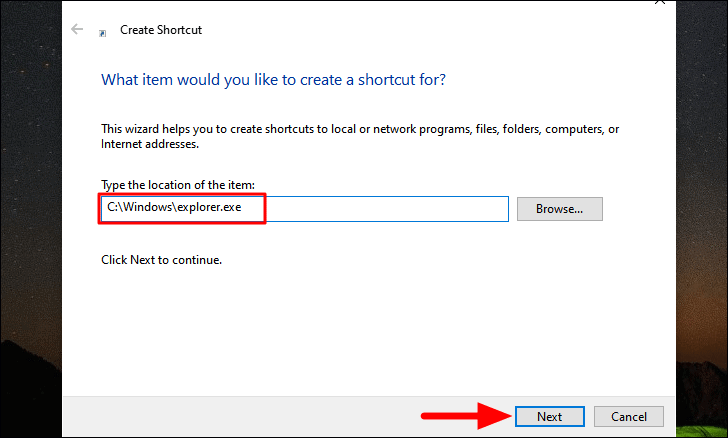
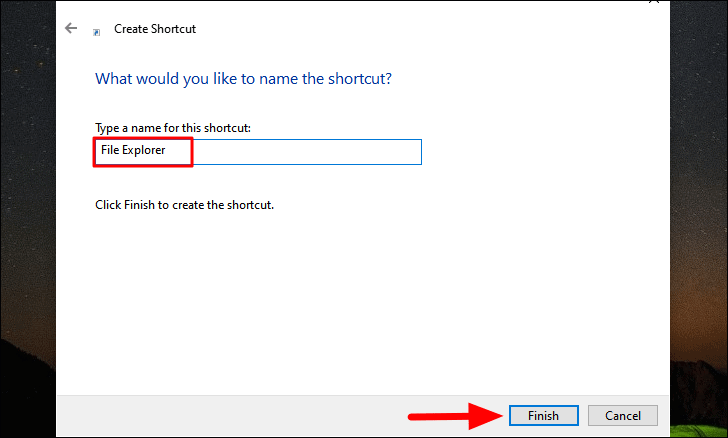
You will now be asked to enter a name for the shortcut, type ‘File Explorer’, and then click on ‘Finish’ at the bottom to create the shortcut.
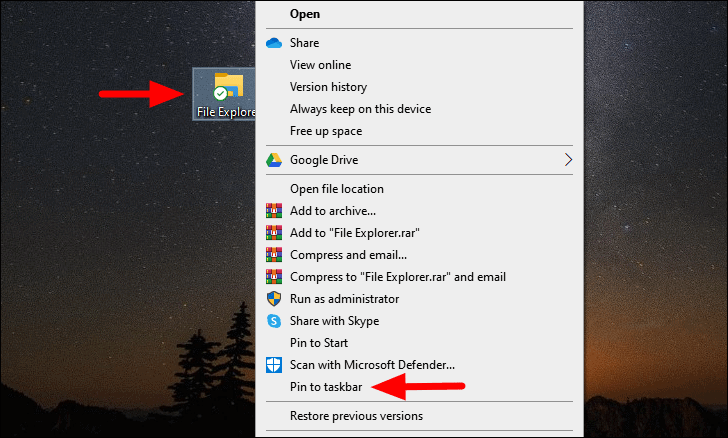
The shortcut will now be present on the desktop. If you want to add the shortcut to the ‘Taskbar’, right-click on it and then select ‘Pin to taskbar’ from the context menu.
Now try the access the ‘File Explorer’ with the newly created path and check if you are still encountering an error.
6. Update Display Driver
Many a time, an outdated driver may lead to ‘File Explorer’ errors. In such a case, you must update the driver by finding the recent version of it on the official website of the manufacturer and then download it to your computer. Make sure you have downloaded the latest driver file before you proceed further.
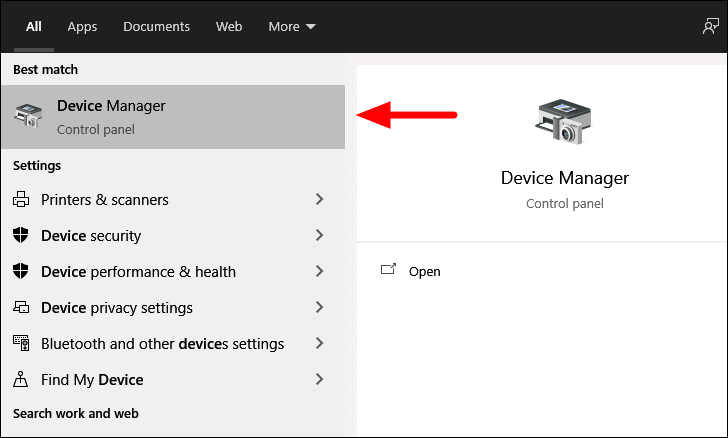
To update the driver, search for ‘Device Manager’ in the ‘Start Menu’ and then click on the search result to launch the app.
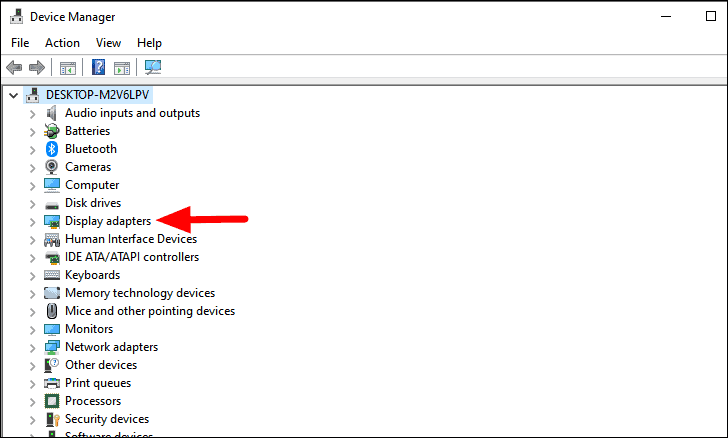
Next, double-click on the ‘Display adapters’ option to explore the drivers under it.
Now, right-click on the listed driver and select ‘Update driver’ from the context menu.

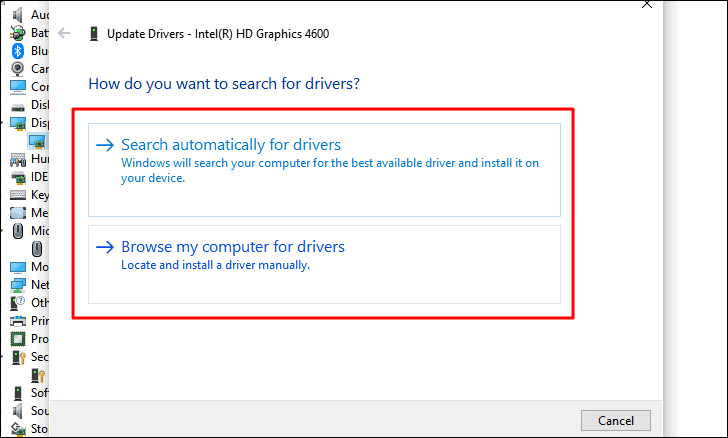
The ‘Update Drivers’ window will now launch. You now have two options to update the driver, either let Windows search your computer for the best one or install it manually. It’s recommended that you let Windows search for and install the driver since the risk is very low in this case.
After you have updated the driver, check if the ‘File Explorer’ now runs properly without throwing any errors or lagging.
7. Reinstall Display Drivers
In case the display driver is corrupt, it will lead to errors in launching and working on ‘File Explorer’. To fix the issue, all you have to do is reinstall the driver.
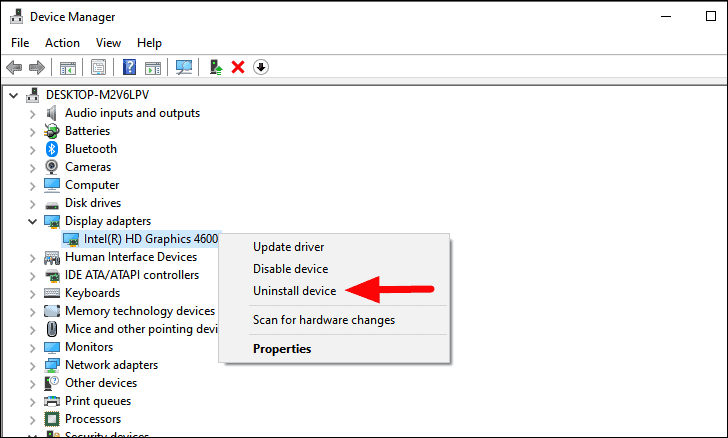
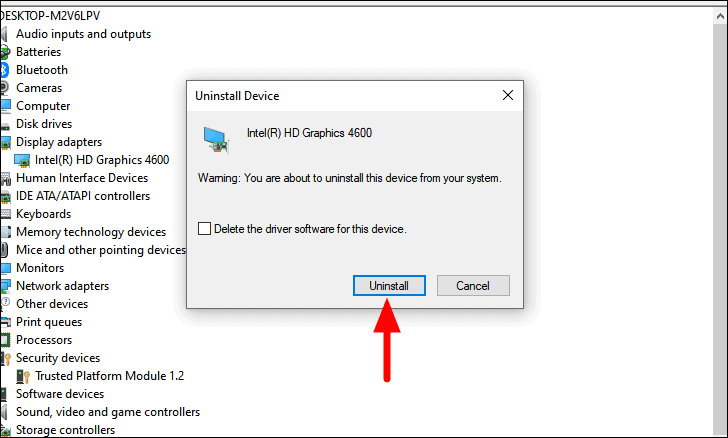
To reinstall the ‘Display’ driver, launch the ‘Device Manager’ app and locate the display driver as discussed in the last fix. Now, right-click on the driver and select ‘Uninstall device’ from the context menu.
A confirmation box will now pop up. Click on ‘Uninstall’ to confirm and the and complete the uninstallation process.
After the driver is uninstalled, restart the computer and Windows will automatically reinstall the driver, which won’t be corrupted. Now, check if you are able to access ‘File Explorer’ and work on it without any issues.
8. Disable the Windows Search Service
For many users, it was the ‘Windows Search’ service that was leading to the error. Hence, if the above fixes have not yielded any positive results, it’s time you disable the ‘Windows Search’ service.
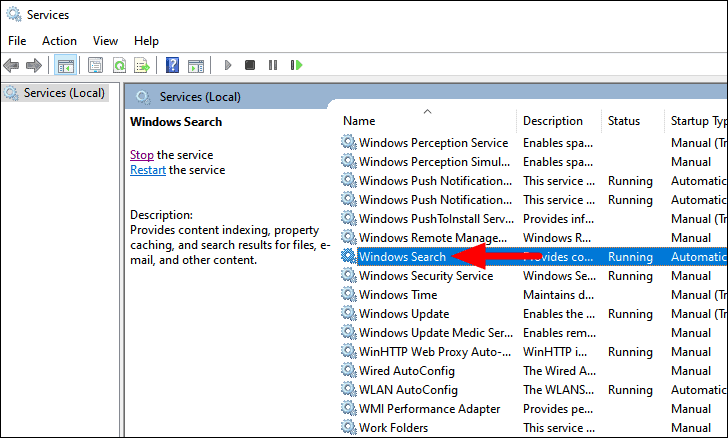
To disable ‘Windows Search’ service with the ‘Services’ app, search for the app in the ‘Start Menu’ and then launch it by clicking on the search results.

In the ‘Services’ window, locate the ‘Windows Search’ service. The services are listed in alphabetical order, so you can scroll down and easily locate it. After you have found the service, double click on it to launch the properties.
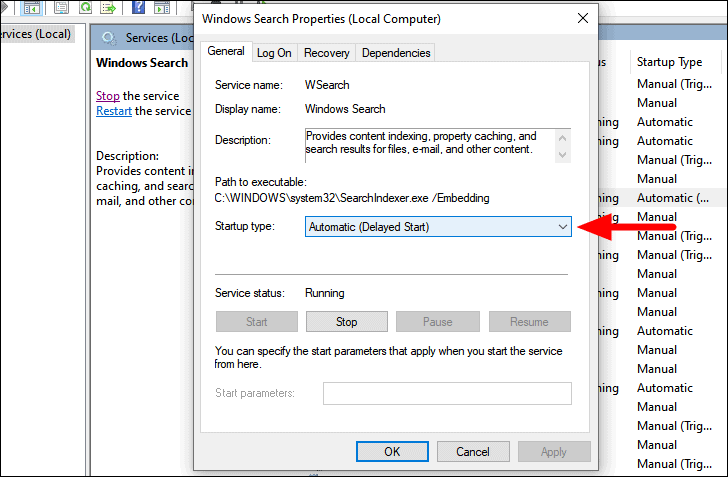
In the properties Window, click on the box next to ‘Startup type’ to view the other startup options.
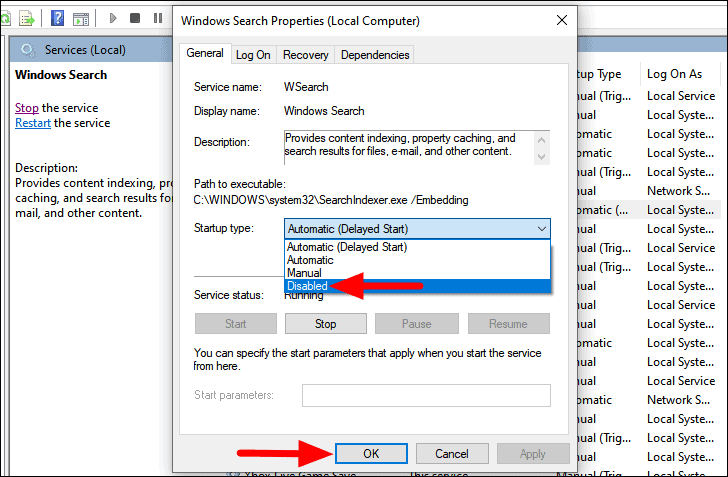
Next, select ‘Disabled’ from the drop-down menu and click on ‘OK’ at the bottom to save the changes and close the properties window.
After disabling the ‘Windows Search’ service, reboot the computer, and check if the ‘File Explorer’ is fixed.
9. Run SFC Scan
The SFC scan is used to repair corrupted system files by replacing them with a cached copy. If the ‘File Explorer’ error is due to corrupted files, running an SFC scan will fix it.
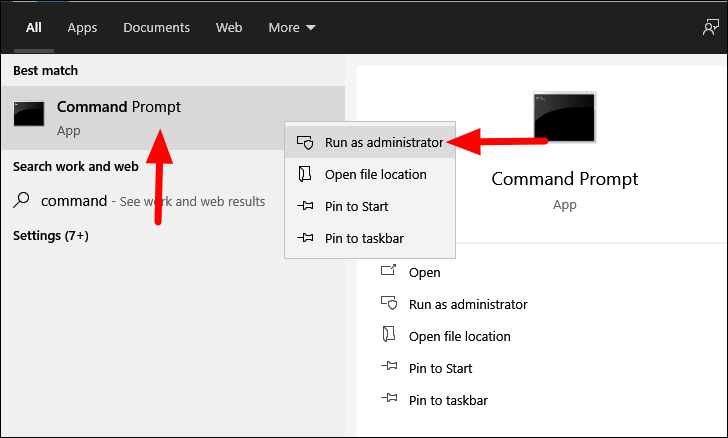
To run the SFC scan, search for the ‘Command Prompt’ app in the ‘Start Menu’, right-click on it, and then select ‘Run as administrator’.
In the ‘Command Prompt’ window, type or paste the following command, and then press ENTER.
sfc/ scannow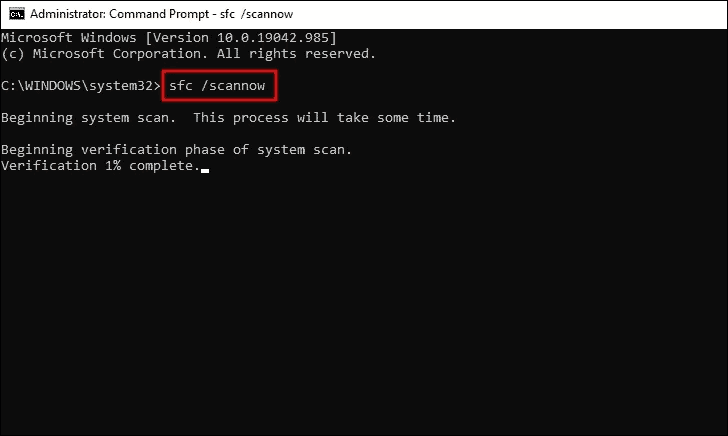
Now, wait for the scan to complete. It will take some time and repair any corrupt system file found along the way. Restart the computer after the scan is complete and check if the error is fixed.
10. Check for Memory Issues
Applications on your system may malfunction due to issues with the RAM (Random Access Memory). Windows 10 has a built-in diagnostics tool that identifies any issues and fixes them simultaneously. Therefore, it’s recommended that you run the diagnostic tool and check if it fixes the error with ‘File Explorer’.
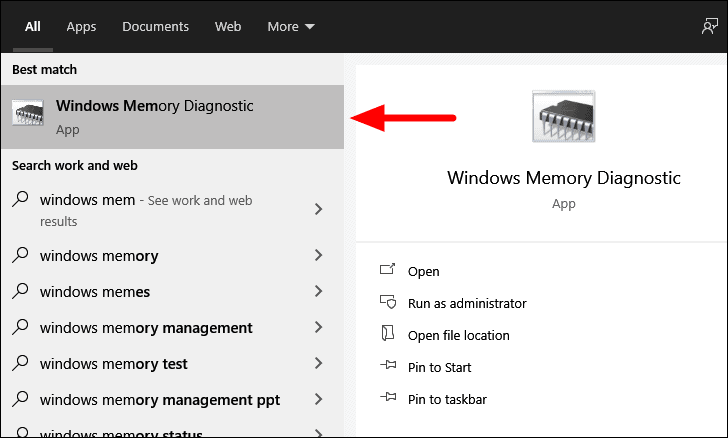
To fix the memory issues, search for ‘Windows Memory Diagnostic’ in the ‘Start Menu’ and then click on the search result to launch the app.
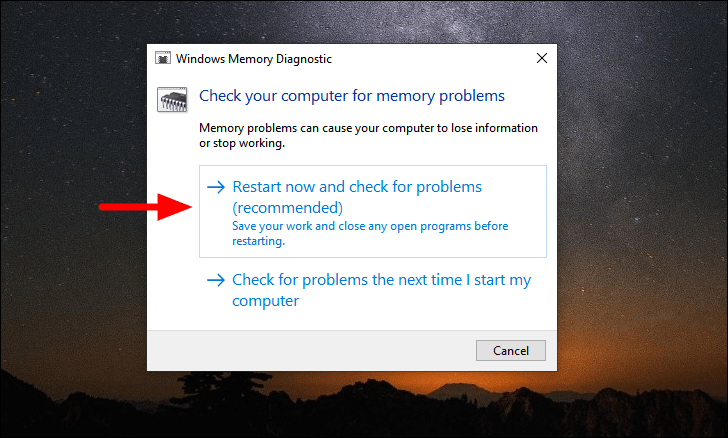
In the ‘Windows Memory Diagnostic’ screen, you will find two options, either to restart the computer right away and check for problems and do it the next time you restart. It’s recommended that you run it right away by selecting the first option. Also, save any files that you working on to avoid loss of data since the computer will restart.
After the computer restarts, check if you are able to access ‘File Explorer’ without encountering any errors.
11. Run Full System Scan
If you are encountering the ‘File Explorer’ error due to malware infection, it’s time you run a ‘Full Scan’ to detect and remove such files. In case, none of the above fixes have worked yet, running a ‘Full Scan’ might be helpful.
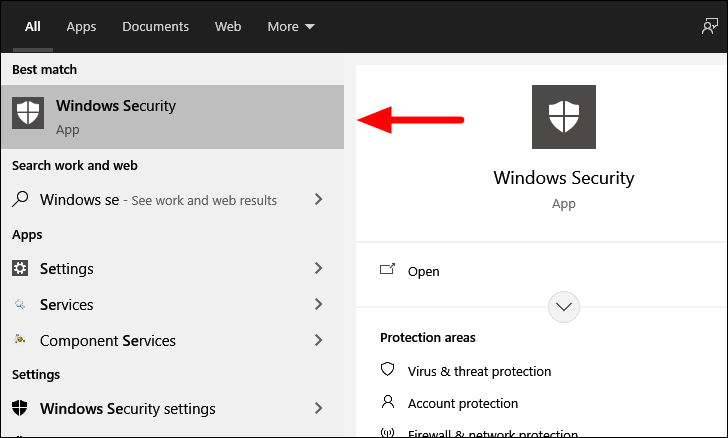
To run a ‘Full Scan’, search for ‘Windows Security’ in the ‘Start Menu’ and click on the search result to launch the app.
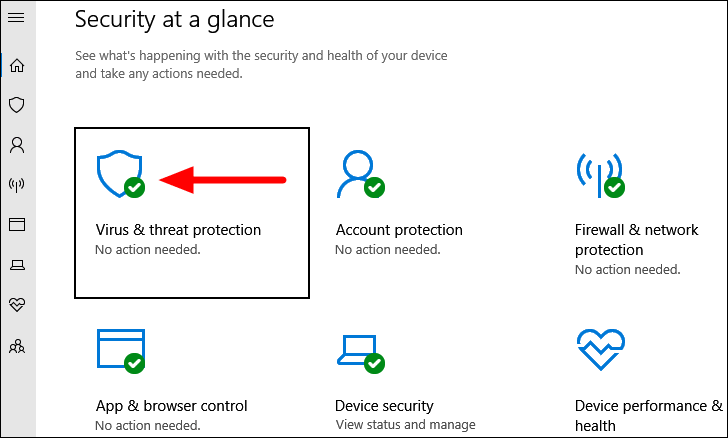
In the ‘Windows Security’ app, you will find various options. Click on ‘Virus and threat protection’ to proceed.
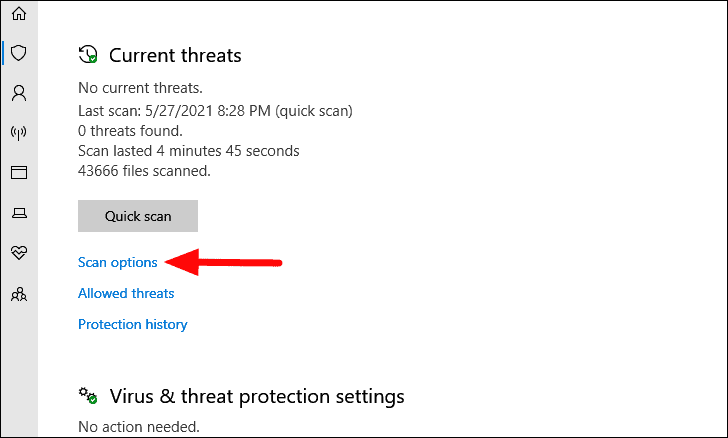
Next, click on ‘Scan options’ to view the other options that you since you will only find ‘Quick scan’ listed here.
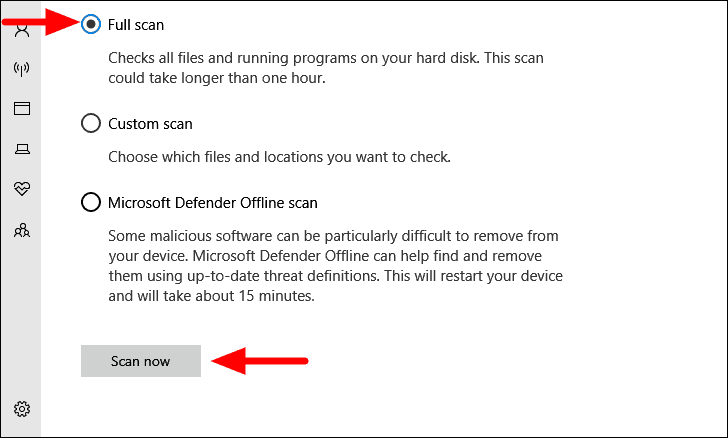
Now, select the ‘Full scan’ option by clicking on the checkbox before it and then click on ‘Scan now’ at the bottom.
The scan will start right away and its progress can easily be monitored.
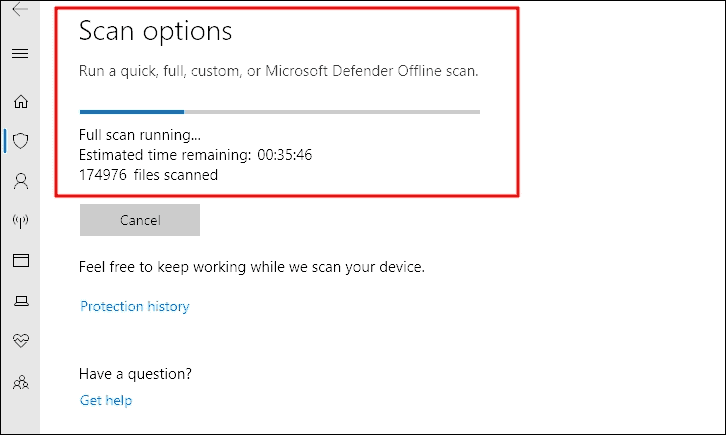
You can continue working on the system while the scan runs in the background. After the scan is complete, you will be informed of the threats found and the actions are taken. Now, check if you are able to run the ‘File Explorer’ app without encountering any errors.
12. Uninstall the Malfunctioning Application
If you have been encountering the error ever since you installed a third-party application, it’s time you uninstall it since it’s affecting the performance of Windows and leading to the ‘File Explorer’ error.
This is more a hit-and-trial fix where you first remember when you started encountering the error and identify the apps that were installed during the period. When you have a list of probable apps that might be leading to the error, you can proceed and uninstall them.
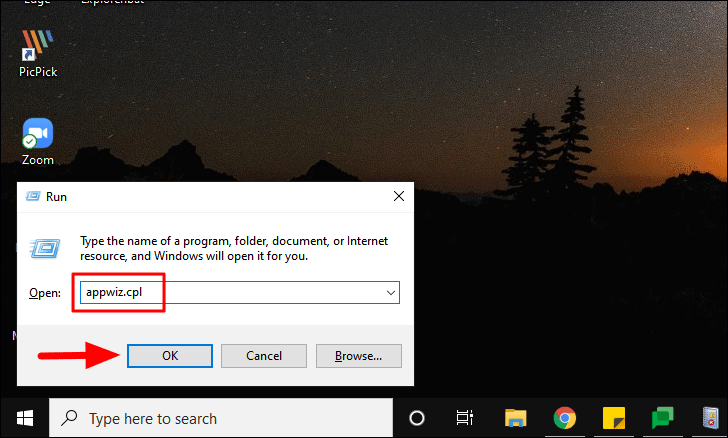
To uninstall an app, press WINDOWS + R to launch the ‘Run’ command and then enter ‘appwiz.cpl’ in the text box. Now, either click on ‘OK’ at the bottom or press ENTER to launch the ‘Programs and Applications’ window.
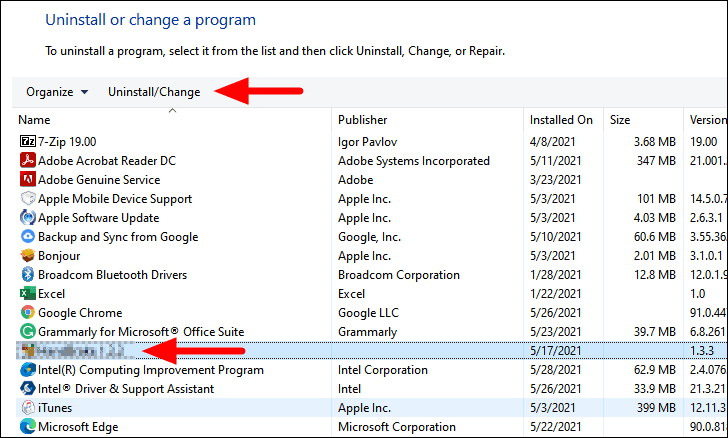
Now, locate and select the application that you want to uninstall and click on the ‘Uninstall’ options at the bottom. Follow the on-screen instructions to complete the uninstallation process.
After the app is uninstalled, check if the error has been fixed. If not, proceed to uninstall the next app. Follow the process until you have identified the malfunctioning app and the error is fixed. You can now reinstall the other apps, if required.
13. Restore Windows to an Earlier Point
If none of the fixes have worked yet, you should go for ‘System Restore’. With system restore, you can take the Windows to an earlier point in time where the error didn’t exist. Before you go for it, remember the first time you encountered the error to choose the restore point. The restore point must be before you first encountered the error.
Also, system restore does not affect the files stored on your computer. It might change the settings and remove some recently installed programs.
Once you have run ‘System Restore’, the ‘File Explorer’ issue will be resolved. However, this should be your last resort, since you might end up losing programs.
After going through the various fixes mentioned in the article, one of them would have fixed the error. You will now have an unhindered Windows experience, the way it’s supposed to be.


