
iMessage provides Apple users with the convenience of keeping conversations consistent across all their devices. Its ability to sync messages between your iPhone and Mac ensures you can pick up conversations wherever you are. However, if you’ve noticed that messages aren’t syncing properly between your devices, there are several solutions you can try to fix this issue.
1. Sign Out and Sign Back in to iMessage on Both Devices
Logging out and then back into iMessage can often resolve syncing problems by refreshing the connection. Follow these steps on both your Mac and iPhone.
On Your Mac
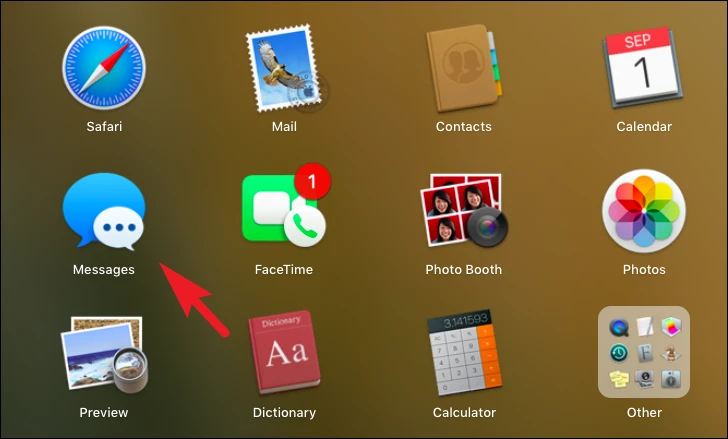
- Launch the Messages app from the Dock or Launchpad.
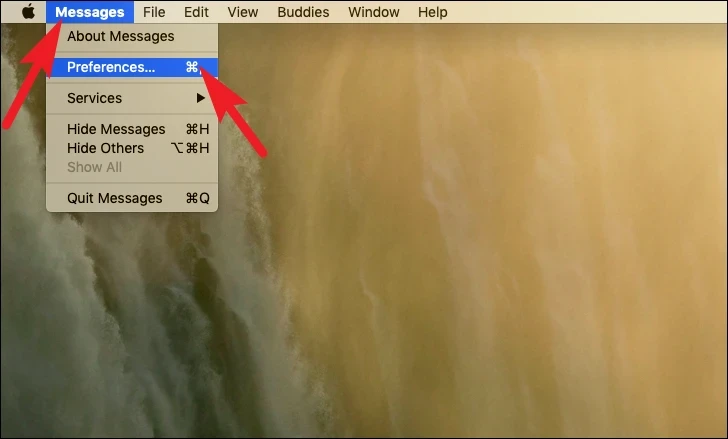
- In the menu bar at the top of the screen, click on Messages and select Preferences.
- Switch to the iMessage tab.
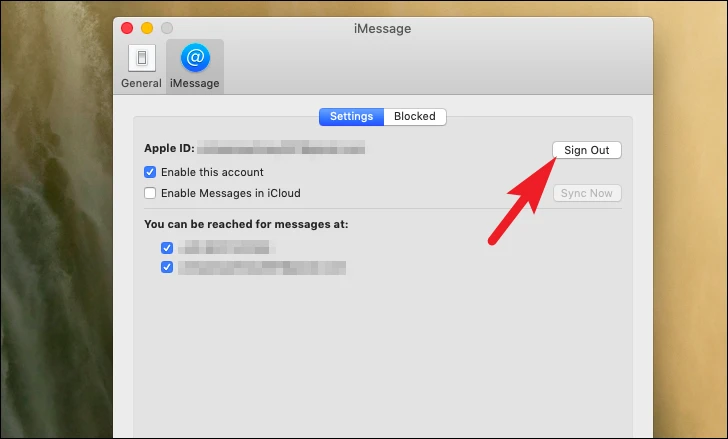
- Click on Sign Out to log out of iMessage.
- Confirm by clicking Sign Out in the pop-up window.
- To sign back in, enter your Apple ID credentials and click Next.

On Your iPhone
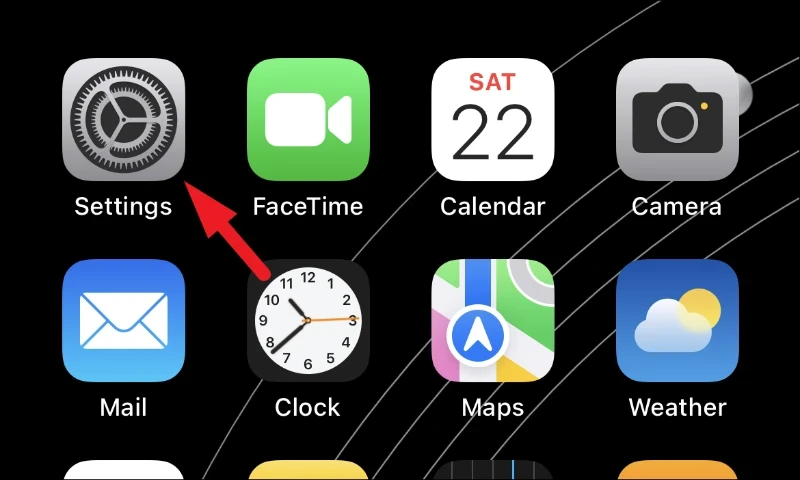
- Open the Settings app from your Home Screen or App Library.
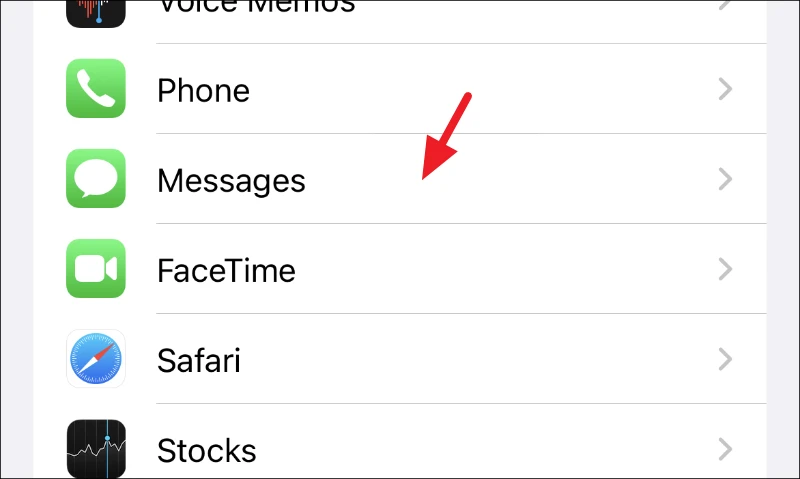
- Scroll down and tap on Messages.
- Select Send & Receive.
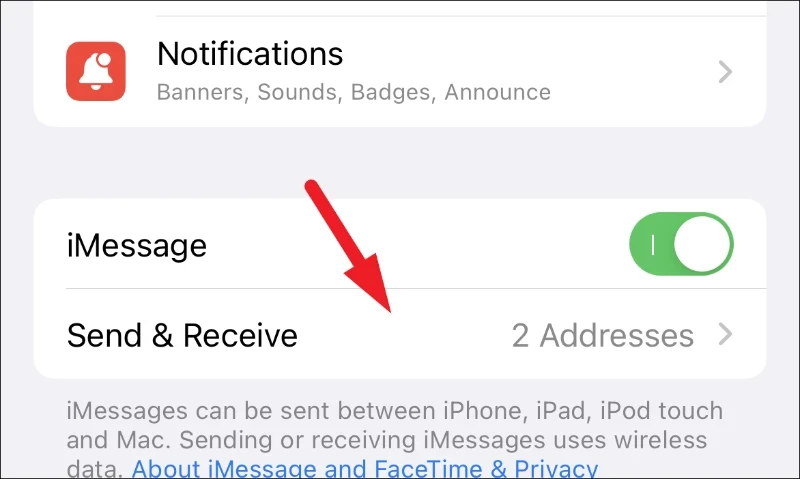
- Tap your Apple ID at the bottom and choose Sign Out.
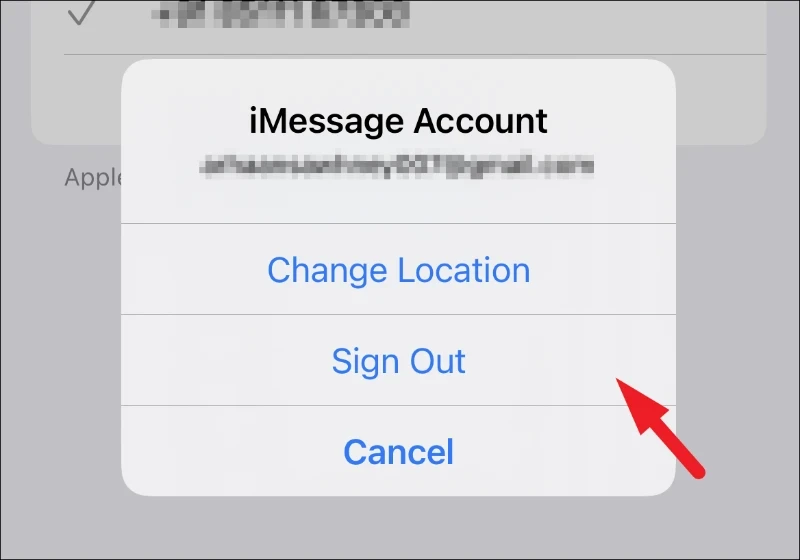
- After signing out, tap on Use your Apple ID for iMessage to sign back in.

Once you’ve signed back in on both devices, give them a few minutes to sync. Check if your messages now appear on your Mac as expected.
2. Ensure You Are Reachable at Your Apple ID on Mac
If your Mac isn’t set to receive messages at your Apple ID, it might not sync properly with your iPhone. Here’s how to check:
- Open the Messages app on your Mac.
- Click on Messages in the menu bar and select Preferences.
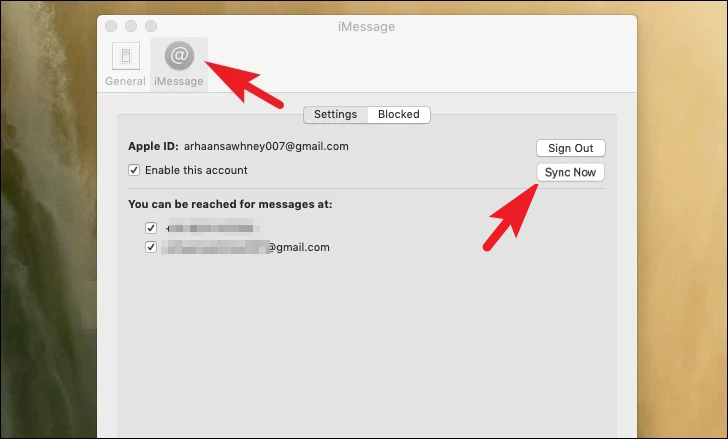
- Go to the iMessage tab.
- In the You can be reached for messages at section, ensure that your Apple ID email address is checked.
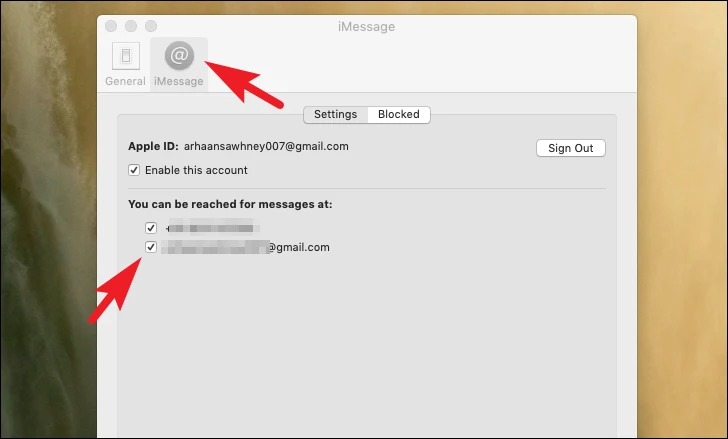
If it was unchecked, checking it may resolve the syncing issue between your devices.
3. Manually Sync Messages on Your Mac
If automatic syncing isn’t working, you can manually force your Mac to sync messages:
- Open the Messages app and go to Messages > Preferences.
- In the iMessage tab, click on Sync Now to start syncing your messages.
4. Update Both Your Mac and iPhone
Outdated software can lead to compatibility issues that prevent messages from syncing. Ensure both your devices are running the latest software.
Updating Your iPhone
- Open the Settings app.

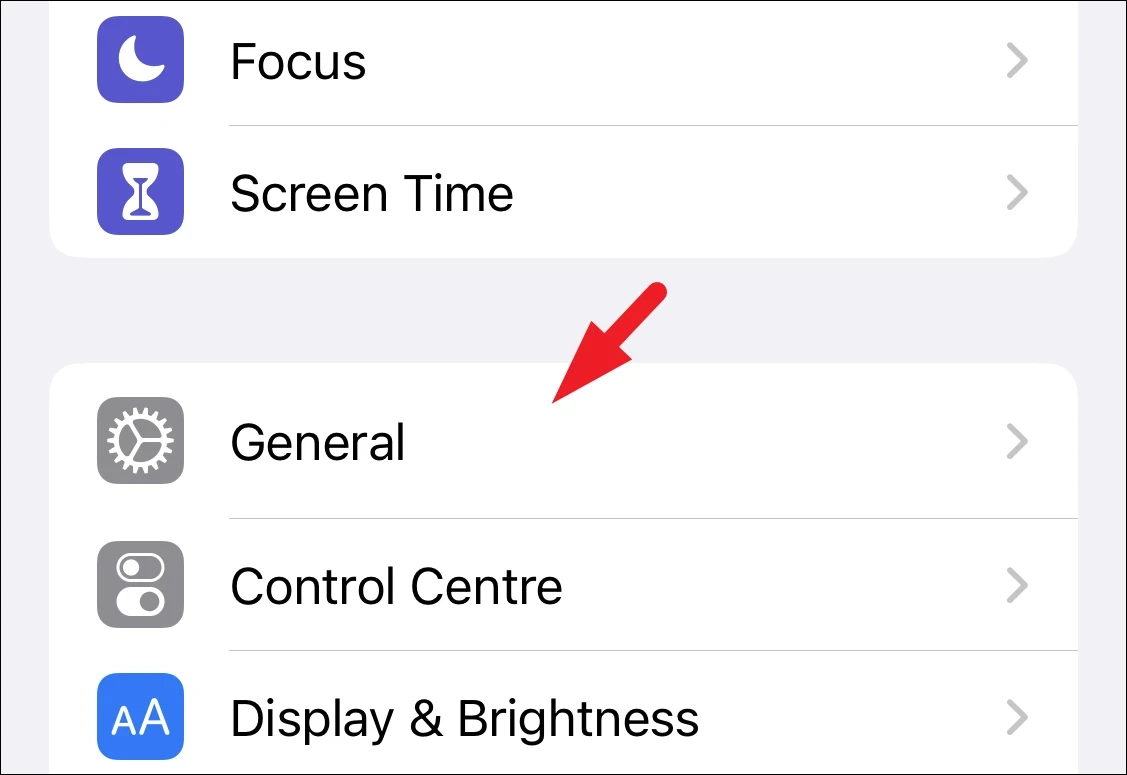
- Tap on General.
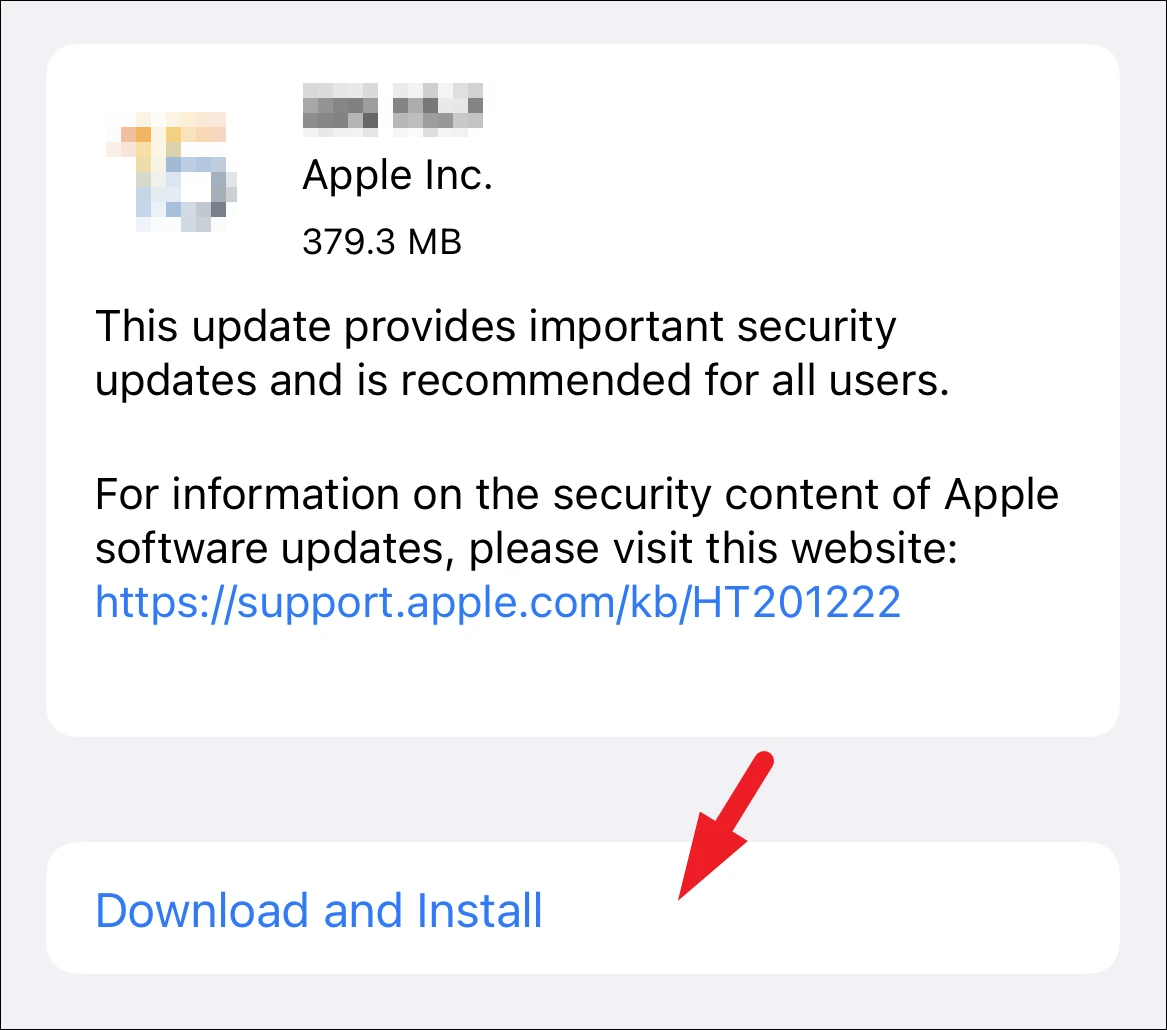
- Select Software Update.
- If an update is available, tap Download and Install.
Updating Your Mac
- Click on the Apple menu in the top-left corner and select System Preferences.
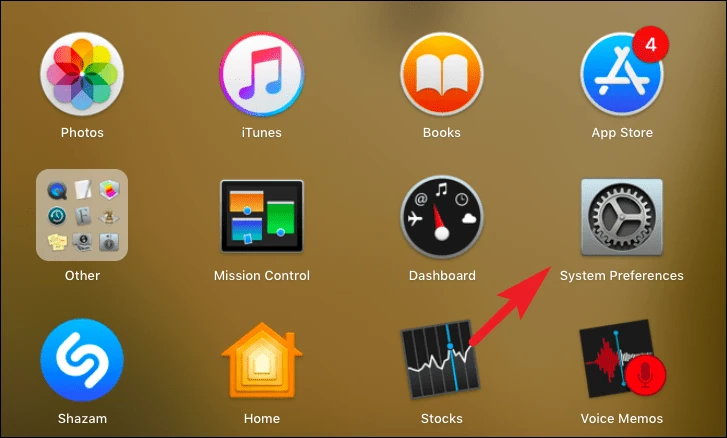
- Click on Software Update.
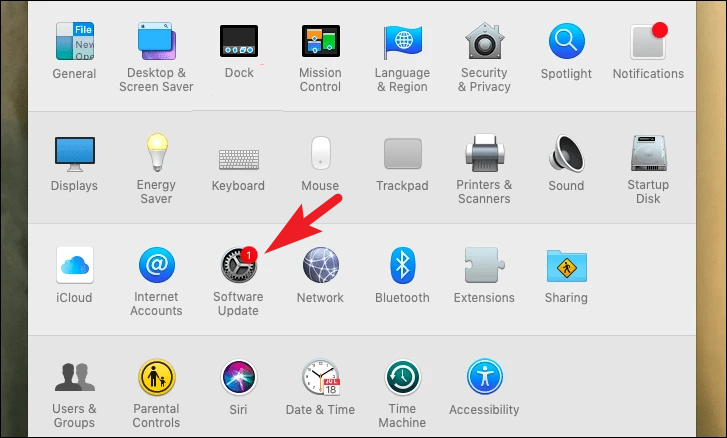
- If an update is available, click Update Now or Upgrade Now to install it.
5. Reset Network Settings on Your iPhone
Network issues on your iPhone might prevent iMessage from syncing properly. Resetting your network settings can help resolve this.
Note: This will erase your saved Wi-Fi networks and passwords, cellular settings, and VPN configurations.
- Open the Settings app.

- Tap on General.

- Scroll down and select Transfer or Reset iPhone.
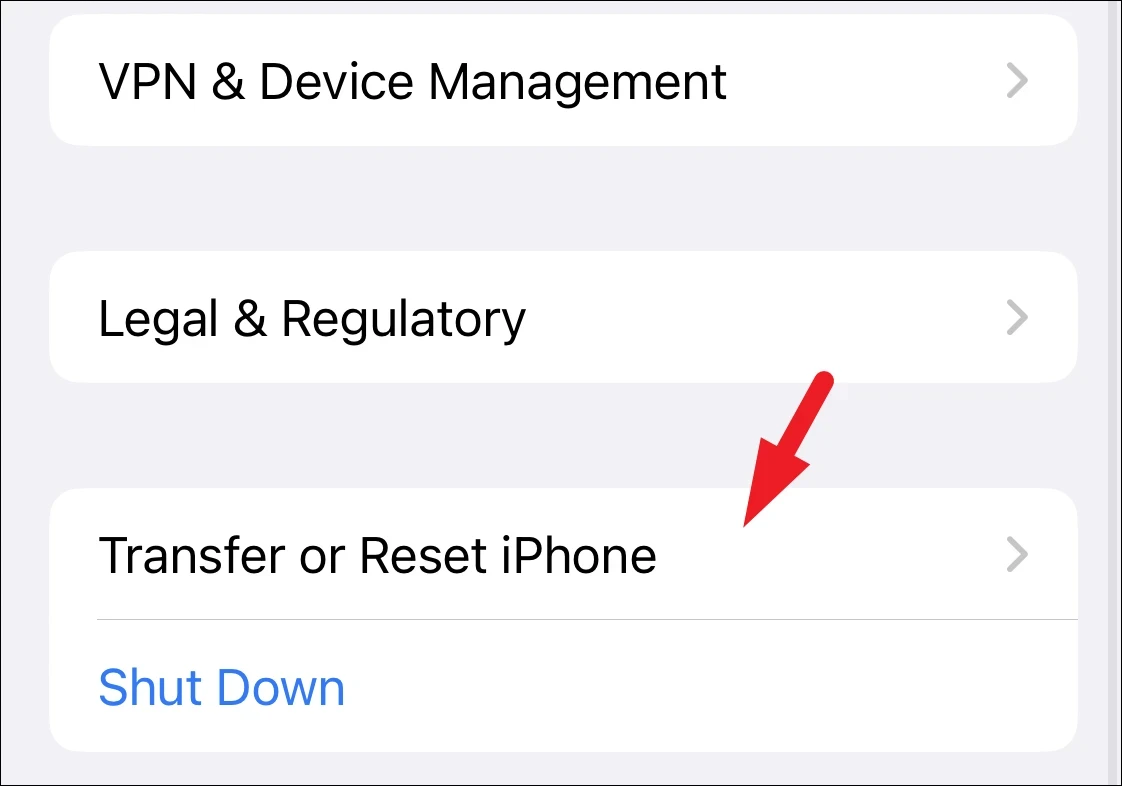
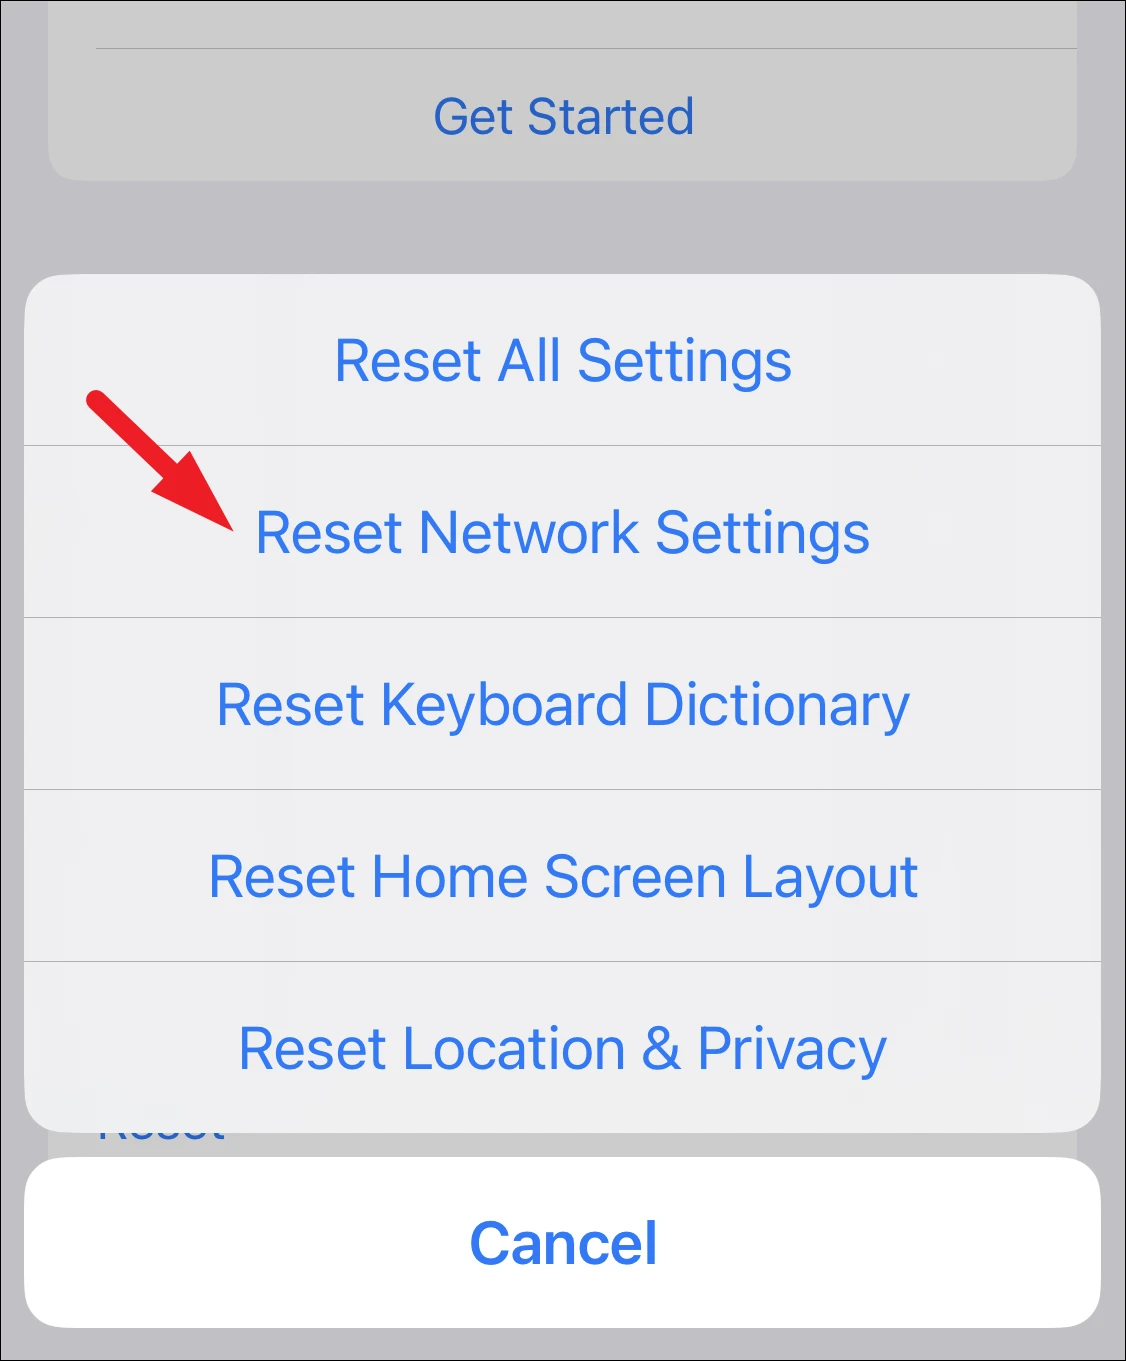
- Tap on Reset, then choose Reset Network Settings.
- Enter your iPhone passcode if prompted and confirm the reset.
6. Check Apple’s System Status
Occasionally, Apple’s iMessage servers may experience issues that affect syncing. You can check the server status:
- Visit Apple’s System Status page.
- Find iMessage in the list to see if there are any reported problems.
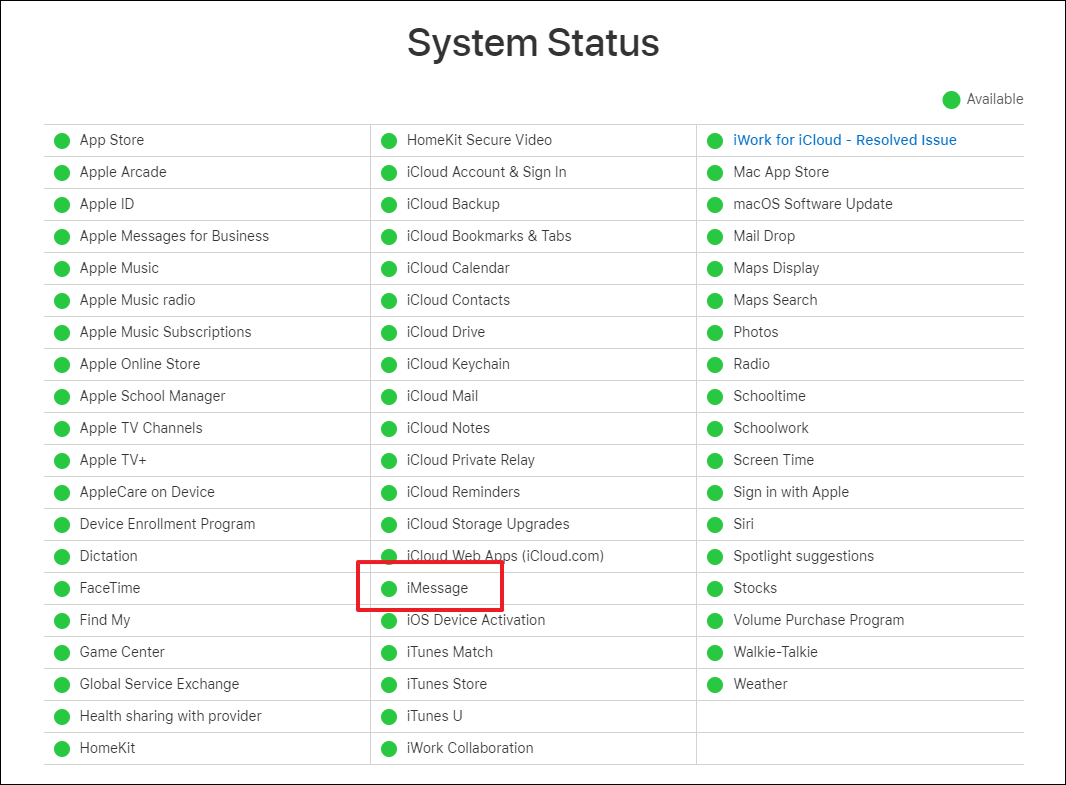
If the service is experiencing issues, you’ll need to wait until Apple resolves them.
7. Remove Beta Software from Your Devices
Running beta versions of iOS or macOS can cause compatibility problems with iMessage syncing. Ensure both devices are using the stable public releases.
On Your iPhone
- Launch the Settings app.

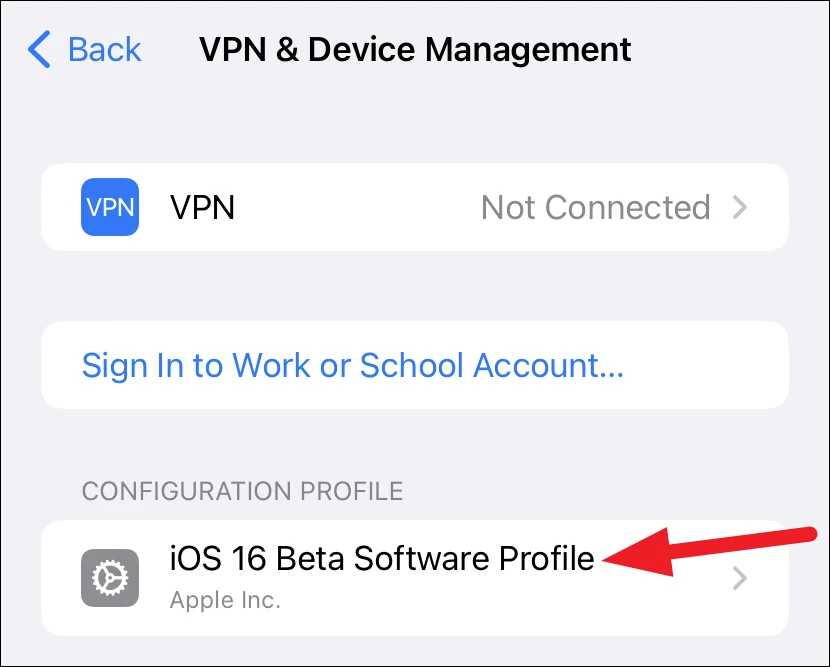
- Tap on General and select VPN & Device Management.

- Under Configuration Profile, tap on the beta software profile.
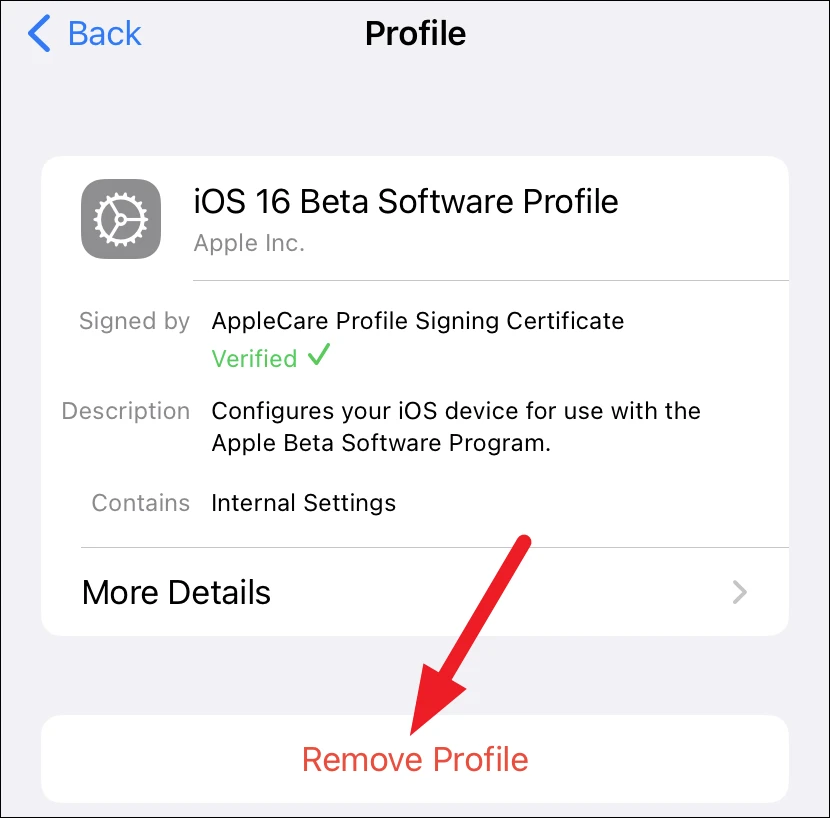
- Tap Remove Profile and restart your iPhone.
After removing the beta profile, you will receive the next stable iOS update when it’s released. If you don’t want to wait, you can restore your iPhone using iTunes:
- Connect your iPhone to your computer and open iTunes.
- Put your iPhone into recovery mode:
- iPhone 8 or later: Quickly press and release
Volume Up, thenVolume Down. Press and hold theSidebutton until you see the recovery mode screen. - iPhone 7/7 Plus: Press and hold the
SideandVolume Downbuttons simultaneously until the recovery mode screen appears. - iPhone 6s or earlier: Press and hold both the
HomeandSide(orTop) buttons until you see the recovery mode screen.
- iPhone 8 or later: Quickly press and release
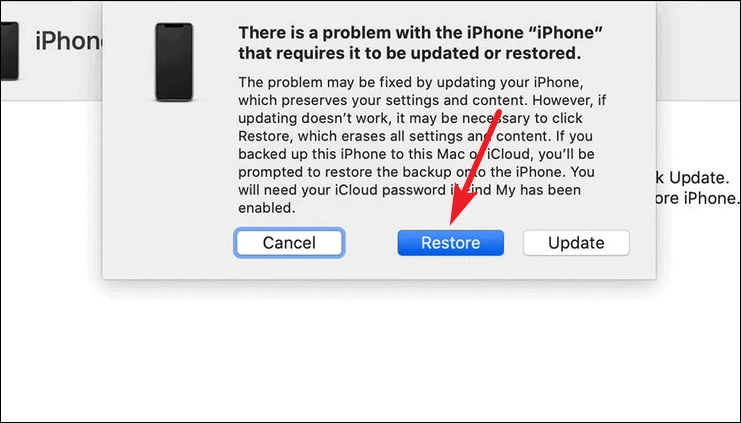
- In iTunes, you’ll see a prompt to Restore or Update your device. Choose Restore.
- After the process completes, set up your iPhone and sign back into iMessage.
By trying these solutions, you should be able to fix any syncing issues with iMessage between your Mac and iPhone, ensuring your conversations stay up-to-date across all your devices.


