
Capturing screenshots on your Windows 11 PC is a handy skill for various purposes, such as sharing information, troubleshooting issues, or saving memorable moments. Windows 11 provides several built-in tools and shortcuts to make the process quick and efficient.
Use the Snipping Tool for Versatile Screenshots
The Snipping Tool is a built-in utility in Windows 11 that allows you to capture screenshots of your screen in various ways. The quickest way to access it is by pressing the Windows+Shift+S keys simultaneously.
After pressing the shortcut, a small toolbar appears at the top of the screen with four snipping options:
- Rectangular Snip – Draw a rectangle to capture a specific area.
- Freeform Snip – Draw a freeform shape around the area you want to capture.
- Window Snip – Capture a specific window on your screen.
- Fullscreen Snip – Capture the entire screen.
Once you make a selection, the screenshot is copied to your clipboard and a notification appears in the lower-right corner. Click the notification to open the screenshot in the Snipping Tool app, where you can annotate, save, or share it.
To set the Print Screen key to open the Snipping Tool instead of capturing a screenshot, follow these steps:
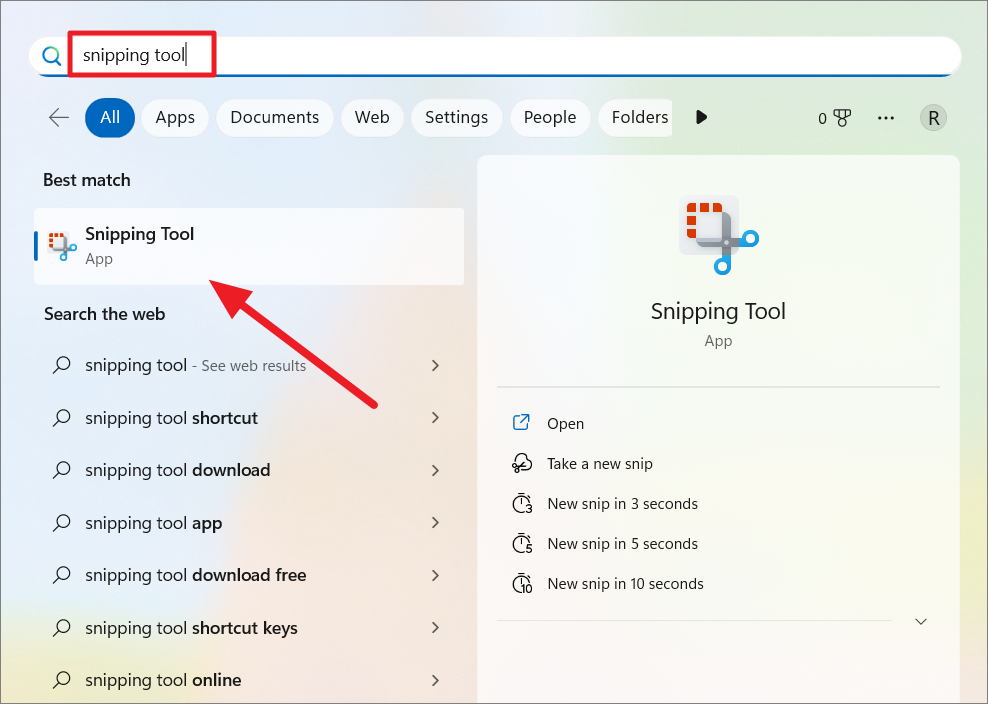
- Open the Snipping Tool by searching for it in the Start menu.
- Click the three dots and select Settings.
- Under the Shortcut section, click on Change in Windows Settings.
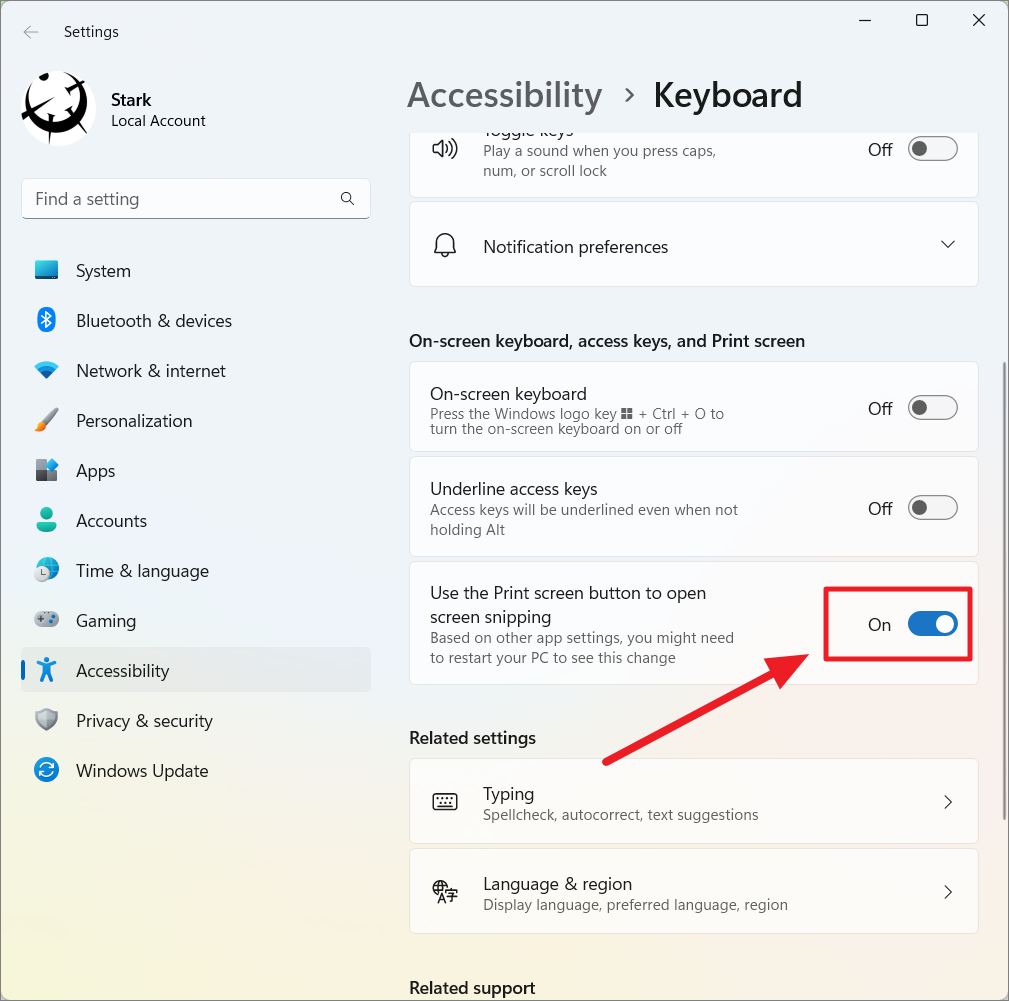
- In the Keyboard settings, scroll down to find Use the Print screen button to open screen snipping and toggle it on.
- Restart your PC to apply the changes.
Now, pressing the PrtSc key will open the Snipping Tool, allowing you to choose the type of screenshot you want to capture.
Take Delayed Screenshots
If you need to capture menus or tooltips that disappear when you click elsewhere, you can take delayed screenshots with the Snipping Tool:
- Type Snipping Tool in the Windows Search or Start menu.
- On the right pane, select one of the delay options:
- Snip in 3 seconds
- Snip in 5 seconds
- Snip in 10 seconds
- After the delay, choose your snipping mode and capture the screenshot.

View Clipboard History
Windows 11 allows you to access your clipboard history, including screenshots:
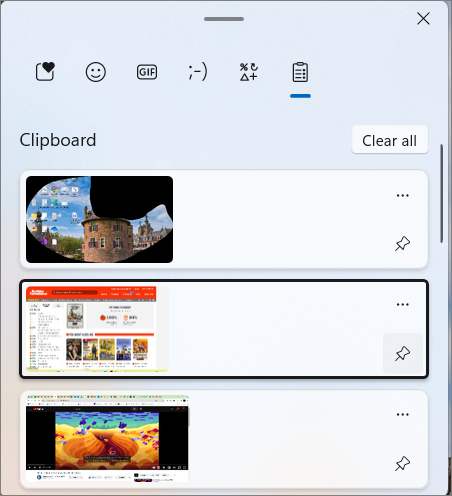
- Press
Windows+Vto open the clipboard history. - Select a screenshot from the list.
- Paste it into any application using
Ctrl+V.
Capture the Entire Screen with Print Screen Key
The Print Screen (PrtSc) key allows you to capture the entire screen quickly:
Press the PrtSc key to copy a screenshot of your entire screen to the clipboard. You can then paste it into an image editor or document using Ctrl+V.
If you have multiple monitors, this will capture all screens as one image.
Automatically Save Screenshots
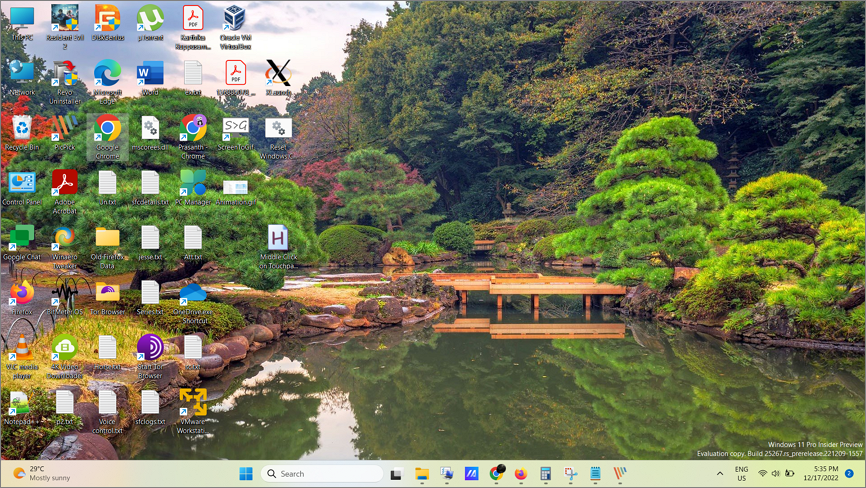
To automatically save screenshots without needing to paste them, use Windows+PrtSc:
Press Windows+PrtSc to capture the entire screen and save it as a PNG file. The screen will briefly dim to indicate a screenshot was taken. Screenshots are saved in the Pictures > Screenshots folder.

Auto-Save Screenshots to OneDrive
You can configure OneDrive to automatically save screenshots:
- Right-click the OneDrive cloud icon in the taskbar.
- Select the gear icon and choose Settings.
- Under Sync and backup, toggle on Save screenshots I capture to OneDrive.
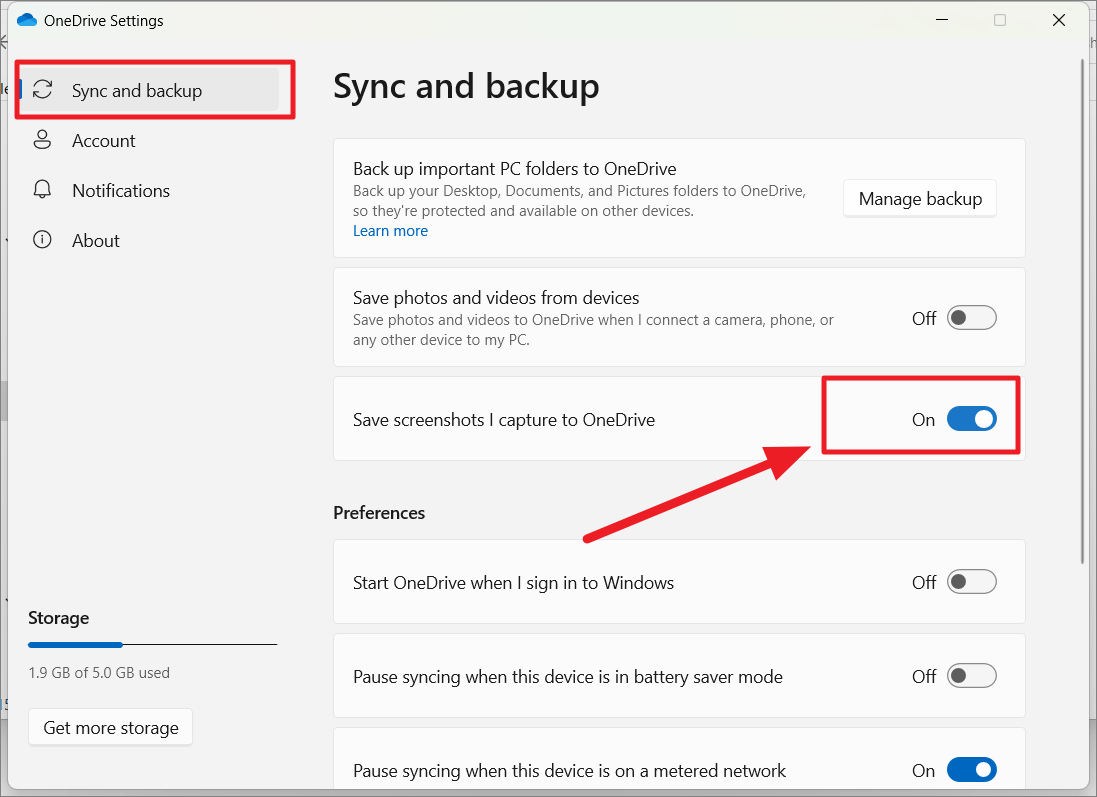
Now, screenshots taken with PrtSc and Alt+PrtSc will be saved to OneDrive, making them accessible across devices.
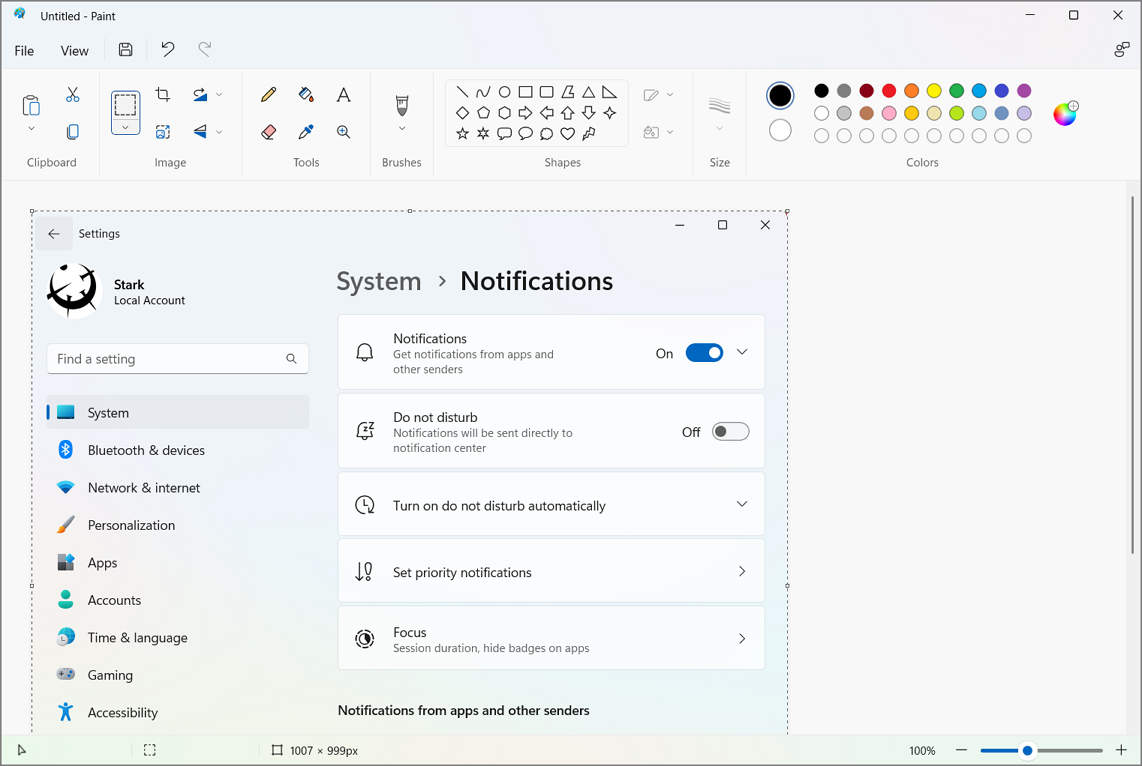
Capture an Active Window
To capture only the active window:
Press Alt+PrtSc to capture the currently active window. The screenshot is copied to the clipboard, and you can paste it into an image editor or document.
Use the Xbox Game Bar for Screenshots and Recording
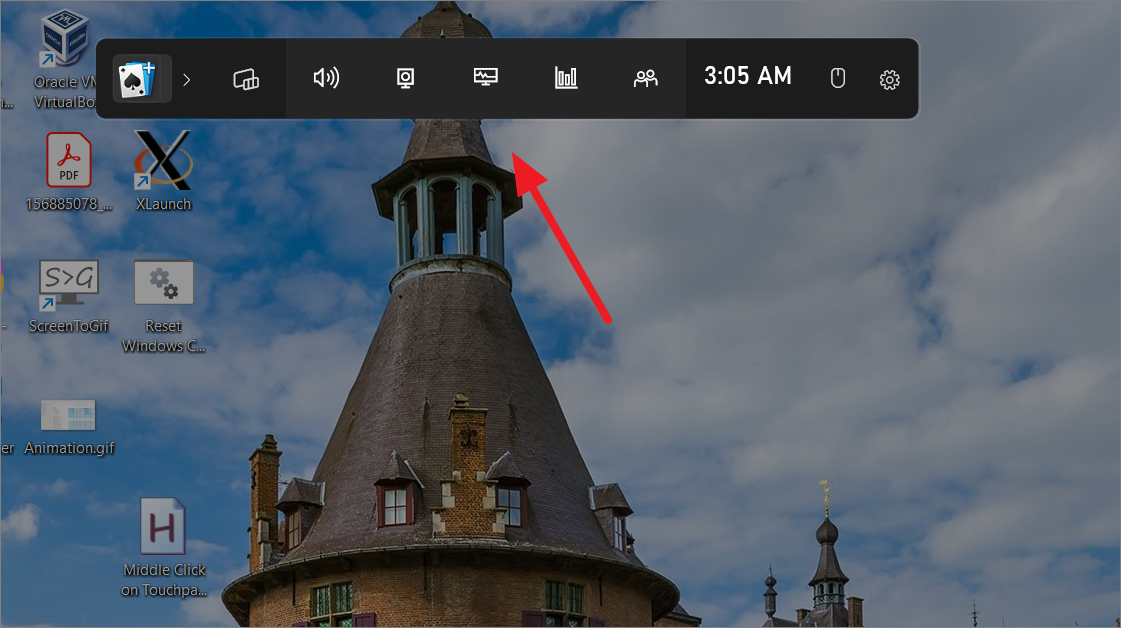
The Xbox Game Bar is designed for gamers but can be used by anyone to capture screenshots and record videos:
Press Windows+G to open the Game Bar. From there:
- Click the Capture icon to open the Capture widget.
- Click the camera icon to take a screenshot.
- To start recording a video, click the record button or press
Windows+Alt+R.
Screenshots and recordings are saved in the Videos > Captures folder.
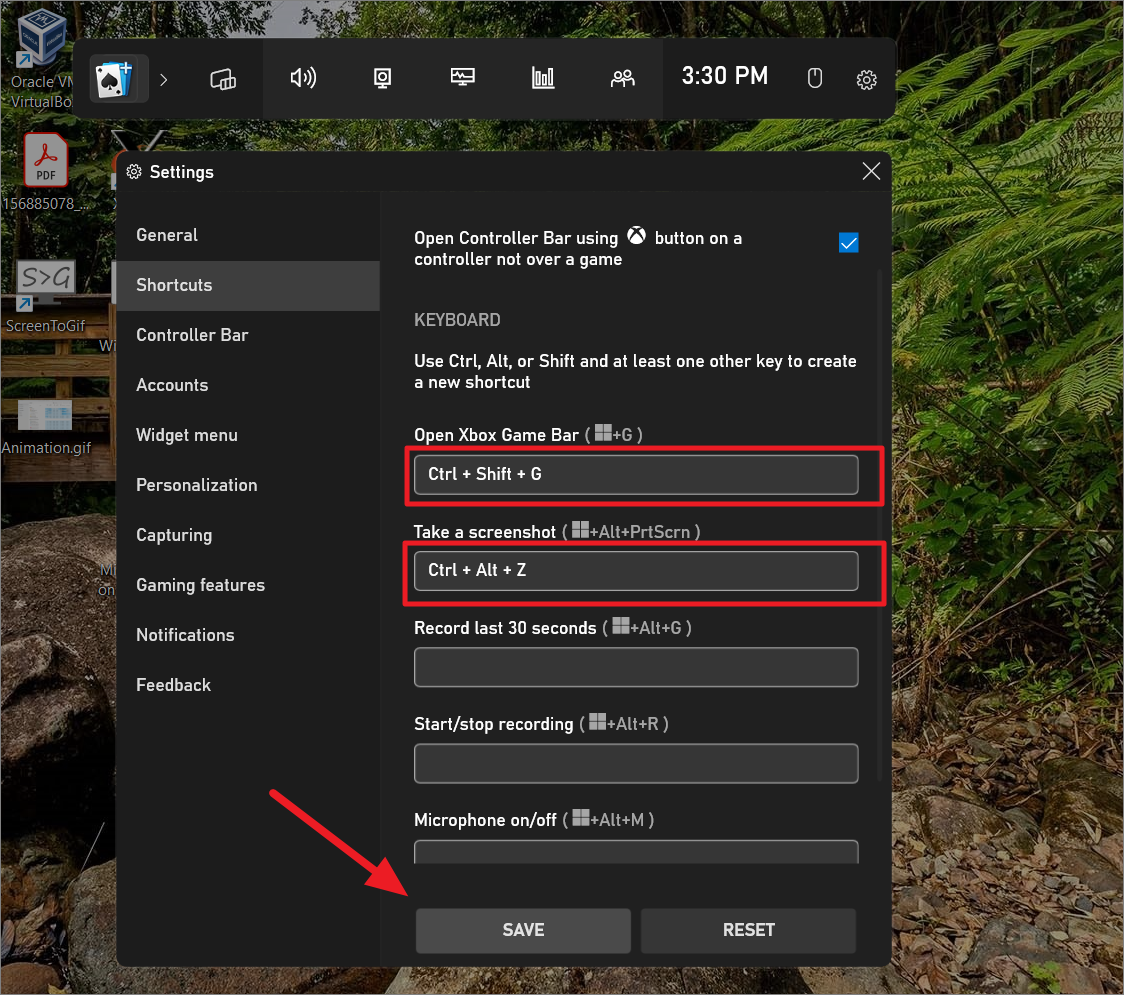
Customize Game Bar Shortcuts
To set custom shortcuts:
- Open the Game Bar with
Windows+G. - Click the Settings icon and go to the Shortcuts tab.
- Set your preferred shortcuts and click Save.
- Restart your PC to apply changes.
Take Screenshots on Tablets and Devices without Print Screen Key
If your device lacks a PrtSc key, you can still capture screenshots:
- Press
Windows+Fn+Spacebarto capture the screen. - On devices with a Windows logo button, press the Windows logo button and the Volume Down button simultaneously.
- If using a stylus, double-click the top button to capture a screenshot.
Use Third-Party Tools for Advanced Features
While Windows 11’s built-in tools are robust, third-party applications like PicPick, ShareX, and Greenshot offer additional features, such as scrolling window screenshots.
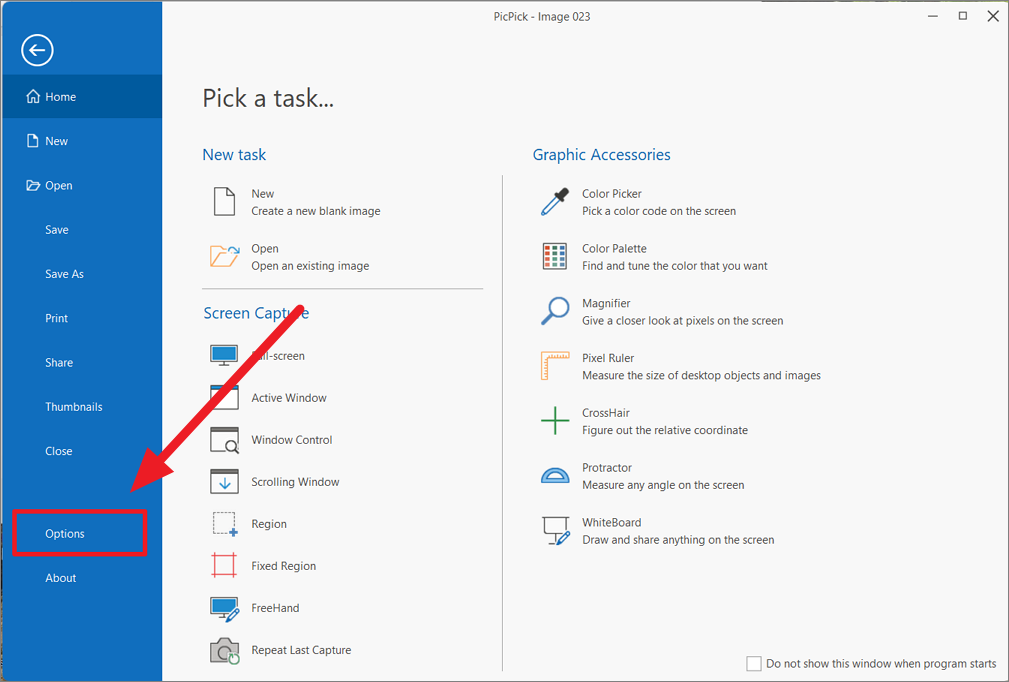
Capture Scrolling Screenshots with PicPick
To capture an entire scrolling window:
- Download and install PicPick from the official website.
- Open the application and go to File > Options > Hotkeys to customize shortcuts if desired.
- Open the window or webpage you want to capture.
- Press
Ctrl+Alt+PrtScto initiate a scrolling capture. - Click on the window, and PicPick will automatically scroll and capture the content.
After capturing, the image will open in PicPick’s editor for further modifications.
Now you’re equipped with multiple methods to capture screenshots on Windows 11 efficiently. Whether using built-in tools or third-party applications, you can choose the method that best suits your needs.


