
The Night Light feature in Windows 11 helps protect your eyes from constant exposure to blue light, especially in dark or dimly lit rooms. The feature was first introduced in 2017 with the Windows 10 creators update. Enabling Night Light switches your screen to a warmer tone that causes lesser eye strain.
Although the idea behind this feature is great, the consistency of this feature has been hit or miss. If you encountered issues with the Night Light feature after making the jump to Windows 11, we’re here for you. This guide talks about the issues with the Night Light feature and the steps you can take to eliminate your problem(s) with relative ease.
What Are the Issues With Night Light?
The execution of this feature was not perfect in Windows 10 and unfortunately, those imperfections found their way into Windows 11 as well. Users have reported Night Light turning on or off, automatically.
It has also been informed that Night Light doesn’t work well with sleep mode. You might find Night Light turning itself off after when you wake your computer from Sleep mode.
The Night Light option in the Action center can even appear greyed out, leaving it unresponsive and dysfunctional.
Causes for issues with Night Light. Two factors are considered to be responsible for poorly functional Night Light – a recent Windows 11 Update or the display drivers. However, it is more likely to happen after a Windows update. It can be caused by a bug within the update or outdated drivers.
How to Fix Night Light Issues on Windows 11
Now that we know about the issue and what might cause it, let us walk you through the different ways you can fix the issue of Night Light not working in Windows 11.
1. Make Sure Night Light is Enabled in Settings
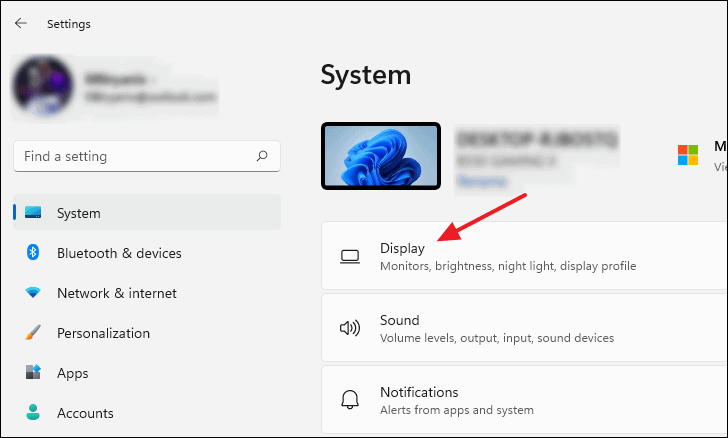
Before you proceed to fix any issues with Night Light, you must ensure the feature is properly switched on. To do so, click the Windows/Start button and click on Settings in the Pinned apps section. Alternatively, you can also hold the Windows+I keys together to launch the Settings app.

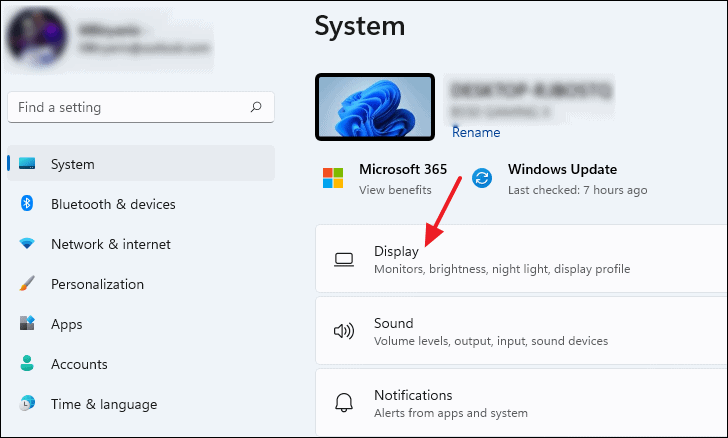
Select ‘Display’ from the System settings section in the Settings app.
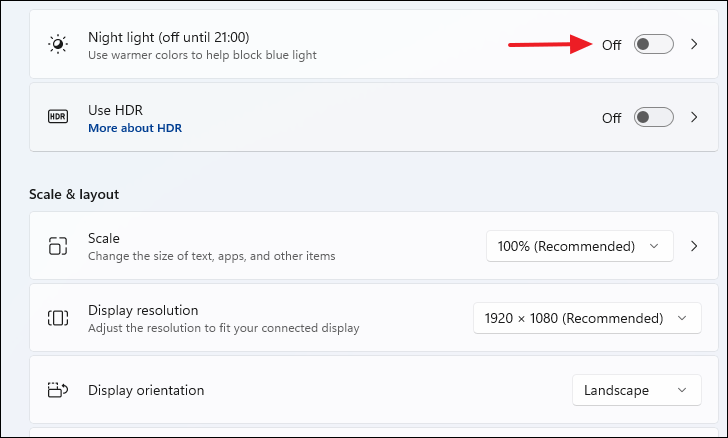
On the display settings page, locate the Night light option and click on the toggle switch next to it to switch it ON.
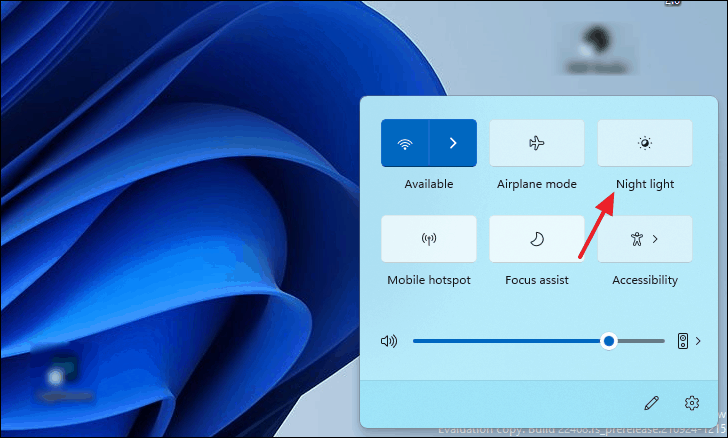
Alternatively, you can press Windows+A keys to pull up the Quick Actions menu on Windows 11 and turn Night Light on or off from there. That is if you have a Night light button included in the actions menu.
2. Set a Custom Schedule to Automatically Turn Night Light ON or OFF
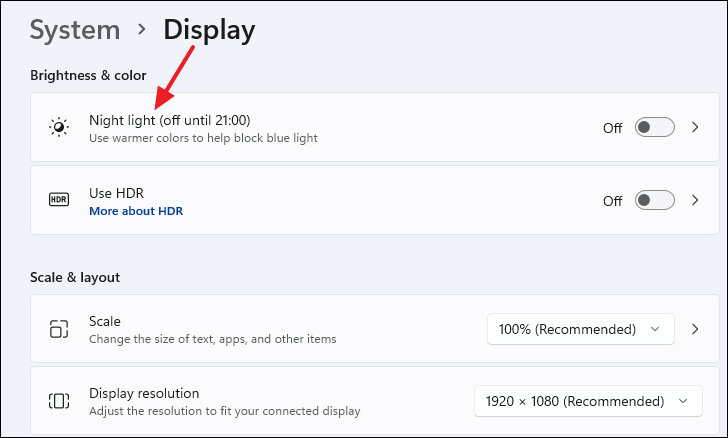
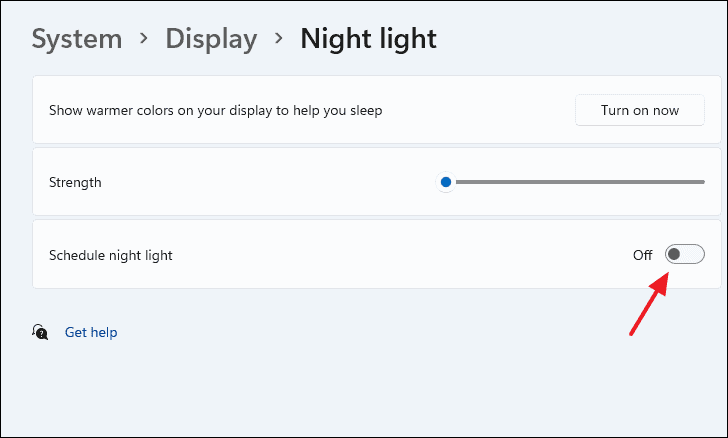
Setting a custom Night Light schedule can help prevent the feature from self-starting or self-stopping. To do this, open the Display Settings page (as discussed before), and click on the Night Light tile to access advanced settings.
Now, click on the ‘Schedule night light’ toggle to turn it ON and to bring up the schedule menu.
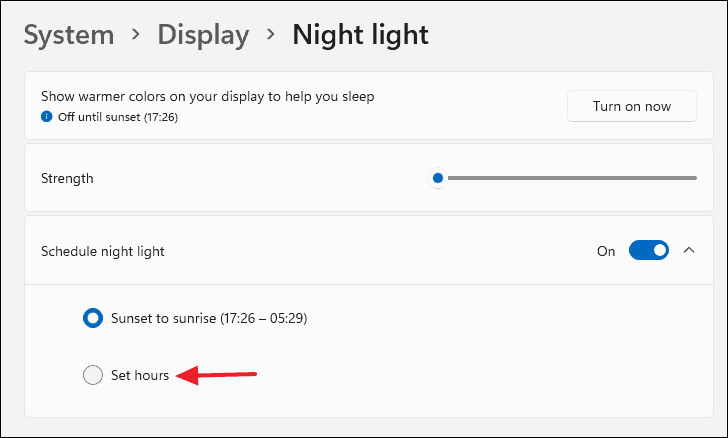
Click on the ‘Set hours’ radio button in the Schedule night light section.
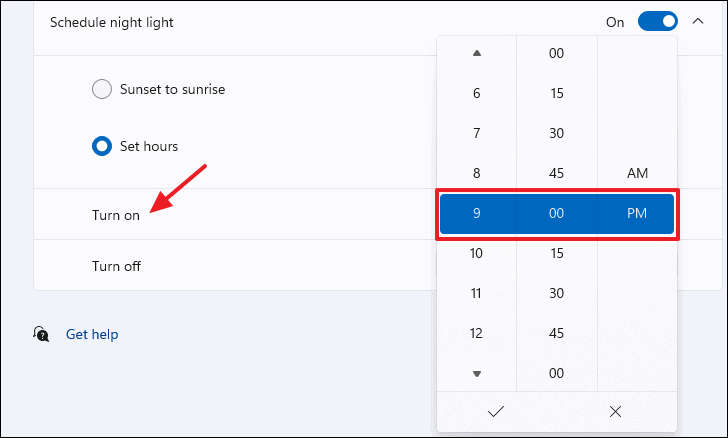
Use the ‘Turn on’ and ‘Turn off’ options under Set hours to set a time of your choice for the Night light to enable to disable automatically.
3. Check Date and Time Settings of your PC
It is crucial to make sure the date and time settings are correct. If not, many things on the system can cease to function properly. This includes apps like the Microsoft Store and features like Night light.
To check your PC’s Date and time settings, first, launch the Settings app.

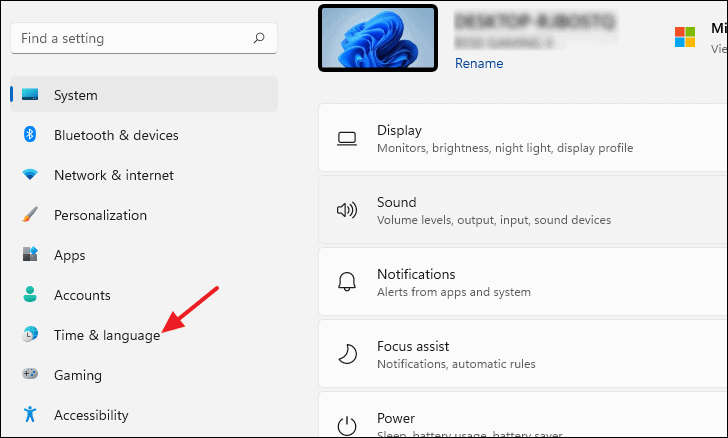
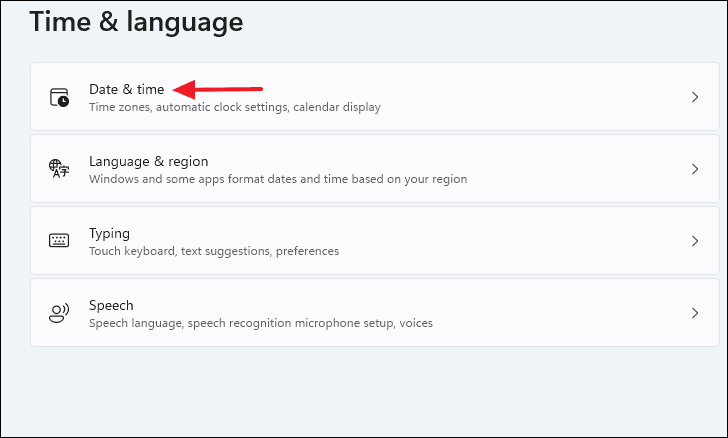
Then, click on the ‘Time & language’ option on the left side of the screen inside Windows Settings.
Now select the first option — ‘Date & time’.
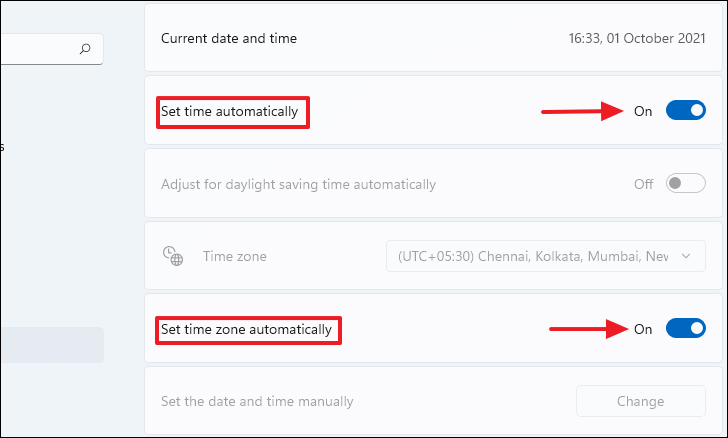
On the next screen, click the toggle adjacent to both ‘Set time automatically’ and ‘Set time zone automatically’ to set both options to ON (if it already isn’t).
Lastly, scroll down a bit and click on the ‘Sync Now’ button under Additional settings section.
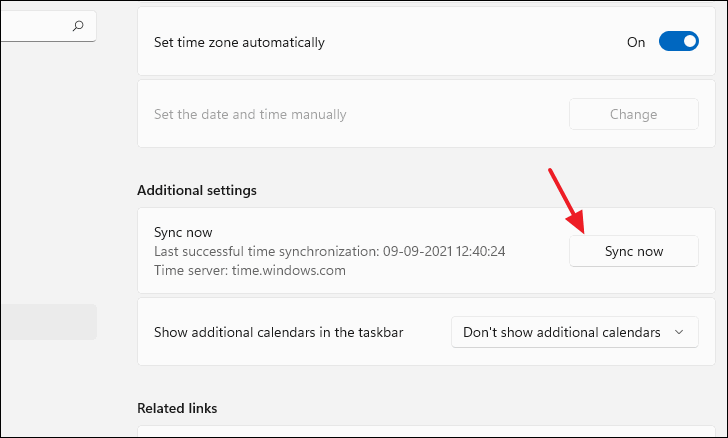
Your system date and time will now be set and synchronize accordingly.
4. Turn on Location Services
The Night Light feature depends on other aspects like the location of PC to work effectively. The option to automatically enable Night Light requires the location of your PC to determine the time of sunset and sunrise.
Thus, enabling location services may help eliminate issues with the Night Light abruptly turning on or off by itself.
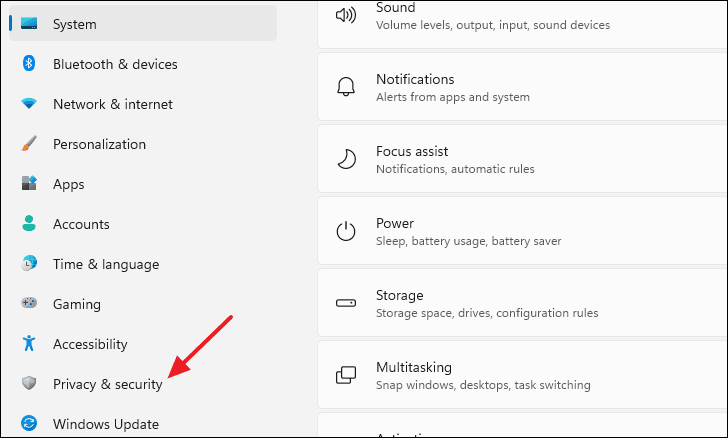
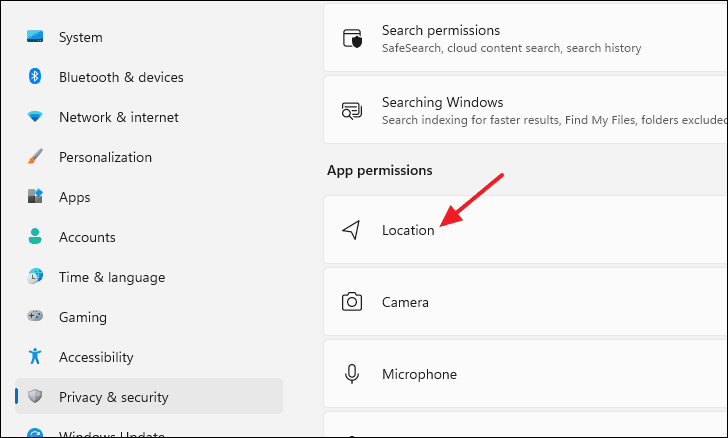
First, head to the Settings app and select ‘Privacy & Security’ from the options on the left.
Next, scroll down a bit on the Privacy & security page and select the ‘Location’ option under the App permissions section.
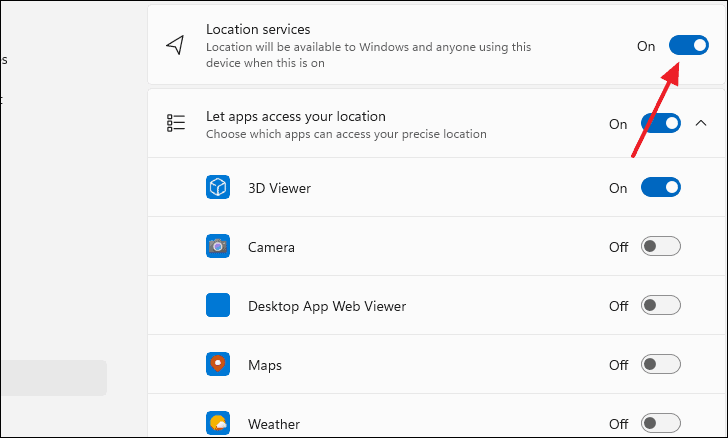
Now, click on the toggle switch next to ‘Location services’ to turn ON the location for your PC.
5. Reinstall the Display Driver on your PC
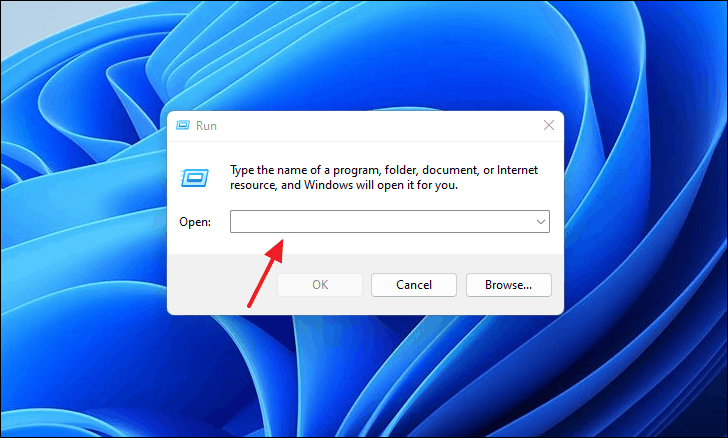
You can also manually update the display driver on your computer to see and fix issues with the Night light. To do this, first, hold Windows+R keys together to launch the Run application.
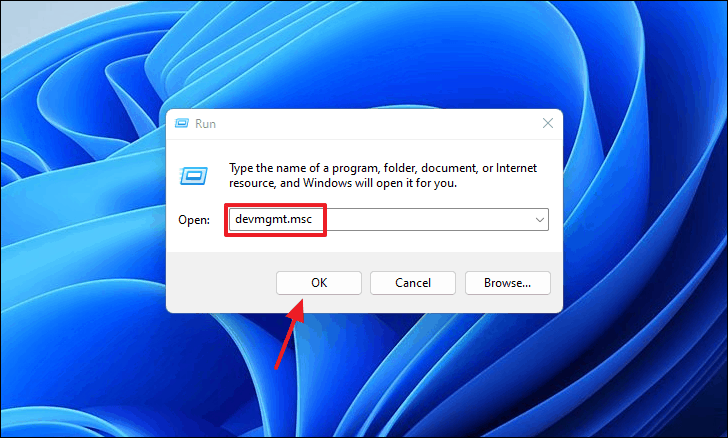
Type devmgmt.msc on the Run dialog box and hit enter. This will open the Device Management window.
Here, click on the ‘Display adapters’ option, and then right-click on the display adapter that appears under it.
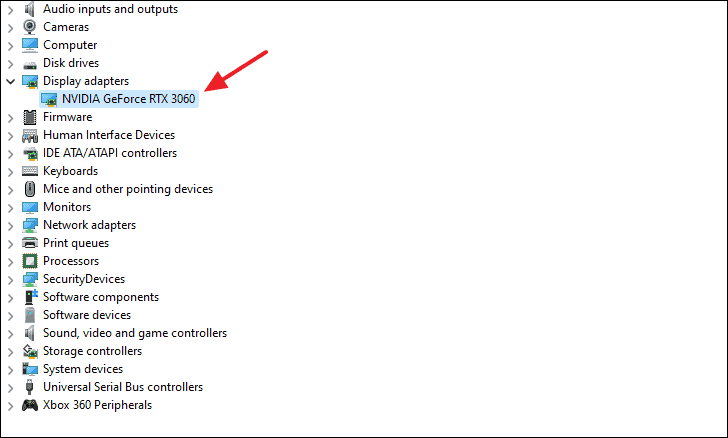
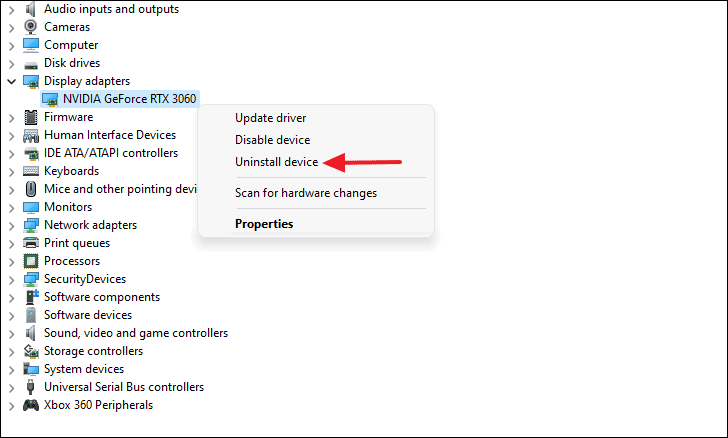
Next, select ‘Uninstall device’ from the context menu.
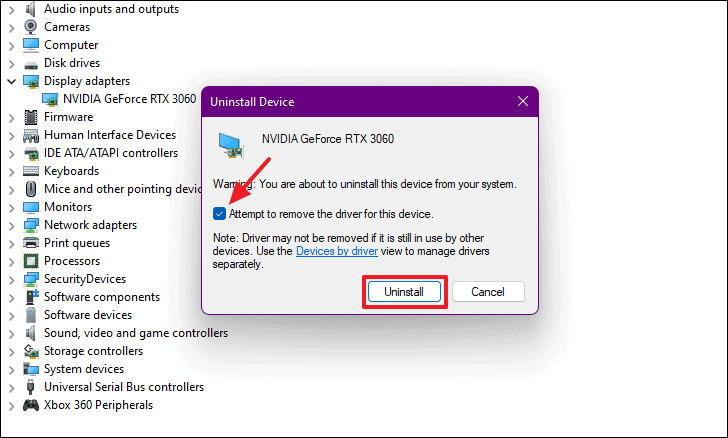
Tick the box that says ‘Attempt to remove the driver for this device’ and hit the ‘Uninstall’ button.
Restart your computer and let Windows automatically do a fresh installation of the display driver.
6. Manually Reset Night Light using Registry Editor
If nothing you’ve done so far helped fix Night Light issues on your Windows 11 computer, you can try manually resetting the feature by editing the Windows registry.
Note: Windows registry contains sensitive data that runs your PC. Therefore, you must be extremely cautious and follow exactly to ensure nothing goes south. One mistake and it can crash your computer. If you stick to the instructions you will be just fine.
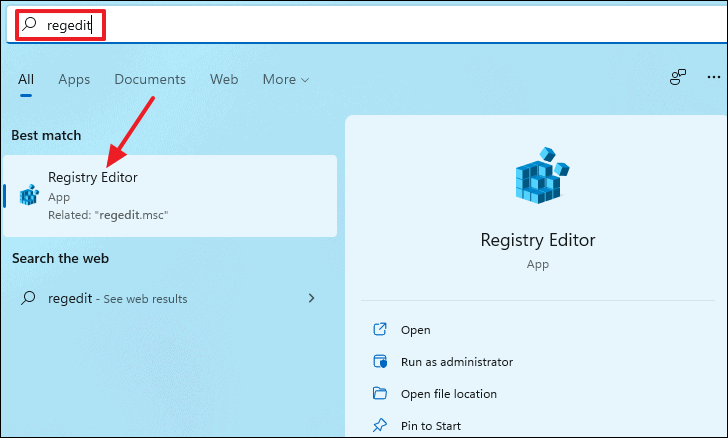
First, open the Start menu and type regedit in the search field. Then, click on the search result that says ‘Registry Editor’ to launch the app.
Locate the following address by clicking the respective keys and sub-keys in the Registry Editor.
HKEY_CURRENT_USER > Software > Microsoft > Windows > CurrentVersion > CloudStore > Store > DefaultAccountCloud.
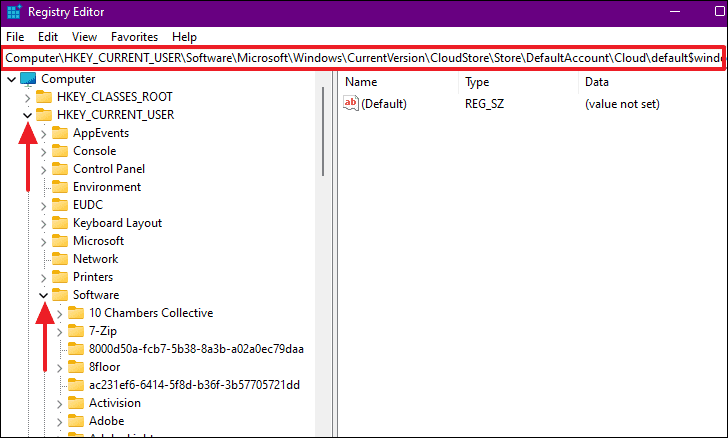
Then, right-click on the first directory with the following name and select ‘Delete’ in the context menu.
default$windows.data.bluelightreduction.bluelightreductionstate
Now, restart your computer and see if the Night light issue has been resolved.
7. Turn Off HDR in Display Settings
If the Night light feature is turning off by itself when you resume your computer from sleep mode, it is possible that HDR might be on. HDR is a feature that provides brighter visibility and vibrance in images or any other media.
To check if HDR is on, head over to the System Settings and click on the ‘Display’ tile.
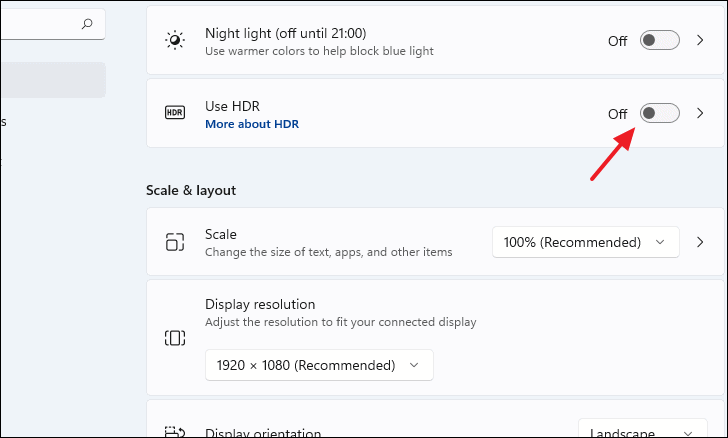
You can turn HDR on or off by clicking the toggle button on the ‘Use HDR’ tile, as shown in the screenshot. Try turning HDR off and see if it resolves your issue.
8. Reset Windows
Resetting Windows can resolve issues regarding Night Light as doing it ensures fresh installation of all Windows features.
Note: Resetting Windows means you’ll lose all installed programs on your PC. Be careful of this option.
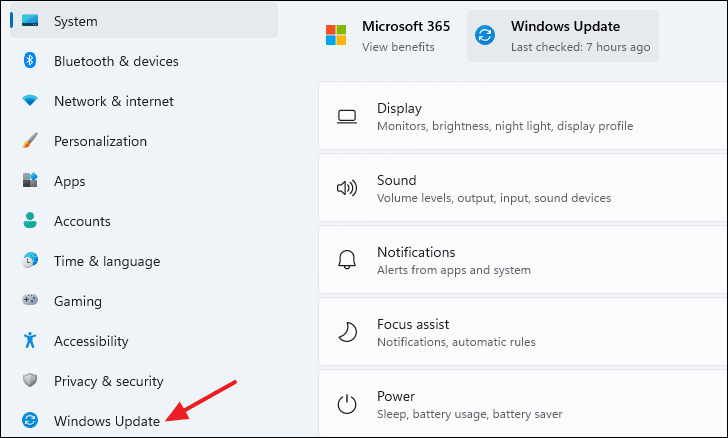
To do this, first, launch Settings and click on the ‘Windows Update’ option on the left side of the window.
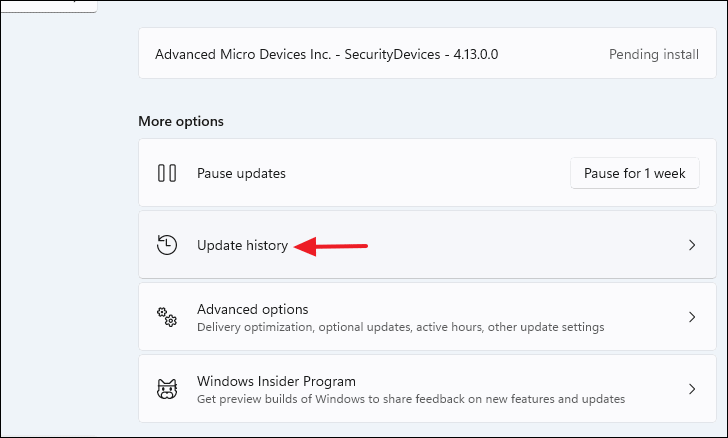
Then, click on the ‘Update history’ option under the More options section.
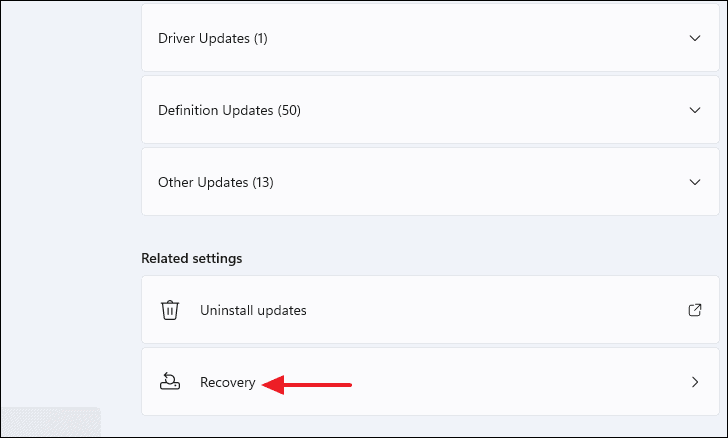
Scroll down a bit on the next screen and select the ‘Recovery’ option under Related settings section.
Finally, click on the ‘Reset PC’ button under Recovery options to begin the reset process.
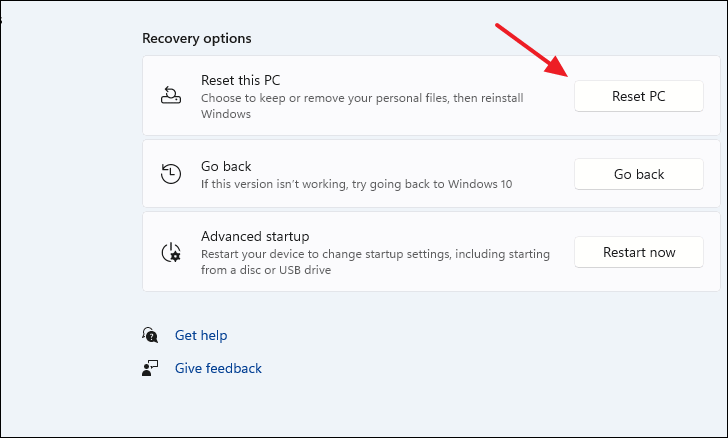
Now, you must choose for the selective deletion or complete deletion (this will erase all personal files like photos and documents). For the purpose of resolving the Night light issue, you can select the option that allows you keep your files.
9. Use f.lux Instead of Night Light
If nothing seems to solve the Night light issue on your PC, it is best to turn off the feature and wait until Microsoft fixes the feature.
And if you’re very keen on using Night light and cannot wait for Microsoft to release a fix, you can always use third-party software to replace Night light. One such software is f.lux.
F.lux works identical to Microsoft’s feature by applying a warm filter to your PC and reducing the amount of blue light you visually consume.
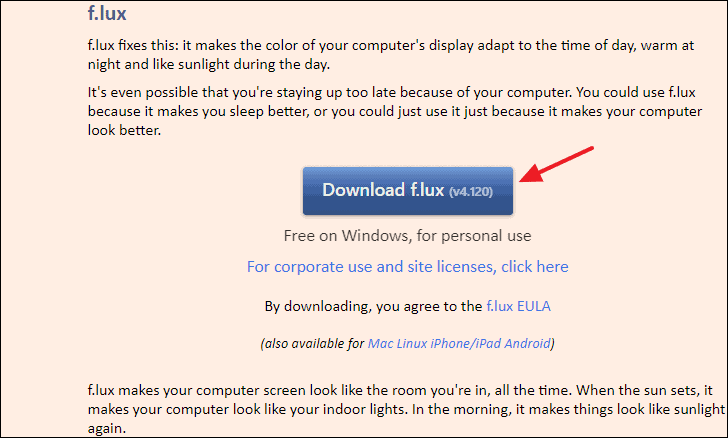
To get f.lux, first, head onto the justgetflux.com website. Then, click on ‘Download f.lux’ button on the page.
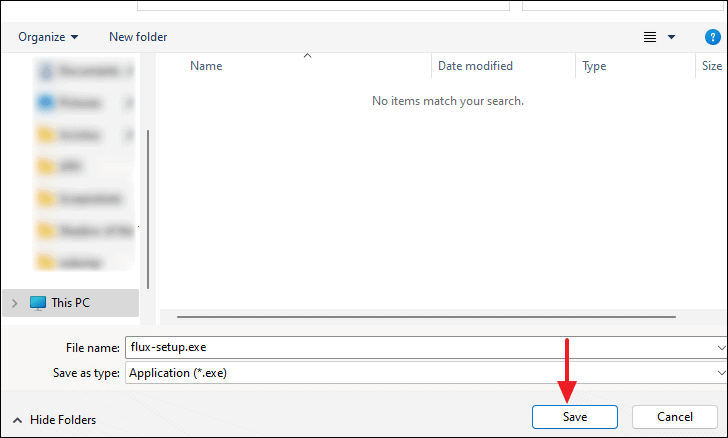
Save the installer on your system. Once the installer finishes downloading, take the required route and begin the simple 2 click installation process.
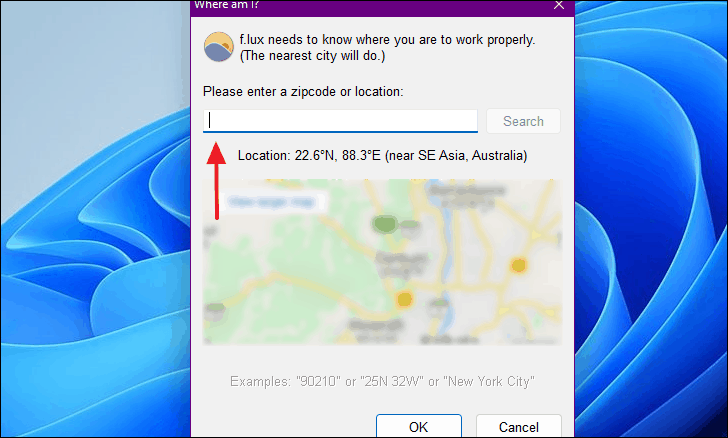
After installing f.lux, it will ask for your location or zip code to automatically set the appropriate filter according to the time of the day at your location.
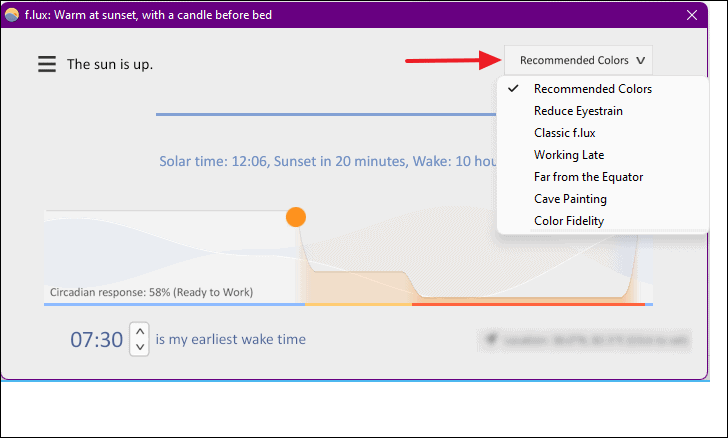
You can also choose among many filters and find the one that best meets your preferences.
These are the 10 fixes to help if Night Light is not working on your Windows 11 device. We hope that you found an apt fix on our guide and eliminated the issue on your end.
F.A.Q.
Q. Is Night Light good for eyes?
A. The purpose of Night Light is to reduce the blue light emission by switching to a warmer tone. It reduces eye strain and also helps in maintaining normal sleep patterns.
Q. Is Night Light and Blue light filter the same?
A. No, Night Light does not filter any blue light, rather it switches the tint value and gives the screen a yellow hue.
Q. Does Night Light saves battery?
A. Yes, it can conserve battery by effectively adjusting the screen brightness according to the environment.


