

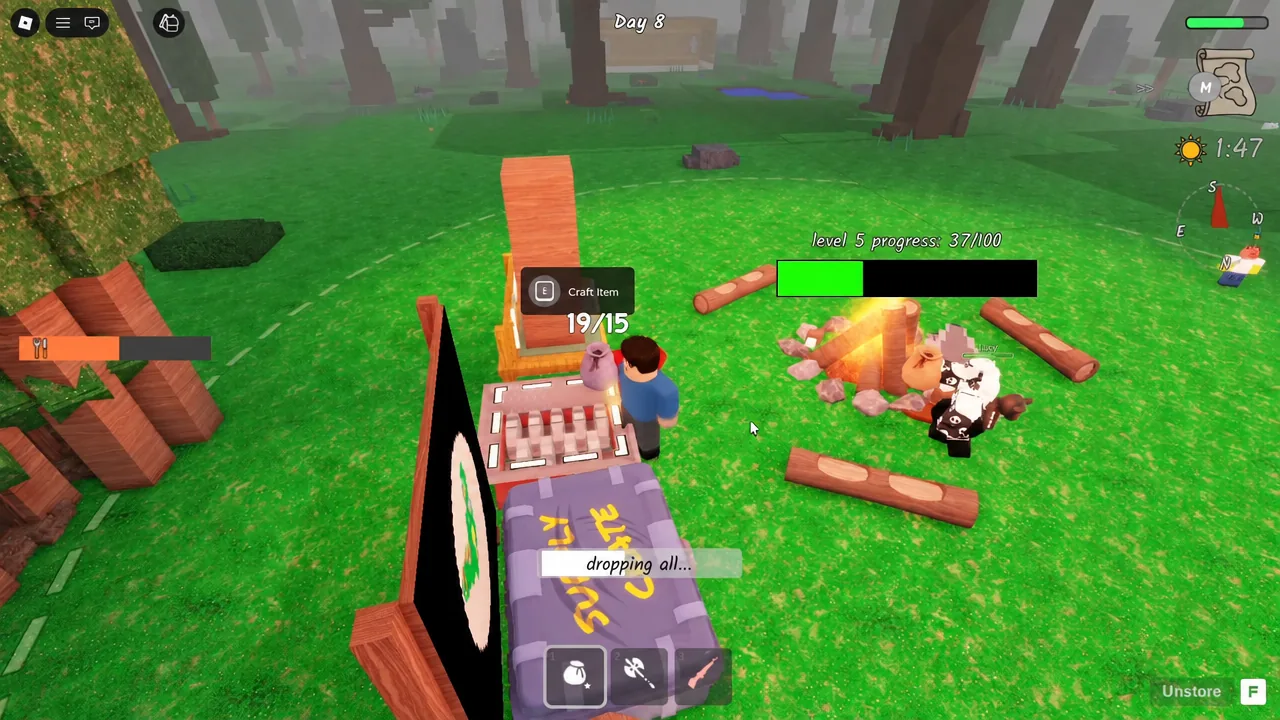
The Woodsman is the class built around one resource. You chop, your axe gets stronger, and eventually the game stops caring how many logs you are carrying. Push it to its final perk and you unlock the piece that makes an enclosed base layout possible in 99 Nights in the Forest: giant tree saplings you can plant wherever you want them.
Quick answer: Buy Woodsman for 600 Diamonds, then cut 500 trees and kill 100 enemies with the starter axe to hit Level 3, which lets you find and plant giant saplings.
Woodsman class cost and perk levels
Woodsman is a 5-star class added in the New Classes update on September 5, 2026. It sits in the Classes shop in the lobby, on the left as you walk in, and costs 600 Diamonds. Every class starts at Level 1 and caps at Level 3.
| Level | Requirement | Perk |
|---|---|---|
| 1 | 600 Diamonds | Axe levels up as you cut trees, dealing more damage to trees and enemies. You cannot pick up other axes. |
| 2 | Cut 250 trees, kill 50 enemies with the starter tool | Logs stop counting toward your sack limit. |
| 3 | Cut 500 trees, kill 100 enemies with the starter tool | You can find and plant giant tree saplings. |
The shop uses a stock system, so Woodsman is not always sitting there waiting. A random selection of classes rotates every 24 hours, and you can reroll the stock for 10 or more Diamonds, with the first roll of the day free. If you would rather skip the grind, Level 2 costs 250 Robux and Level 3 costs 400 Robux, though the Level 3 skip only appears once Level 2 is unlocked.
For the Diamonds themselves, the reliable sources are daily quests, chests scattered across the map, weekly Admin Abuse events, and redeemable codes.
How to reach Woodsman Level 3
Both progression counters only move while you are using the Woodsman’s starter axe, and since the class blocks you from picking up any other axe, there is no way to accidentally break that rule. Tree cuts and enemy kills tick up across runs, so a few long survival attempts will clear 500 and 100 without a dedicated grind.
The kill half is the slower one for most players. Wolves that spawn while you are out chopping, cultists during night raids, and the enemies guarding caves all count, so fighting through those instead of running past them keeps both counters moving at once.
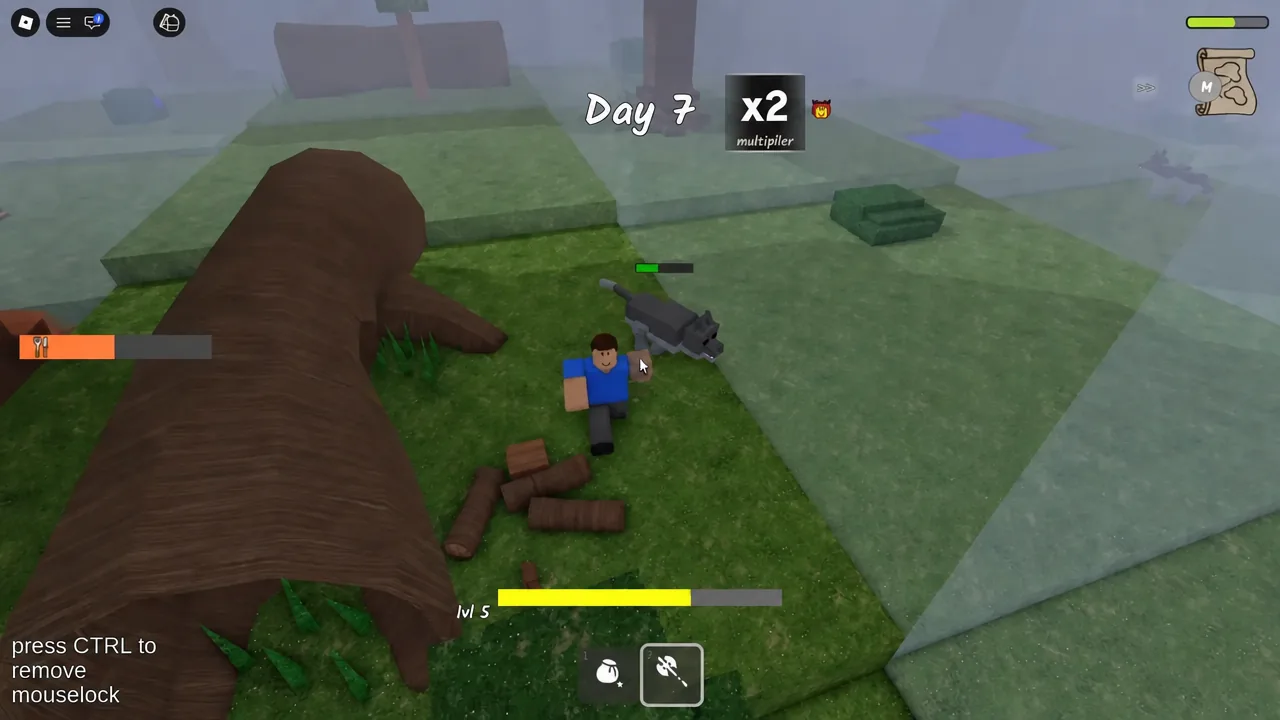
Level 2 pays for itself long before you reach Level 3. Once logs no longer eat sack space, you can clear an entire patch of forest in one trip instead of shuttling back to the fire every few trees.
What giant saplings do for a maze build
Giant saplings are the Level 3 payoff and the actual building block of the maze. They turn up as drops while you chop, and once you have one you can place it on open ground rather than waiting for the map to grow a tree where you need it. In one long run, the first giant sapling did not appear until around Day 10.
They pair with log walls, which are craftable structures rather than class perks. Log walls give you straight, predictable barriers; the giant saplings fill gaps, thicken corners, and create the dead ends that make a layout behave like a maze instead of a fence. The completed “Wanderer Maze” in that run combined both and was finished by Day 141.
Planting takes a moment and leaves you standing still. Cultist raids interrupt sapling placement, so plant during the day and finish defending before you start laying out a section.
Building the maze around your base
Extending the run long enough to finish it
A maze of this size takes far longer than 99 days, which means the day limit is the real constraint, not the wood. Rescuing missing children pushes that limit further out each time. Check the missing kids board at camp, then head out for whoever is listed.
The rescues get progressively harder. The first cave is manageable with a spear or an early ranged weapon, while later ones sit in locations like the hospital and are guarded by wolves that can drop you outright. Bring bandages, bring food, and treat a knockdown as survivable rather than a run-ender.
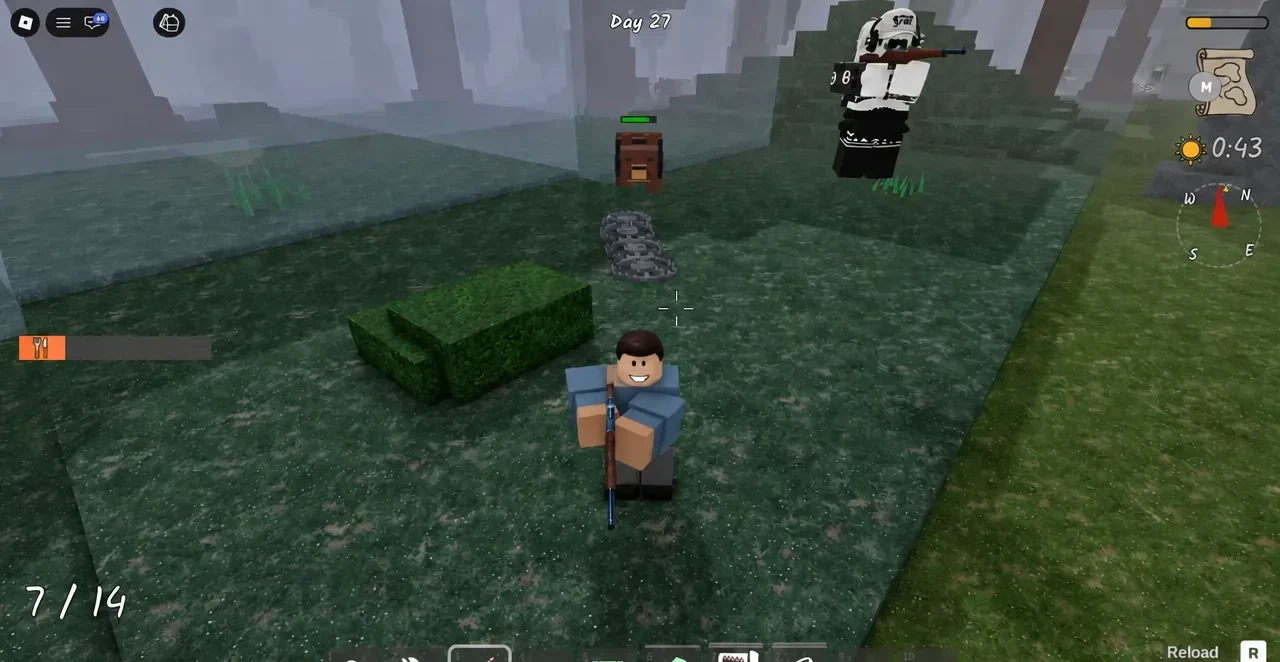
Night trips are still worth taking between rescues. Structures out in the forest, including the lighthouse tower, hold chests and are usually defended by a single cultist rather than a group.
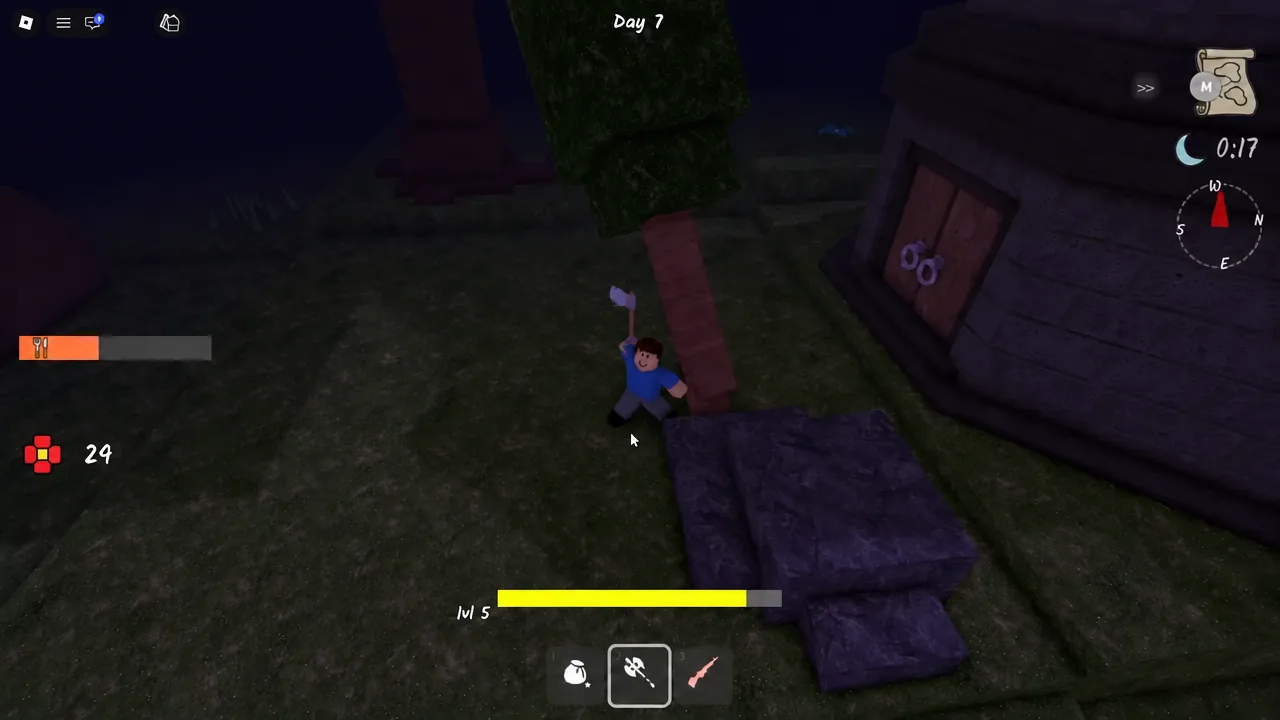
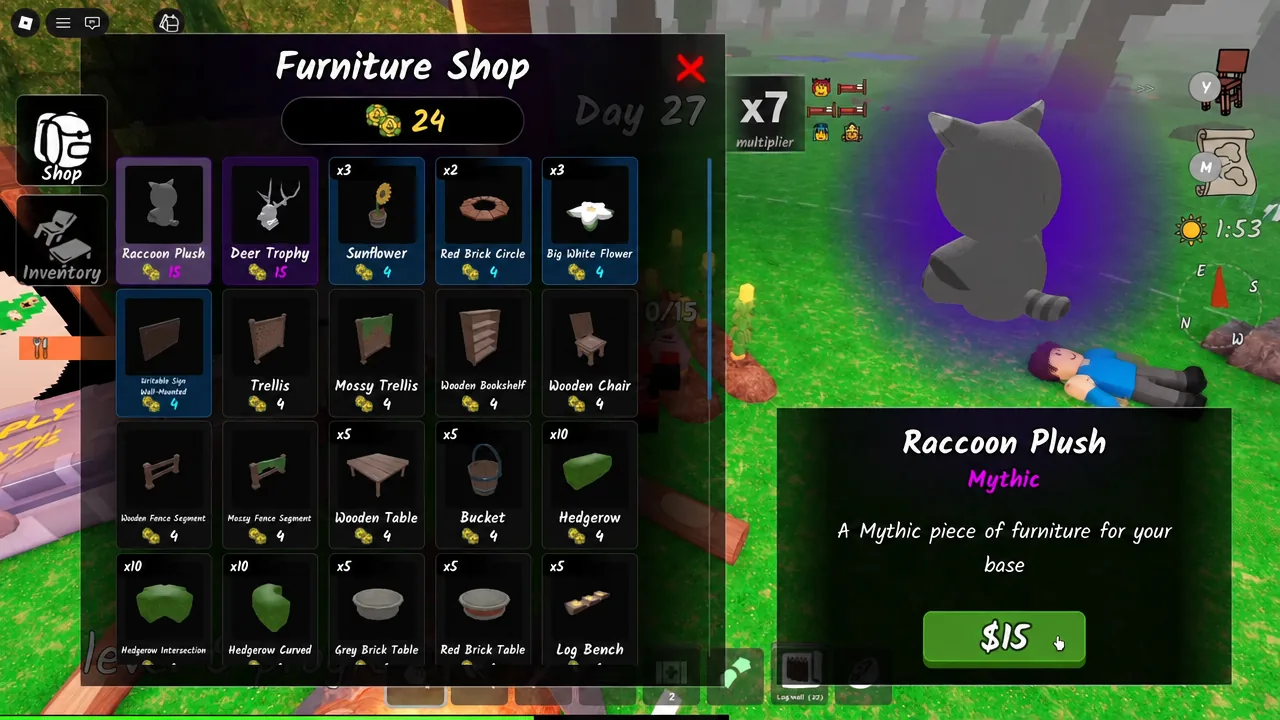
Once the campsite is stable, the furniture shop is where surplus coins go. Decorative pieces such as the Raccoon Plush, Deer Trophy, stone pillars and flowers are cosmetic, so buy them only after the beds, crock pot, farm plots and lightning rod are in place.
How to confirm the build worked
For the class itself, the check is simple. Open the Classes menu and look at the Woodsman entry; when the perk list shows all three tiers unlocked, the class is maxed and giant saplings will start appearing as drops while you chop.
For the maze, the confirmation is behavioural. Walk the outer edge and make sure there is no second opening into camp, then watch how enemies approach during a raid. If they are following the corridor you left instead of walking straight at the campfire, the layout is doing its job.
None of this is a short project. A full enclosure took until Day 141 in practice, and that only happened because the day limit kept getting extended by rescues along the way. Treat the wood as the easy part, the day count as the budget, and build the maze in sections you can finish between raids.





